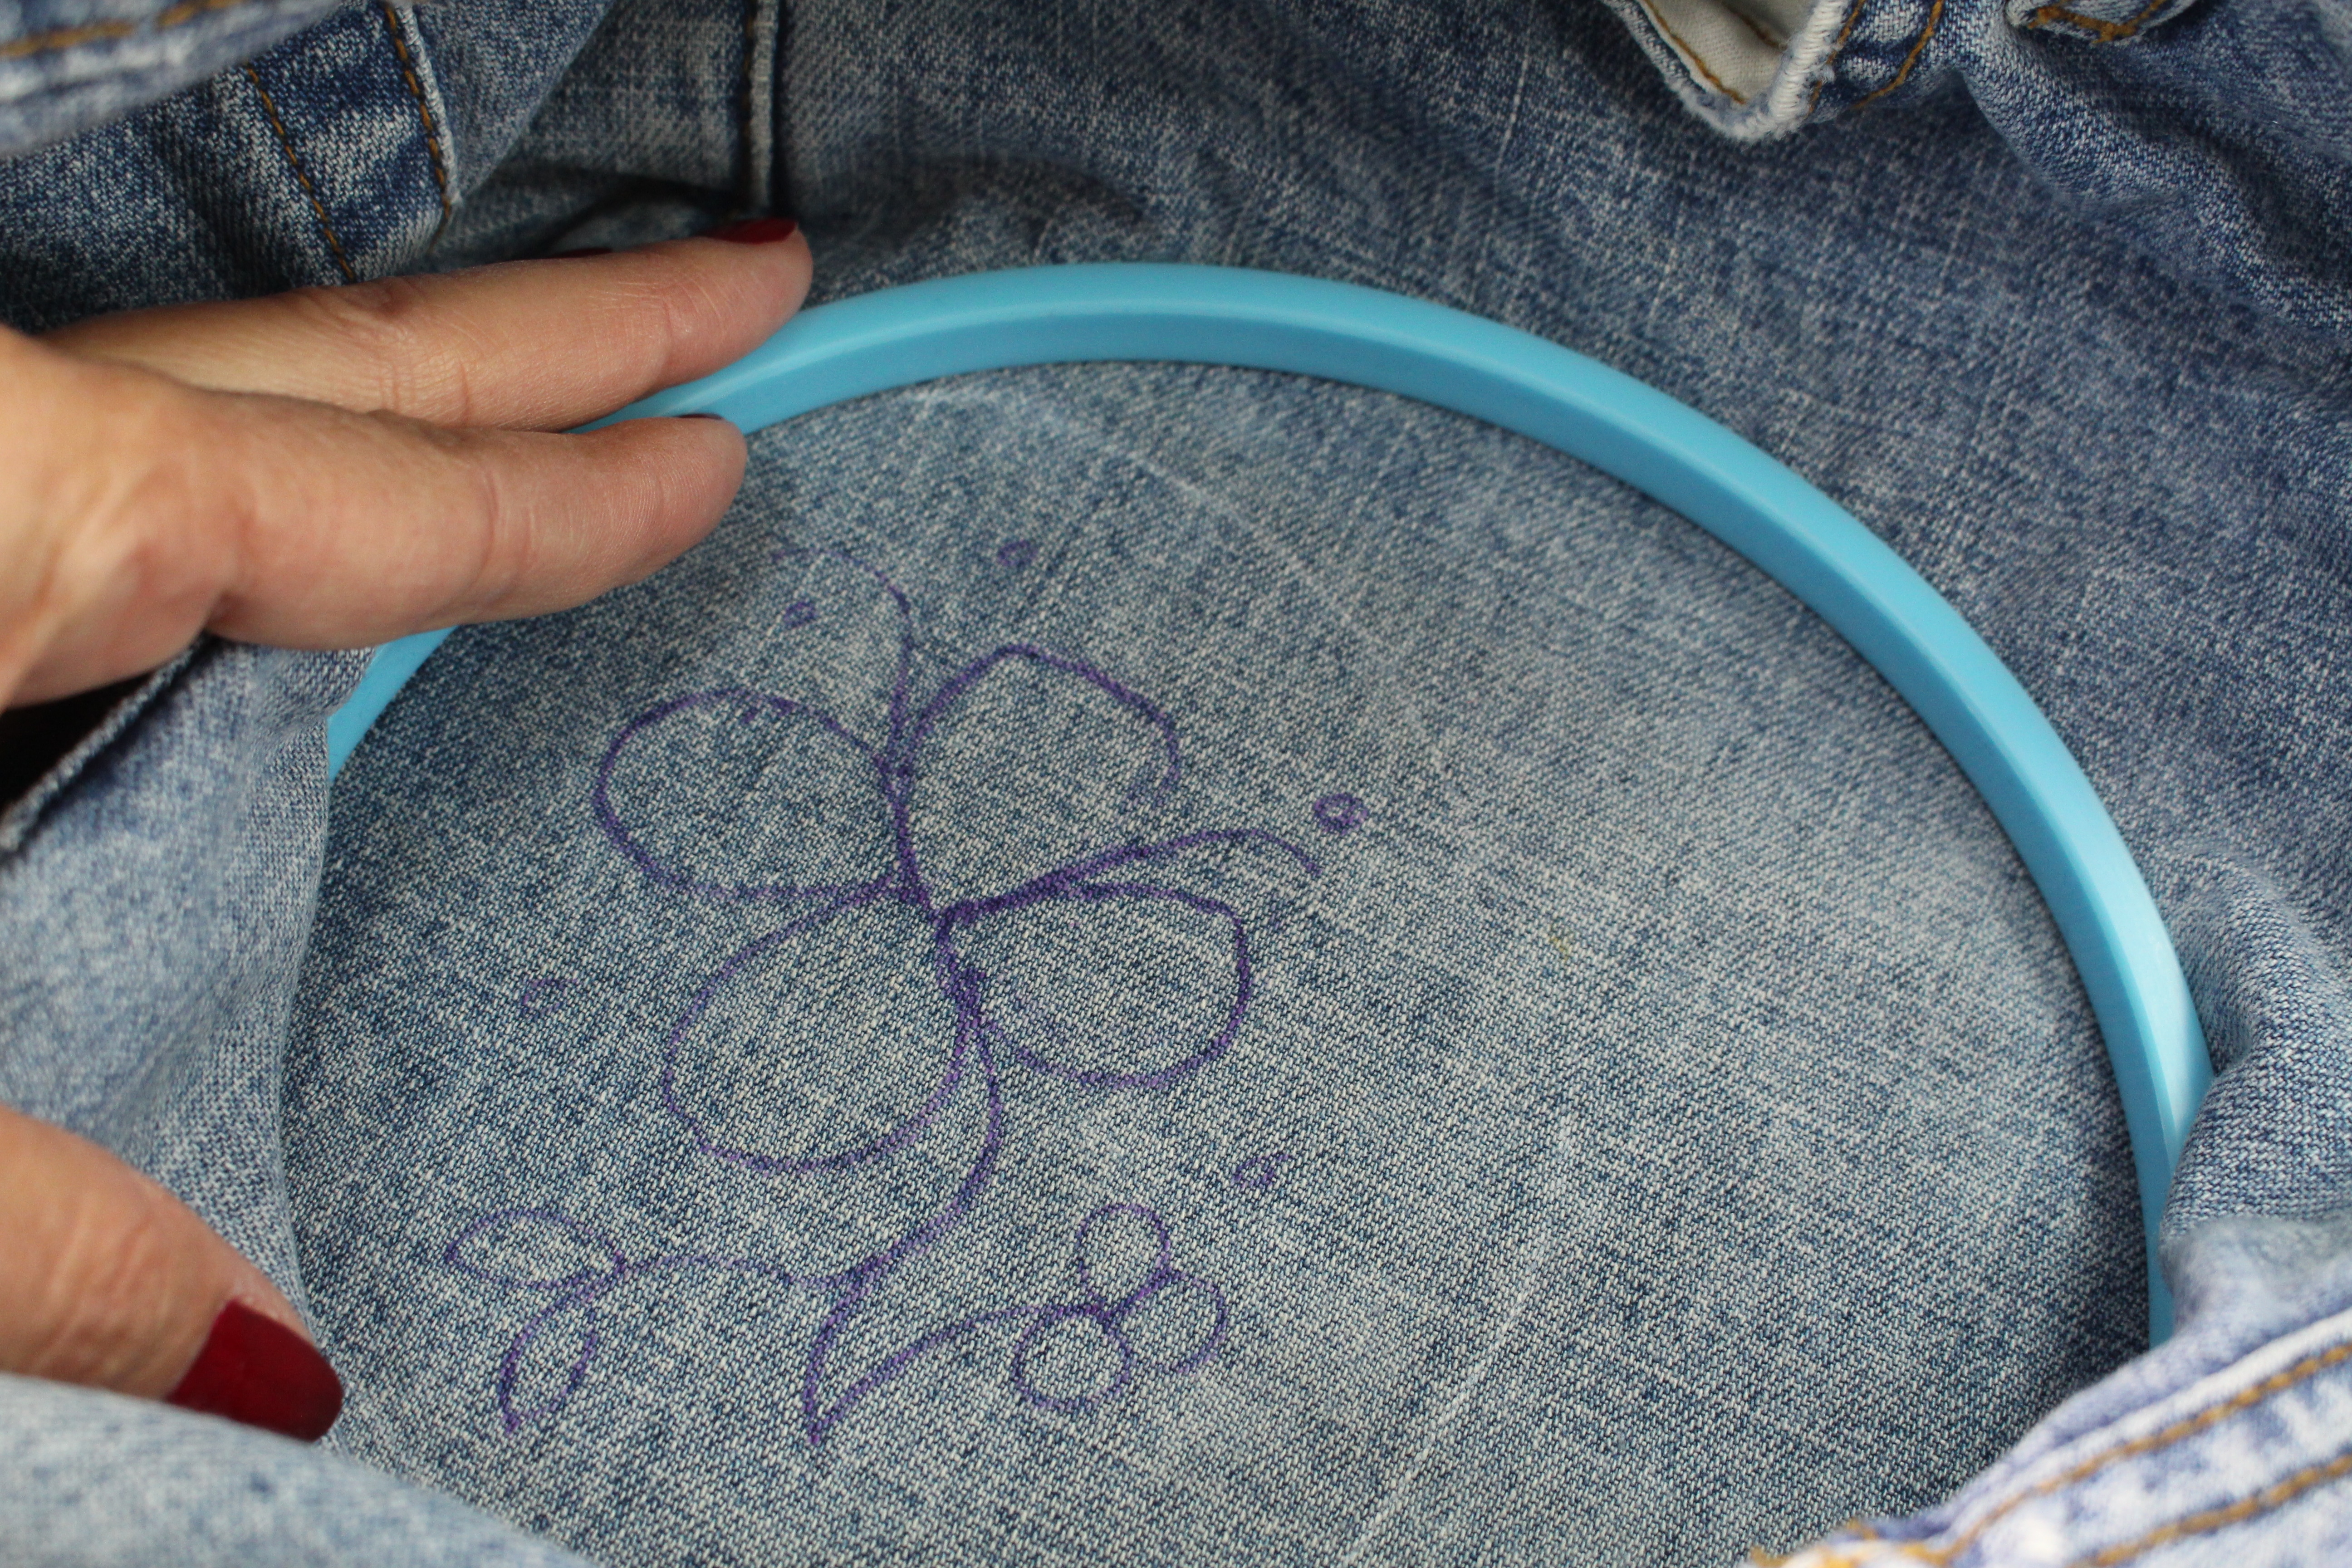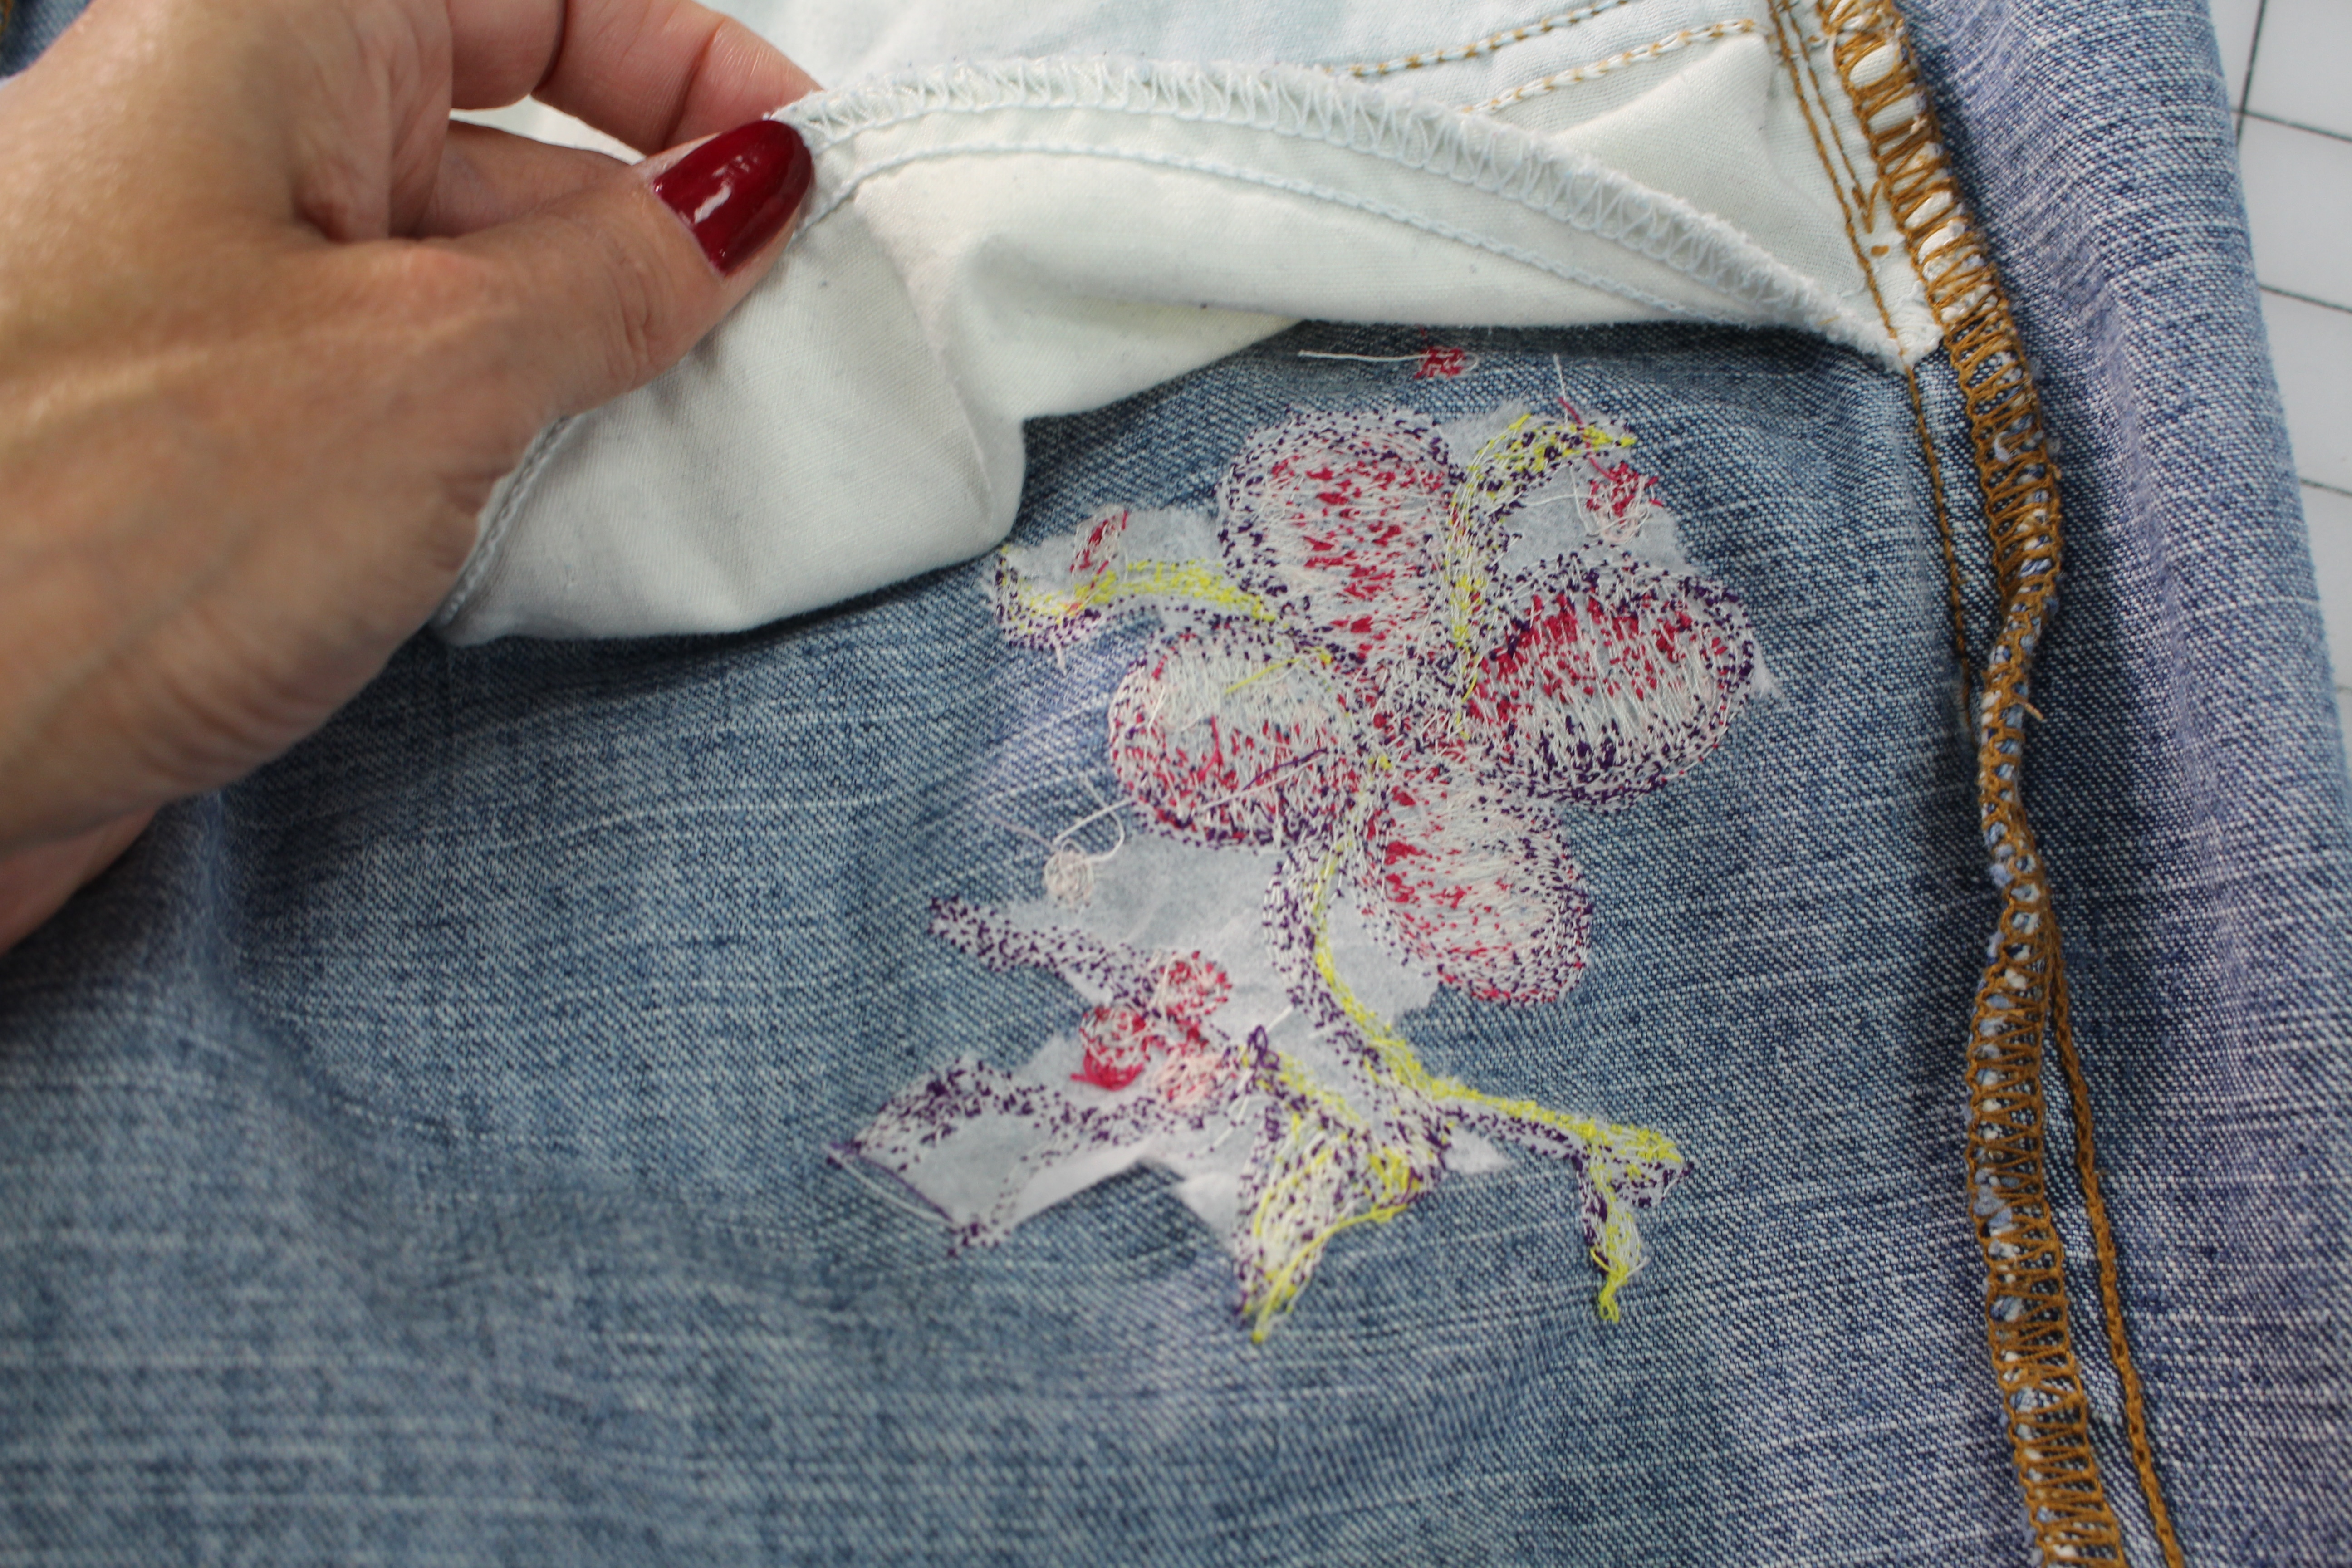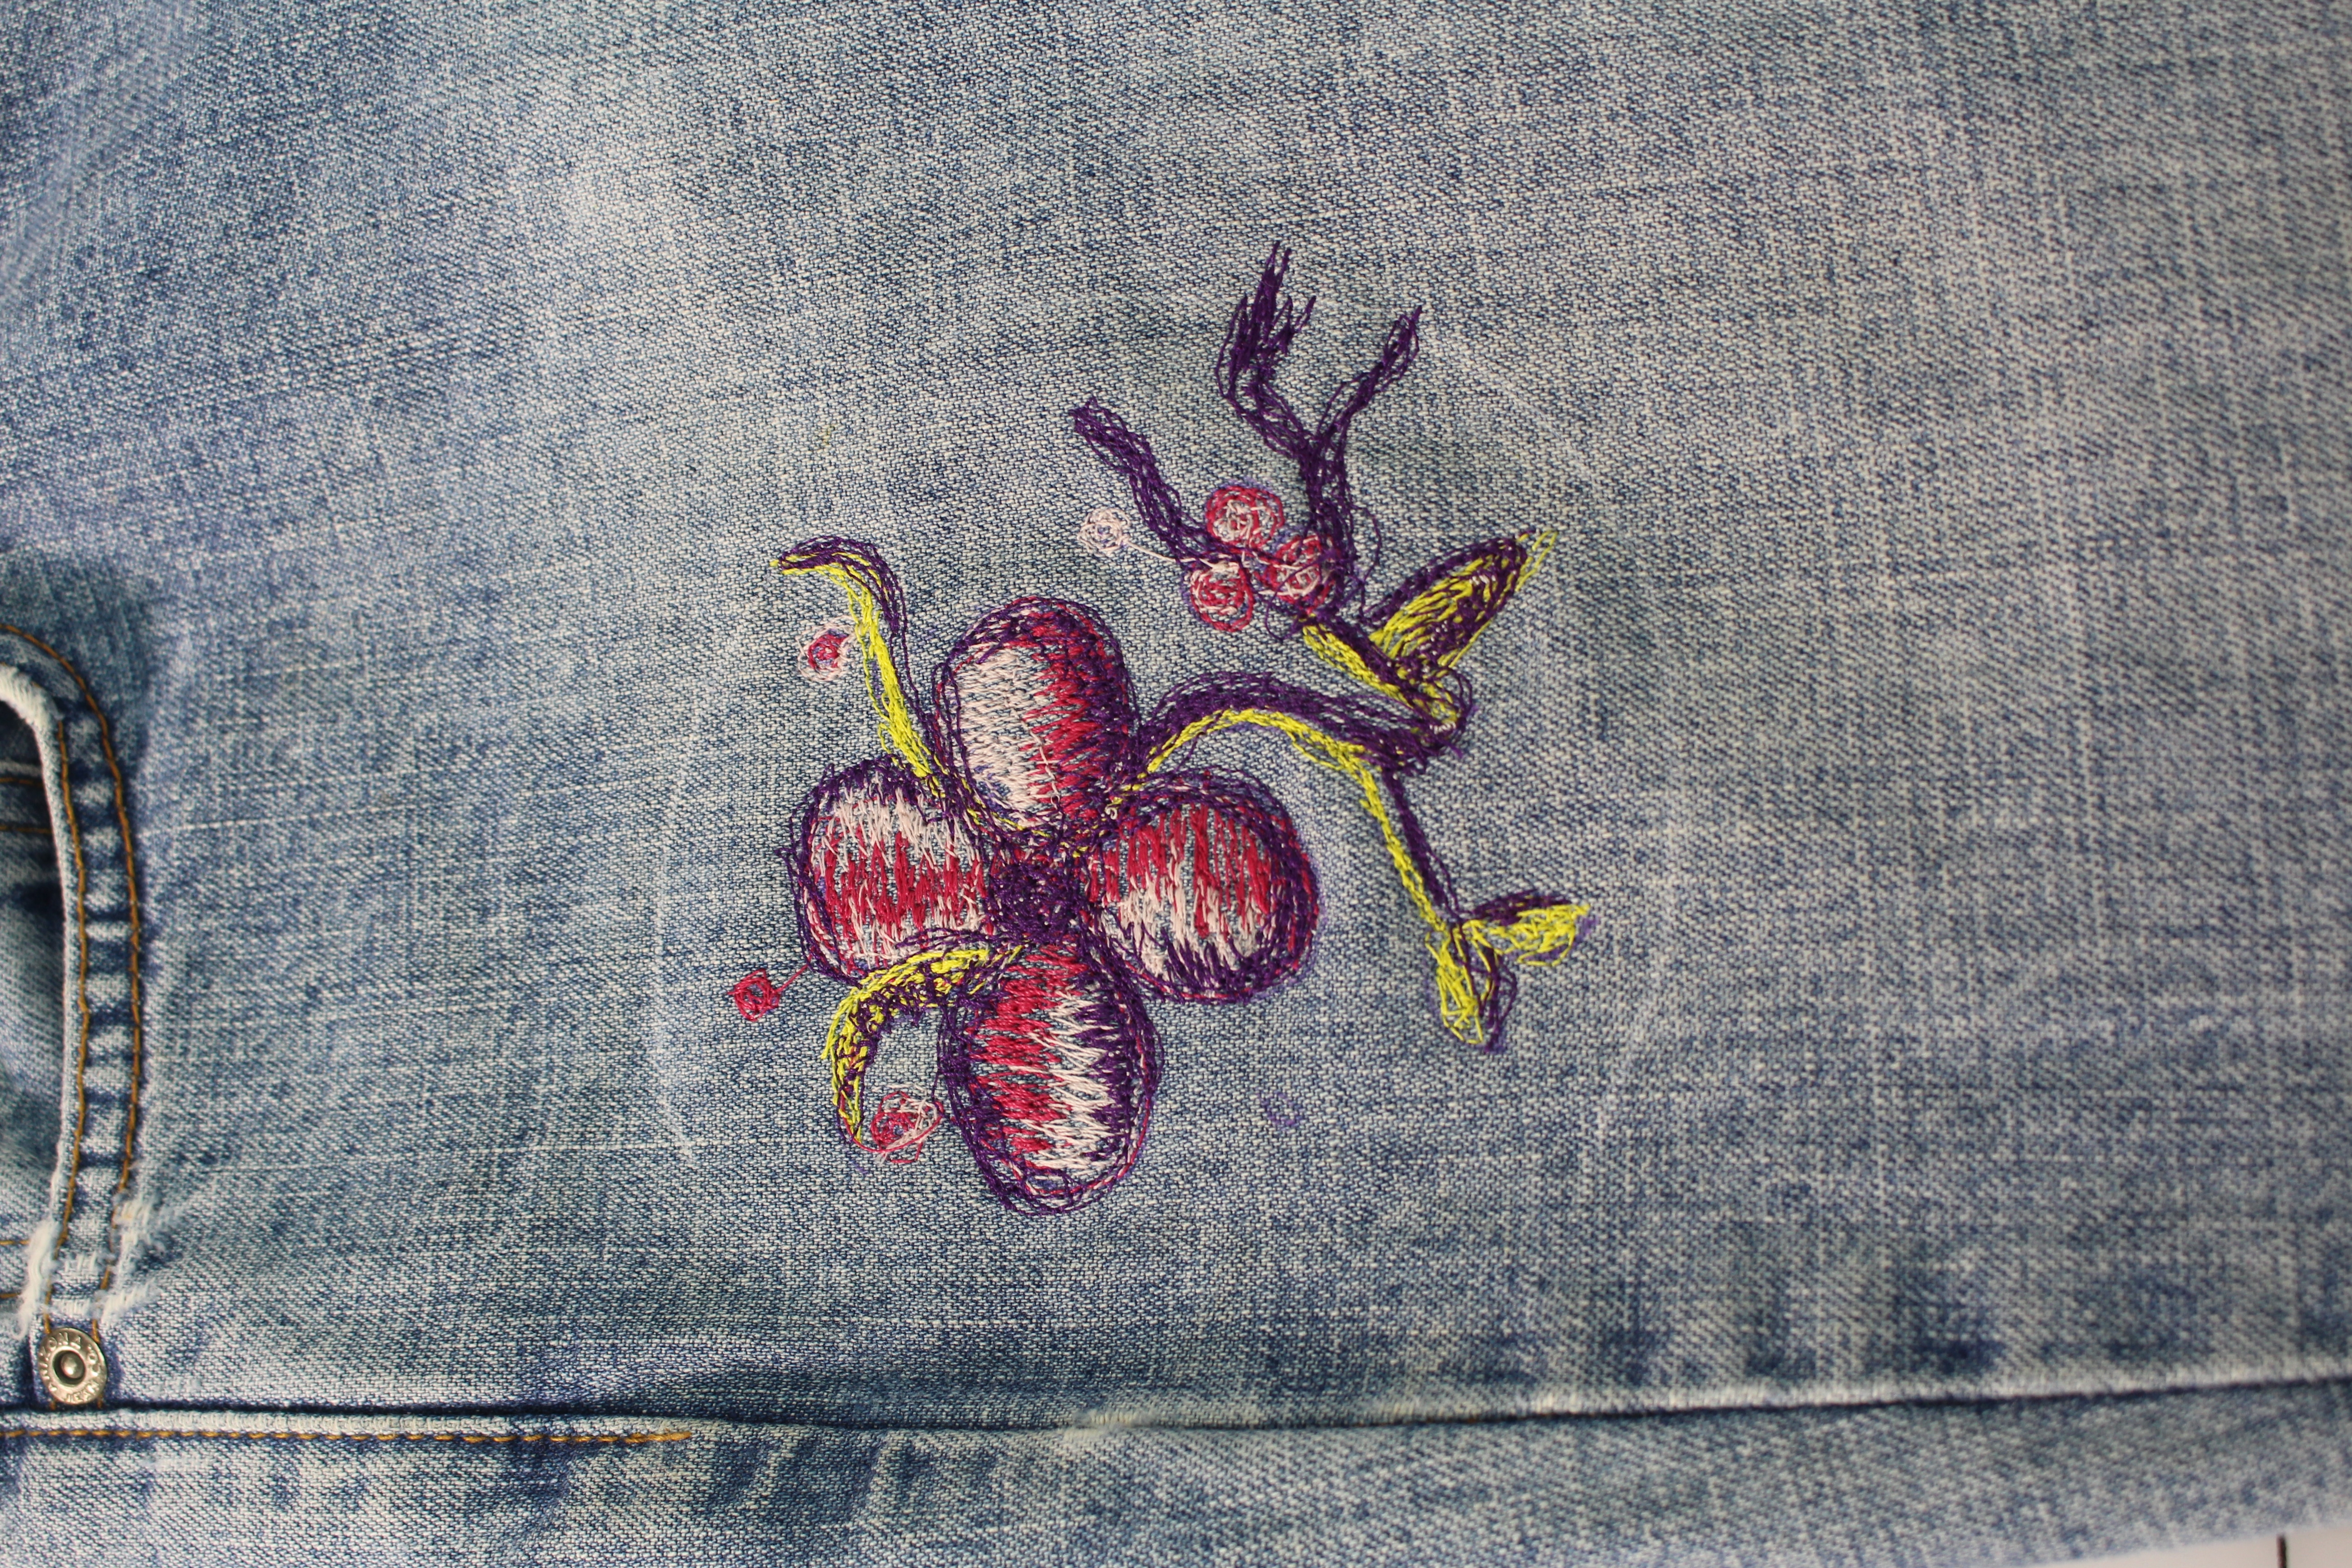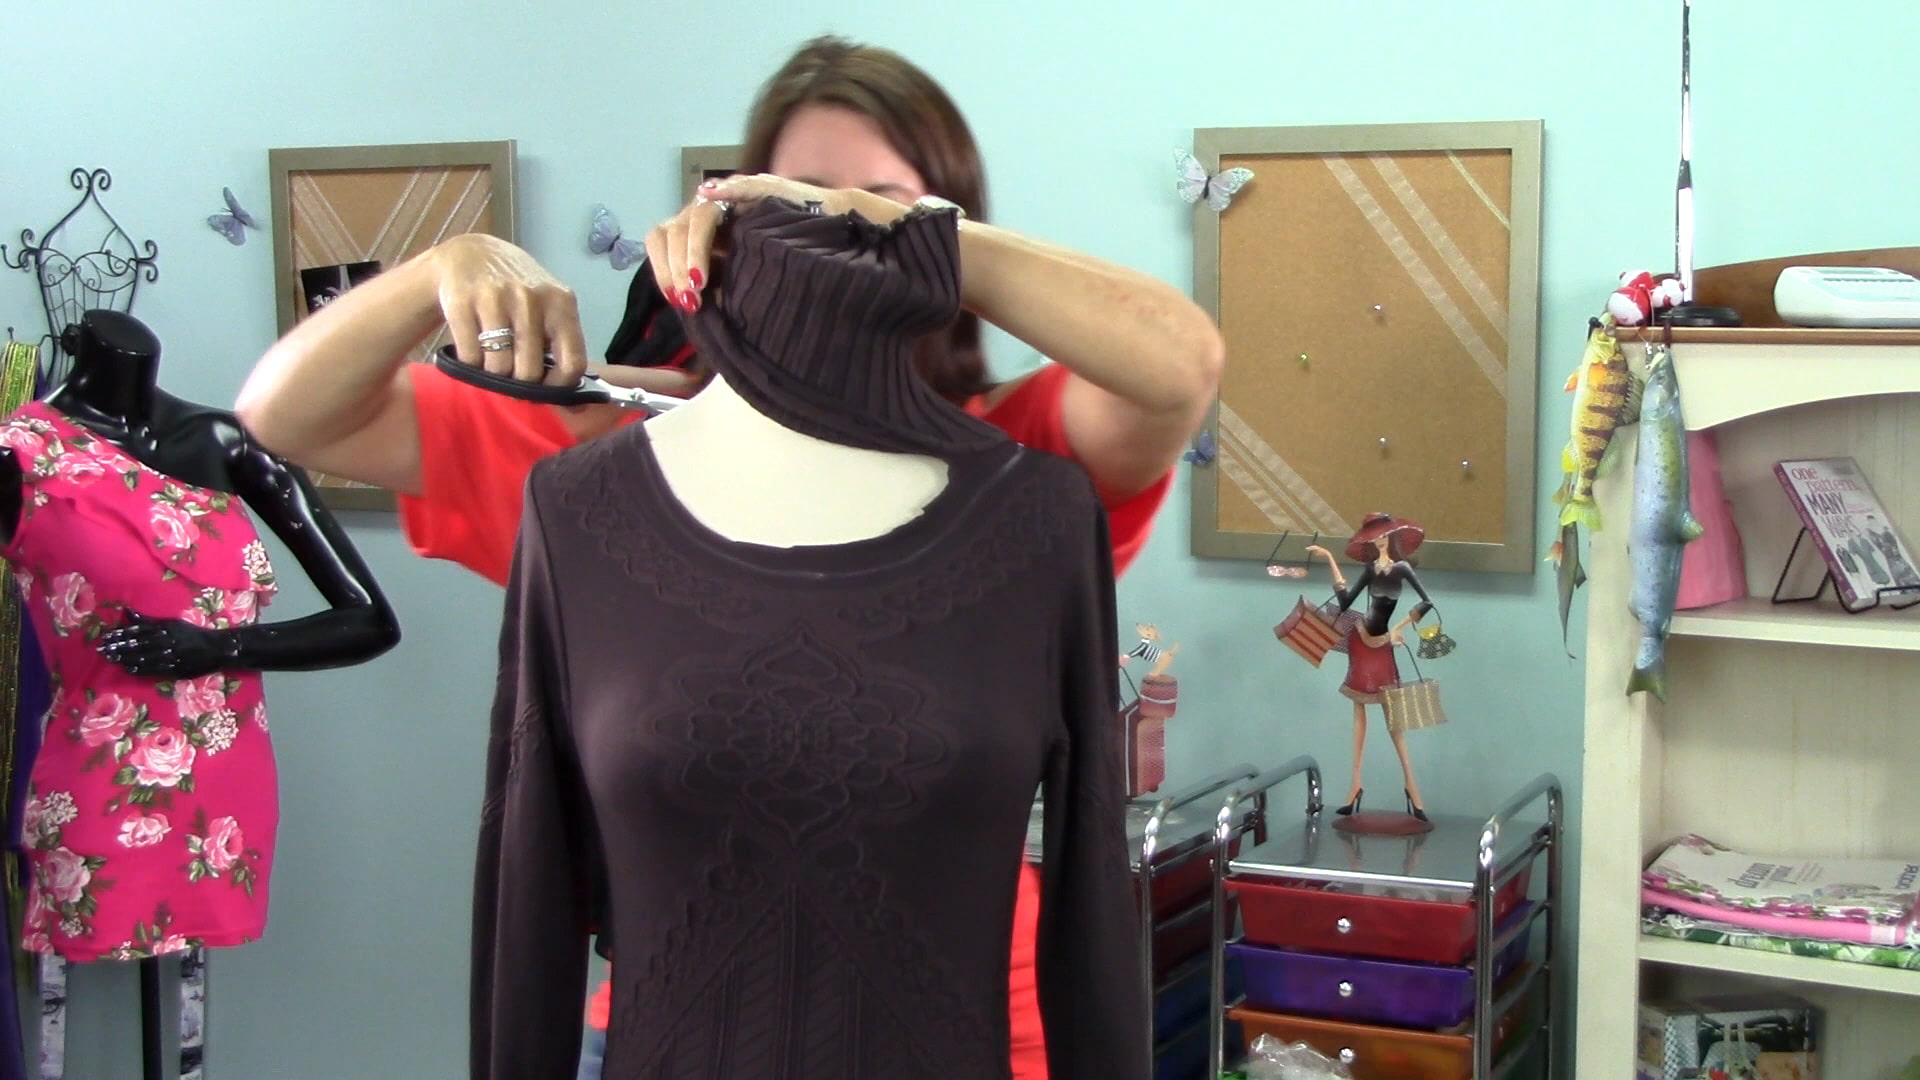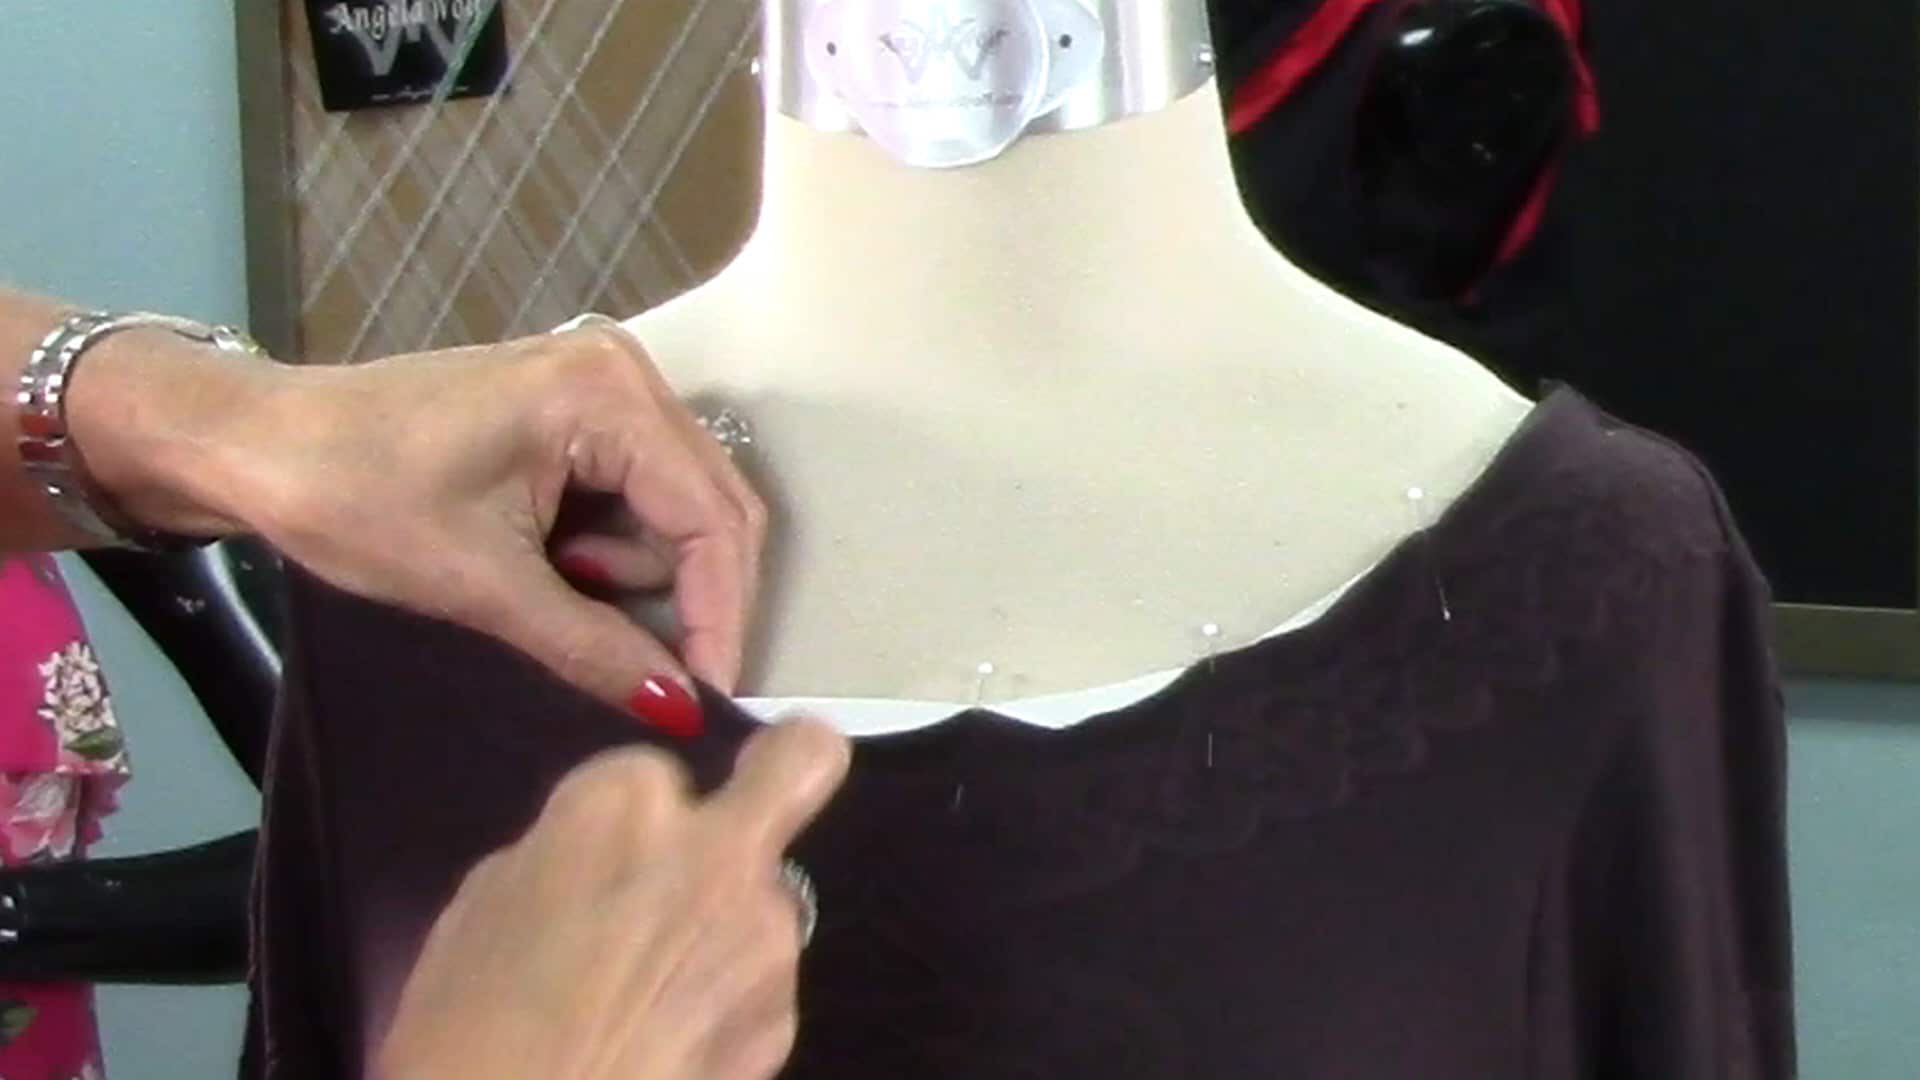


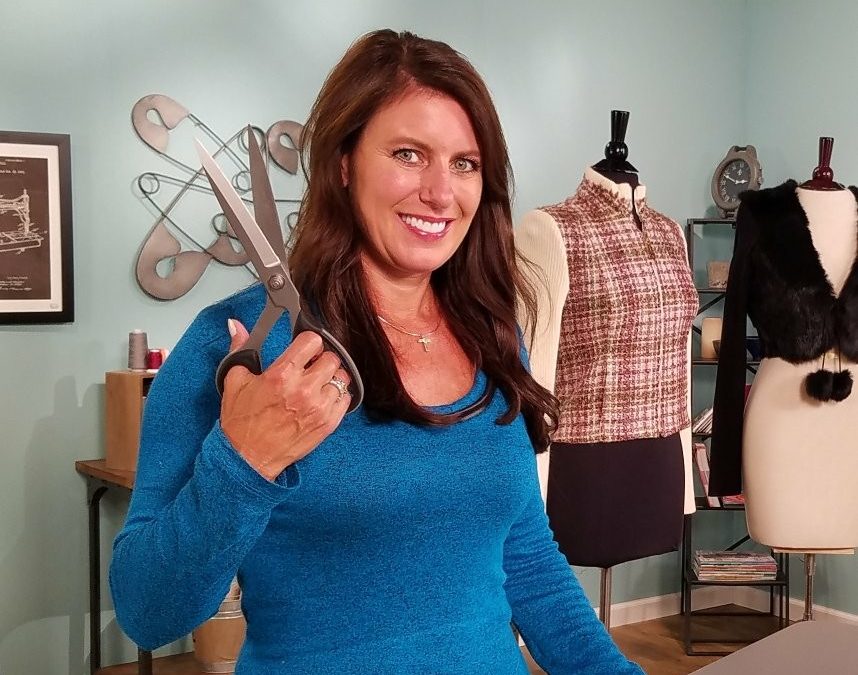
Episode 302 🧵 Behind the Scenes with Angela Wolf We are onto part 2 in the Delila sew along! We have cut our fabric and ready to sew. Did you have any questions about fitting? If so, be sure to take your photos with questions to the Angela Wolf Patterns Facebook...
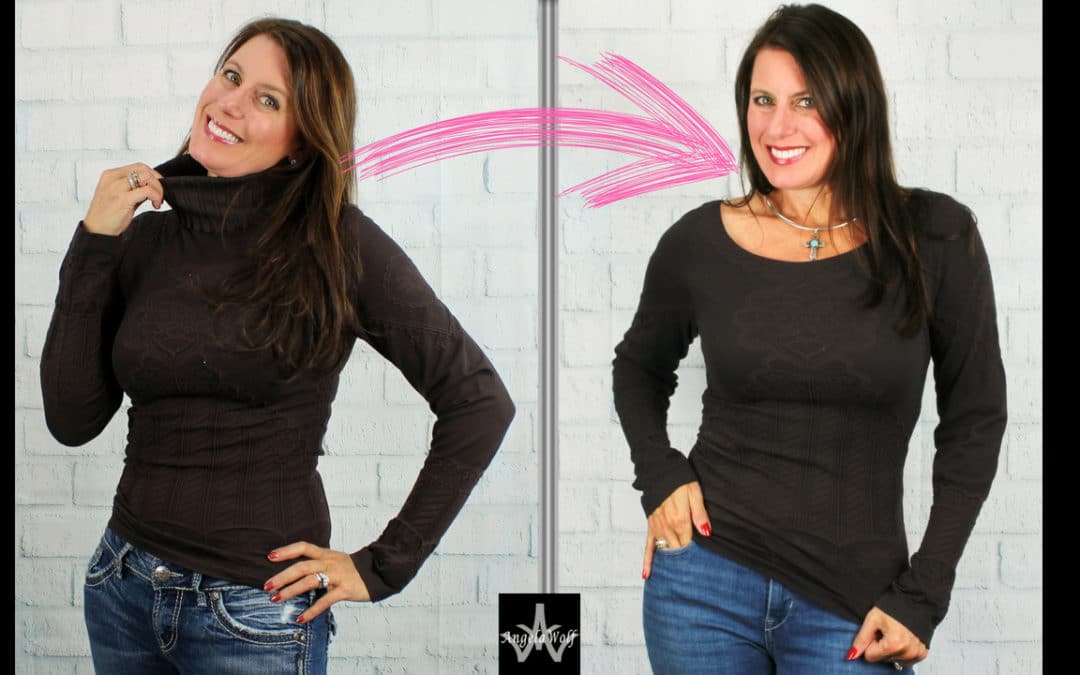
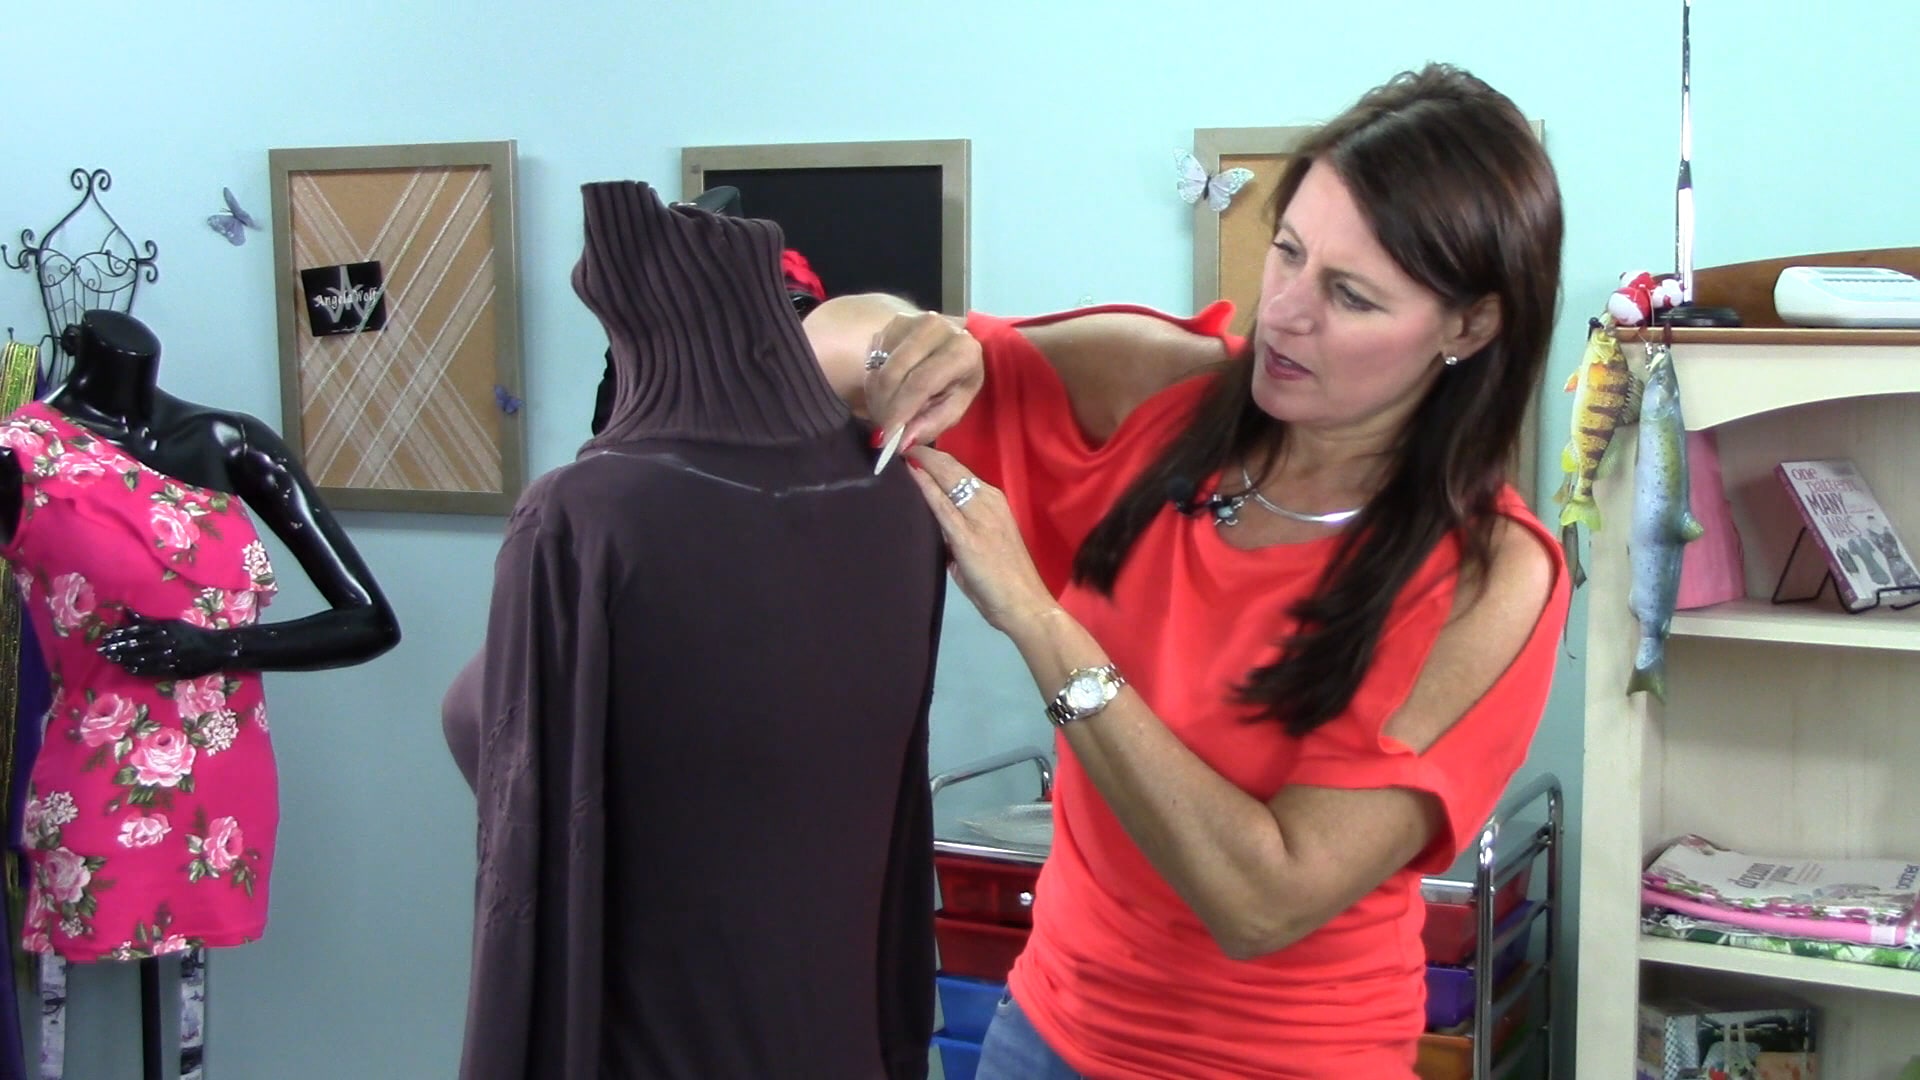
Learn How to Design & Sew Pajama Pants
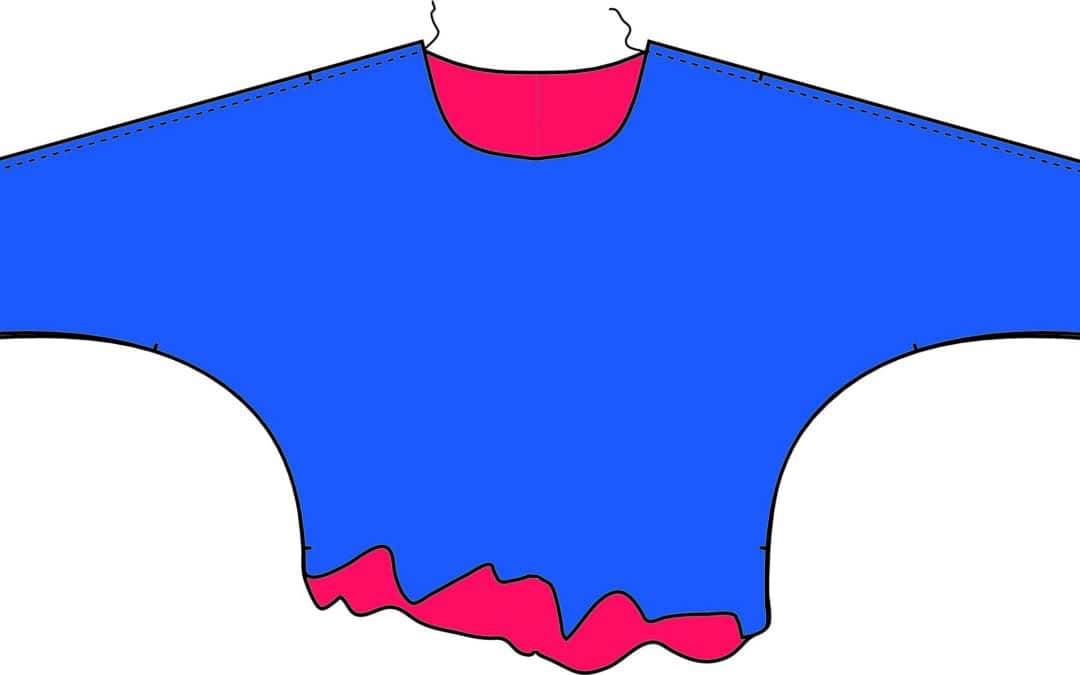
Pajama Pants are so easy to sew for adults and kids. I have a full video tutorial below walking you through designing the pants and sewing. I choose pants that have cuffs and a seperate waistband, a little sportier than the fold over waistband.
Supplies:
- Fabric
- Flannel
- Jersey Knit
- Scuba Knit
- Double Knit
- Rayon Knit
- Cotton
Check out the new fabric that just came in by clicking here. (I am using my scuba knit)
- Tailors chalk or fabric marking pen
- Pins or fabric clips
- 1 1/4″ Wide Sports Elastic
- Universal Thread for sewing machine and needles in the serger
- Wooly Poly Thread in the Serger Loopers
Thanks so much for sewing along with me! Be sure to share your pajama pants on social media #angelawolf 
Cheers,