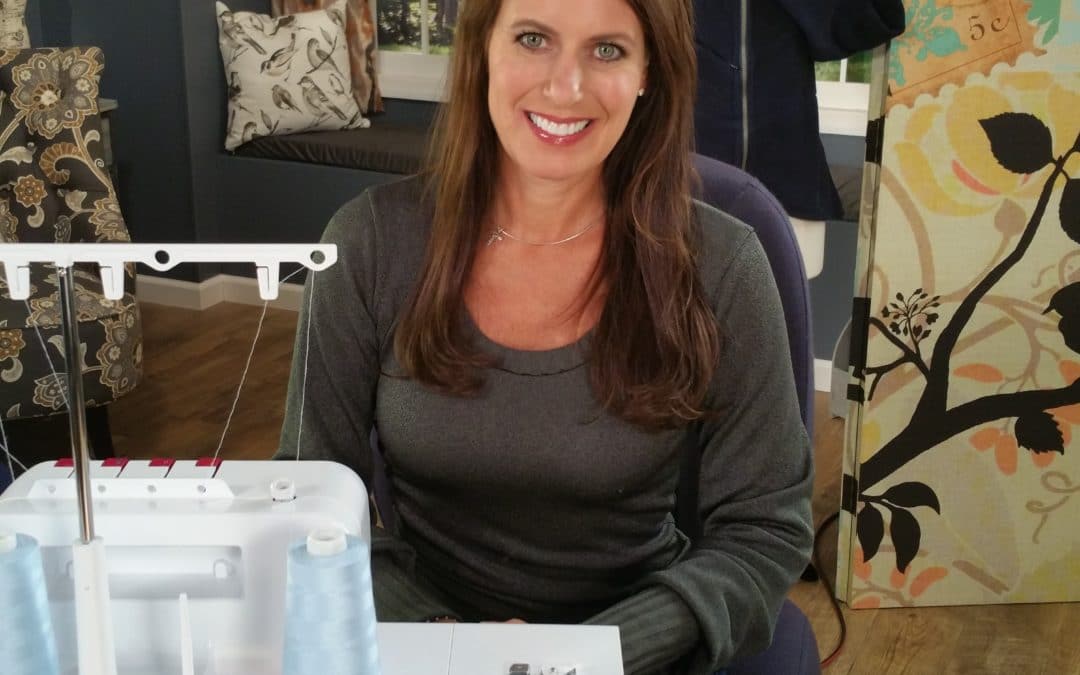
Now that you know the basics of using your serger, let’s check out some of the decorative stitches. Join Angela Wolf for a 90 minute virtual class and learn how to use your serger for a few creative stitches and serger a fashionable infinity scarf.
Learn how to set up and serge:
Pintuck
Rolled Hem
Flatlock Stitching
Blind Hem Stitch
Learn tips for starting and ending rolled hem stitches and then practice these stitches by making an infinity scarf. Learn how to hem with a blind hem, a technique that cuts and finishes your hem in once step. Connect seams and fabric with a flatlock stitching and decorating fabrics with narrow pintucks.
Note: This class can be used with any serger, but you will need your serger manual on hand as each serger is a little different.
This is a virtual class, live with Angela Wolf taking time for Q&A. You do not have to be present to enjoy the class, as the class will remain open after the live session is over to watch and re-watch as many times as you like!
Join us LIVEFriday, March 5, 2021 at NOON Eastern or catch the replay.
This is going to be such an informative class filled with techniques!
If you would like a chance to win this class, leave a comment below and let me know why you want to win this class. You can also leave a comment onFacebookand Instagramfor extra chances to win. I will draw 1 random winner Friday, March 5, 2021 at 10:00AM Eastern. If you are the lucky winner and already signed up for class, I will refund your class fee or you can gift it to a friend.
Can’t wait to see you all in class for the live session or the replay.
Envelope Pattern There are three download versions for the envelope pattern: Full Layout - Use this for projector printing or printing on a plotter. ENVELOPE PURSE Letter Size Printing - Use this when printing letter size paper (8.5" x 11"). Print pages 1-8, the...
Quilted Grocery Bag Sewalong I am so excited to share this new grocery bag sewalong with you! This is an easy project with opportunities to make is more advanced with embroidery and embellishing. Sewalong Schedule #372 - 9/7 - Sewalong Part 1 Supplies and Pattern...
Tweed Skirt Sewalong Part 1 In part 1 of this sewalong I will share options for choosing the best fabrics and pattern. Join me in choosing the best lining to coordiante with my fabric!Skirt Patterns to choose from: ~ The Kate Skirt ~ The Fringe Skirt Pattern ~...
Episode 305 🧵 Behind the Scenes with Angela Wolf I know you have heard me say many time ... I am never going on a cruise! Winn and I are on the water all the time, why would I want to go on a cruise?!? Kelli Presley and Phyllis Batz will be joining me live to talk...
Episode 305 🧵 Behind the Scenes with Angela Wolf Featuring CraftOptics I am not sure about your, but if I am working in a low lit area or sewing beads onto a garment, I tend to lean forward and squint, this ending up with a terrible back ache! CraftOptics has changed...
Episode 303 🧵 Behind the Scenes with Angela Wolf The last part of our Delila Slit Sleeve Sewalong! Have you checked out all the Delila tops posted in our private Angela Wolf Patterns Group? So cute!!! Angie Hotchkiss ~ Angela Wolf Facebook GroupDarlene Deck ~...
Episode 302 🧵 Behind the Scenes with Angela Wolf We are onto part 2 in the Delila sew along! We have cut our fabric and ready to sew. Did you have any questions about fitting? If so, be sure to take your photos with questions to the Angela Wolf Patterns Facebook...
Episode 301 🧵 Behind the Scenes with Angela Wolf Getting into summer and looking for stylish tops to wear with jeans, shorts, or skirts and one of my fist patterns always shows up ... The DelilaDelila Pattern has 9 Options I designed this pattern to be able to sew...
Episode 260 🧵 Behind the Scenes with Angela Wolf ~ Sew the Shirley Wrap with a Sweater Knit The Shirley Wrap pattern is so versatile and this time we will use a thicker, sweater knit fabric. You can find the Shirley pattern in PDF and paper patterns in size XXS -...
Episode 259 ~ At your side 🧵 Virtually! Organizing and Sewing Clear Vinyl Join Angela Wolf with the next steps in sewing the Shirley Wrap with a sweater knit. Pressing hems with a tailors clapper, prepping neckline, and marking gathering.Catch the Next Show ... Be...
There are so many sewing machine feet to choose from, it can get overwhelming deciding which foot is best for the job. Why bother, right? If using a specific foot for a specific job could drastically cut the sewing time down and offer professional looking results, wouldn’t you want to try? I sure would.
Home sewing machines usually come with a fabulous manual explaining what each foot is for and a tutorial explaining how to use it. Industrial machines don’t always offer such advice, at least mine didn’t. With a 5 page manual, written in a language I don’t speak, I am surprised I got the thing put together in the first place! I don’t use this machine as frequently as all the others, mainly because it’s loud, doesn’t have a thread cutting feature and I don’t have any accessories for it. I bought it for speed and that it has.
Scanning the list of additional feet for industrial machines, I found the feet to be are very inexpensive, but again I ran into the issue of which foot is the right foot for the job. I thought I would start testing some of these feet and share with you my findings.
A Narrow Rolled Hem
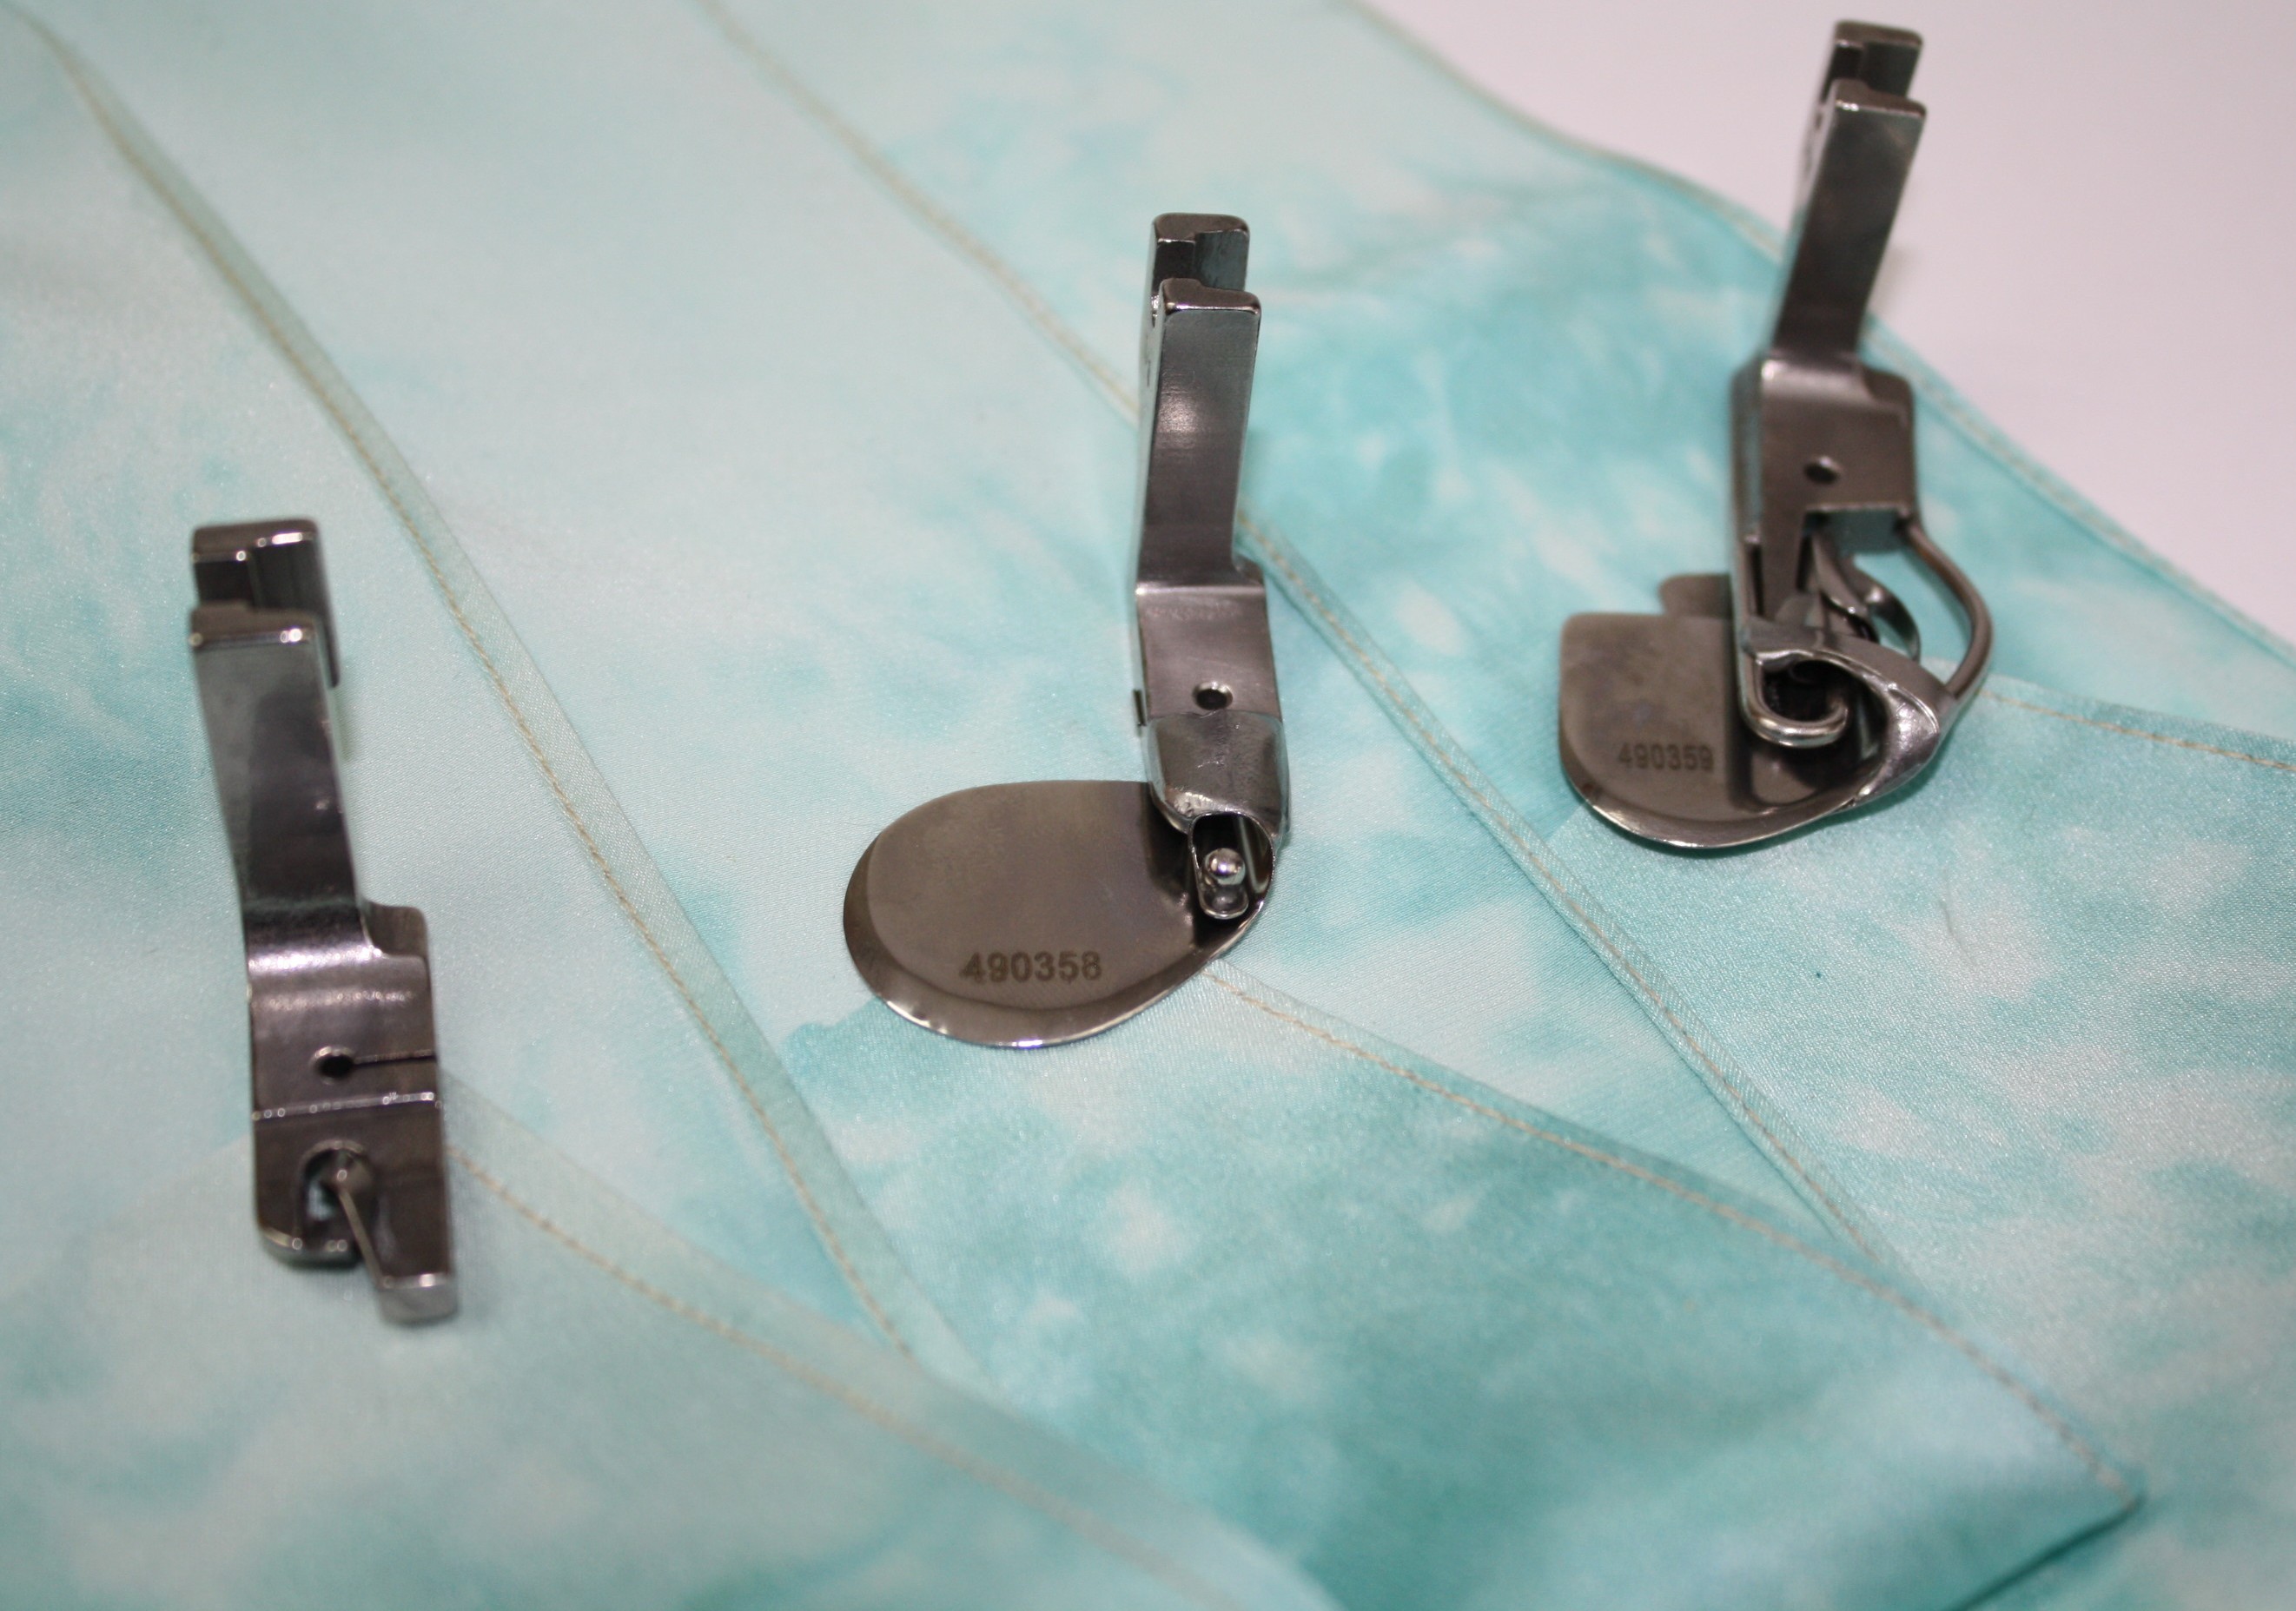
I sew a lot of garments with sheer fabrics (especially this months wardrobe challenge; Dress the Part) and my go-to stitch is usually a narrow rolled hem on the serger – its super fast and looks professional. But sometimes a rolled hem on the sewing machine would be more appropriate. I found 3 different feet for the industrial machine:
You have probably seen the Rolled Hem Foot, as it comes with most home sewing machines. This is the only foot I had ever seen used for the job. It does make a rolled hem easy, but has its challenges as well. Getting over thick seams can be interesting and sometimes the fabric doesn’t feed evenly. Of course there are tricks:
Hold the fabric to the left side of the foot as it feeds into the machine and trimming seam allowances for less bulk.
Results: A nice rolled hem, I had to use the tweezers to get the fabric started and the rolled hem is a little uneven. With practice this foot will work.
If you have an industrial machine, you have more options and each offers different results:
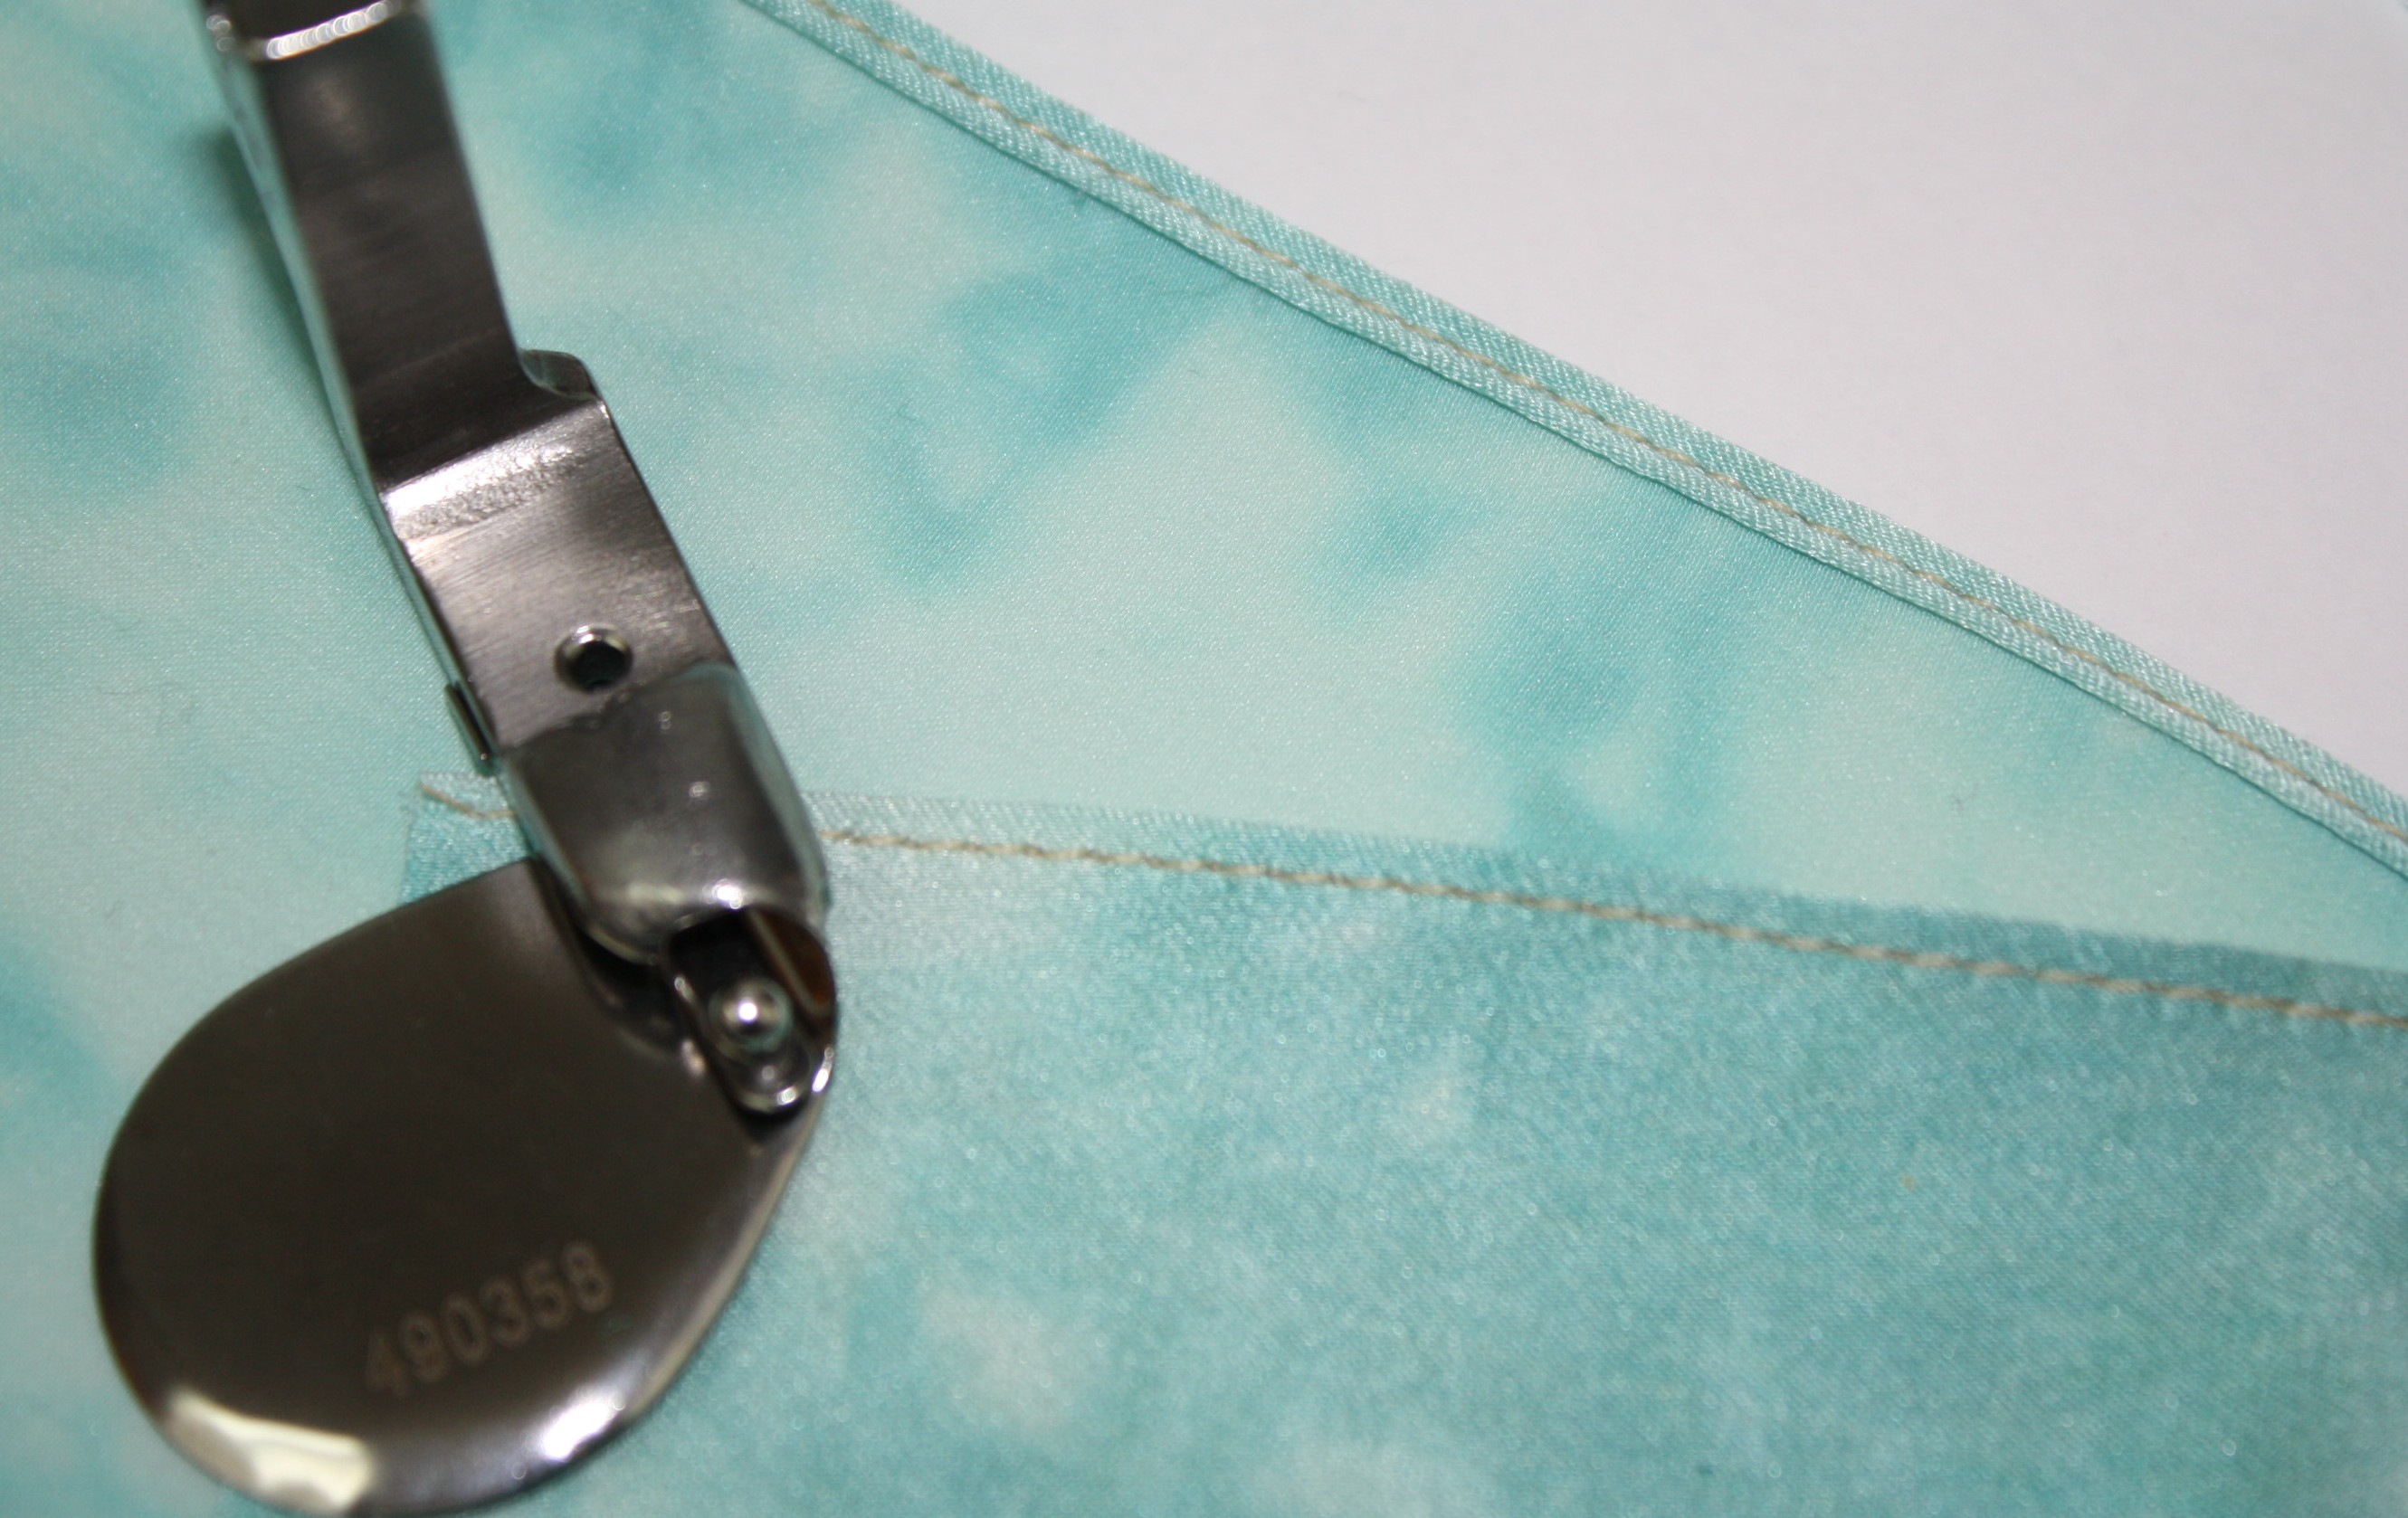
This foot has a plate that covers the front feed dogs allowing the fabric to feed perfectly. You can see the ball at the tip of the foot, the fabric will roll over that ball as it double folds into a narrow hem. I must say, I love this foot! This is how it works:
Feed the fabric into the foot, above the plate. Notice how the place covers the front feed dogs. Insert the fabric the same way you would for the rolled hem foot.
The fabric folds over the ball.
Hold the fabric a little to the left side of the foot as the fabric feeds into the foot (as shown above). Stitch.
Results: A perfect narrow hem! This foot offers the easiest rolled hem I have ever tried! I hardly had to do anything with the fabric except guide it into the foot. I even sewed at a high-speed and the rolled hem is perfectly even. A definite A+++++
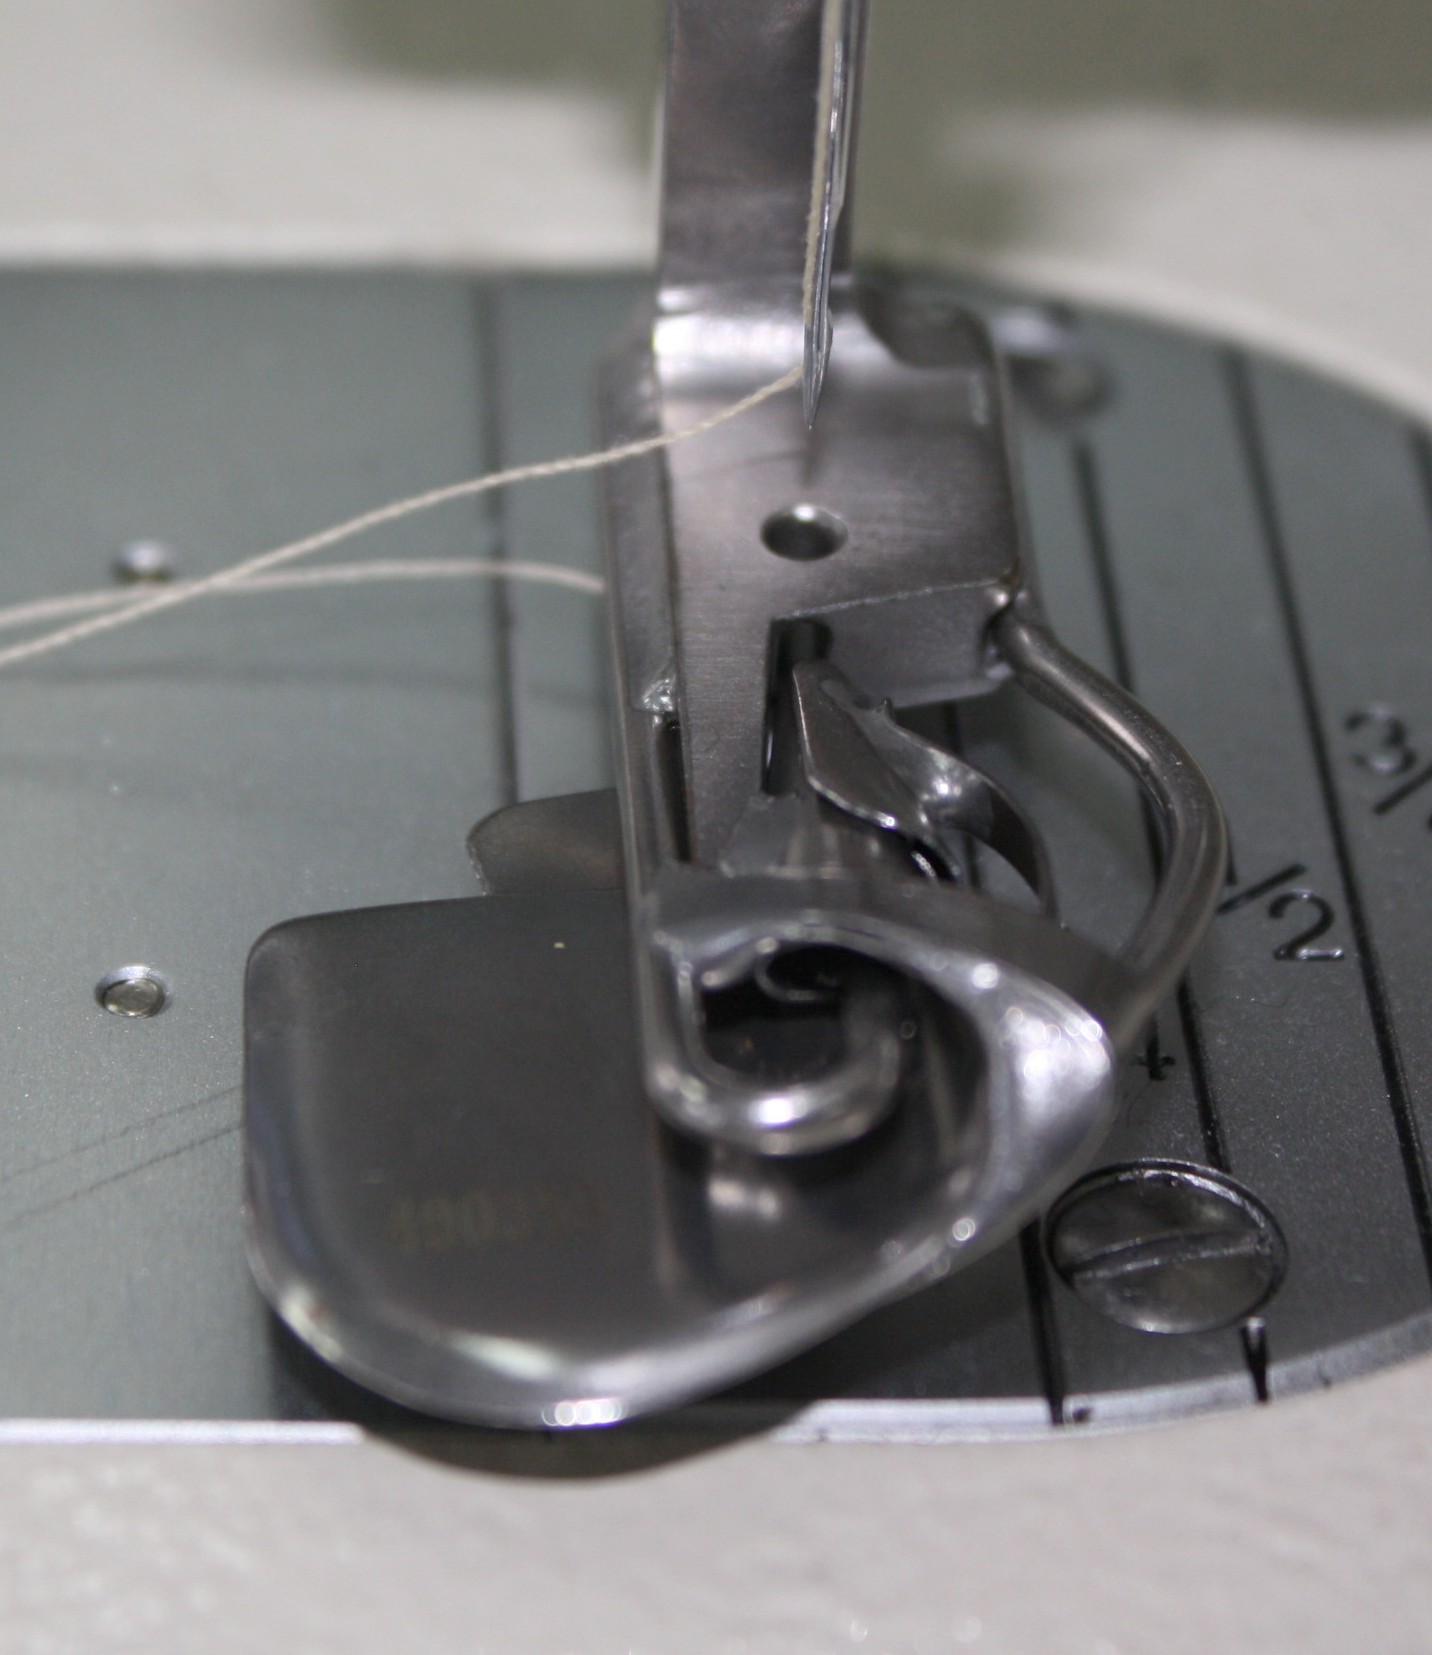
The “spring” part is what intrigued me about this foot. You can see the foot looks very similar to the Ball Hemmer Foot, yet there is not a ball. Instead, there is a movable area that the fabric will go through. Look closely, this is the back of the foot:
Looking at the left photo first: see the corner touching my finger tip. When I do nothing with that corner, the opening on the foot remains unchanged (see opening at yellow arrow).
Take a look at the right photo: Here I have pushed that corner in and the opening gets larger (see yellow arrow).
Now we know what the “spring” means. This opening adjusts for the thickness of fabric as the fabric flows through.
There is a plate protecting the fabric from the front feed dogs, just like the ball hemmer. Slide the fabric on the top of the plate.
Again, feed the fabric into the foot and stitch.
Results: Another perfect rolled hem! Just as easy as the ball hemmer foot.
My favorite foot for the rolled hem on silk charmeuse is the Ball Hemmer Foot. The rolled hem was a little thicker than the other two and perfect!
What about crossing seams and thicker fabrics? I will test these and more, and let you know the results. So far both feet are winners!
I also have to check to see if these feet will work on my Brother PQ1500. The PQ1500 straight stitch machine is just like an industrial machine with speed and ease of use, plus it’s not attached to a large table and easy to move around. Fingers crosses on that one! Otherwise, I have my eye on the Brother Industrial Machine used on Project Runway. Do you have an industrial machine? Have you tried these rolled hem feet?


")


