Serging 101: Learn the Basics!

Serging 101: Learn the Basics!

SERGER 101: Learn the Basics!

Beginners guide to using your serger!

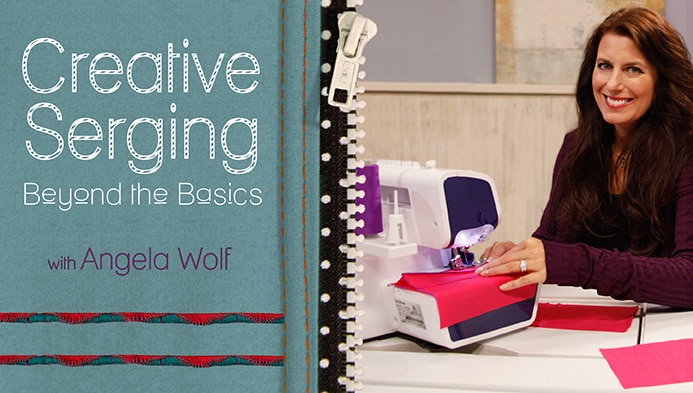
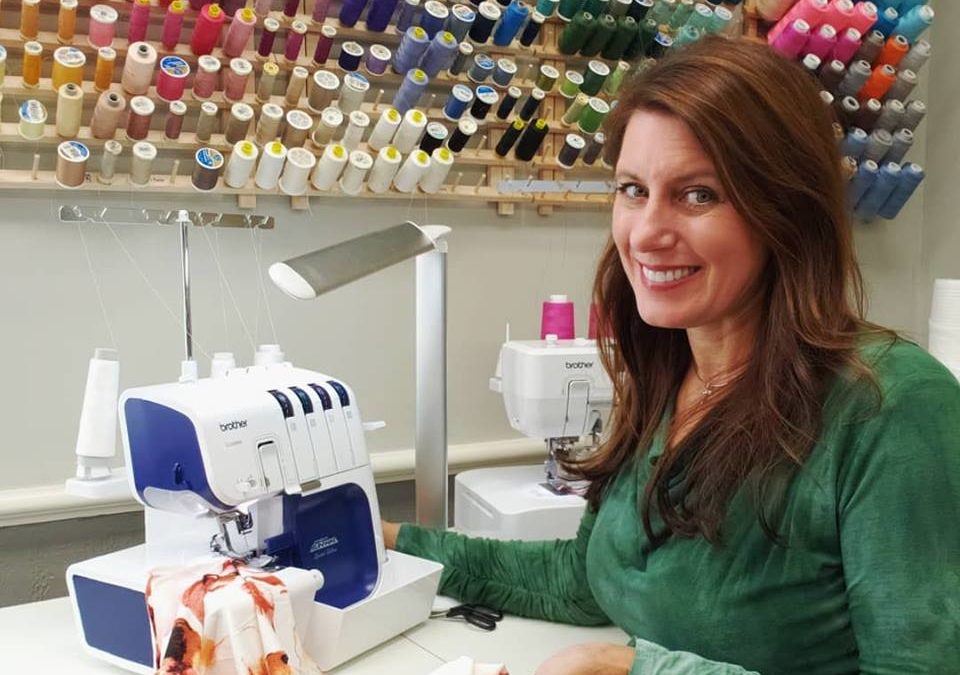
Join Angela Wolf  for a 90 minute virtual class and learn how to set up and use your serger.  Learn the parts on the serger, tips for rethreading,  differential feed,  reasons to adjust the stitch length and width, and so much more!

Learn how to set up and when to use:
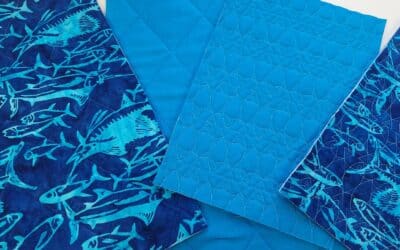
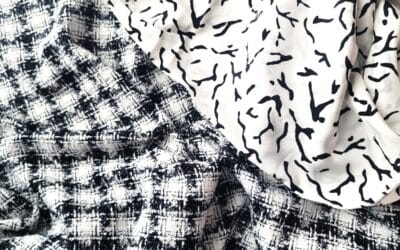
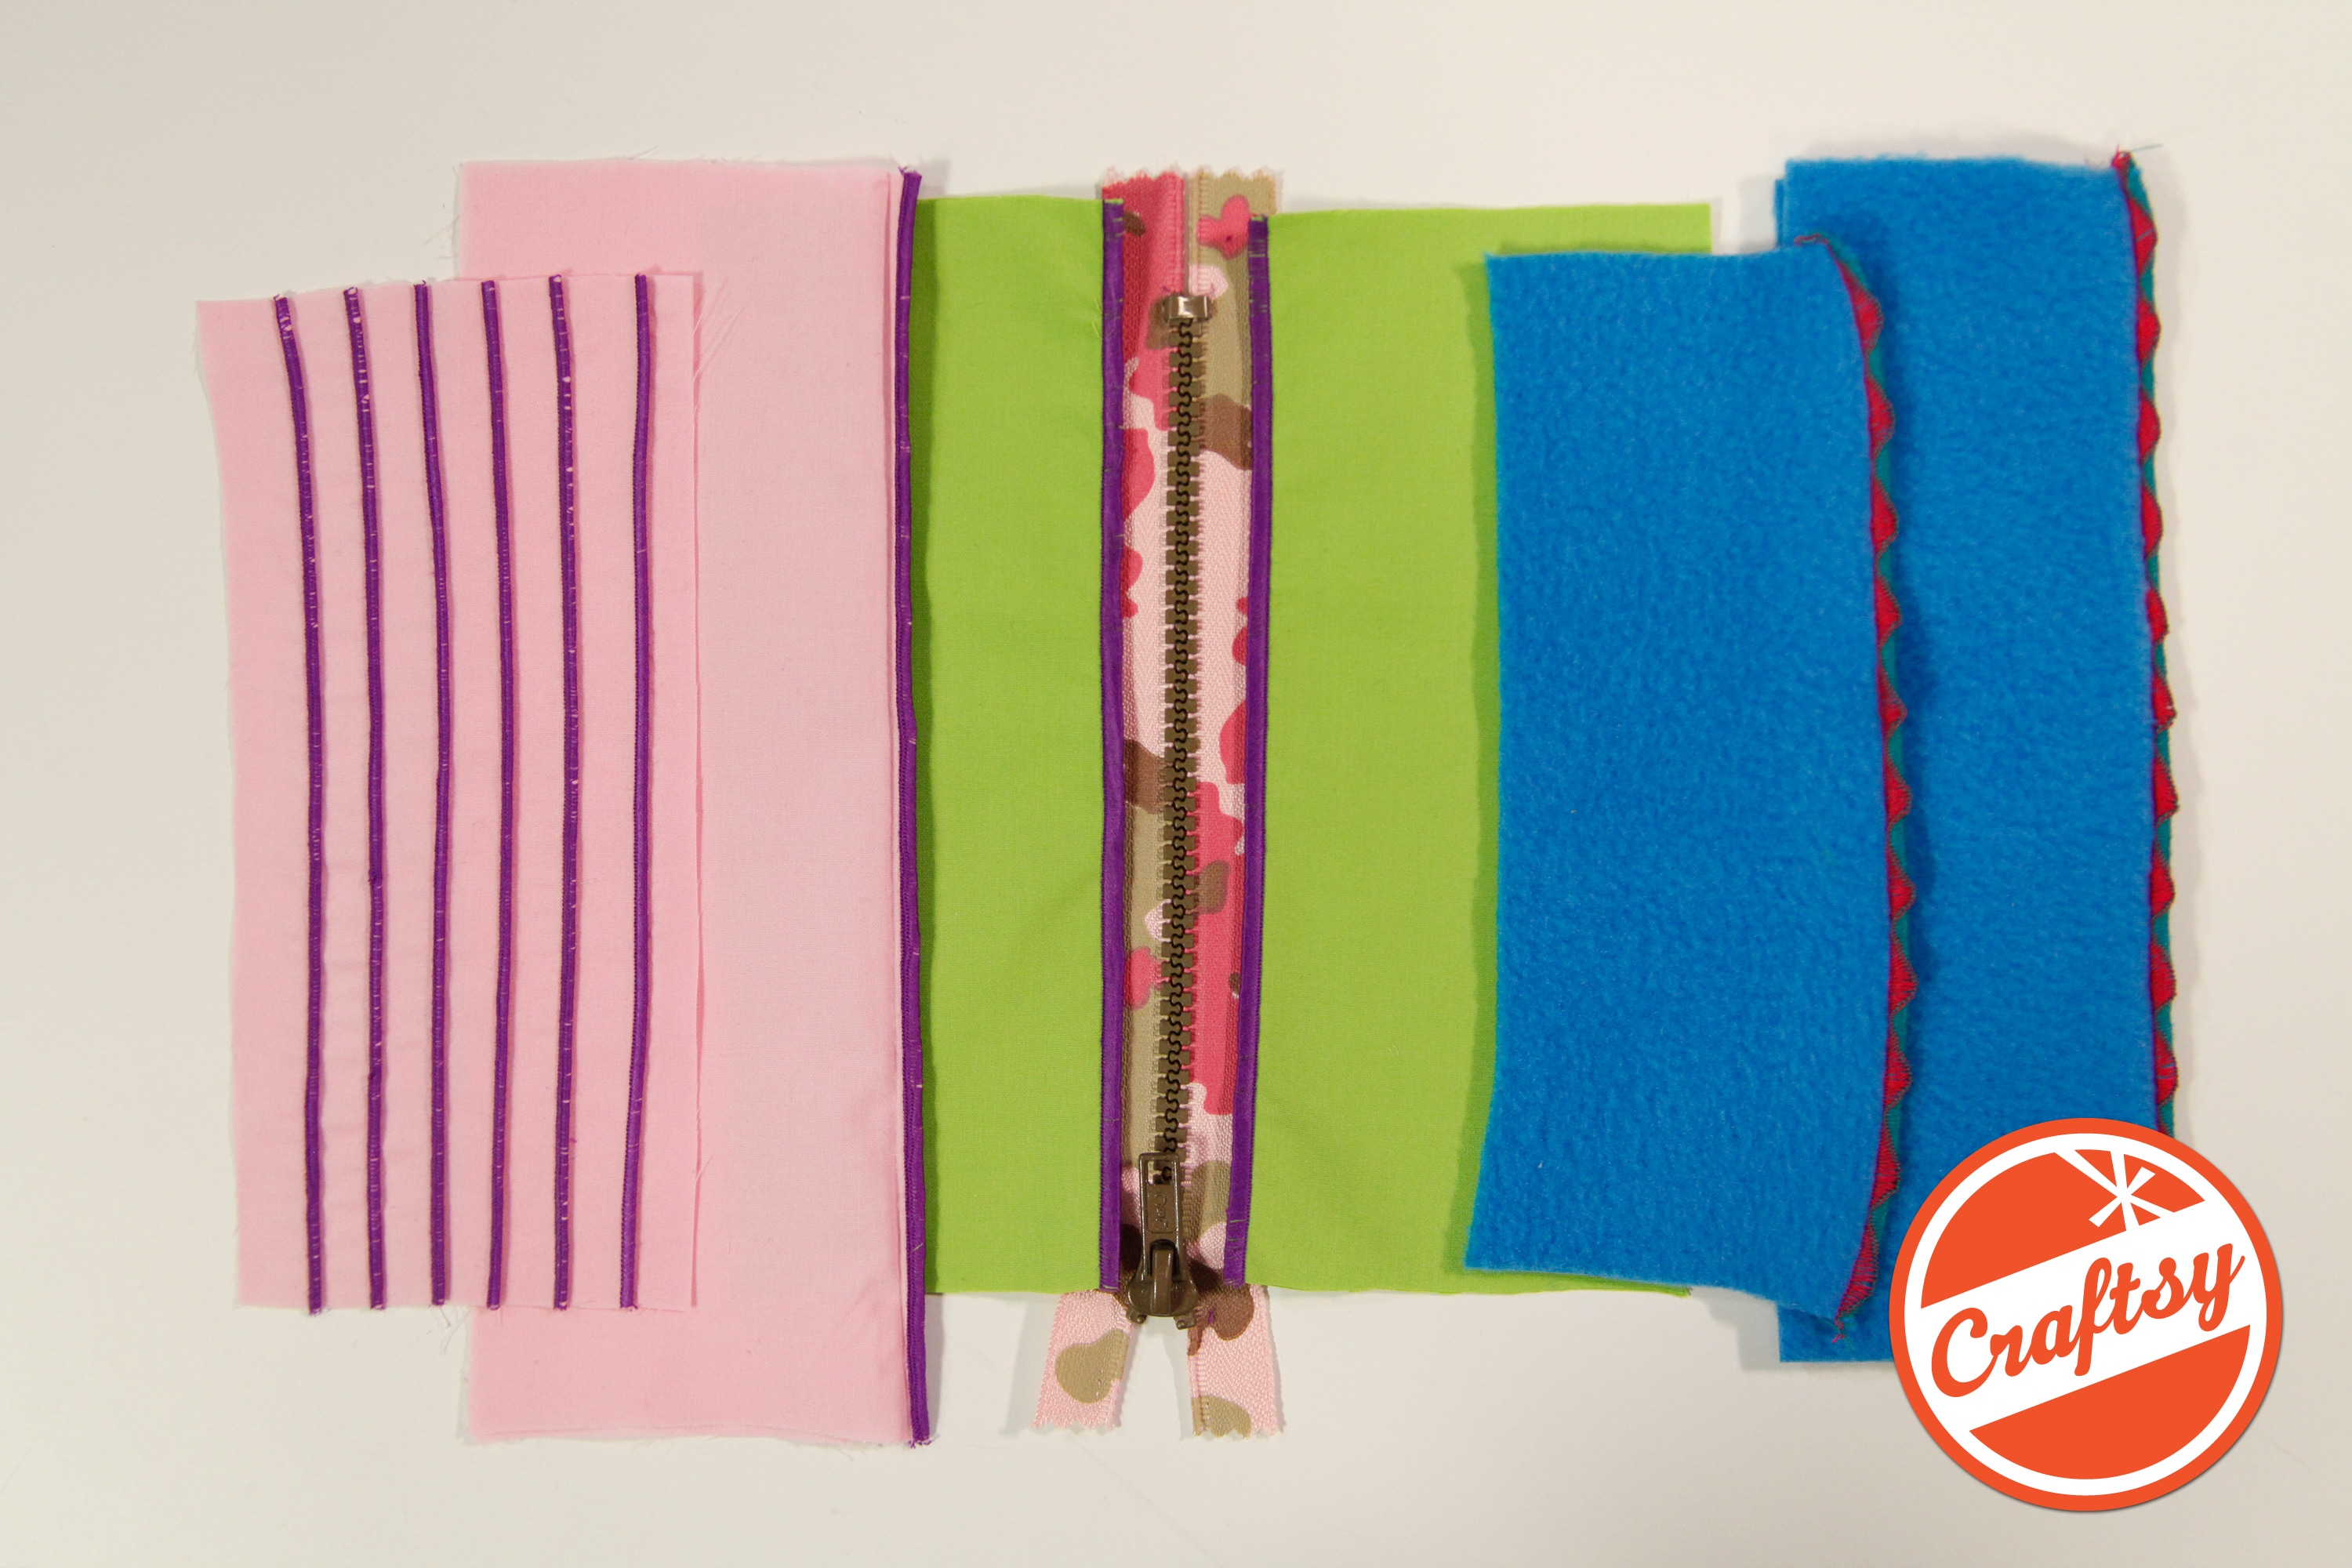
  • 4-thread overlock
  • 3-thread overlock
  • 3-thread wide vs. narrow overlock
  • Gathering 

Learn tips for starting and ending stitches, how to serger corners, inside corners, and curves.  Trouble shoot tension issues and puckered fabric.  Learn how to adjust the differential feed to prevent stretching the fabric.  You will also learn serger basics including choosing and changing needles, using stretch threads,  disengaging the knife, and more.

Note: This class can be used with any serger, but you will need your serger manual on hand as each serger is a little different.   


This is a virtual class, live with Angela Wolf taking time for Q&A.  You do not have to be present to enjoy the class, as the class will remain open for 60 days after the live session is over to watch and re-watch as many times as you like!

Join us LIVE Friday, February 12, 2021 at NOON Eastern or catch the replay for up to 60 days after.


Click here to Join the Class!


Get 10% OFF with Coupon Code: SERGE10


Would you like to WIN a spot in this class?

This is going to be such an informative class, especially for those that only use their serger for finishing seams or have never taken that fabulous machine out of the box! 

If you would like a chance to win this class, leave a comment below and let me know how much you use your serger (or it’s still in the box LOL!).  You can also leave a comment on Facebook and Instagram for extra chances to win.  I will draw 1 random winner Thursday, February 11, 2021 at 8:00pm eastern.  If you are the lucky winner and already signed up for class, I will refund your class fee.

Can’t wait to see you all in class for the live session or the replay.

Good Luck!

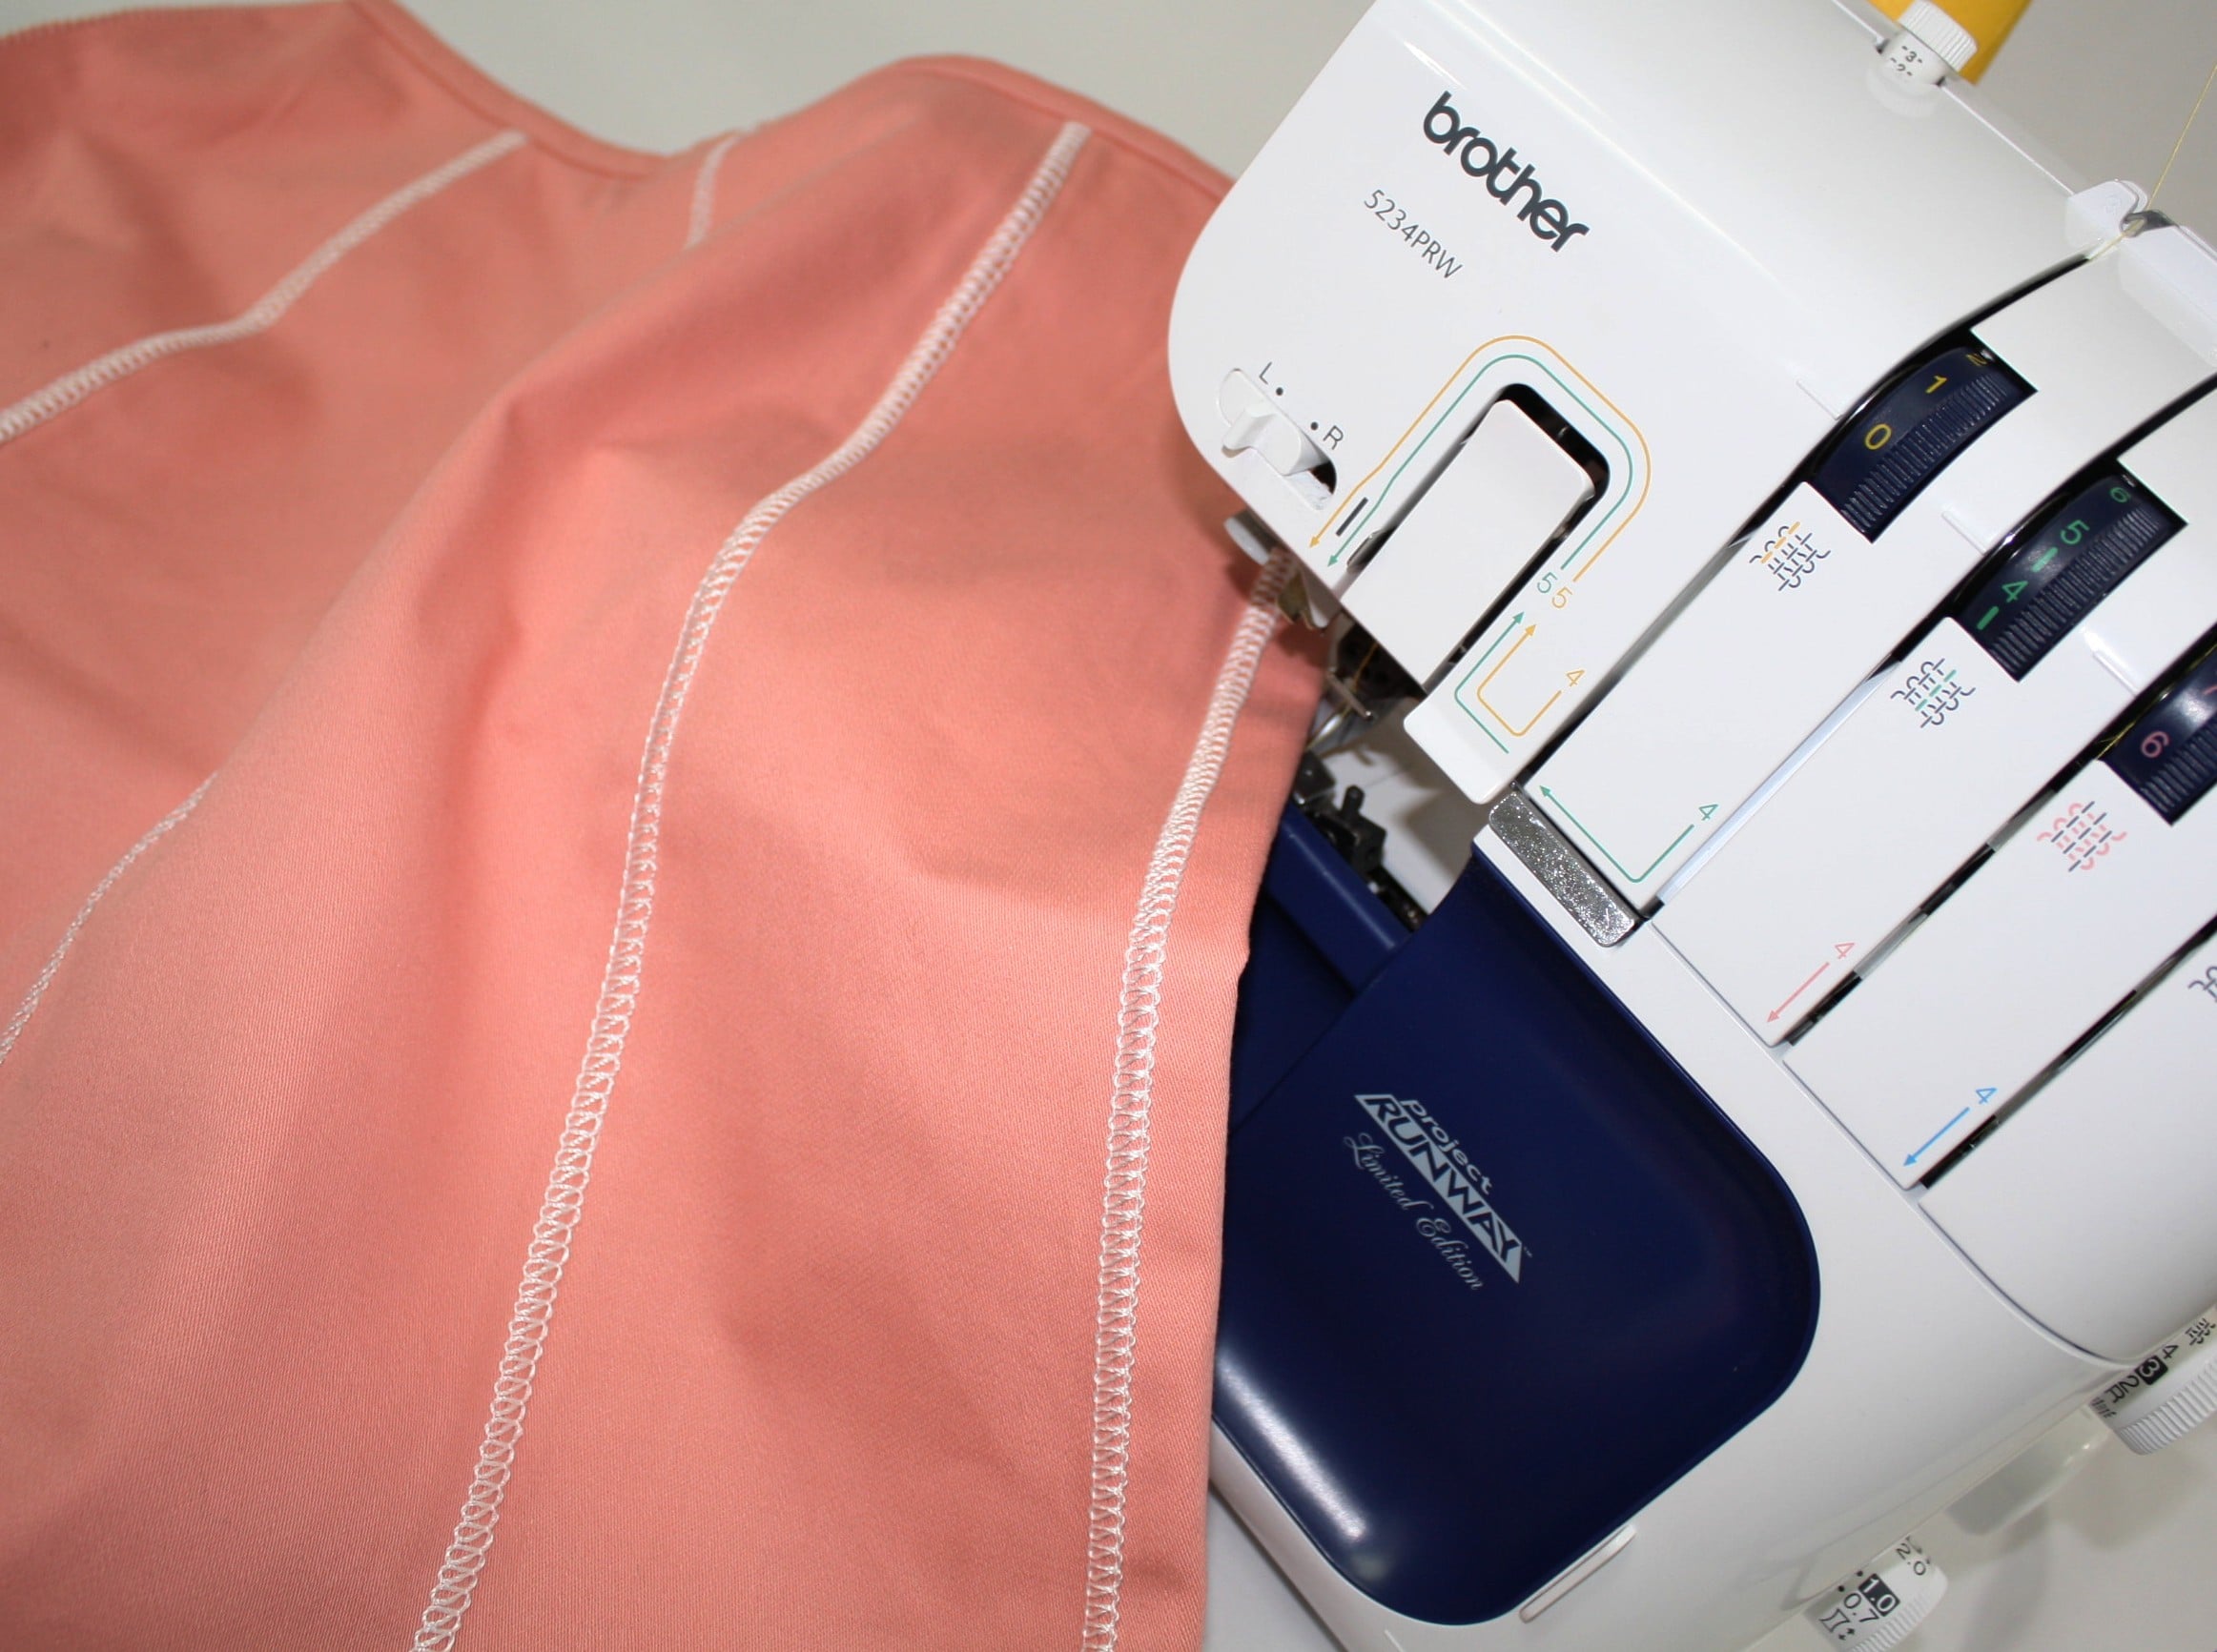
   For those that are brand new serger owners, check out the video below to learn how to thread the serger.  Of course every brand has it’s own method, but this might help.

325: Learn to Sew an Envelops Purse Clutch with Angel Wolf

Envelope Pattern There are three download versions for the envelope pattern: Full Layout - Use this for projector printing or printing on a plotter.   ENVELOPE PURSE Letter Size Printing - Use this when printing letter size paper (8.5" x 11").  Print pages 1-8, the...

Quilted Grocery Bag Sewalong

Quilted Grocery Bag Sewalong  I am so excited to share this new grocery bag sewalong with you!  This is an easy project with opportunities to make is more advanced with embroidery and embellishing. Sewalong Schedule #372 - 9/7 - Sewalong Part 1 Supplies and Pattern...

309: Boucle Skirt + Quilted Lining = Touch of Couture Part 1

Tweed Skirt Sewalong Part 1 In part 1 of this sewalong I will share options for choosing the best fabrics and pattern.  Join me in choosing the best lining to coordiante with my fabric!Skirt Patterns to choose from: ~ The Kate Skirt ~ The Fringe Skirt Pattern ~...

Ep. 305: Learn What is Planned for the Sew Fun Cruise in February 2024

Episode 305 đŸ§” Behind the Scenes with Angela Wolf  I know you have heard me say many time ... I am never going on a cruise!  Winn and I are on the water all the time, why would I want to go on a cruise?!?  Kelli Presley and Phyllis Batz will be joining me live to talk...

Ep. 304 Meet Jeff – Founder of CraftOptics

Episode 305 đŸ§” Behind the Scenes with Angela Wolf Featuring CraftOptics I am not sure about your, but if I am working in a low lit area or sewing beads onto a garment, I tend to lean forward and squint, this ending up with a terrible back ache!  CraftOptics has changed...

Ep. 303 Delila Knit Top Part 3

Episode 303 đŸ§” Behind the Scenes with Angela Wolf The last part of our Delila Slit Sleeve Sewalong!  Have you checked out all the Delila tops posted in our private Angela Wolf Patterns Group?   So cute!!! Angie Hotchkiss ~  Angela Wolf Facebook GroupDarlene Deck ~...

Ep. 302 Delila Knit Top Sewalong Part 2

Episode 302 đŸ§” Behind the Scenes with Angela Wolf We are onto part 2 in the Delila sew along!  We have cut our fabric and ready to sew.  Did you have any questions about fitting?  If so, be sure to take your photos with questions to the Angela Wolf Patterns Facebook...

Ep. 301 Delila Knit Top Sewalong Part 1

Episode 301 đŸ§” Behind the Scenes with Angela Wolf Getting into summer and looking for stylish tops to wear with jeans, shorts, or skirts and one of my fist patterns always shows up ... The DelilaDelila Pattern has 9 Options  I designed this pattern to be able to sew...

Ep. 260 Sewing the Shirley Wrap Top with a Sweater Knit

Episode 260 đŸ§” Behind the Scenes with Angela Wolf ~ Sew the Shirley Wrap with a Sweater Knit The Shirley Wrap pattern is so versatile and this time we will use a thicker, sweater knit fabric.    You can find the Shirley pattern in PDF and paper patterns in size XXS -...

VLOG 259 Behind the Scenes ✂ Pressing with a Tailors Clapper

Episode 259 ~ At your side đŸ§” Virtually!  Organizing and Sewing Clear Vinyl Join Angela Wolf with the next steps in sewing the Shirley Wrap with a sweater knit. Pressing hems with a tailors clapper, prepping neckline, and marking gathering.Catch the Next Show ... Be...
Creative Serging: Flatlock Stitching with Crochet Thread

Creative Serging: Flatlock Stitching with Crochet Thread

Decorative Serging:

The serger can do so much more than simply finish fabric raw edges. Using crochet thread or yarn in the upper looper can create an entirely different look! This is a great way to restyle or embellishment fabric or a garment.

How to sew with creative serging - Angela Wolf

I am using the Brother Serger:  3-thread flatlock stitch with a decorative crochet thread in the upper looper.   The left needle and lower looper have a similar color polyester thread.  The photo above shows the front of the flatlock stitch and the backside.  The backside looks like a ladder stitch.  (the peach thread is just the serged edge of the seam).

How to sew with creative serging - Angela Wolf

I started with the Kate Skirt Pattern.  I added seams to the front and center back, but you could just pencil in a line with tailors chalk – it doesn’t need to be a seam to add the flatlock decorative stitch.

How to sew a creative serged seam with Angela Wolf

Here is the back view.  Again there are 2 seams on each side back and this time there is a seam down the center back with a hidden zip. In order for this stitching to look even (with the zipper), I stitched the flat-felled embellishment down the edge of each center back seam, then added the zipper and closed the seam.  That part got a little tricky and you can see the stitches are not perfectly even.  I haven’t decided if I am going to rip it out and start again or hope nobody is looking at my tush that closely to notice 🙂

Setting up the Serger:

  • Set your serger up for a 3-thread overlock:  I am using a serger from Brother and the standard setting for the needle and looper tensions are 4.  When I give you new tension numbers you can compare this with your serger, if your serger has manual tension dials.  If you are serging with an air-threading serger, like this Babylock, set up your serger for the 2-thread flatlock – wide.
  • Thread the upper looper (or the only looper for the 2-thread flatlock) with a decorative thread.  Use standard poly serging thread in the needle and lower looper.


Decorative Thread Ideas:


Next, there are a few changes to the serger settings:

  • Stitch Width: 5mm
  • Stitch Length: 2-4mm
  • Needle Tension:  Decrease to 0 -3 (remember my standard setting is 4 so adjust for your serger)
  • Upper Looper Tension:  Decrease  to 2 – 3
  • Lower Looper Tension: Increase to 6 – 9
  • Disengage the knife

These setting serve as a guide.  It will depend on the fabric and thread you end up serging with.

Blind Hem Stitch Foot

See if your serger had a Blind Hem Foot, if not you can use the standard foot.

There is a setting on the foot that moves to the plastic or metal piece to right and left, allowing the needle to pierce more or less of the fabric.  Test the stitch on your fabric to determine the setting.

Fold the fabric in half or if you are embellishing a seam, fold along the seam line.   Align the fabric along the shield on the blind hem foot (if using a standard foot, mark a spot to align with).

Flat lock stitching with Angela Wolf

The idea is for the needle to pierce the fabric –  half the stitch is on the fabric and half is off the fabric.  In fact the stitch looks really messy coming out of the serger!

flat lock stitching with angela wolf

Stretch out the folded fabric to lie flat and press.

flat lock stitching with Angela Wolf

Pretty simple, but so fun!  Have you ever tried this before?  I would love some more ideas for decorative threads or yarns to use with this stitch.

Be sure to share photos of your creative serged project 🙂  #angelawolf

Cheers,

Angela Wolf


Quilted Grocery Bag Sewalong

Quilted Grocery Bag Sewalong

Quilted Grocery Bag Sewalong  I am so excited to share this new grocery bag sewalong with you!  This is an easy project with opportunities to make is more advanced with embroidery and embellishing. Sewalong Schedule #372 - 9/7 - Sewalong Part 1 Supplies and Pattern...

read more

Pin It on Pinterest