Day 4 #SEWCIALHOP2020 ~ VOGUE FABRICS

Day 4 #SEWCIALHOP2020 ~ VOGUE FABRICS

JOIN US LIVE FOR THE #SEWCIALHOP2020 BIG GIVEAWAY DAY!

Day(s)

:

Hour(s)

:

Minute(s)

:

Second(s)

Day 4 #SEWCIALHOP2020

Our special guest is Vogue Fabrics!

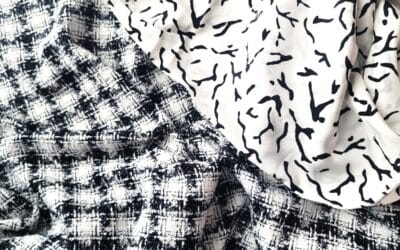
Vogue Fabrics is a family owned business based in Illinois.  Their fabric store provides a wide variety of fashion fabrics by the yard. They also offer wholesale fabrics by the bolt, special event fabrics, bridal lace, sewing notions, sewing patterns, corset supplies, interfacing, lining, and fabrics by the yard.

Whether you are a sewing enthusiast, a clothing designer, a business owner or from an organization looking for fabrics for a project or event, we have the fabric for your unique affair or situation.

GIFT CARD GIVEAWAY

Yes you heard that right!  Vogue Fabrics is giving away a gift card on December 18th for our #sewcialhop2020 grand finally live show!!!!   AMAZING!

AND

25% OFF fabrics from Vogue Fabrics Catalogs ranging from Early Spring 2019 – Fall 2020.  (Fall 2018 & Winter 2018 are already clearance priced and Winter 2020 is visible to subscribers only). 

Use Discount Code: sewcialhop2020

This discount code is good for a 1-time use and expires December 18, 2020

Click here to enter the #SEWCIALHOP2020 AND hop over to Vogue Fabrics  Facebook and Instagram pages and say THANKS!!!!  #sewcialhop2020

On a Personal Note

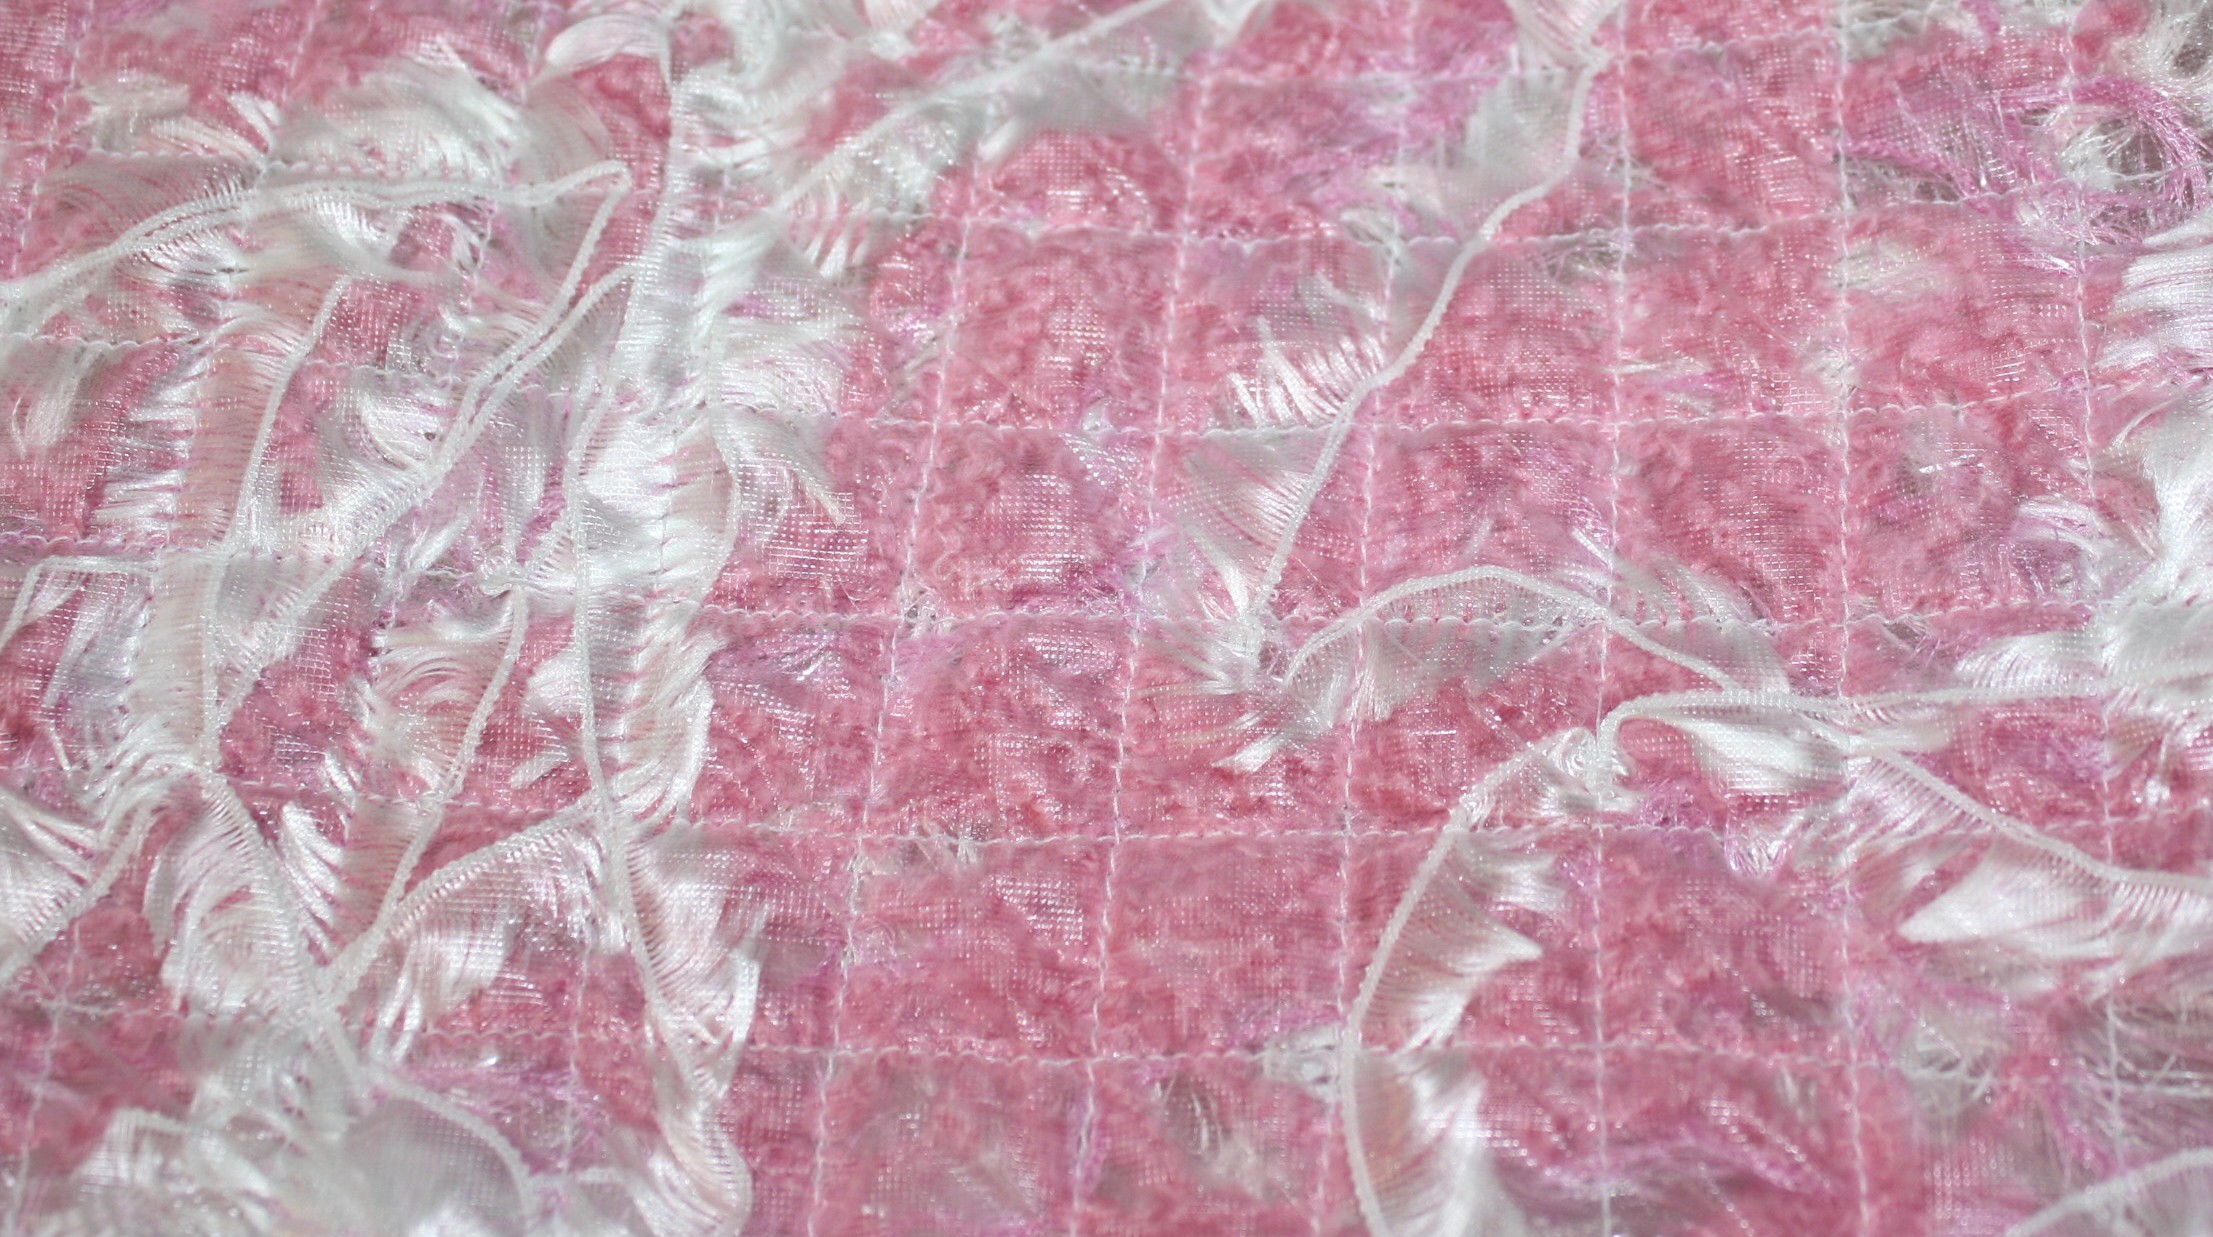
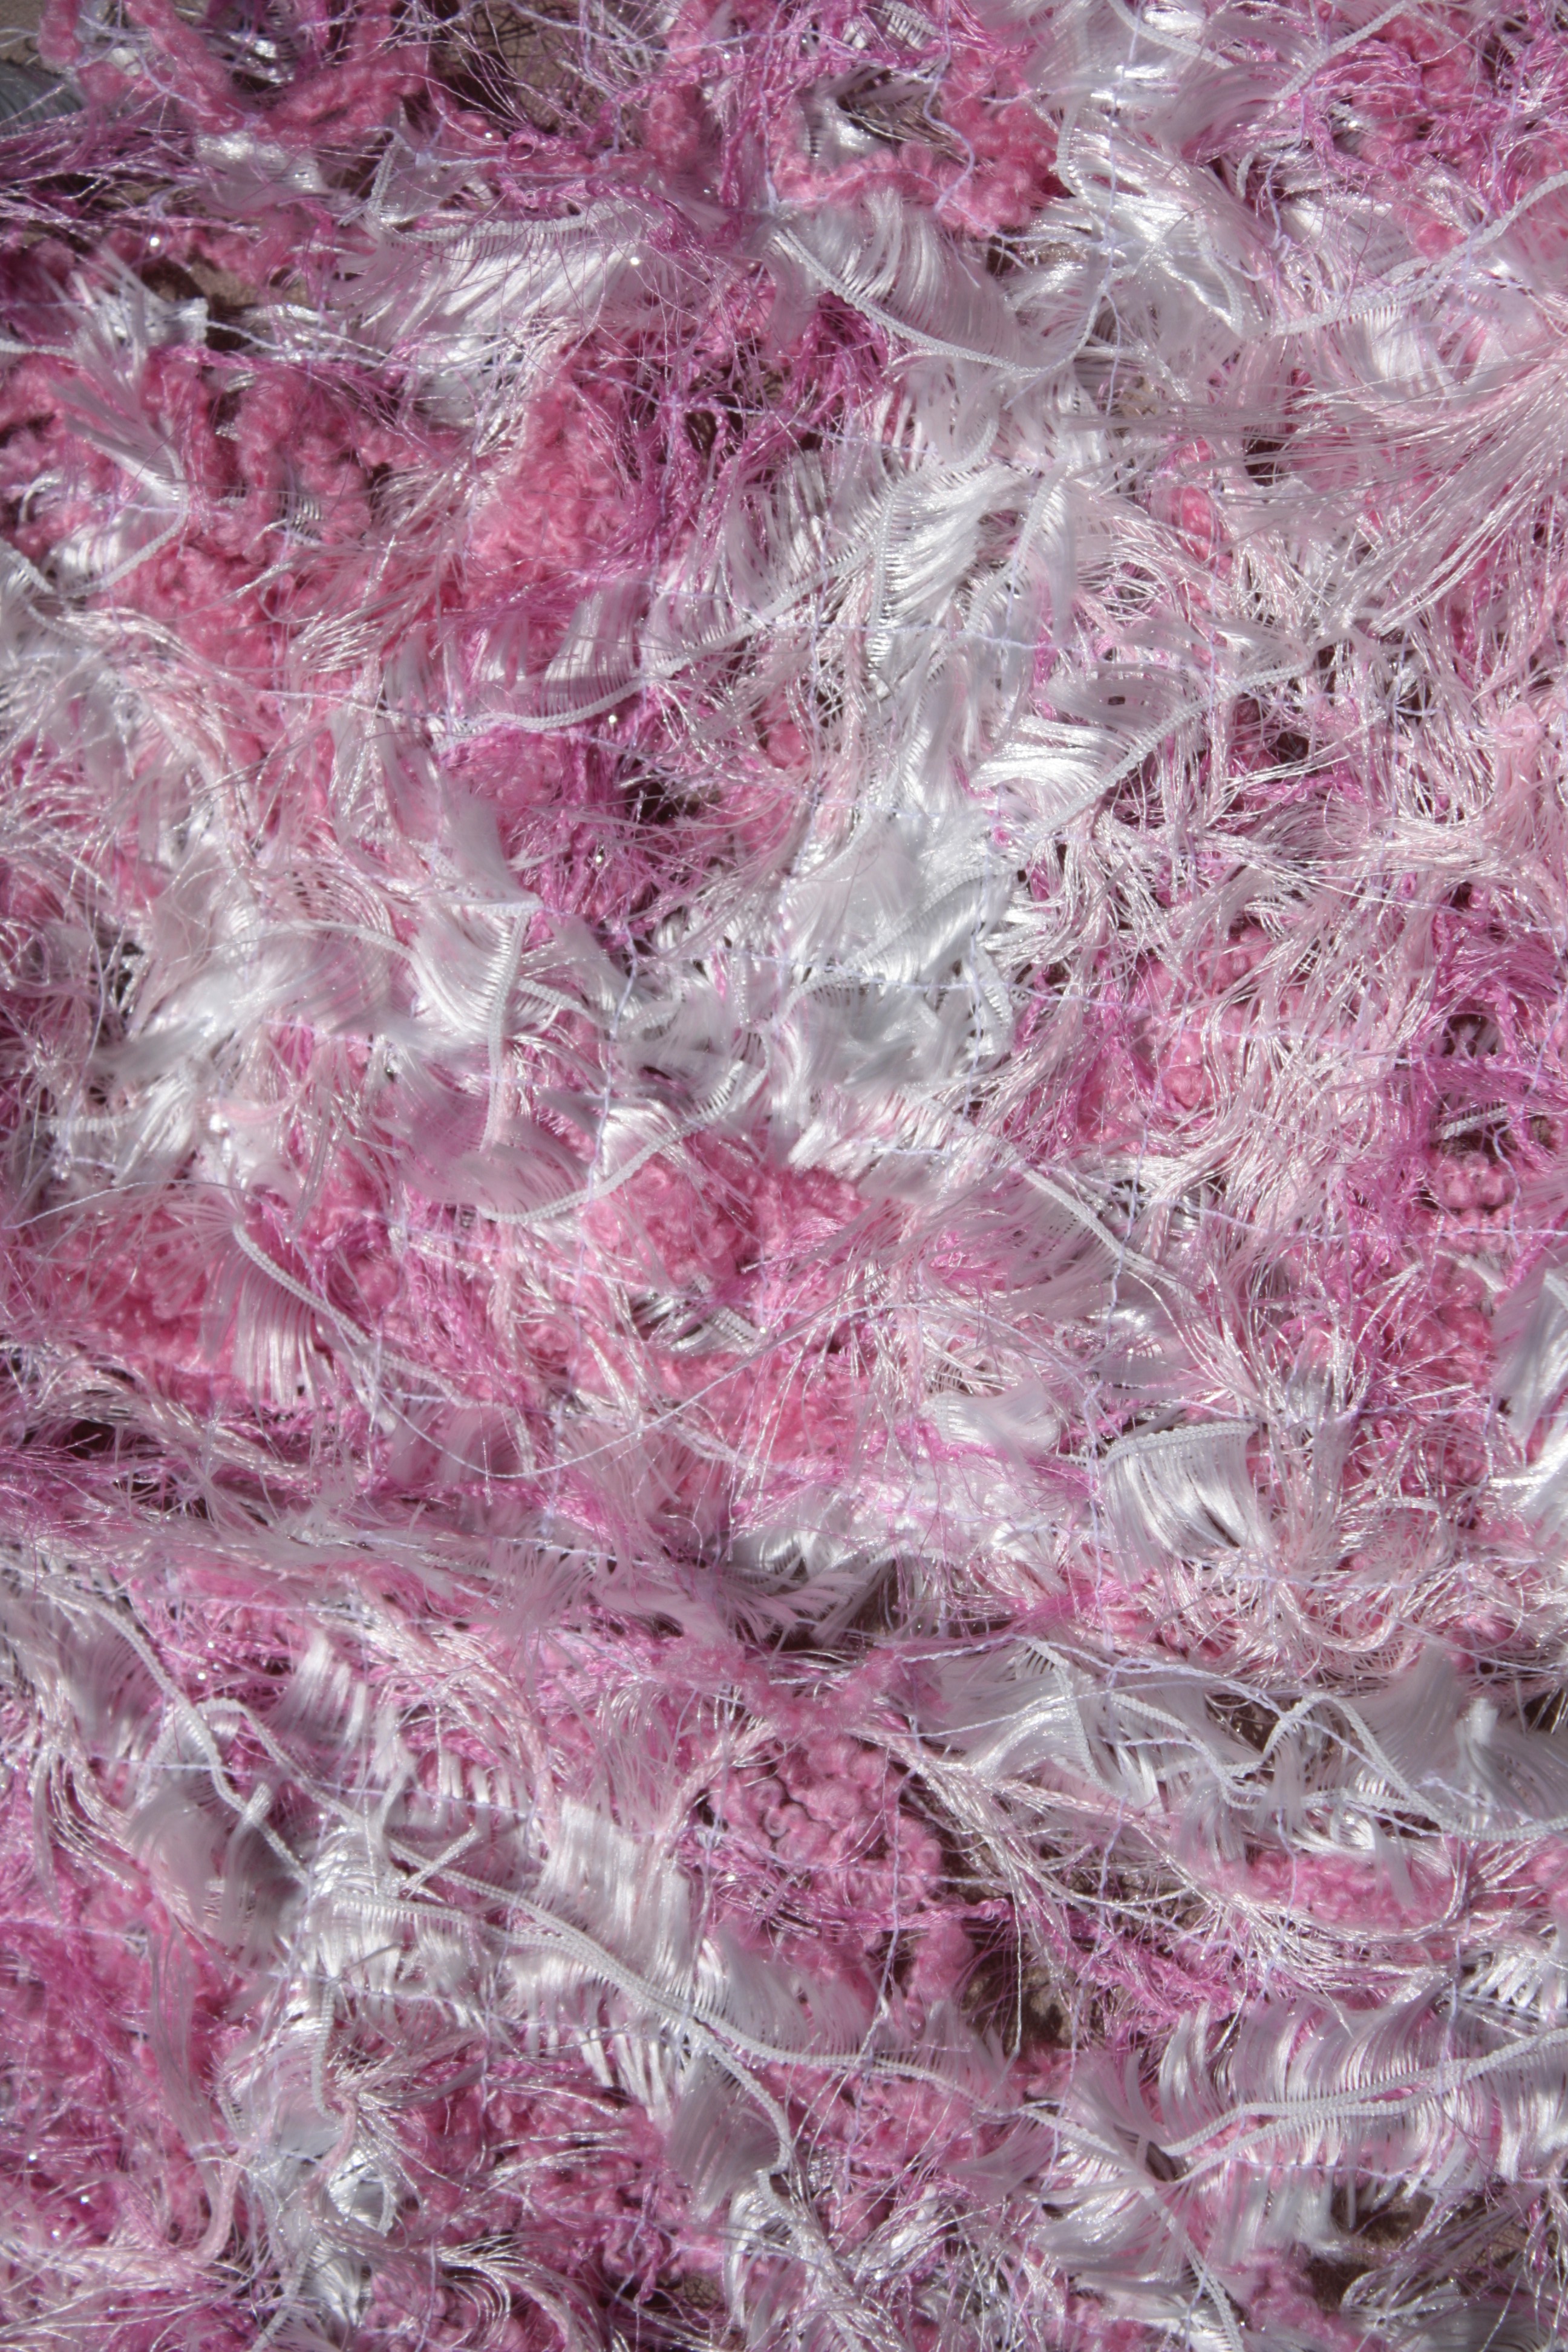
I am so excited to have Vogue Fabrics included in the  #sewcialhop2020 as my relationship with Vogue Fabrics goes all the way back to 1994!  Yes, they were my go-to for all the fabrics I purchased for my clients ordering custom apparel.  They always had a fabulous selection of silks, tweeds, and obviously a lot more when you take a look at my stash LOL!  Thanks so much Rogie!

Now the wolfpack will be stopping by Vogue Fabric’s Facebook and Instagram pages to say thanks!   smile

Be sure to leave me a comment below if you are enjoying the Sewcial Hop so far!

Cheers,

Want to learn more about fashion design, sewing techniques, and patterns?

Members of the Fashion Sewing Club have access to member only live sessions, past episodes of It’s Sew Easy, Facebook live and YouTube videos, fitting instruction on specific topics, discounts on my website, and much more!

Join FSC today!

UPCYCLE ? DESIGN A SKIRT WITH EMBROIDERY

UPCYCLE ? DESIGN A SKIRT WITH EMBROIDERY

Embroidery is such a hot trend this spring!  Whether you are sewing a skirt from scratch or recycling one from the back of your closet, adding a touch of embroidery can create an entirely fresh look.  Keep in mind this would look great on a dress too ?

Supplies:

DESIGNER TIP: My skirt fabric is a linen blend, but the stabilizer I am using would work great on rayon, cotton sateen, denim, wool, and cotton blends.  JUST be careful with satin, silk blends, and velvet (to name a few).  You don’t want to damage the fabric from the iron when pressing on the fusible stabilizer; it’s best to test the stabilizer on a swatch of fabric first.

Determine the placement for the embroidery on the skirt.  I am going to focus on one side of the front of the skirt; marking that spot with a fabric pen or tailors chalk.   Press the embroidery stabilizer on the wrong side of the fabric covering the area to be embroidered.

Hoop the fabric and insert the hoop into the machine.  Choose an embroidery design or add a couple of designs onto the screen.  Scan the fabric in and move the embroidery design as needed. If you don’t have the scanning feature on your sewing machine, use an embroidery placement marker such as the snowman or other tools.

You can read the full blog, head over to my post as a Brother Expert Consultant on the Brother Stitching Sewcial. Be sure to share photos of embellished Kate skirt #angelawolf #brothersews

Cheers,


<a target="_blank" href="http://shareasale.com/r.cfm?b=1130527&u=1586241&m=29190&urllink=&afftrack="><img src="https://static.shareasale.com/image/29190/728x90.gif" border="0" alt="Craftsy Unlimited FREE 7 day trial at Craftsy.com" /></a>
325: Learn to Sew an Envelops Purse Clutch with Angel Wolf

325: Learn to Sew an Envelops Purse Clutch with Angel Wolf

Envelope Pattern There are three download versions for the envelope pattern: Full Layout - Use this for projector printing or printing on a plotter.   ENVELOPE PURSE Letter Size Printing - Use this when printing letter size paper (8.5" x 11").  Print pages 1-8, the...

read more
Quilted Grocery Bag Sewalong

Quilted Grocery Bag Sewalong

Quilted Grocery Bag Sewalong  I am so excited to share this new grocery bag sewalong with you!  This is an easy project with opportunities to make is more advanced with embroidery and embellishing. Sewalong Schedule #372 - 9/7 - Sewalong Part 1 Supplies and Pattern...

read more
Ep. 304 Meet Jeff – Founder of CraftOptics

Ep. 304 Meet Jeff – Founder of CraftOptics

Episode 305 🧵 Behind the Scenes with Angela Wolf Featuring CraftOptics I am not sure about your, but if I am working in a low lit area or sewing beads onto a garment, I tend to lean forward and squint, this ending up with a terrible back ache!  CraftOptics has changed...

read more
Ep. 303 Delila Knit Top Part 3

Ep. 303 Delila Knit Top Part 3

Episode 303 🧵 Behind the Scenes with Angela Wolf The last part of our Delila Slit Sleeve Sewalong!  Have you checked out all the Delila tops posted in our private Angela Wolf Patterns Group?   So cute!!! Angie Hotchkiss ~  Angela Wolf Facebook GroupDarlene Deck ~...

read more
Ep. 302 Delila Knit Top Sewalong Part 2

Ep. 302 Delila Knit Top Sewalong Part 2

Episode 302 🧵 Behind the Scenes with Angela Wolf We are onto part 2 in the Delila sew along!  We have cut our fabric and ready to sew.  Did you have any questions about fitting?  If so, be sure to take your photos with questions to the Angela Wolf Patterns Facebook...

read more
Ep. 301 Delila Knit Top Sewalong Part 1

Ep. 301 Delila Knit Top Sewalong Part 1

Episode 301 🧵 Behind the Scenes with Angela Wolf Getting into summer and looking for stylish tops to wear with jeans, shorts, or skirts and one of my fist patterns always shows up ... The DelilaDelila Pattern has 9 Options  I designed this pattern to be able to sew...

read more
Ep. 260 Sewing the Shirley Wrap Top with a Sweater Knit

Ep. 260 Sewing the Shirley Wrap Top with a Sweater Knit

Episode 260 🧵 Behind the Scenes with Angela Wolf ~ Sew the Shirley Wrap with a Sweater Knit The Shirley Wrap pattern is so versatile and this time we will use a thicker, sweater knit fabric.    You can find the Shirley pattern in PDF and paper patterns in size XXS -...

read more

How to Create Unique Fabric by Sewing Scraps!

How to Create Unique Fabric by Sewing Scraps!

angelawolffringeskirt16
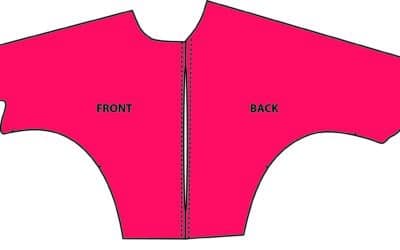
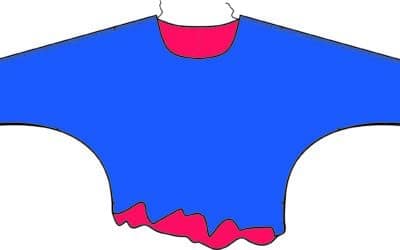
I love sweaters and shawls, especially since I am always cold in the air-conditioned restaurants (not that we have needed air conditioning in Michigan this summer!).  Thinking of the wardrobe challenge, sweaters are one of the items that I end up buying. Yes I do know how to crochet, yet trim on a jacket is about as far as that usually ends up. A small knitting machine sits in the corner of the studio (on my bucket list to learn how to use 🙂 ).

Angela Wolf Fringe Skirt 2I was recently sewing a fringe skirt and the tweed scraps falling on the floor reminded me of meeting a women wearing a really cute, long, loosely woven (sweater looking) vest. It was at the annual conference for ASDP, so I had to ask the question that only sewer’s are allowed to ask each other “did you make that?”.  She had indeed! I was really intrigued when she mentioned using water-soluble stabilizer and scraps from her last sewing project  – yes, scraps!

Angela Wolf how to sew1

Below is an example of using scraps from my tweed skirt:

Angela Wolf how to sew2

Angela Wolf how to create fabric

Supplies needed:

WAWAK_SEWING

NOTE: WAWAK sewing has offered my readers a discount for July – yeah! 

Purchase a minimum of $30 and receive 10% off your entire order – Use coupon code WAB714 when checking out (expires July 31st) Thank them when you order, they are the best!  :))

Angela Wolf fabricate lace yarn 5

  • Lay out one layer of water-soluble stabilizer (54″ for a scarf)
  • Randomly place yarn, scraps, hairy yarn, etc.
  • Place another layer of water-soluble stabilizer (same length as the first piece)  on top of the yarns
  • Using long pins,  pin through all the layers

Angela Wolf fabricate lace yarn 46


  • Starting at one end, stitch down the center of the stabilizer, stitching through all the layers.  Be careful not to sew through any pins, stitch all the way to the end. (Draw a straight line down the center if you need something to follow).
  • From the center, align the edge of the presser foot with the first stitched line.  Stitch a second row, and a third, and 4th, until you get to about 1″ from the edge of the stabilizer.  (If your machine has a Laser Vision Guide, like my Brother Dreamweaver, this would be the perfect application!)

Angela Wolf fabricate lace yarn 41

Angela Wolf fabricate lace yarn 42

  • Continue stitching rows along the entire length of the stabilizer until you have the desired width.
  • Turn the fabric and stitch a row from side to side, across the width of the stabilizer.
  • Continue to stitch row after row until the entire length is filled.

Angela Wolf fabricate lace yarn 44

Angela Wolf fabricate lace yarn 49

The width of the stitched rows depend on how tight you want the weave of the new fabric or lace.  Just be sure to keep it somewhat tight or the yarns will fall away.

Angela Wolf fabricate lace yarn 47

Angela Wolf fabricate lace yarn 43

The next step is easy!  Rinse the fabric panel in warm water and watch the water-soluble stabilizer disappear or throw the fabric in the wash on a hand-wash cycle, again with warm water.

Angela Wolf fabricate lace yarn1

Above you can see the stabilizer has disappeared and I am left with a loosely woven fabric.  Notice the stitching lines, this is good to keep in mind when you choose the thread color.

Angela Wolf fabricate lace yarn3

Angela Wolf how to sew3

Angela Wolf how to create fabric


Who would have ever guessed

our scraps

could go so far!


A few more tips:

  • Throw the fabric in the dryer to soften the hand
  • The stabilizer and yarns shrink up after washing and drying,  keep that in mind if you need a specific length.
  • The more yarn and scraps, the thicker the fabric
  • To make an outfit, stitch all the pieces together before washing out the stabilizer

Angela Wolf fabricate lace yarn6

This is a great technique to use for June’s Fabricate Challenge – which I extended the deadline until July 31st.

Have you ever tried this?  If so, please share any tips you might have!

Cheers,

Angela WolfWAWAK_SEWING_Logo_Web


[vimeo http://vimeo.com/ksproductions/review/100618627/b7d8aec7c9]


How to Make Bias Tape the Easy Way with Simplicity

How to Make Bias Tape the Easy Way with Simplicity

[youtube=http://www.youtube.com/watch?v=FofSArIc7RM&context=C4c6673eADvjVQa1PpcFODx7nLiq6DH_2CPj4HCzz1QByuUKW2TV8=]

Making bias tape has never been easier!  It is really important to make sure your bias strip are really cut on the true bias.  Here are a few tips to make sure you have success:

 To find the true bias:  lay your fabric on a flat surface.  It is easier if there is a grid to follow in order to line up your grainlines.  Here I line up the crosswise grainline and the fabric salvage.

Take one corner and pull the fabric to match the selvage with the crosswise grain.  This will create a triangle.

When working with slippery fabric, use a weight at one end so you can maneuver the fabric around.  The bias is along the folded edge.

Align a see through ruler along the bias edge.  I want 2″ bias strips so the first cut will be at the 1 inch mark because I am on the fold.

Now you will see you have a nice cut line on the bias.  I then take the bias line and fold the fabric in half, so I don’t have to cut so far.  I also move the fabric so I can line up the edge of the fabric along my grid underneath.

Again, using the see through ruler, cut every 2 inches.

Keep cutting strips until you run out of fabric.  I always cut more than I need, you never know when you might need a strip of bias!

Does anyone have any other tips for cutting bias strips …  especially when cutting slinky, slippery fabric?  I would love to hear your ideas.

Pin It on Pinterest