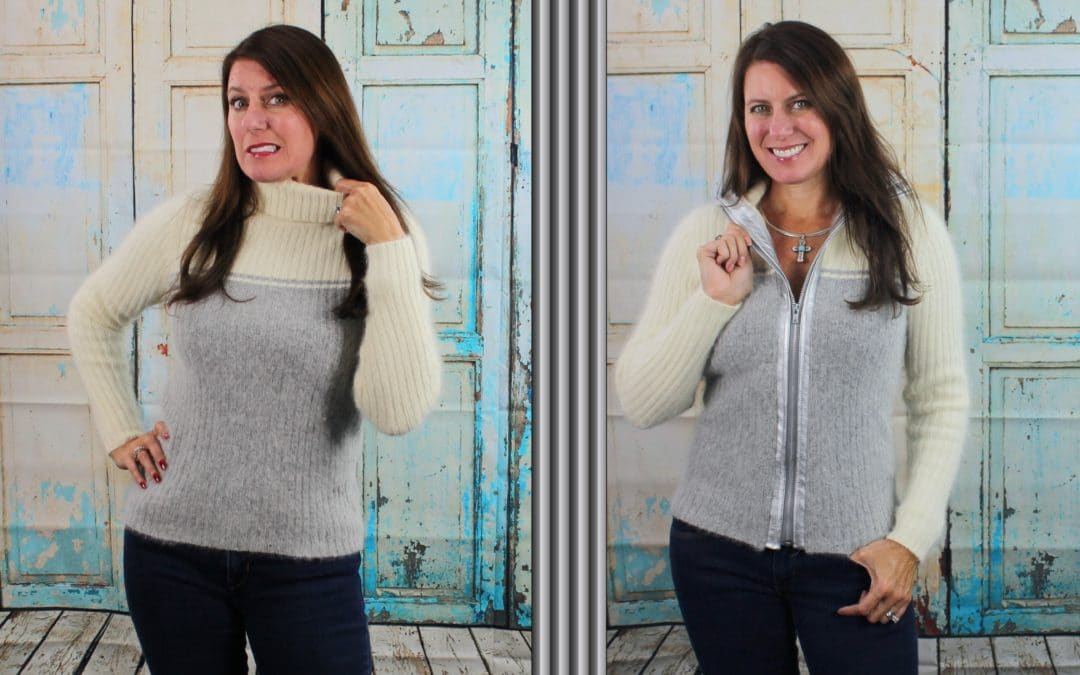
DIY: REFASHION A SWEATER INTO A SWEATER JACKET

DIY: REFASHION A SWEATER INTO A SWEATER JACKET

I bought this sweater a few years back because the fabric is soft and fluffy, but I never wear it because the collar is too tight!  I leave it in the drawer and pet it every once in a while 🙂  Even when I would attempt wear the sweater on a cold, wintry day; it was off in less than an hour; it’s even too uncomfortable to wear fishing!  I would say to myself, “f I could just open that collar up.”  Then it occurred to me … add a zipper and refashion the sweater into a jacket.

Supplies:  

  • 22” separating zipper (measure in the center of the sweater from the top of the collar to the hemline to determine the length of the zipper)
  • 4 pieces of vinyl cut the length of the center front by 3” wide
  • Fusible interfacing 2” wide by the length of the center front of the sweater, including the collar
  • Non-stick foot
  • Zipper foot
  • Universal thread in coordinating color

Prep & Mark the Sweater

Start by marking the center front of the sweater. I am marking the sweater a contrasting color thread, if the fabric allows you can use a fabric marking pen or tailors chalk.
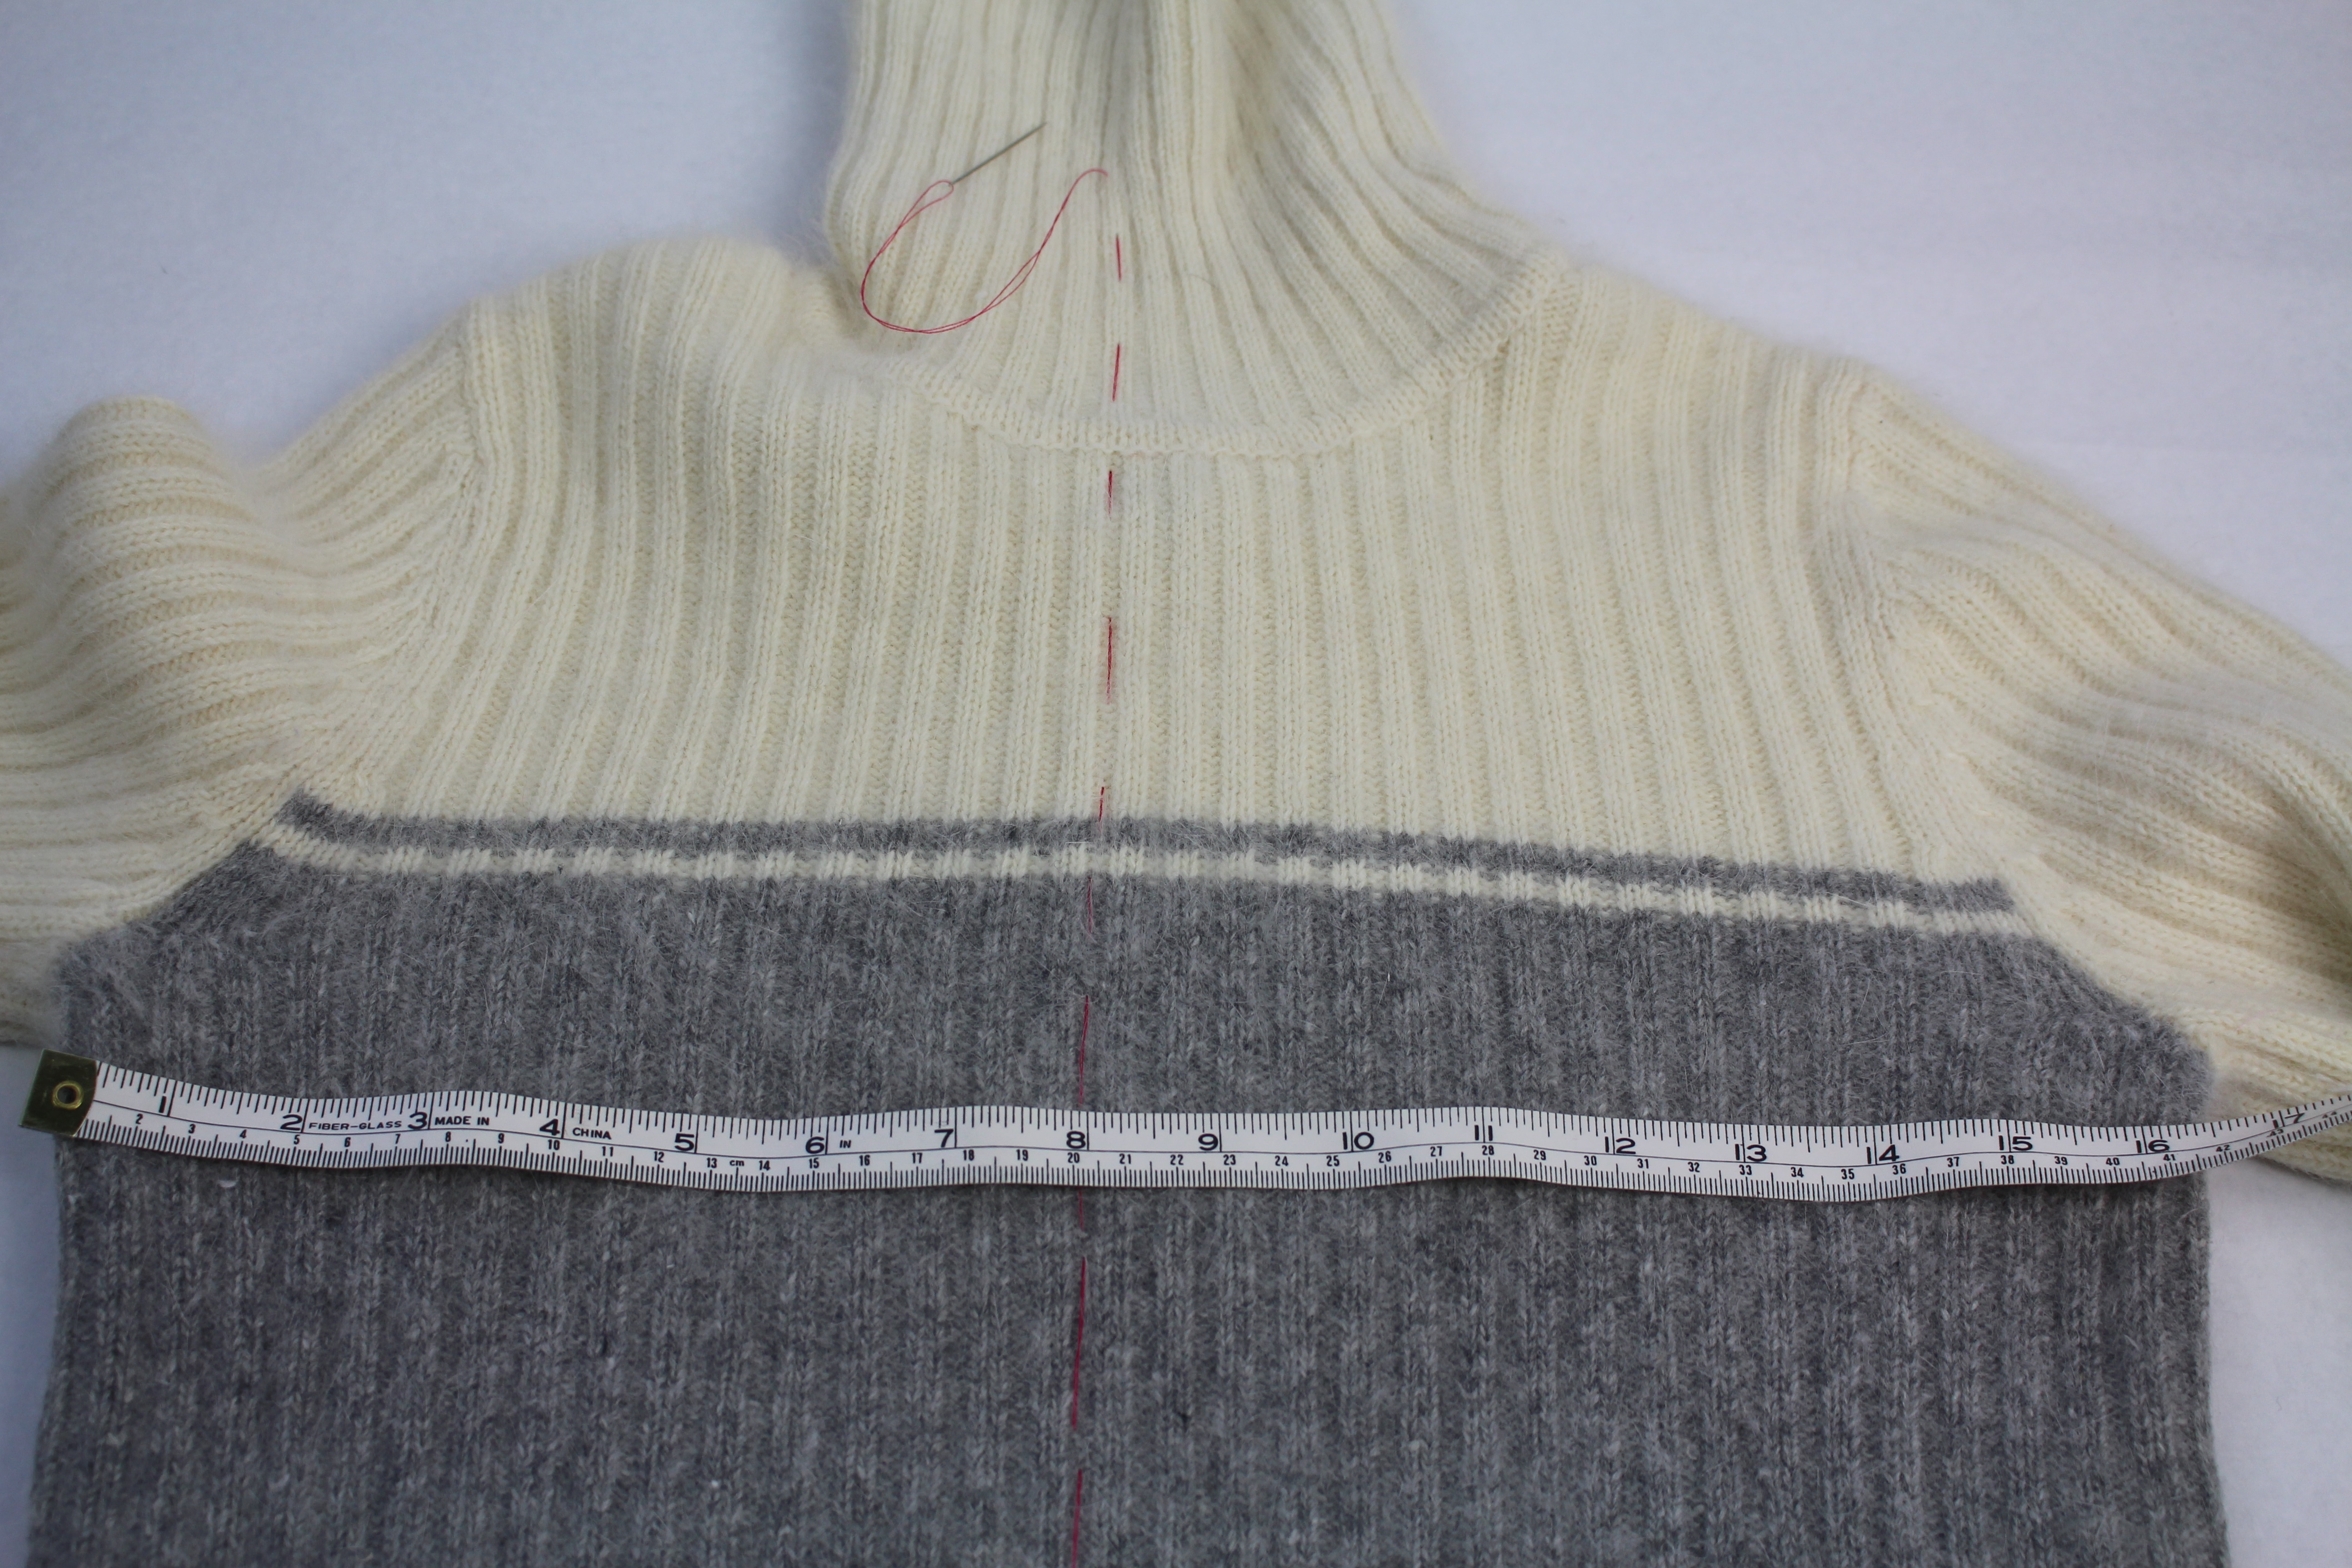


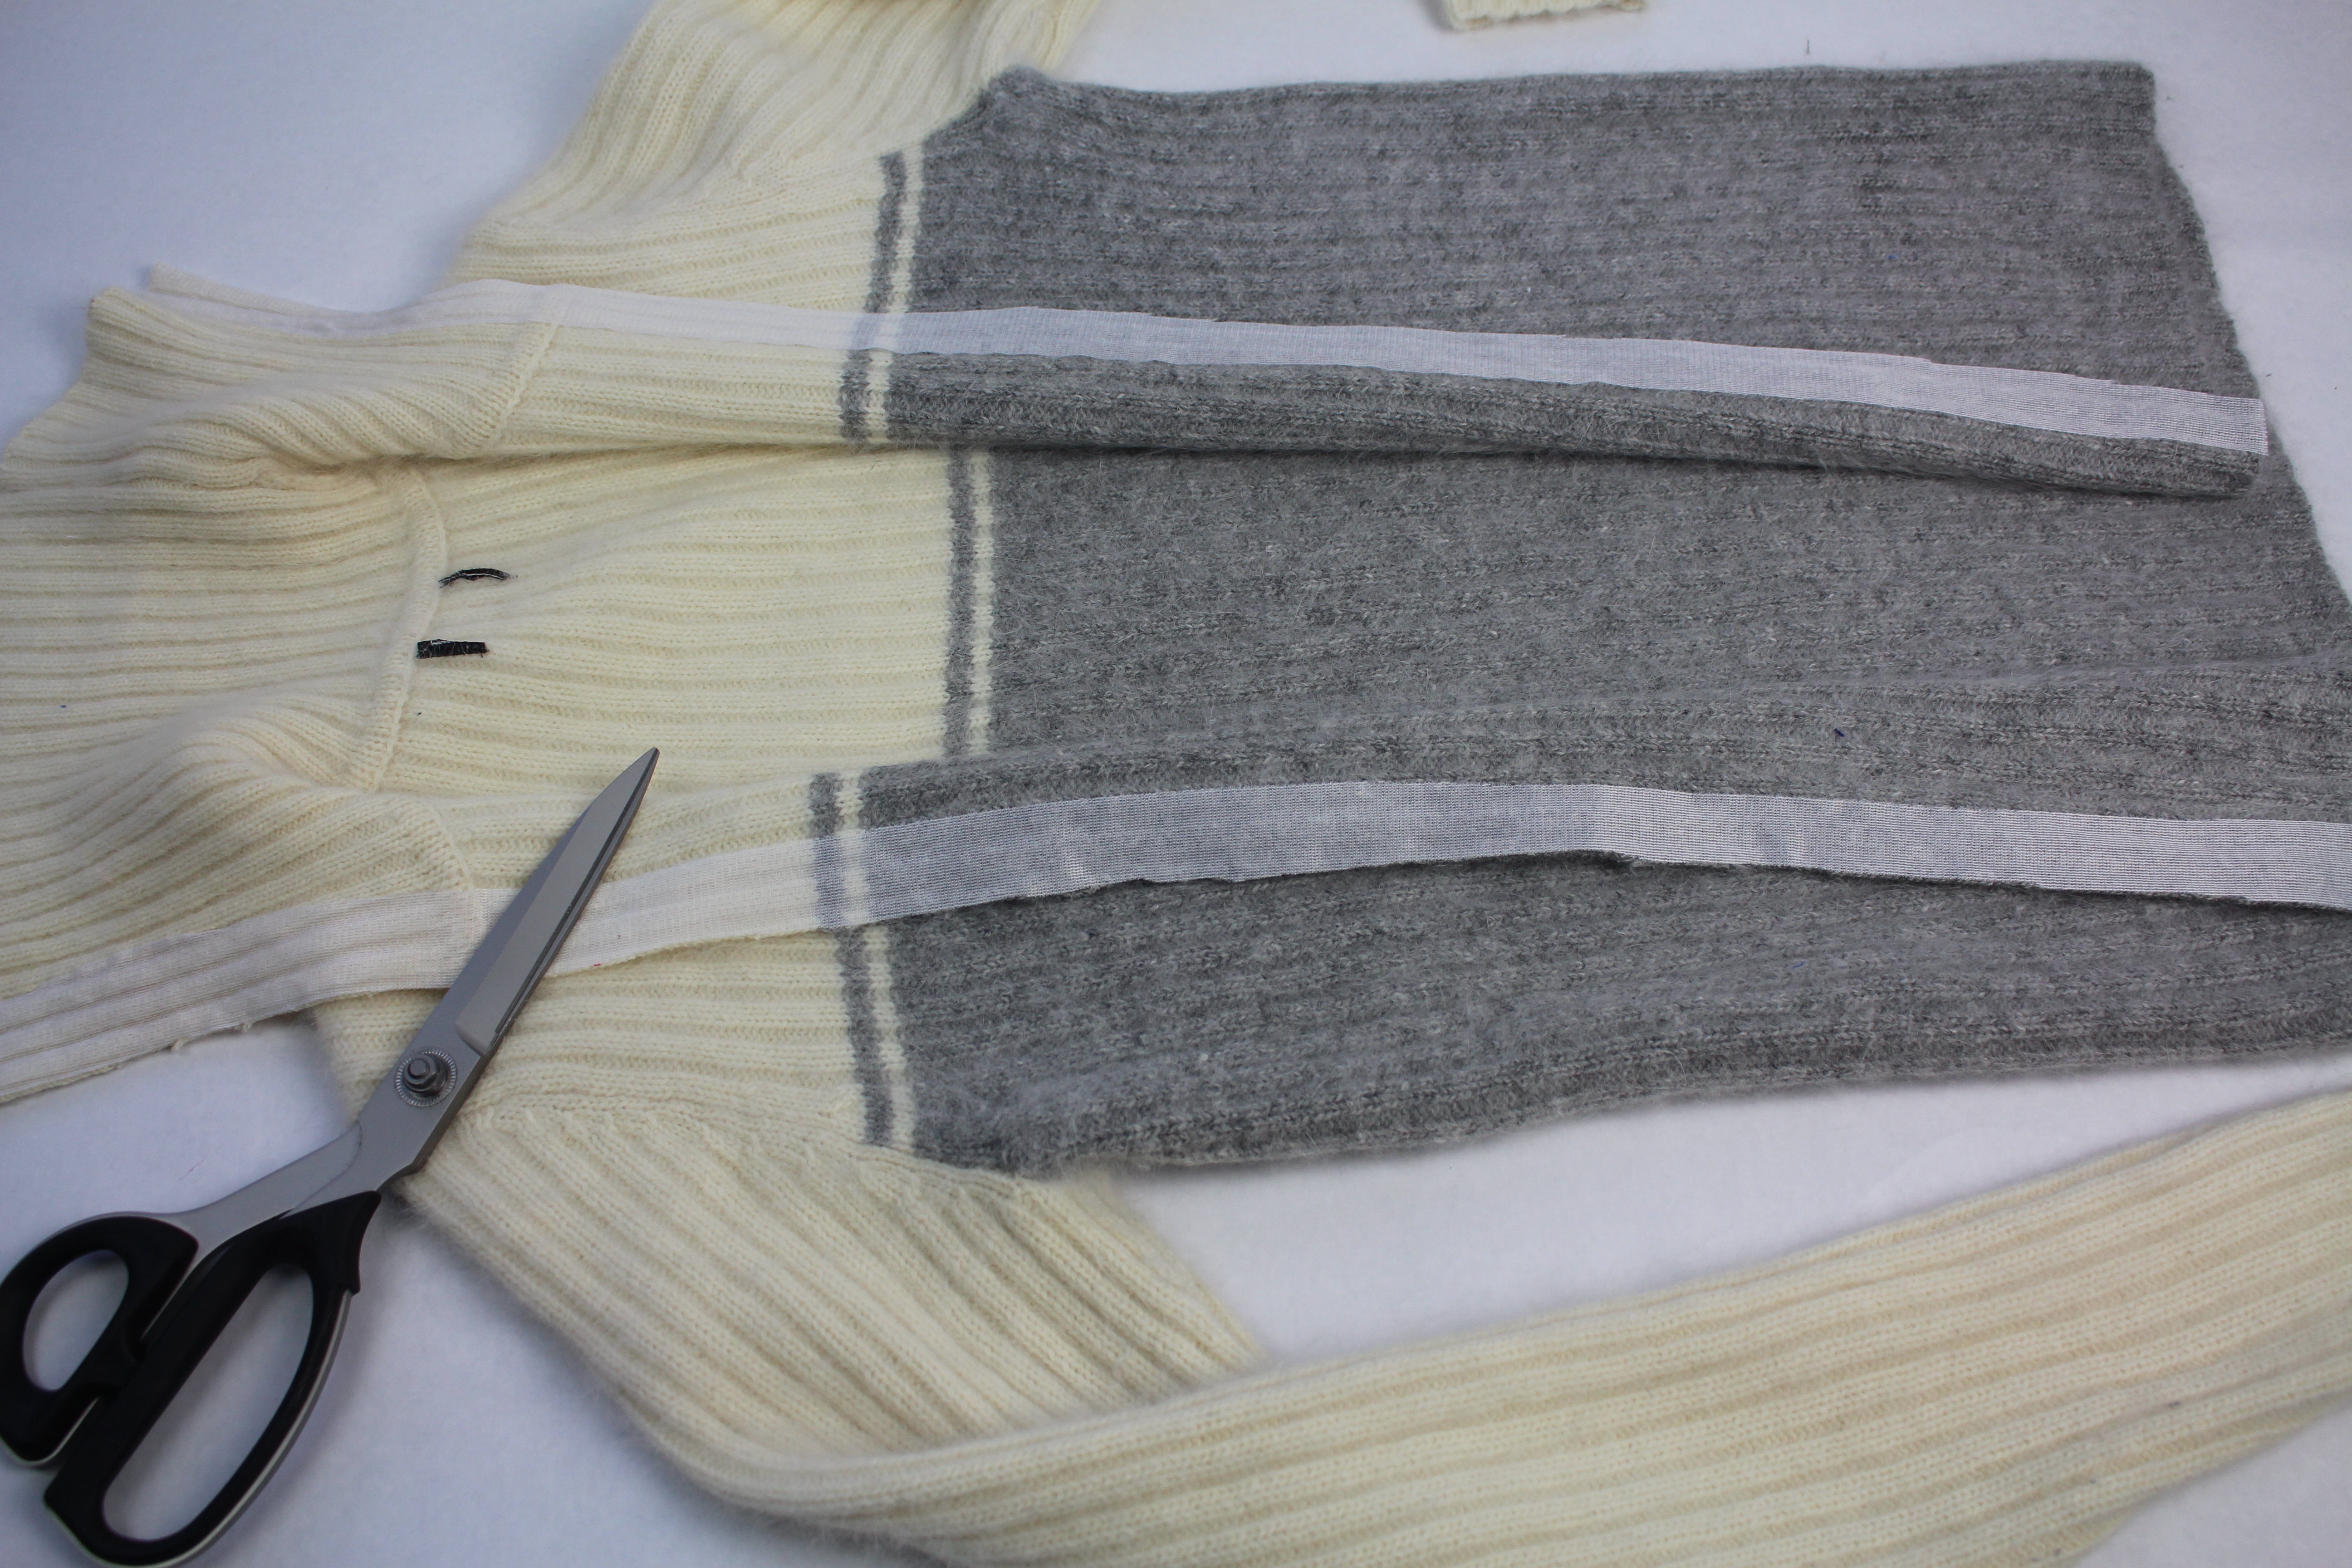
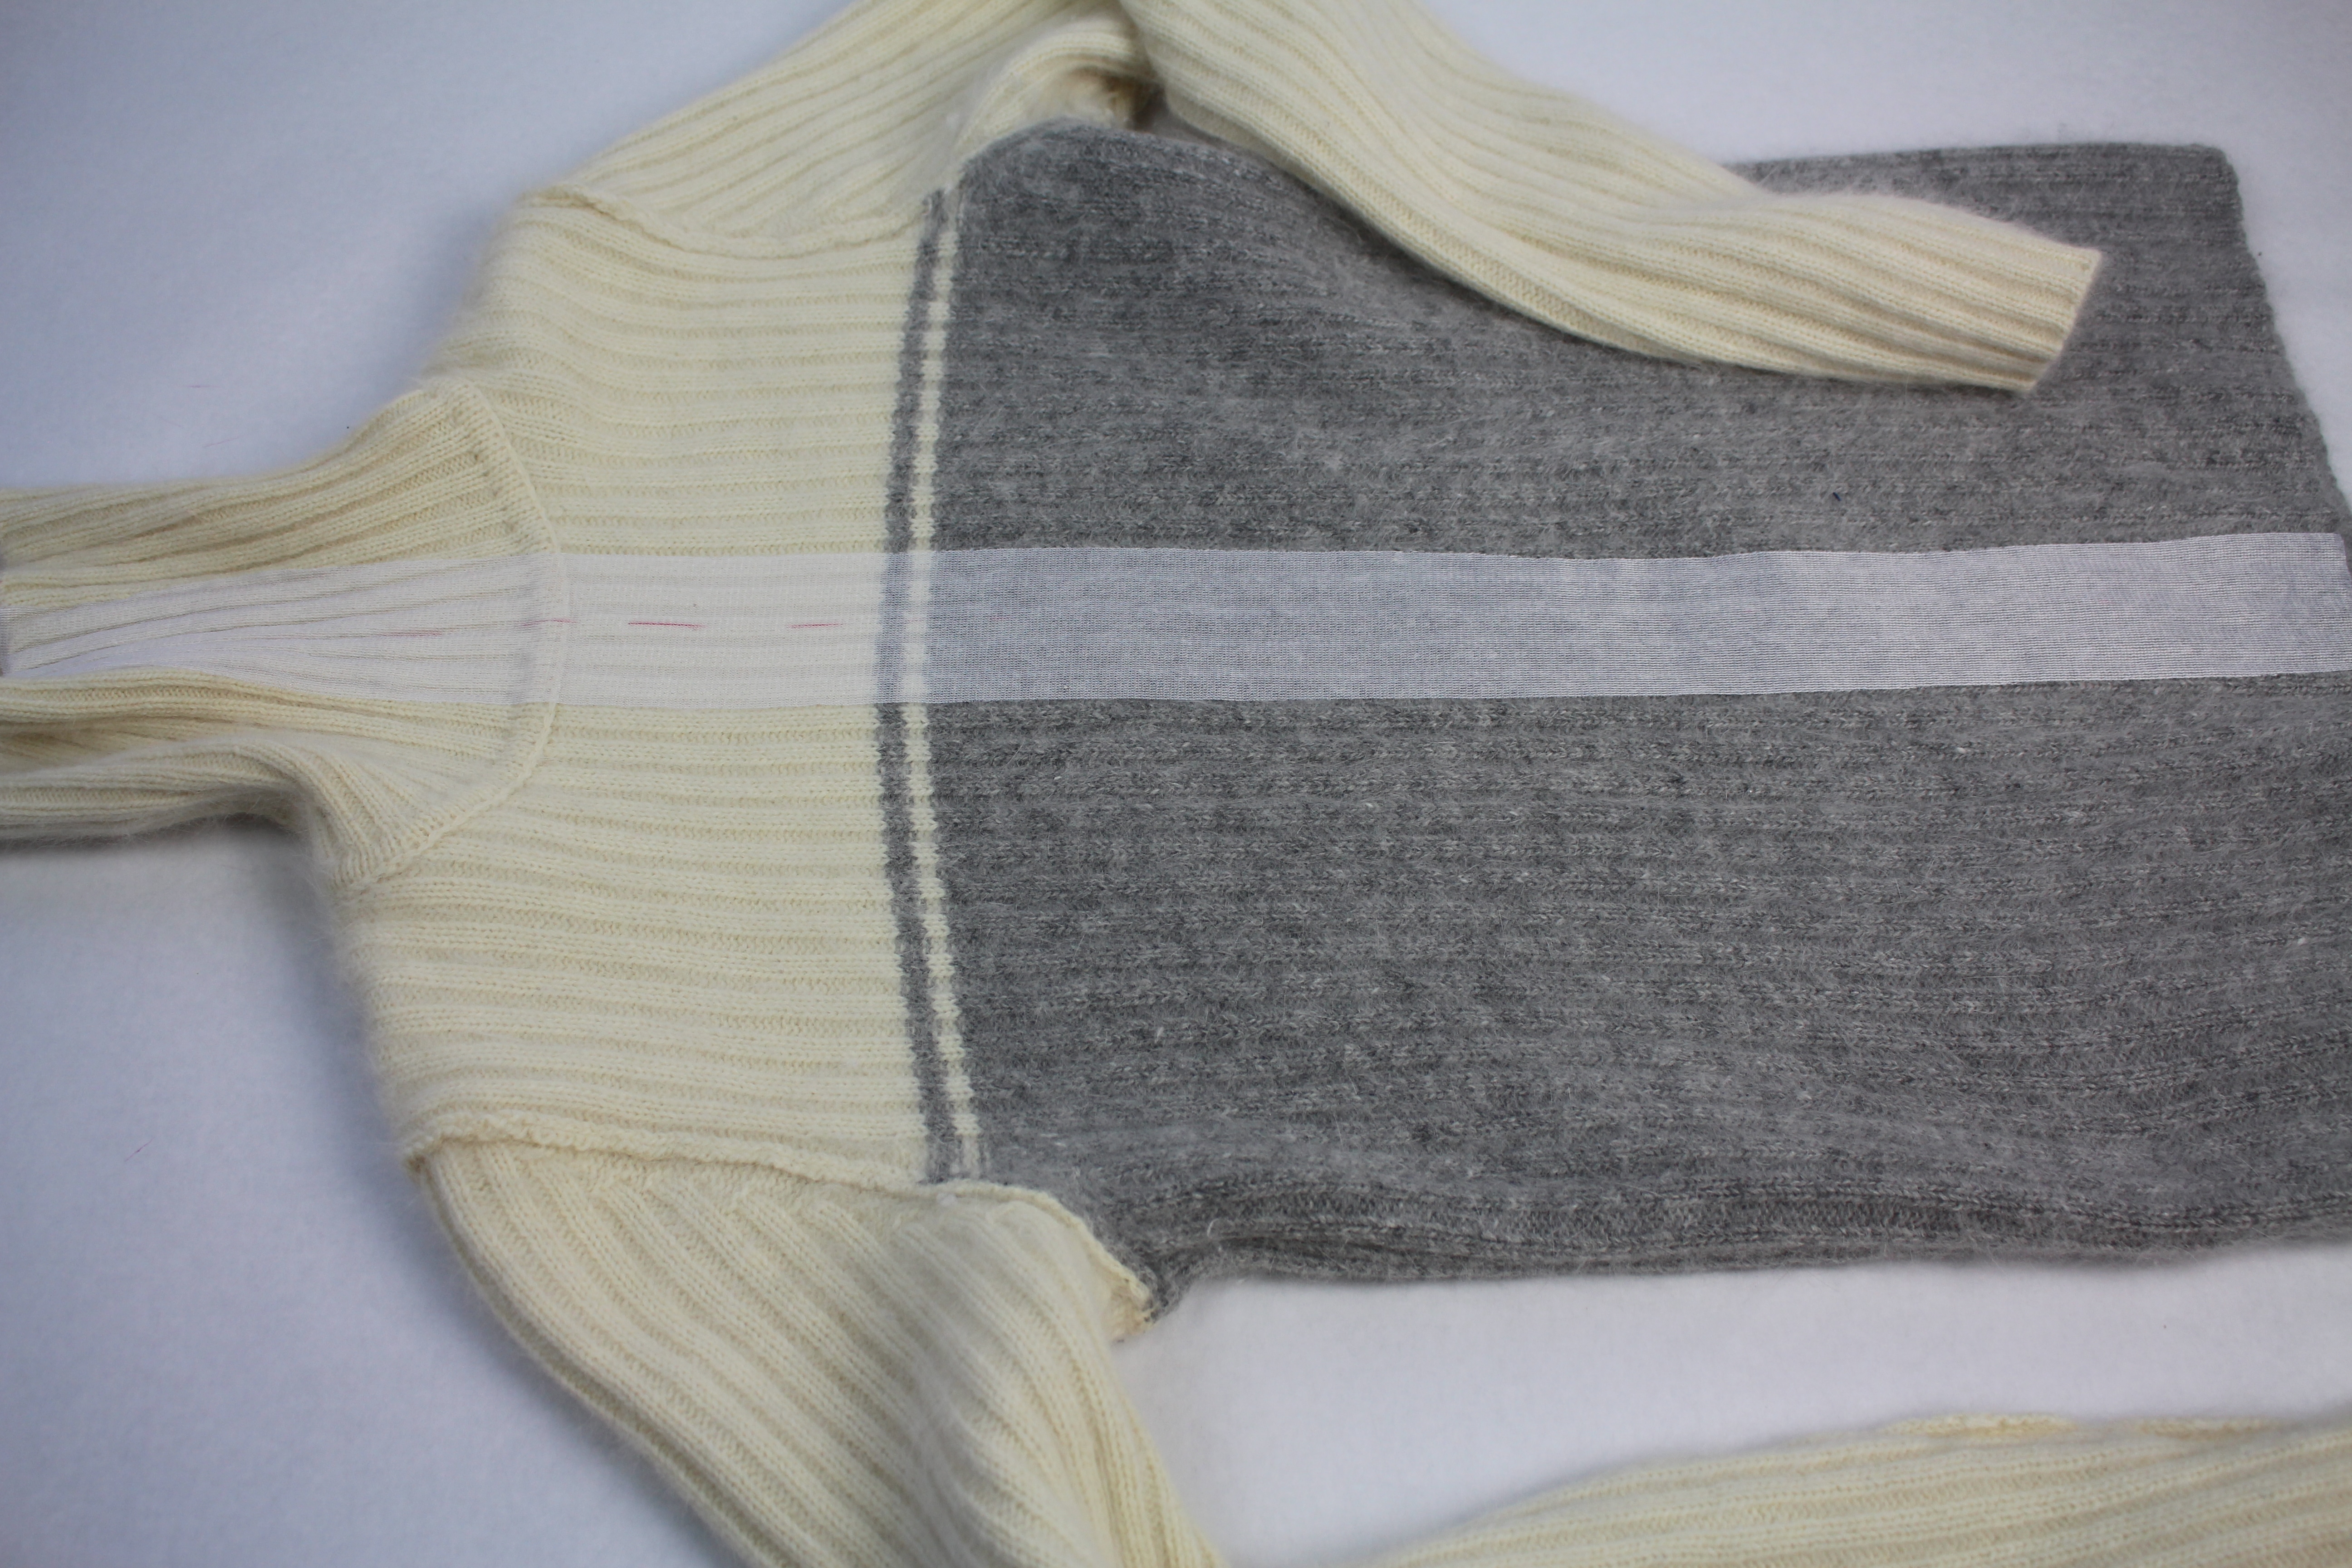
Turn the sweater inside out.  Center the fusible interfacing along the center of the sweater and press in place.
 

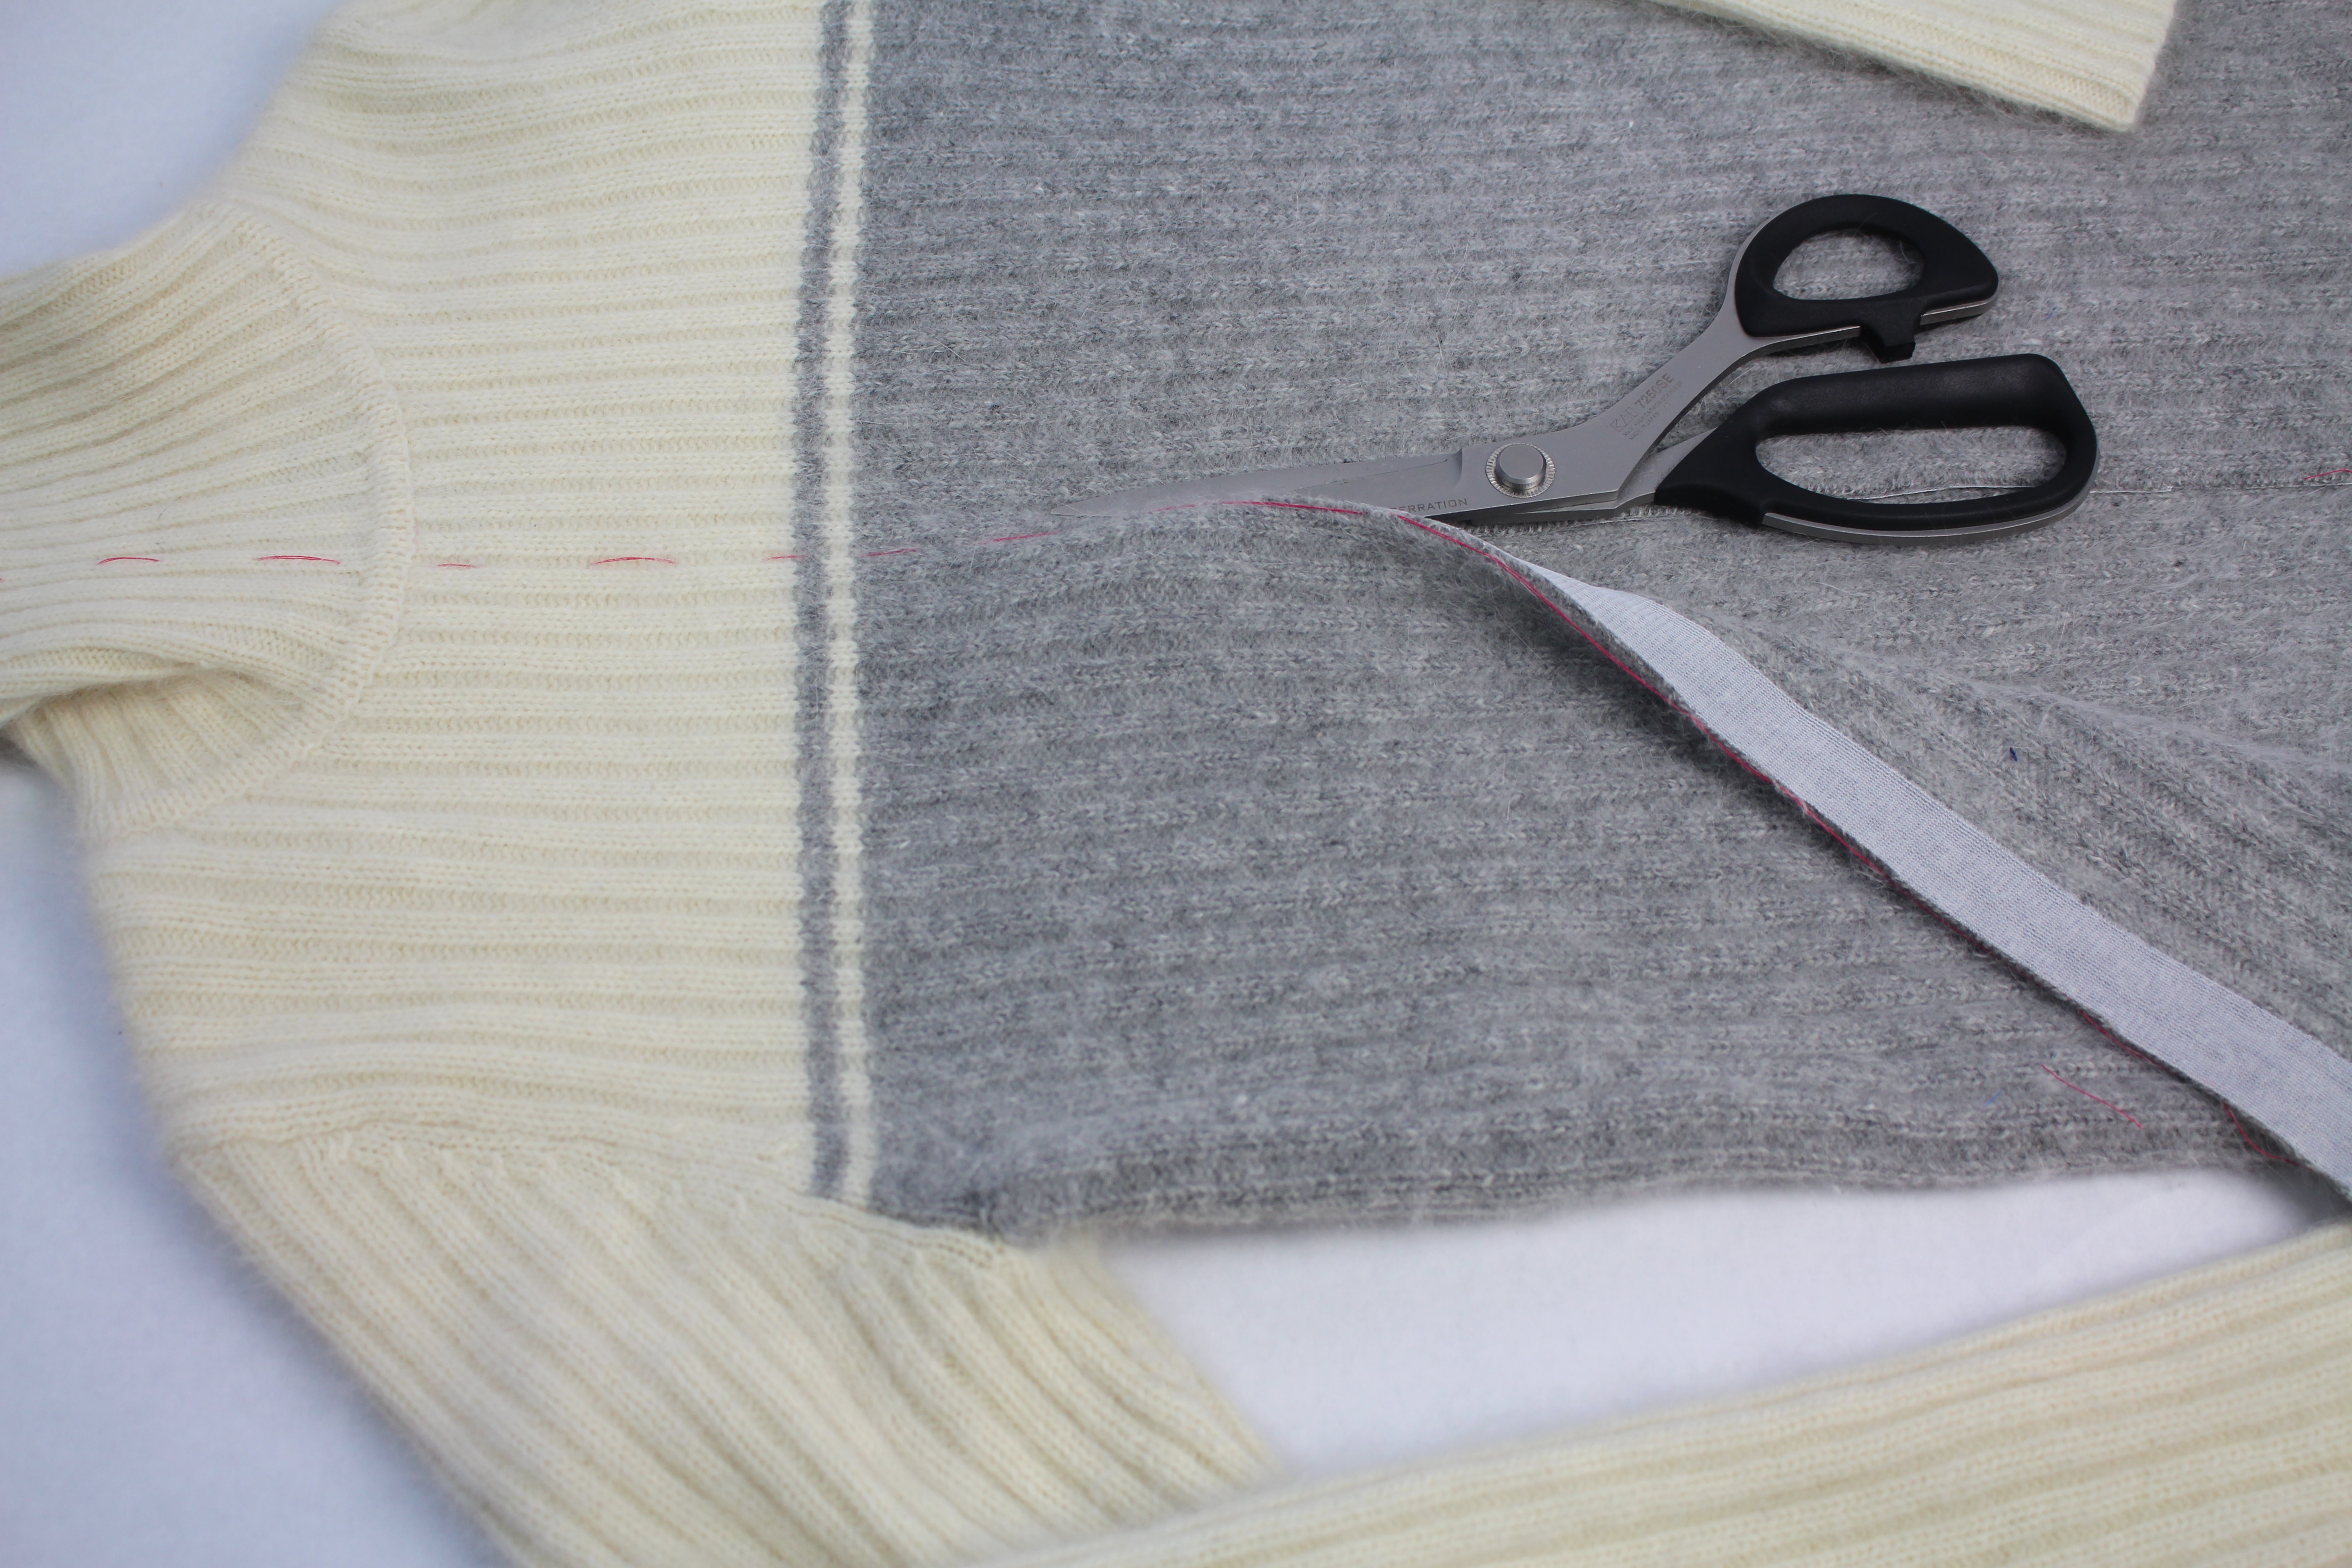
Cut along the center marking, from hem to the top of the collar.
 

Sew the Zipper 

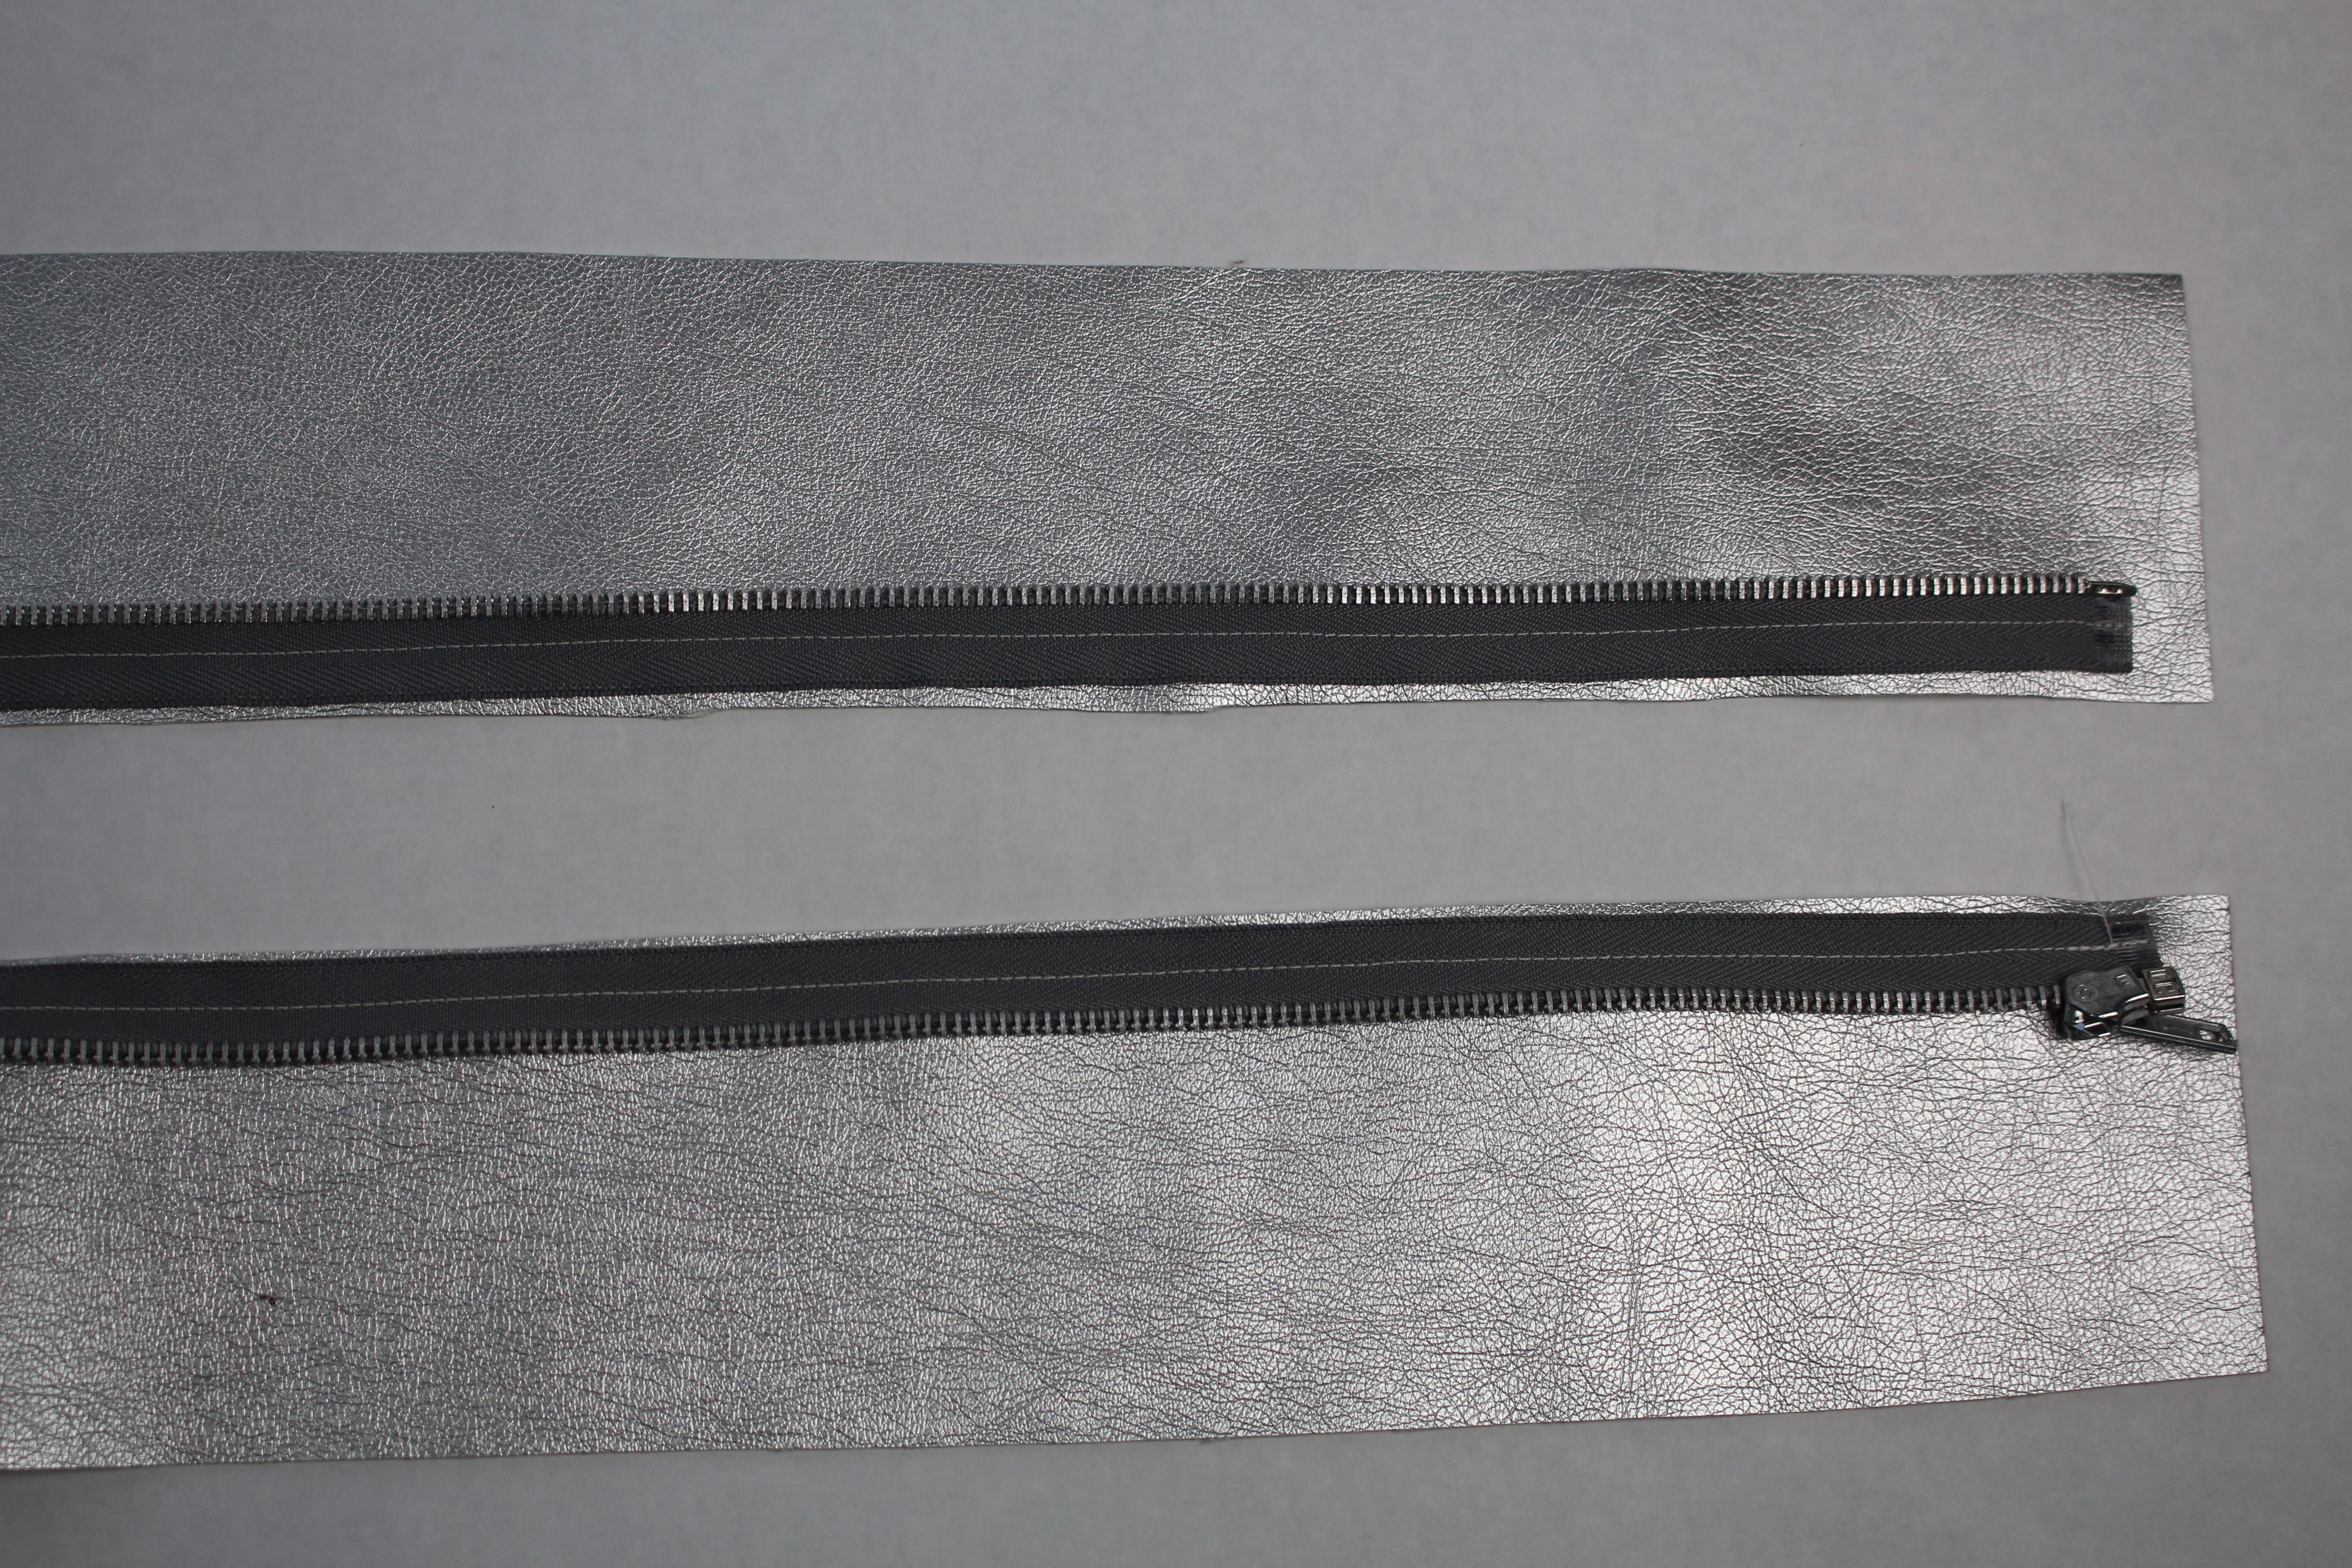
Line up each side of the zipper with the vinyl as shown.  Stitch along the edge of the zipper teeth.
To read the full blog and finish up your sweater upcycle, head over to my post as a Brother Expert Consultant on the Brother Stitching Sewcial.  This is such a quick way to customize any bowl, I can’t wait to try different fabrics for the holiday season!

Cheers,

Behind the Scenes Live with Angela Wolf

Join live every Wednesday at 1:30pm EST on facebook or catch the replay here on the blog.

<iframe src="https://www.facebook.com/plugins/video.php?href=https%3A%2F%2Fwww.facebook.com%2FAngelaWolfCouture%2Fvideos%2F1729139353783172%2F&show_text=1&width=560" width="560" height="537" style="border:none;overflow:hidden" scrolling="no" frameborder="0" allowTransparency="true" allowFullScreen="true"></iframe>
<iframe src="https://www.facebook.com/plugins/video.php?href=https%3A%2F%2Fwww.facebook.com%2FAngelaWolfCouture%2Fvideos%2F1727971820566592%2F&show_text=1&width=560" width="560" height="537" style="border:none;overflow:hidden" scrolling="no" frameborder="0" allowTransparency="true" allowFullScreen="true"></iframe>
<iframe src="https://www.facebook.com/plugins/video.php?href=https%3A%2F%2Fwww.facebook.com%2FAngelaWolfCouture%2Fvideos%2F1726881217342319%2F&show_text=1&width=560" width="560" height="537" style="border:none;overflow:hidden" scrolling="no" frameborder="0" allowTransparency="true" allowFullScreen="true"></iframe>

At Your Side Virtually! Episode 228 Quick Christmas & Holiday Gift Decoration Ideas

Quick & Easy Christmas & Holiday Decor Quick Table Runner Instructions Fabric Requirements: a. Center fabric: Sew together seven of the quilted blocksmade in the 7 7/8 x 14 in hoop. Five of the blocks will havethe applique design and the two ends will be...

Episode 199: At Your Side Virtually! Mug Rug and Coffee Deco with Kathy Stipe and Barb Mikolajczyk

Episode 199 ~ At your side 🧵 Virtually! Create a mug run and decorate your coffee mug with vinyl Join Brother Brand Ambassador Angela Wolf and Brother Educator's Kathy Stipe and Barb Mikolajczyk Designing Mug Rugs in My Design Center-Quick and Easy Supplies needed:...

Embroider 103 Learn How to Embroider on Hats

Learn How to Embroider Hats Join Angela Wolf and Cindy Hogan for a 90 minute virtual class and learn how to embroider hats with any embroidery machine and a 4" by 4" hoop! Learn the best stabilizers and hooping techniques.   This is a virtual class, live with Angela...

Embroidery 102 Embroider Small Letters Recipe Project Virtual Class

Embroidery 102 How to Embroider Small Letters with Angela Wolf and Cindy Hogan Learn how to embroider small letters on a thin kitchen towel and fine cotton or linen - perfect for napkins!   Learn the best stabilizers, thread, and hooping techniques.  Cindy's digitized...

Learn How to Sew on Clear Vinyl

Episode 133 ~ At your side 🧵 Virtually!  Organizing and Sewing Clear Vinyl It's January and that means it time to organize for a new year!  Today I show how to sew clear vinyl for bags to store patterns and ideas for organizing button and beads; two of my my favorite...

Apron Sew Along

Apron Sew Along An apron is such a fun accessory to wear in the kitchen, at work, while dyeing fabrics, gardening, you name it!  I thought it would be so fun to sew an apron and each day have guests on the live show showing how to embellish with embroidery, quilting,...

Great class for beginners or advanced!! I’ve been sewing for a very long time, but have always avoided knits. This class takes the fear out of sewing with knits. Loved all the tips for sewing with knits from cutting them out to sewing it up. Thanks Angela for sharing your time and knowledge with us.

Sharon Moore

How to Sew Exposed Zippers in Jeans and Jeggings!

How to Sew Exposed Zippers in Jeans and Jeggings!

With October’s Wardrobe Challenge including zippers, I thought now would be a good time to share a few easy ways to embellish with exposed zippers.

exposed zipe

A fun way to change the look of a pair of jeans is to embellish the leg with an exposed zipper.  Follow along:

angelawolfexposedzip1Supplies Needed:

angelawolfexposedzip2

Step 1: On the wrong side of the fabric, mark the center of the pant leg (could be front or back, wherever you want the zipper).

If marking an existing pair of jeans, rip out the hem at least 5″ from each side of new mark. Press the fusible interfacing along the newly marked center line.

angelawolfexposedzip3

Step 2: Mark the hem, hem allowance, and the length of the zipper opening down center of the pant leg.

angelawolfexposedzip4

Step 3: Determine the width of the zipper opening (depends on the width of the zipper teeth).  Draw in opening, top edge, and then add a triangle from the center cut line to each corner (as shown above).

angelawolfexposedzip5Step 4: Cut along center marking.  Cut each triangle point (if you are worried about the fabric fraying, add Fray Check to the top corners)

angelawolfexposedzip6

Step 5: Press the seam allowances back and press triangle tip up.

angelawolfexposedzip8

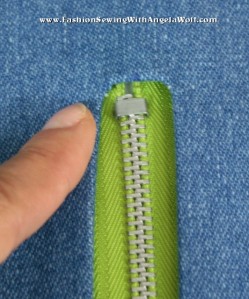
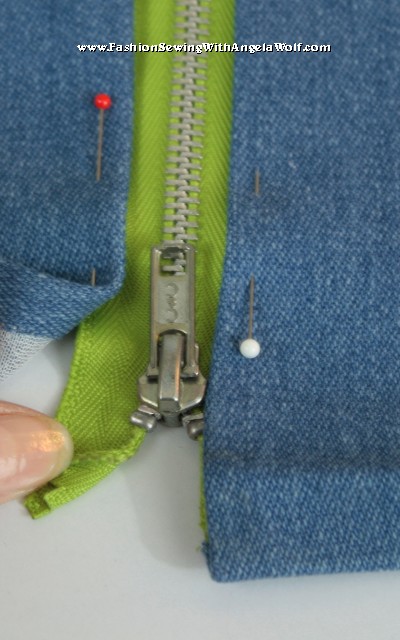
Step 6: Line up the zipper with the metal teeth in the center of the opening.  Check the placement of the zipper stop and zipper tab.

angelawolfexposedzip10angelawolfexposedzip9


angelawolfexposedzip11

Step 7: Fold back the zipper tape and press in place at the hemline.

angelawolfexposedzip13

angelawolfexposedzip12

Step 8:  Pin zipper in place.

angelawolfexposedzip14

angelawolfexposedzip15

Step 9:  In this example, I am using standard polyester thread, cotton or silk thread would work too.  Set the sewing machine to a triple stitch and lengthen the stitch length to 4.0.  (Note:  if you don’t have this feature, use denim thread, straight stitch, stitch length 4.0)

angelawolfexposedzip16

Step 10: Stitch along the edge of the zipper.  Open and close the zipper as needed in order to get the foot by the zipper tab.  angelawolfexposedzip17Step 11:  Notice how I have lined up the edge of the zipper foot with the metal teeth, a very easy to get a straight stitch  … or this would be a great time to utilize the laser vision guide feature on your machine! 🙂

angelawolfexposedzip18

Step 12: Press up the hem with the tailor’s clapper for a crisp crease.  By the way, did I mention WAWAK Sewing is now carrying my tailor’s clapper!  Yeah!

angelawolfexposedzip19

Step 13: Hem the jeans and move onto the other leg.

That’s it! Now this is just one quick, easy way to install a hidden zipper.  I will give you some more ideas next time.

Cheers,

Angela Wolf


WAWAK_SEWING  Angela_Wolf_DVD_Cover__70546_1405390138_1280_1280

Pin It on Pinterest