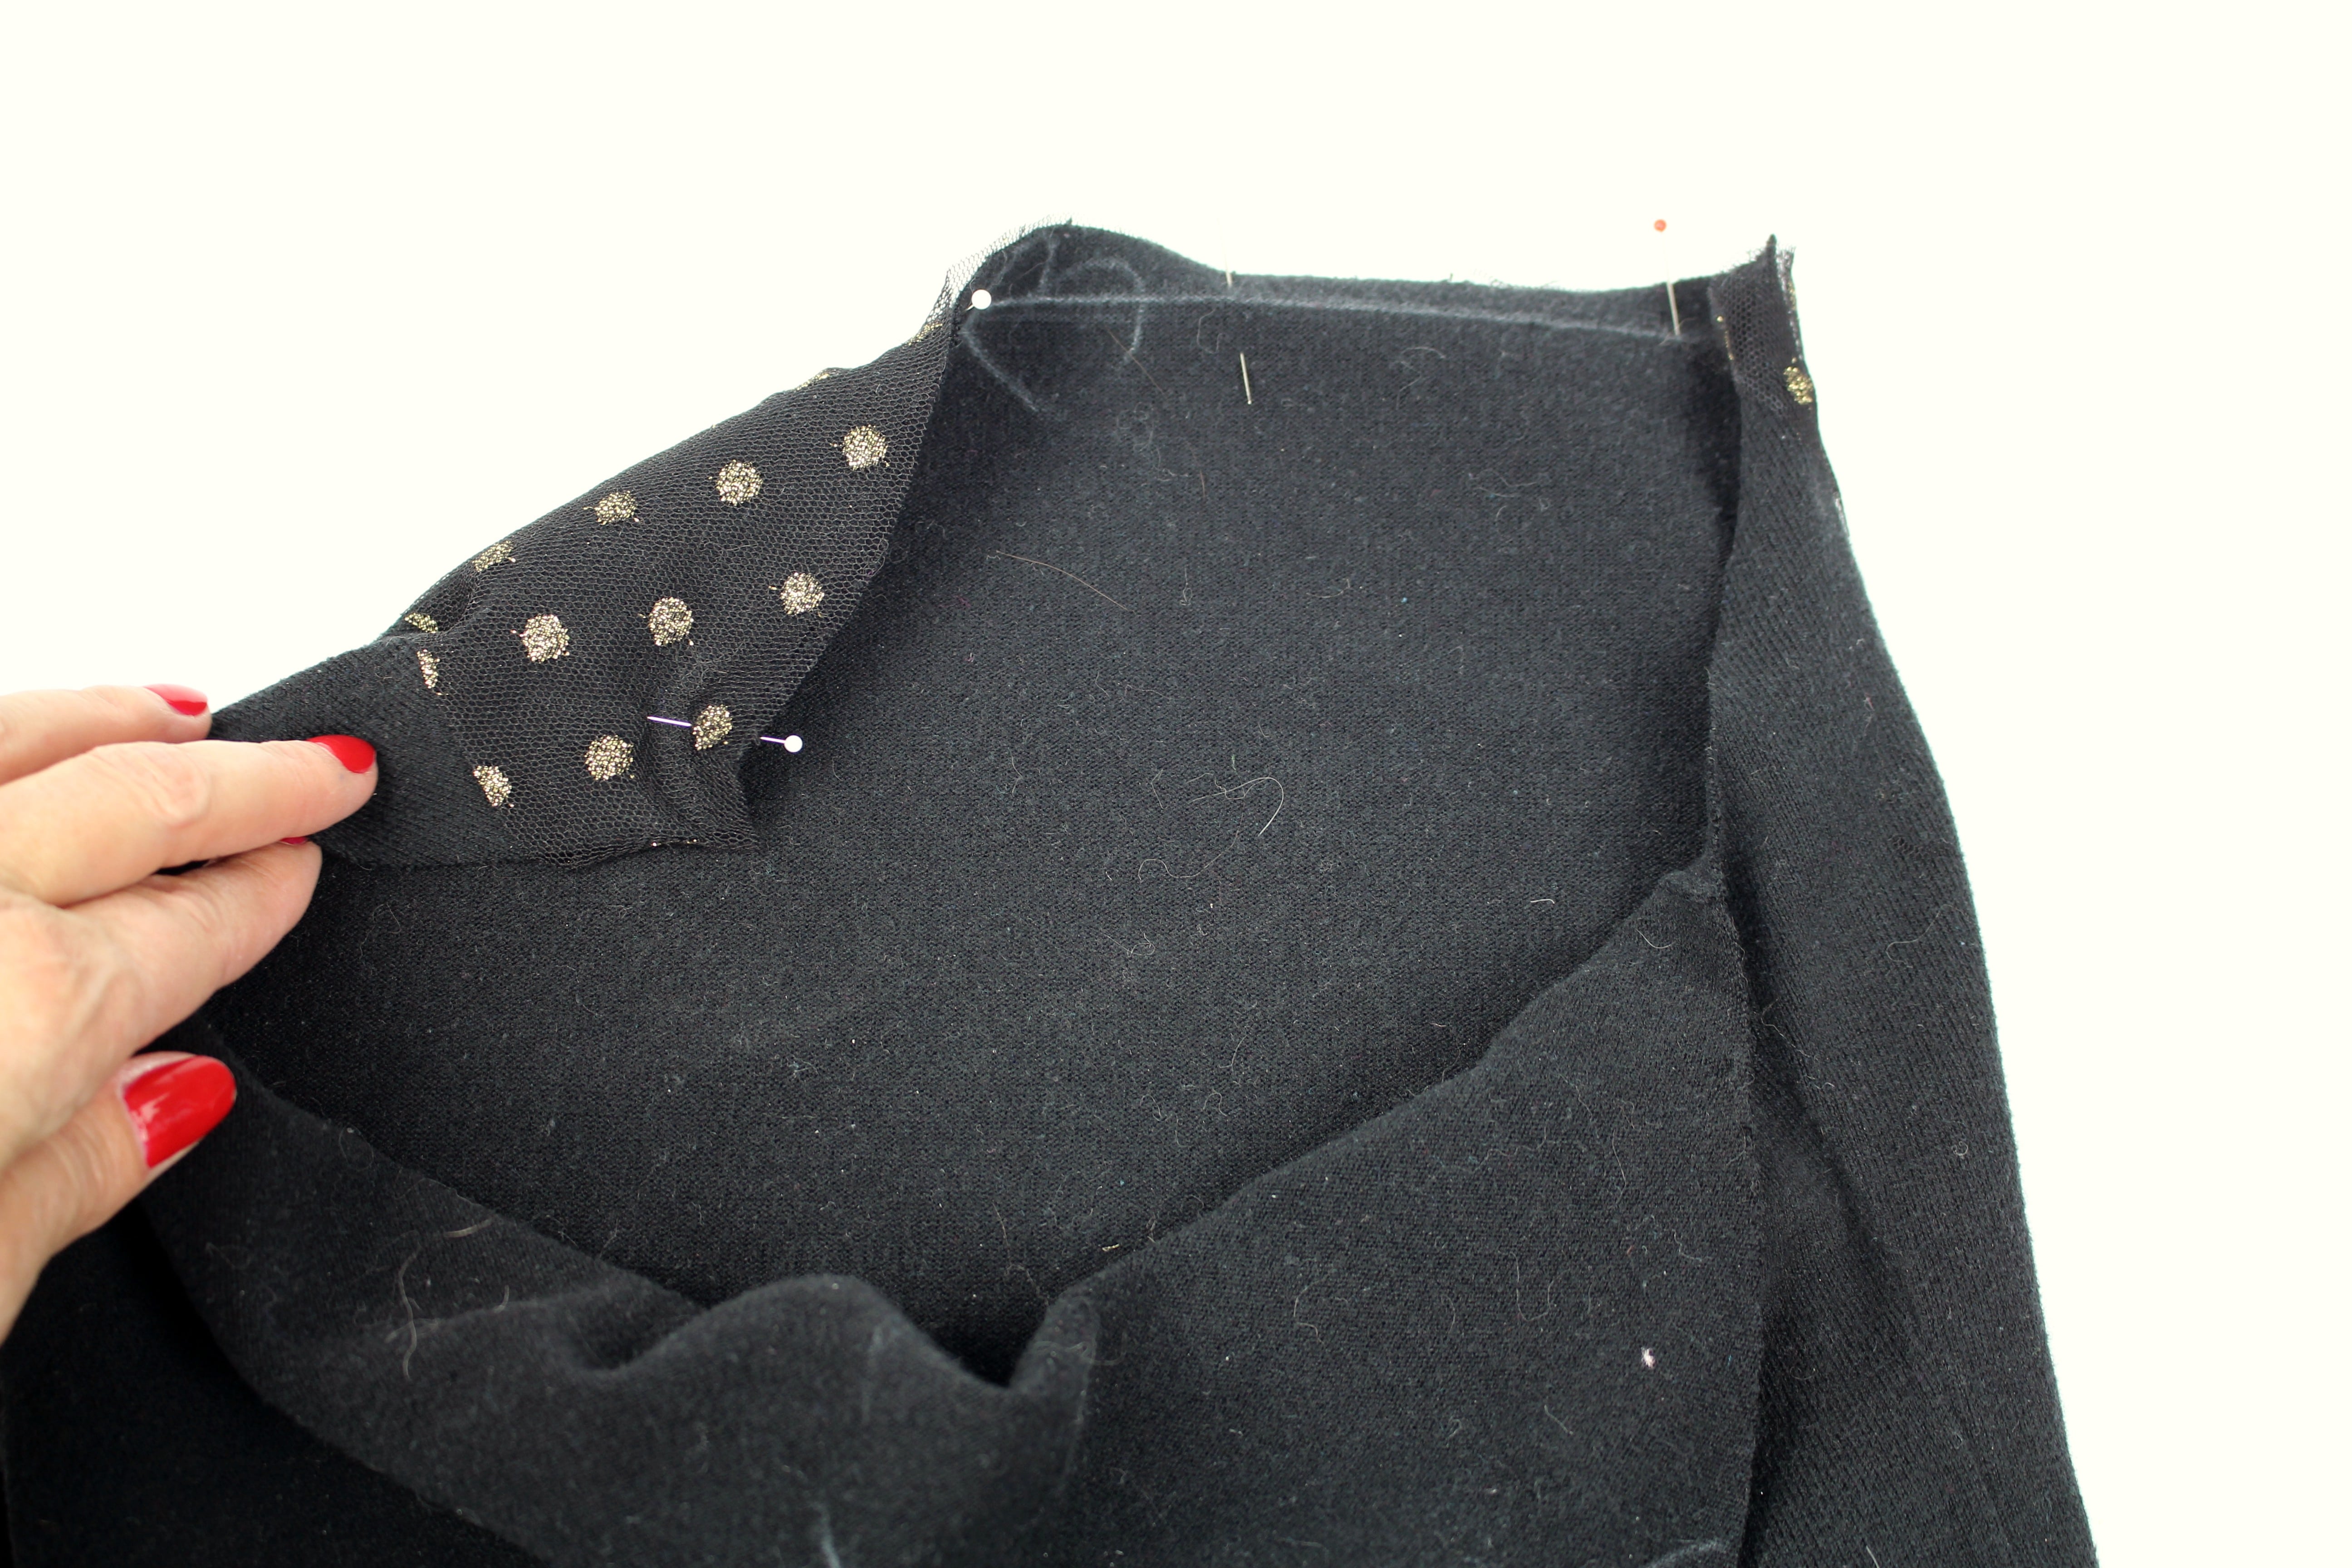
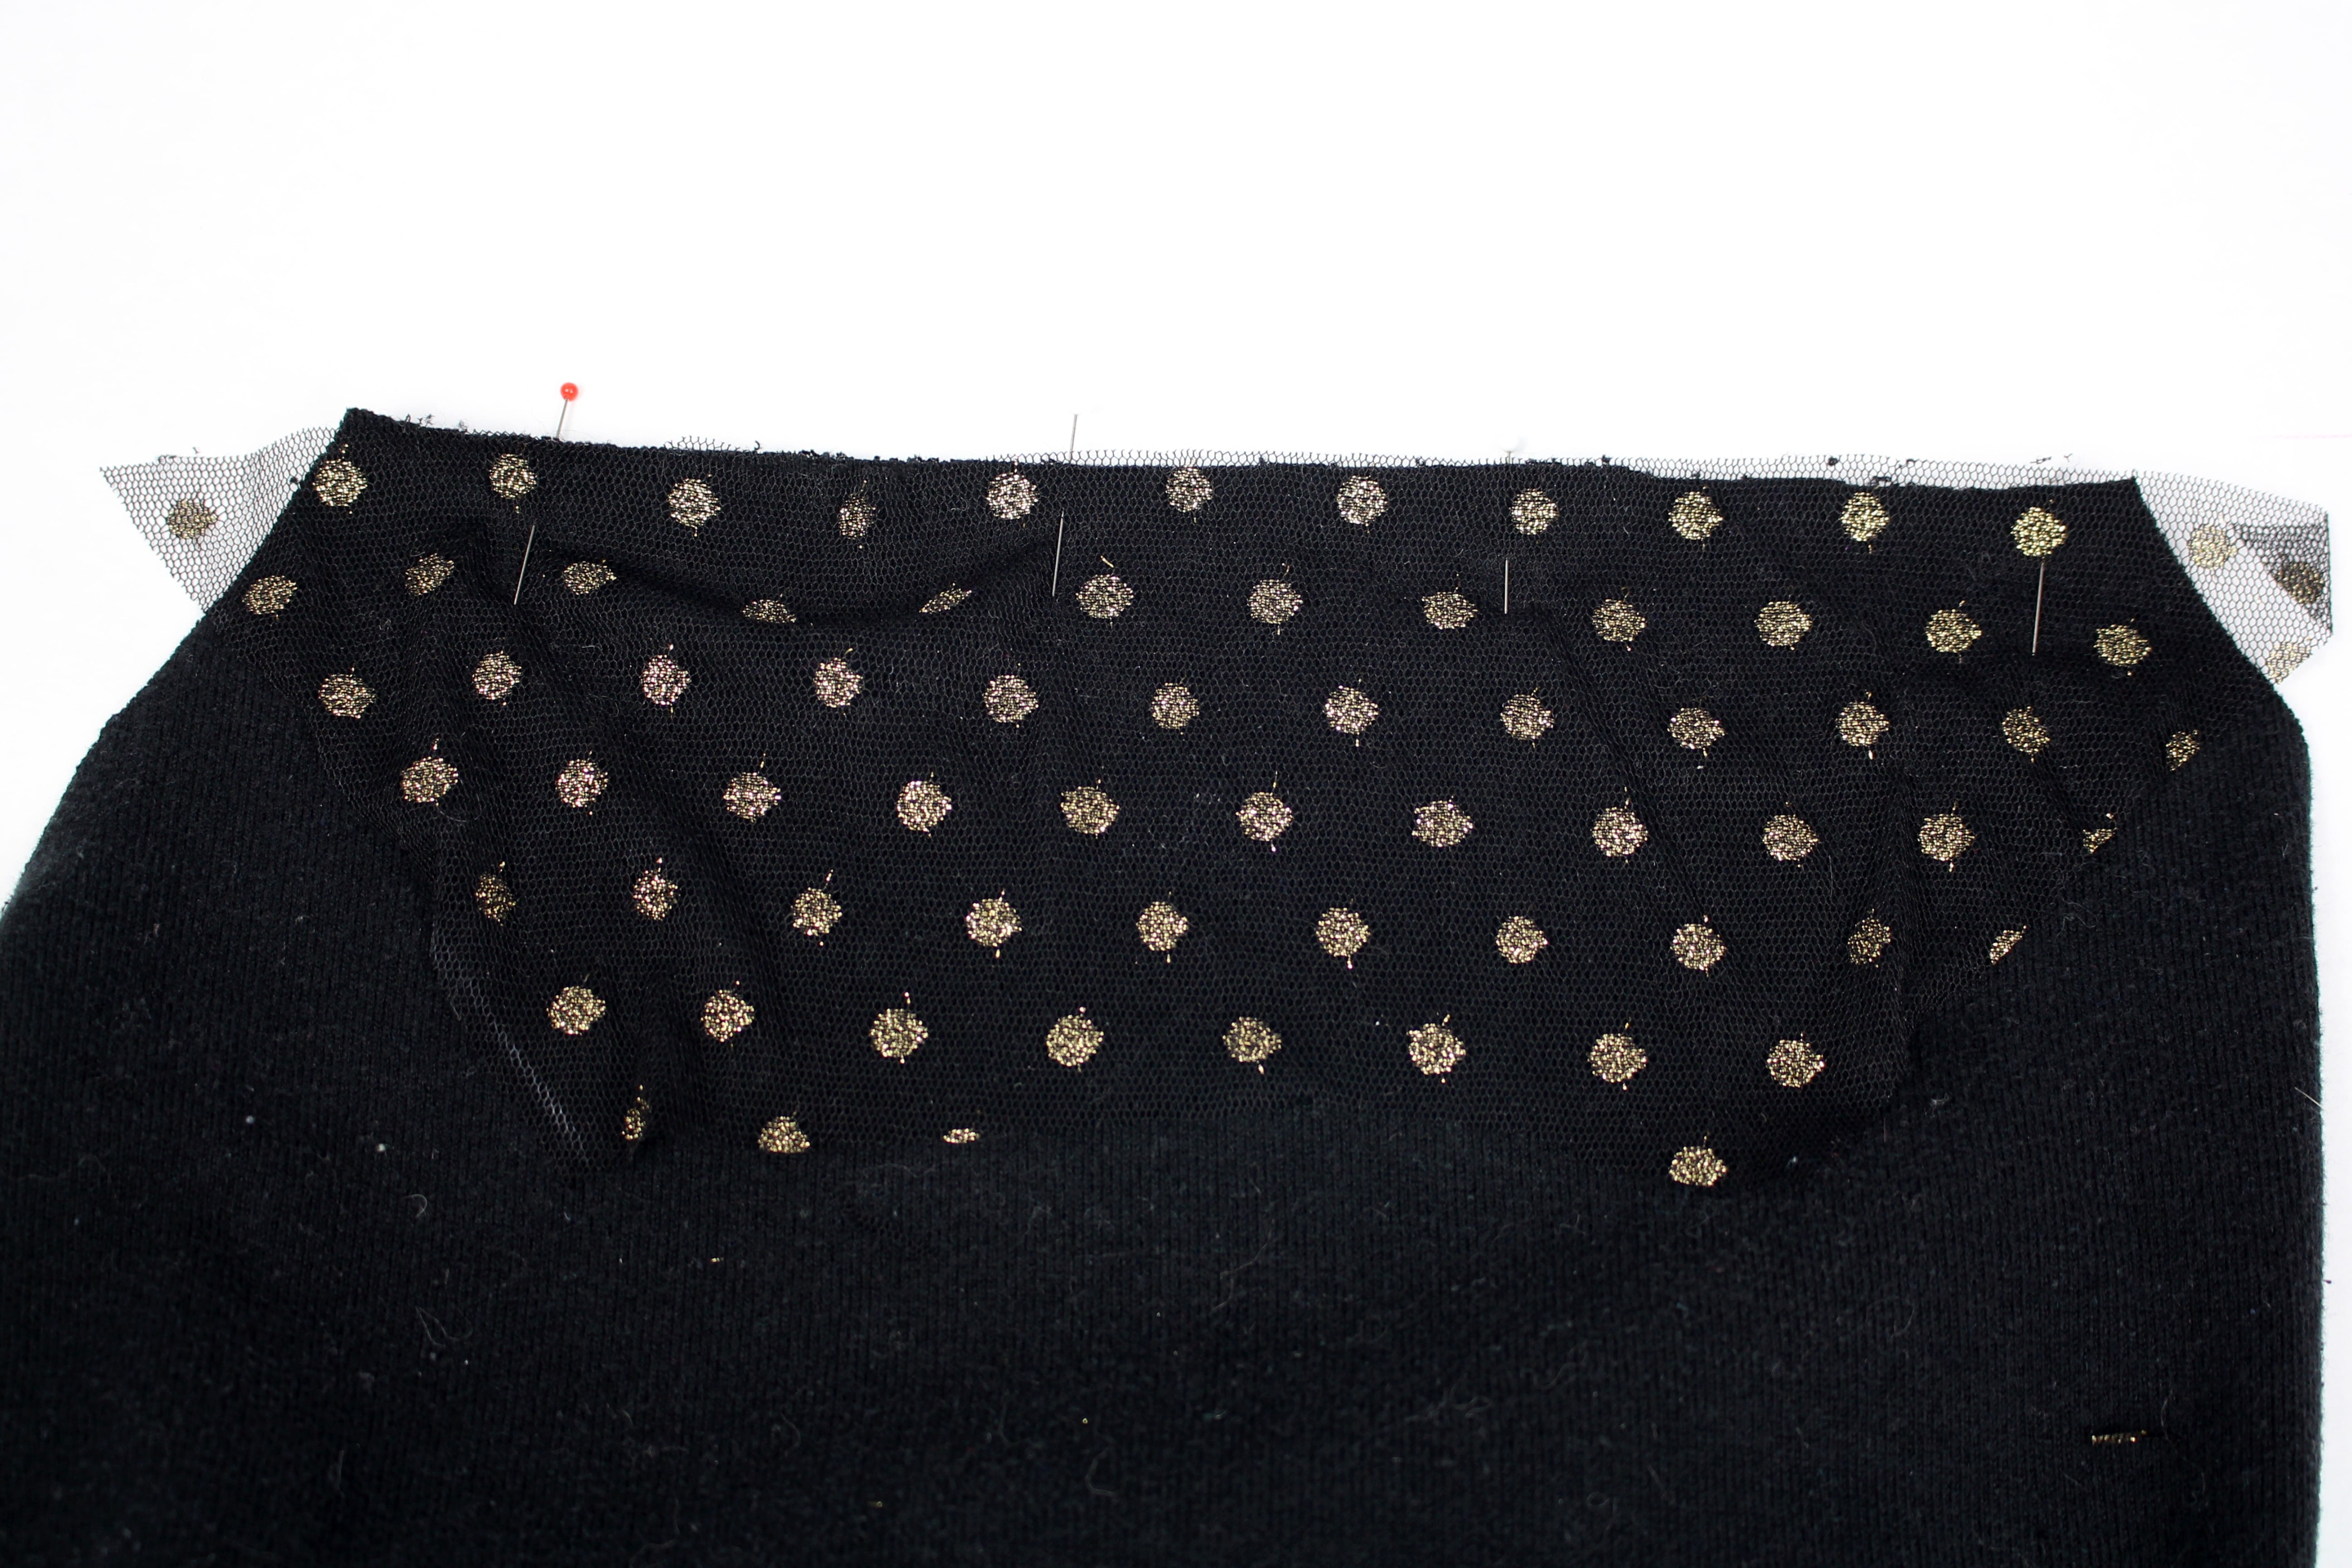
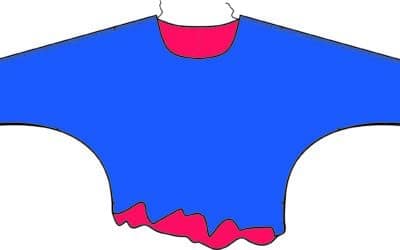
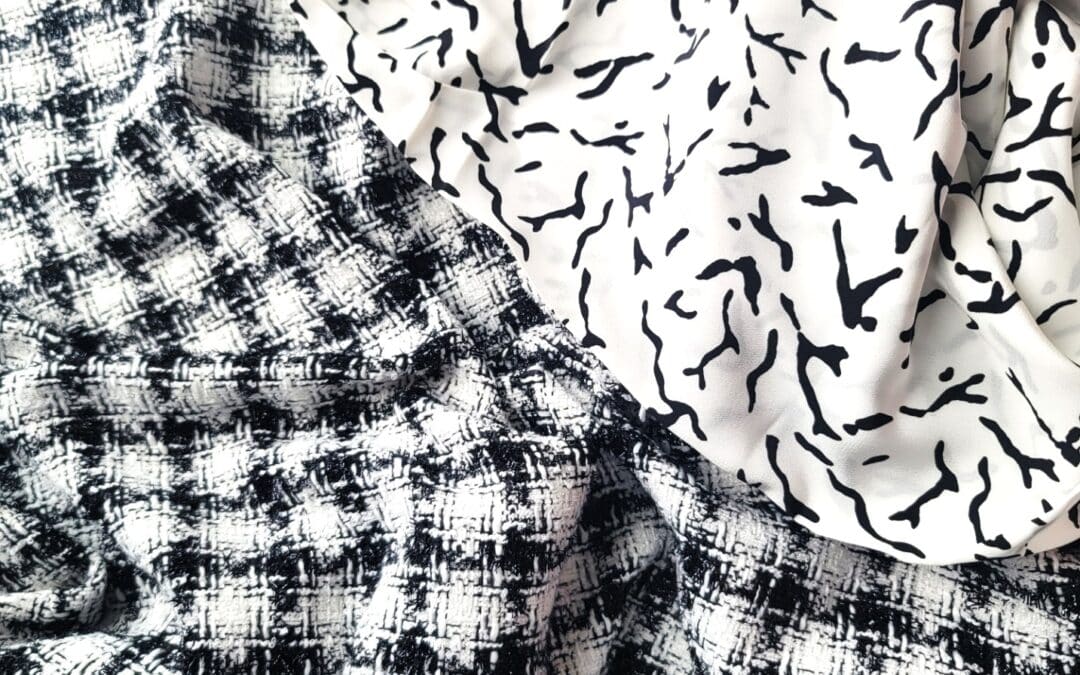
Tweed Skirt Sewalong Part 1 In part 1 of this sewalong I will share options for choosing the best fabrics and pattern. Join me in choosing the best lining to coordiante with my fabric!Skirt Patterns to choose from: ~ The Kate Skirt ~ The Fringe Skirt Pattern ~...
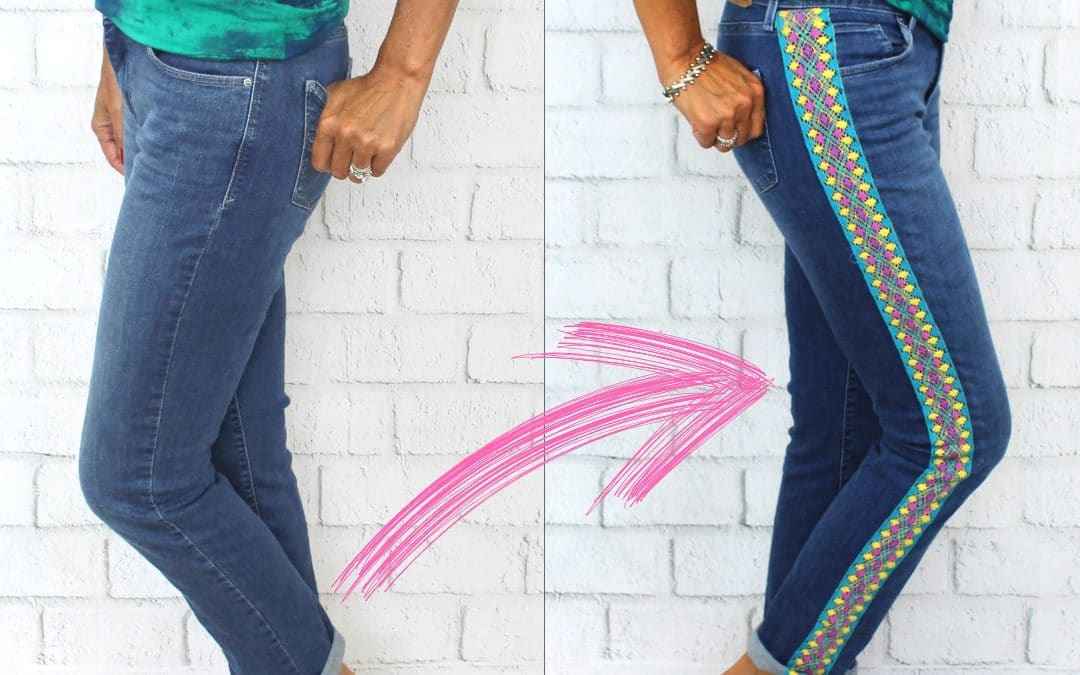
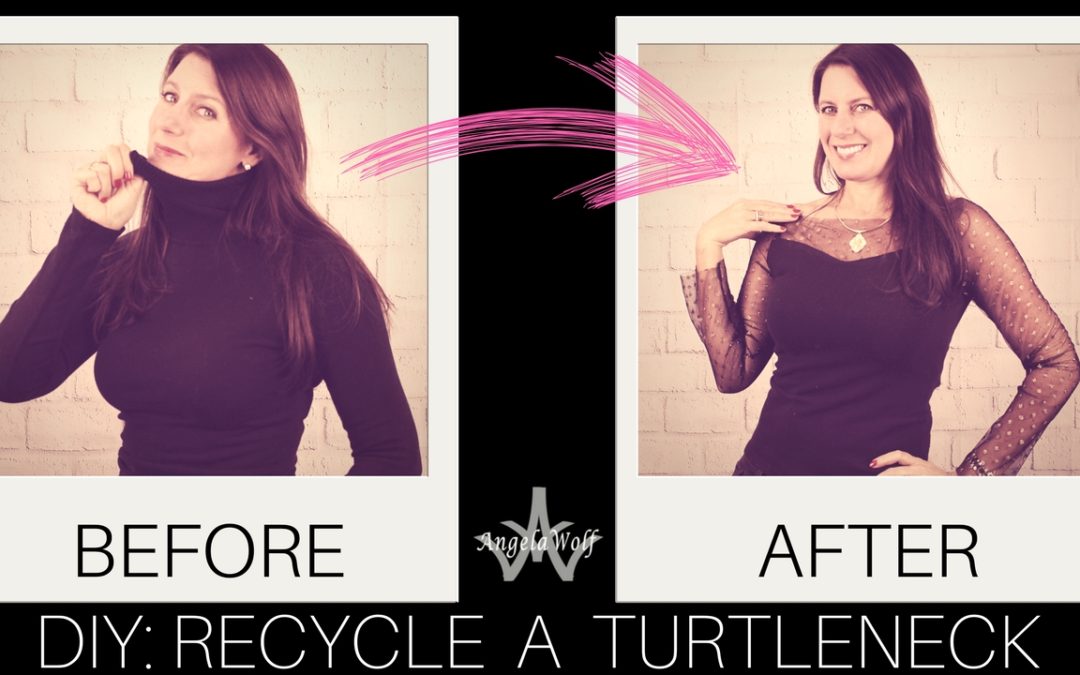
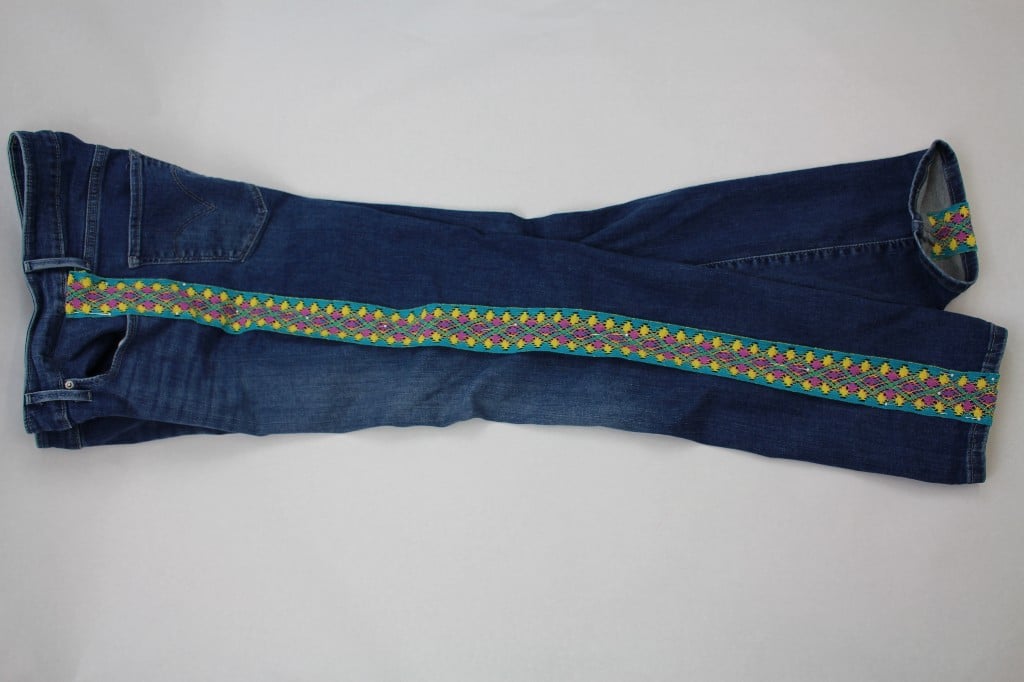
DIY: Refashion Jeans with Trim
Refashion Jeans with Trim
You might have noticed some of the fashions of the late 60’s and 70’s making a comeback on the store shelves, from floral fabrics to embellished jeans. How about adding crocheted ribbon trim along the outside leg! This is so easy!!!
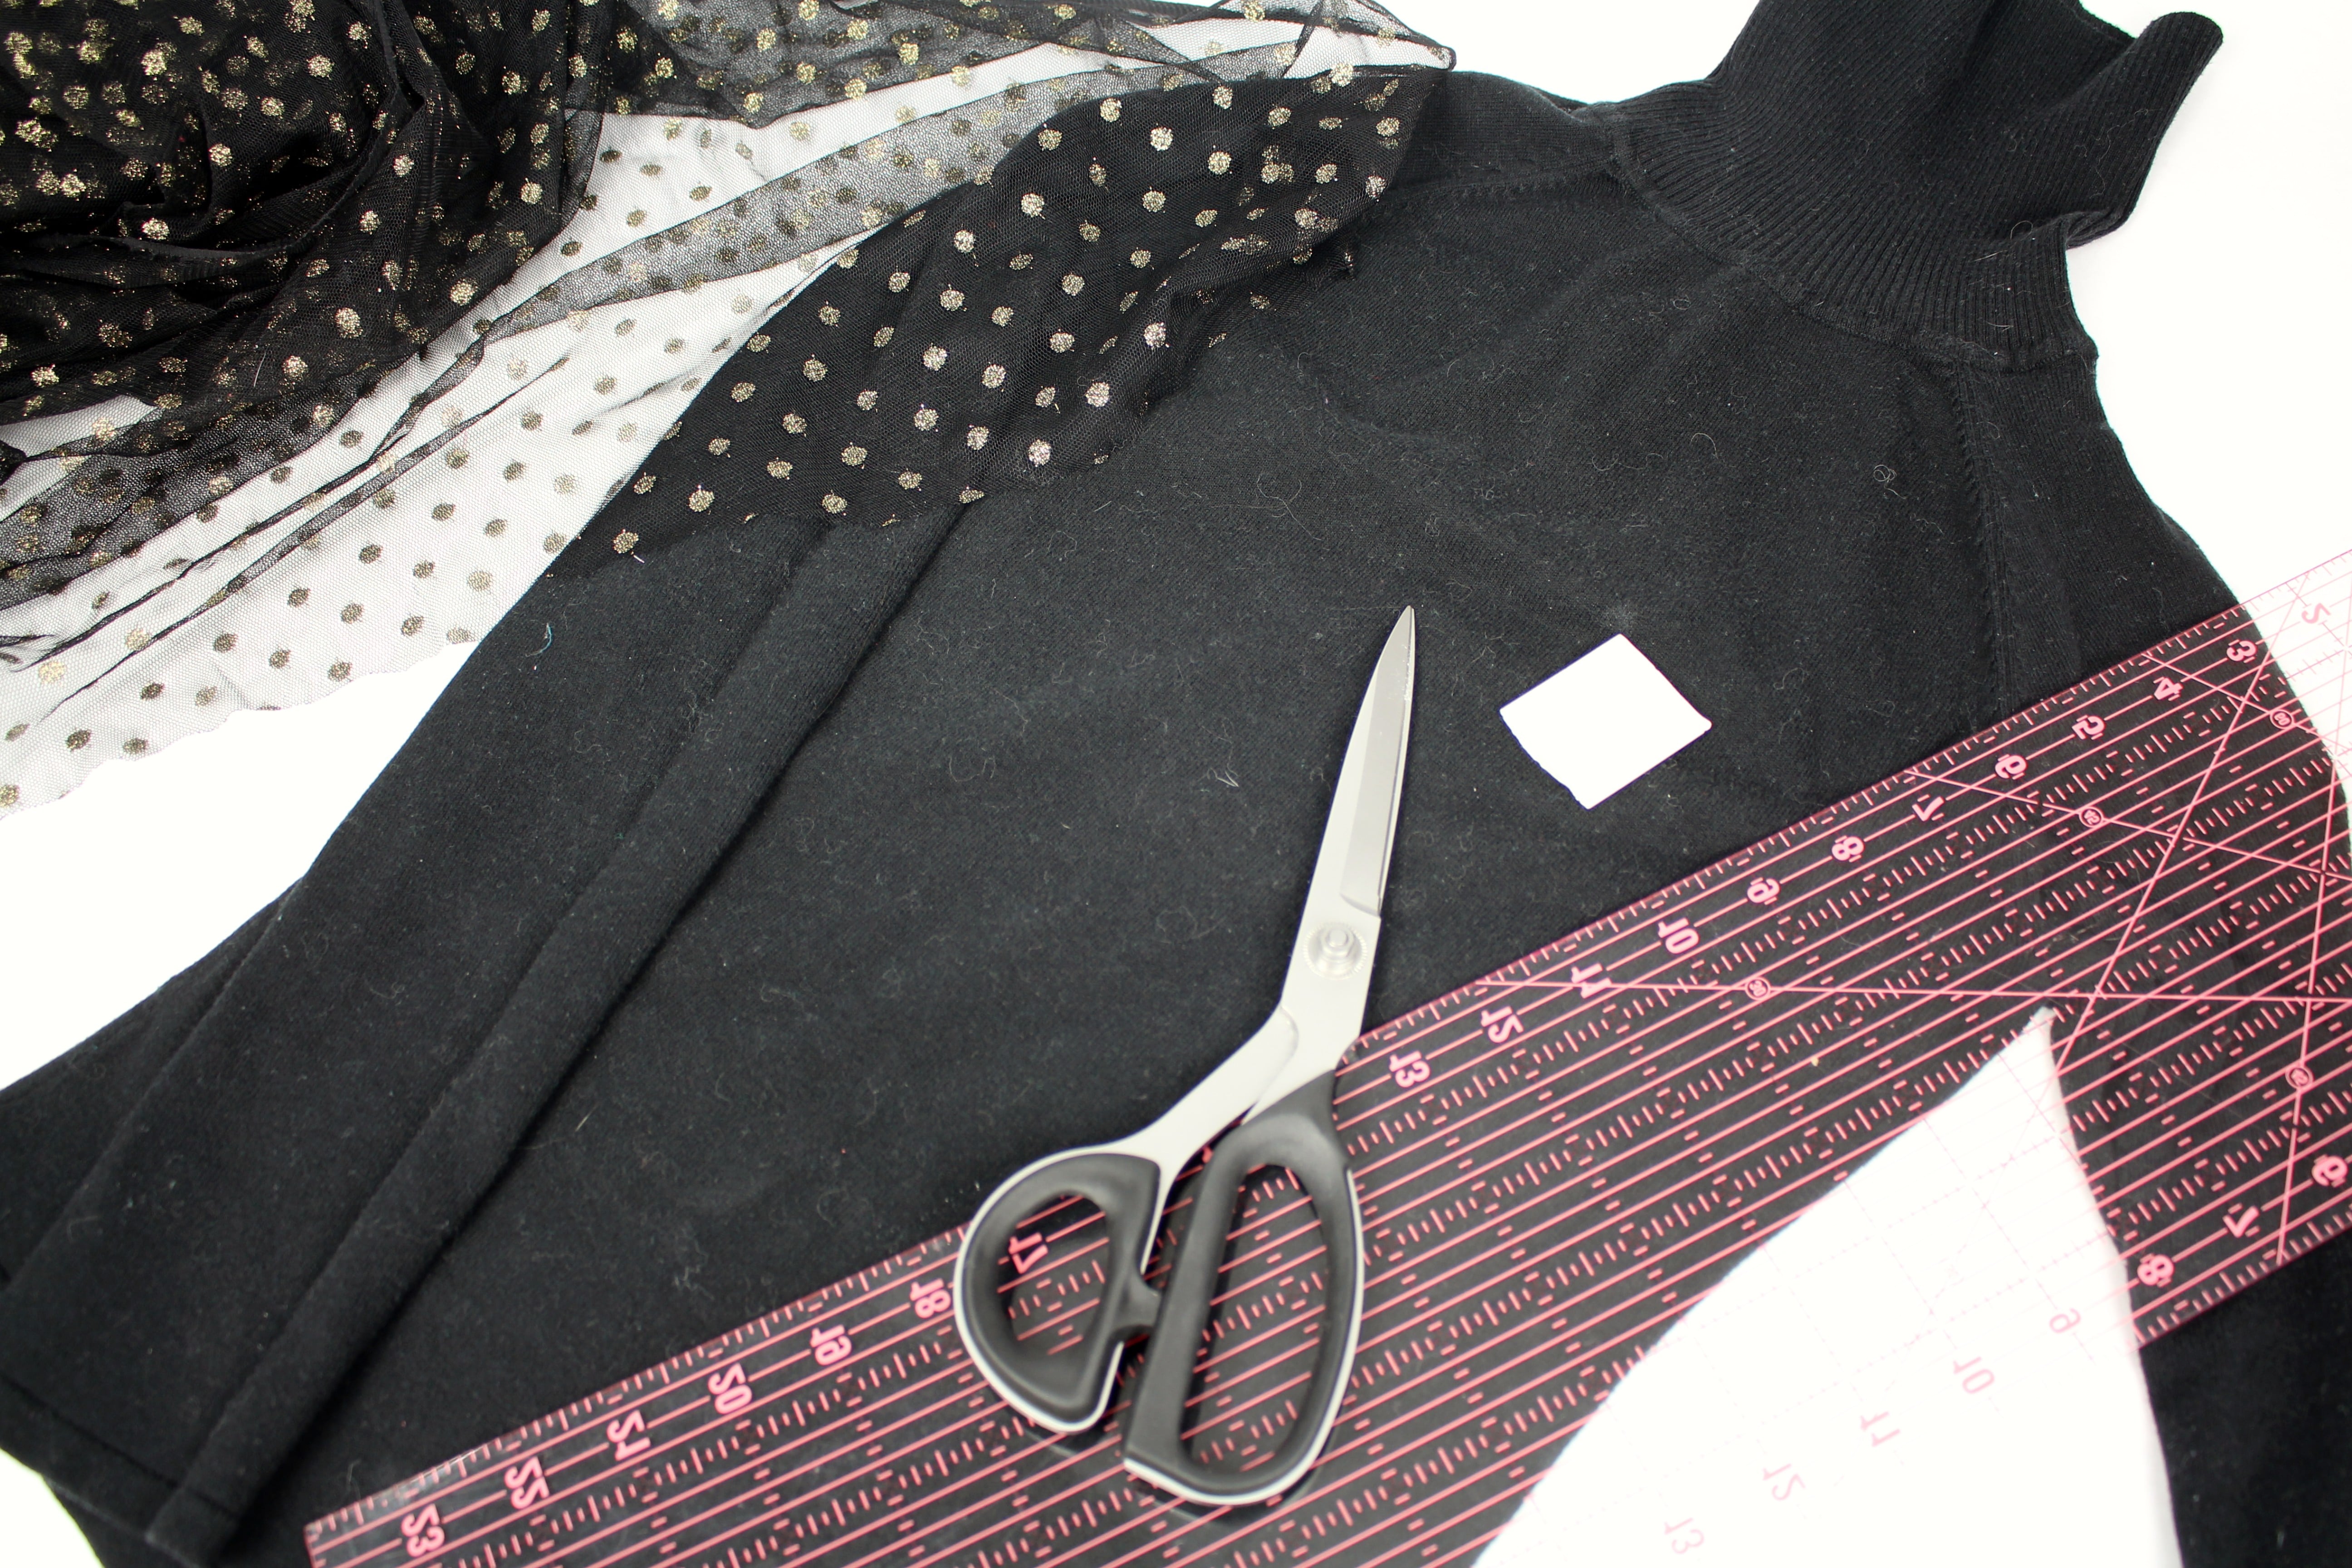
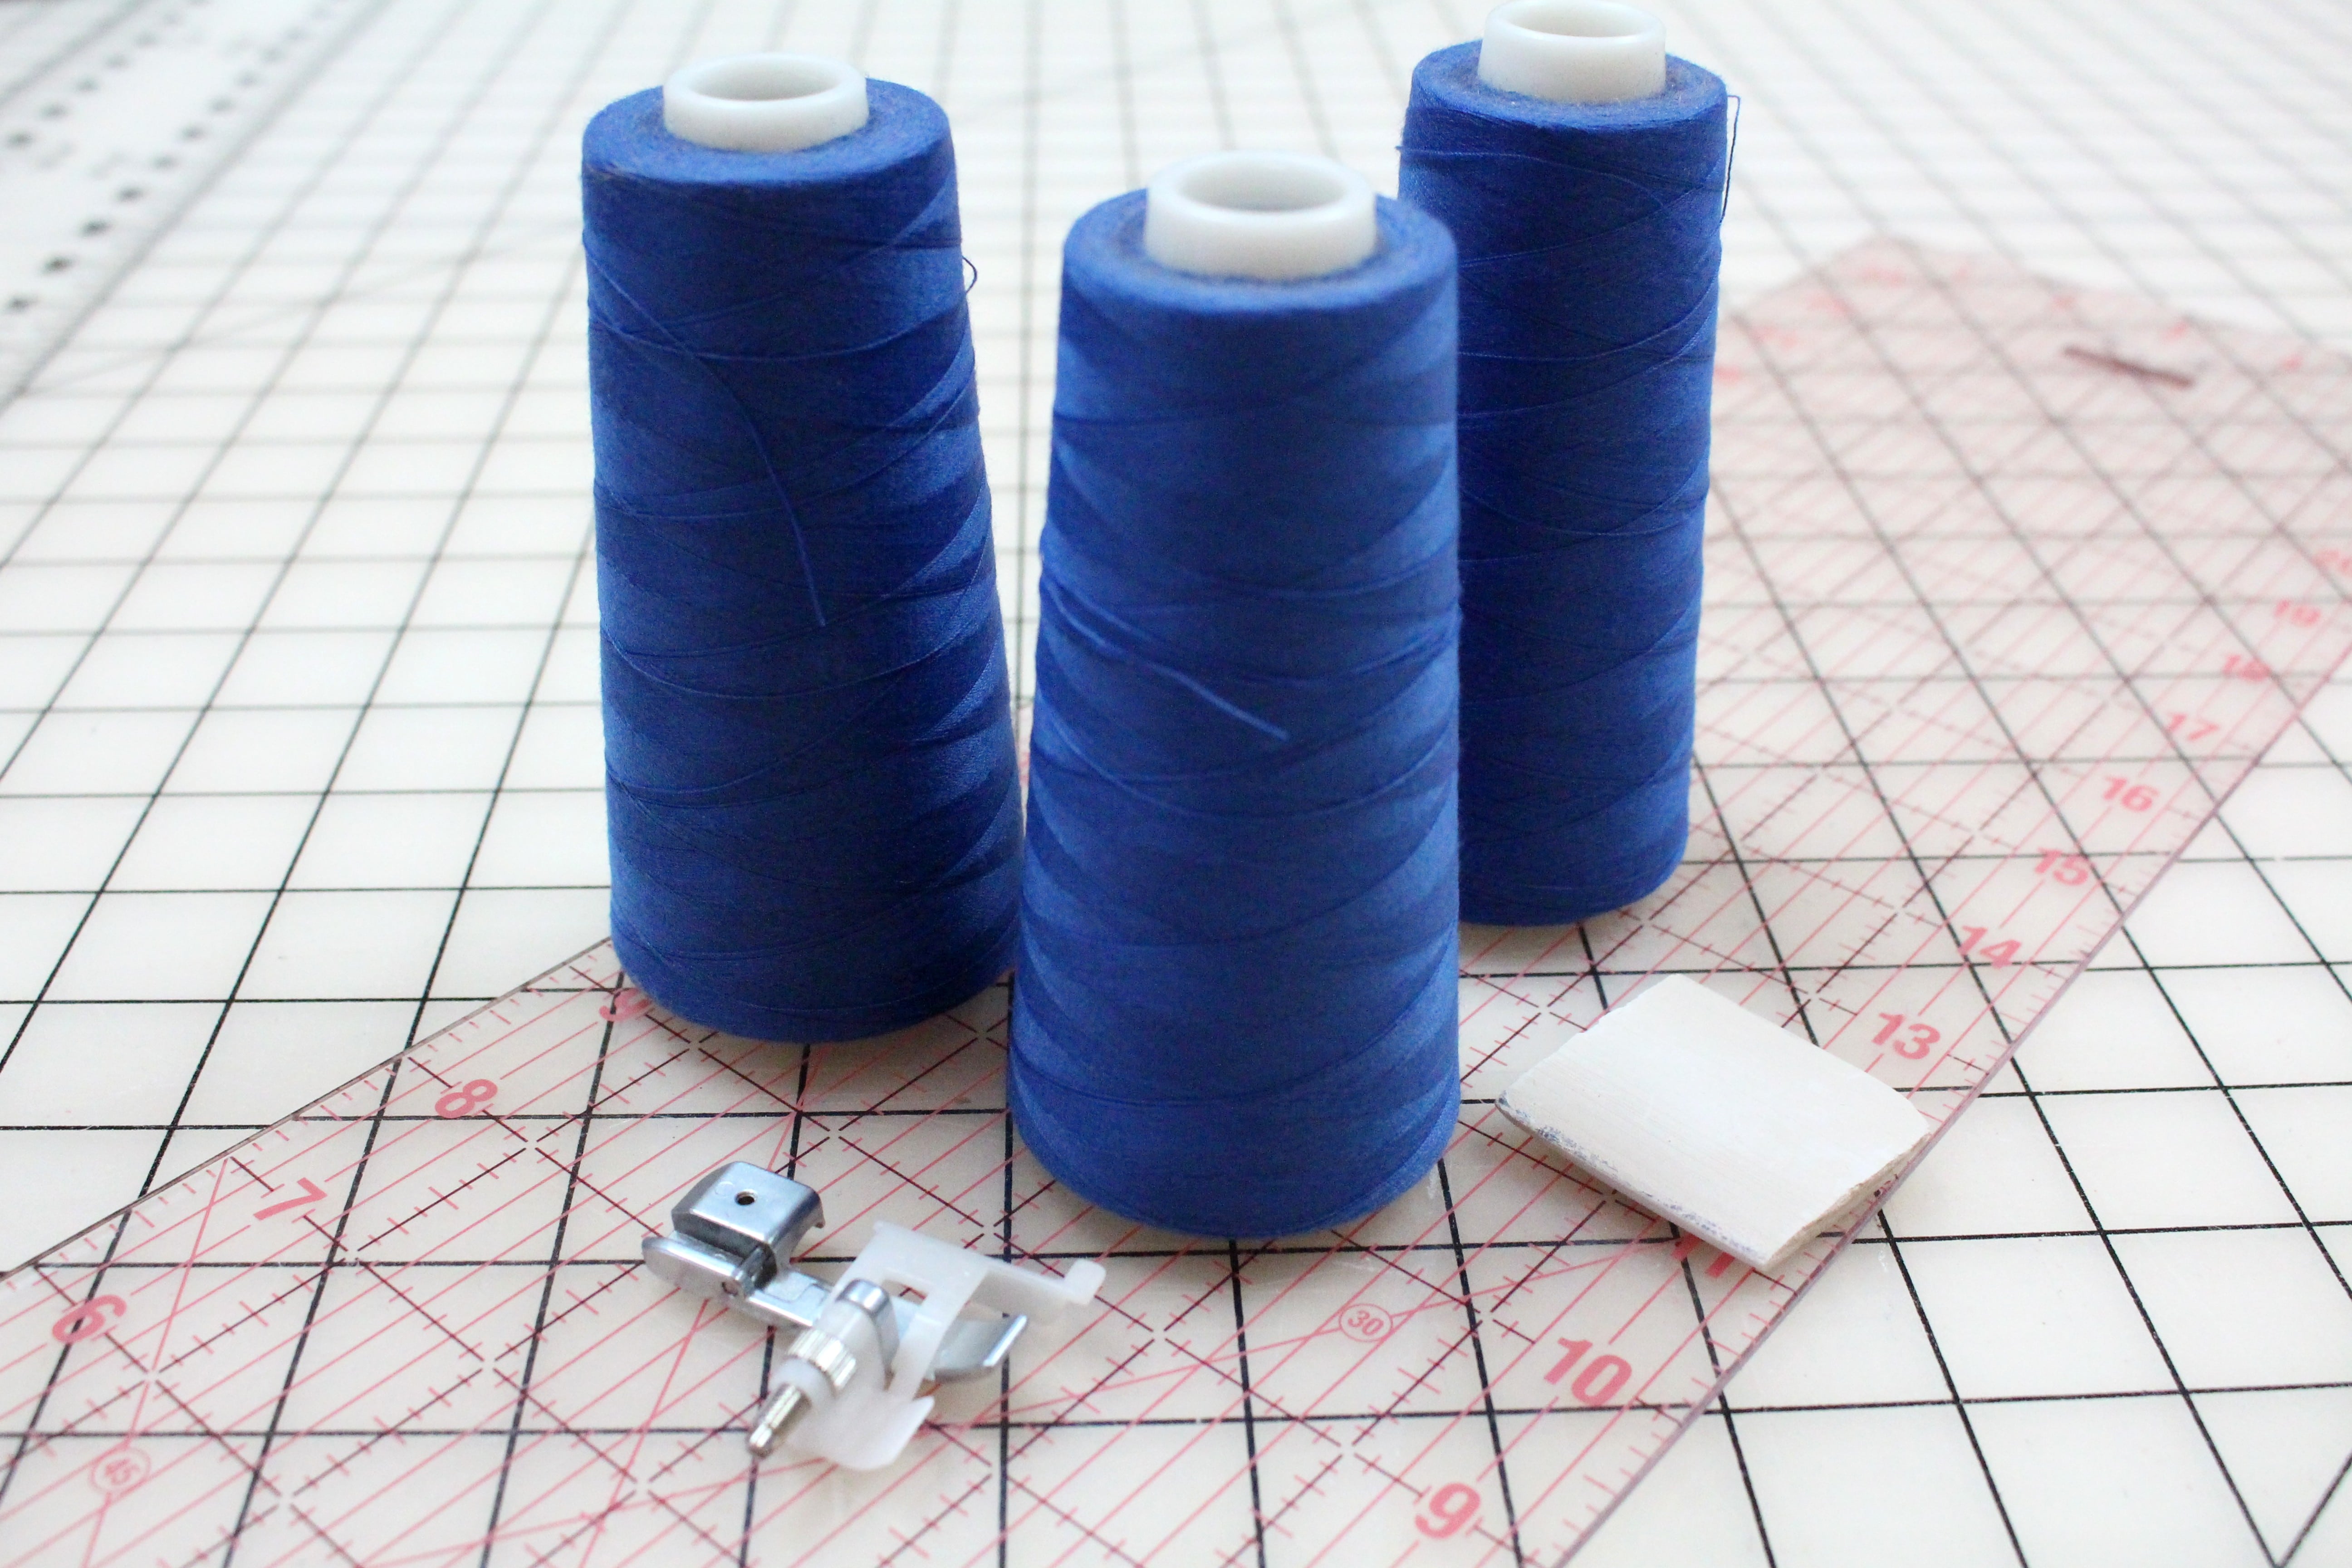
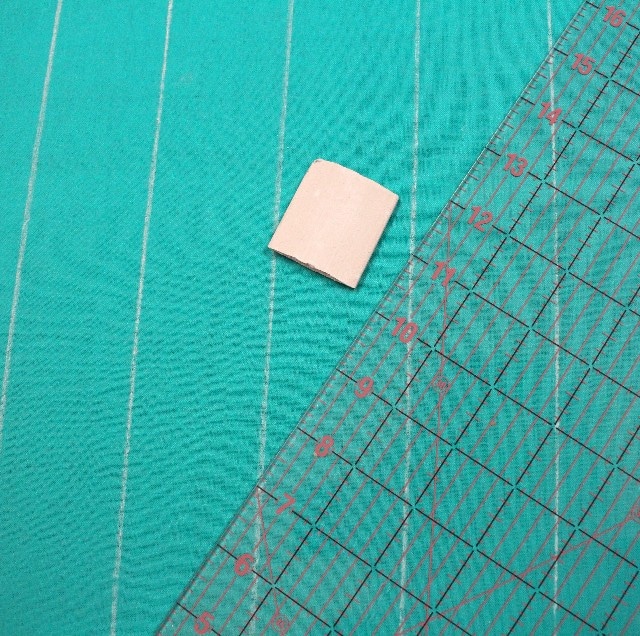
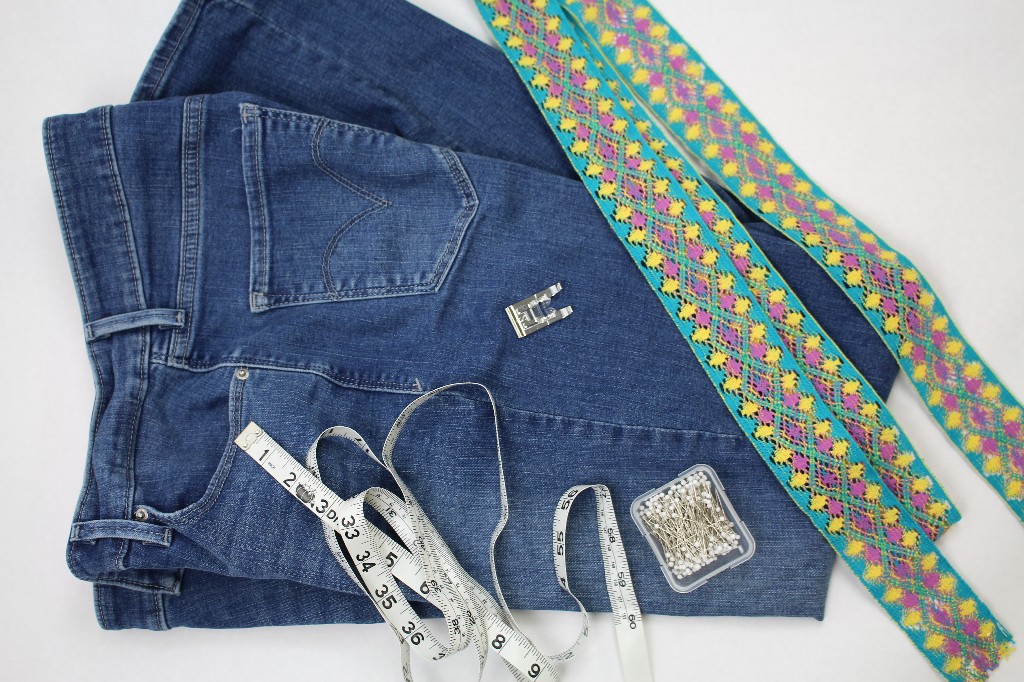
Supplies:
- Jeans
- Measuring tape
- Pins
- Ribbon or trim (check that the trim is washable)
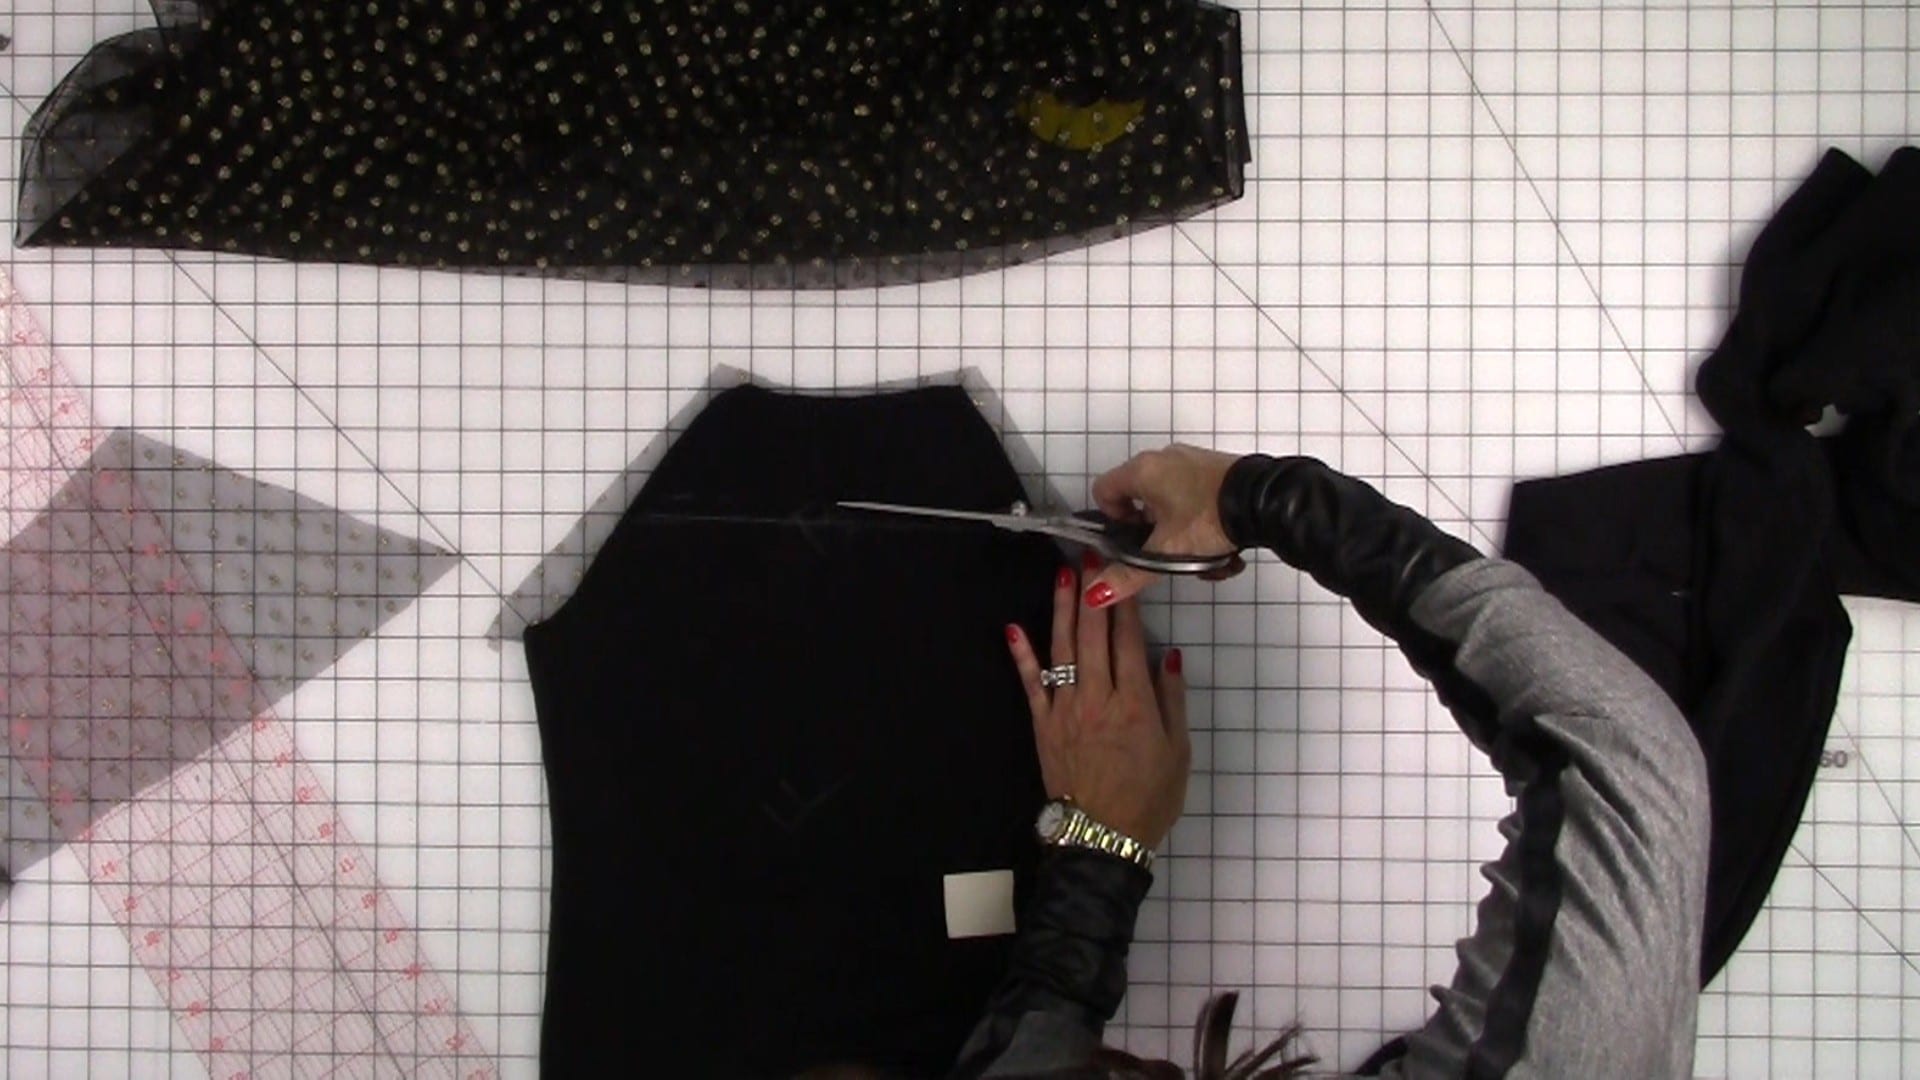
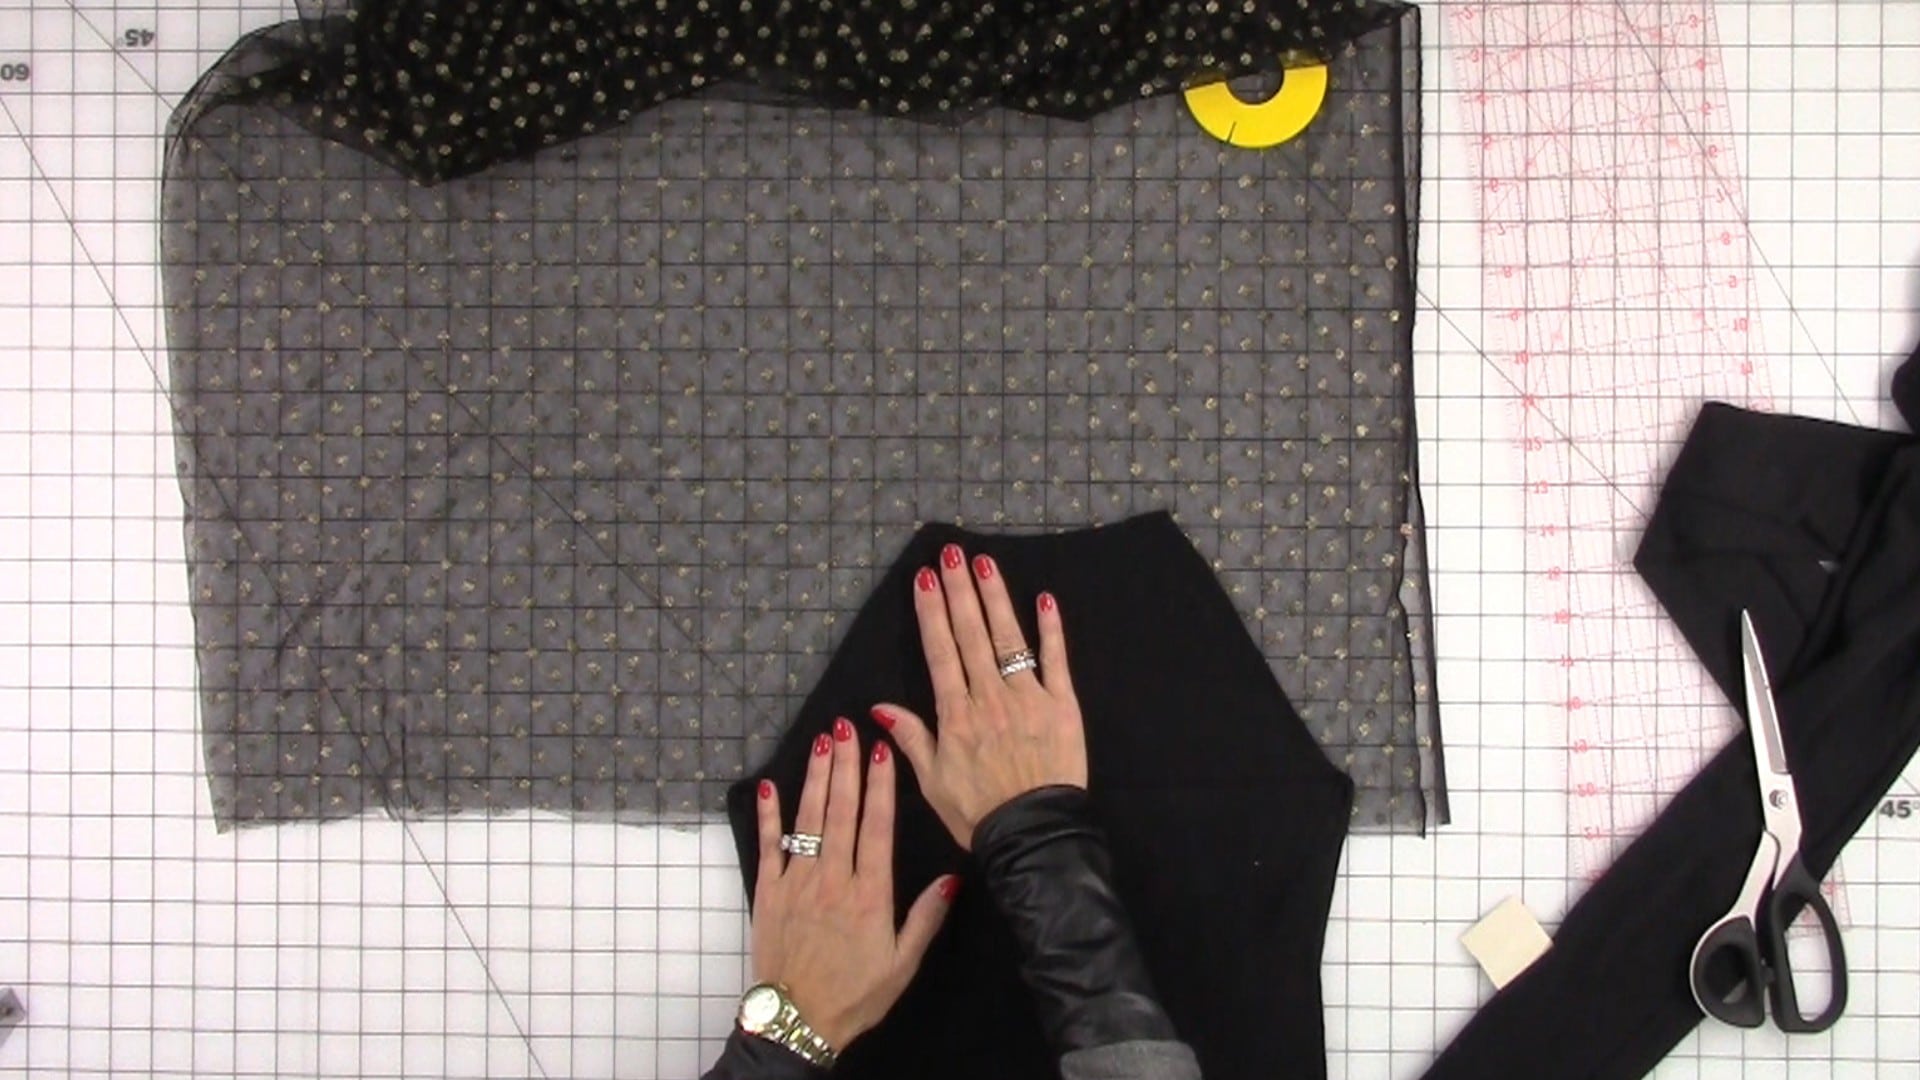
PREPPING
- Measure the outside of the jean leg from the bottom edge of the waistband to the hem.
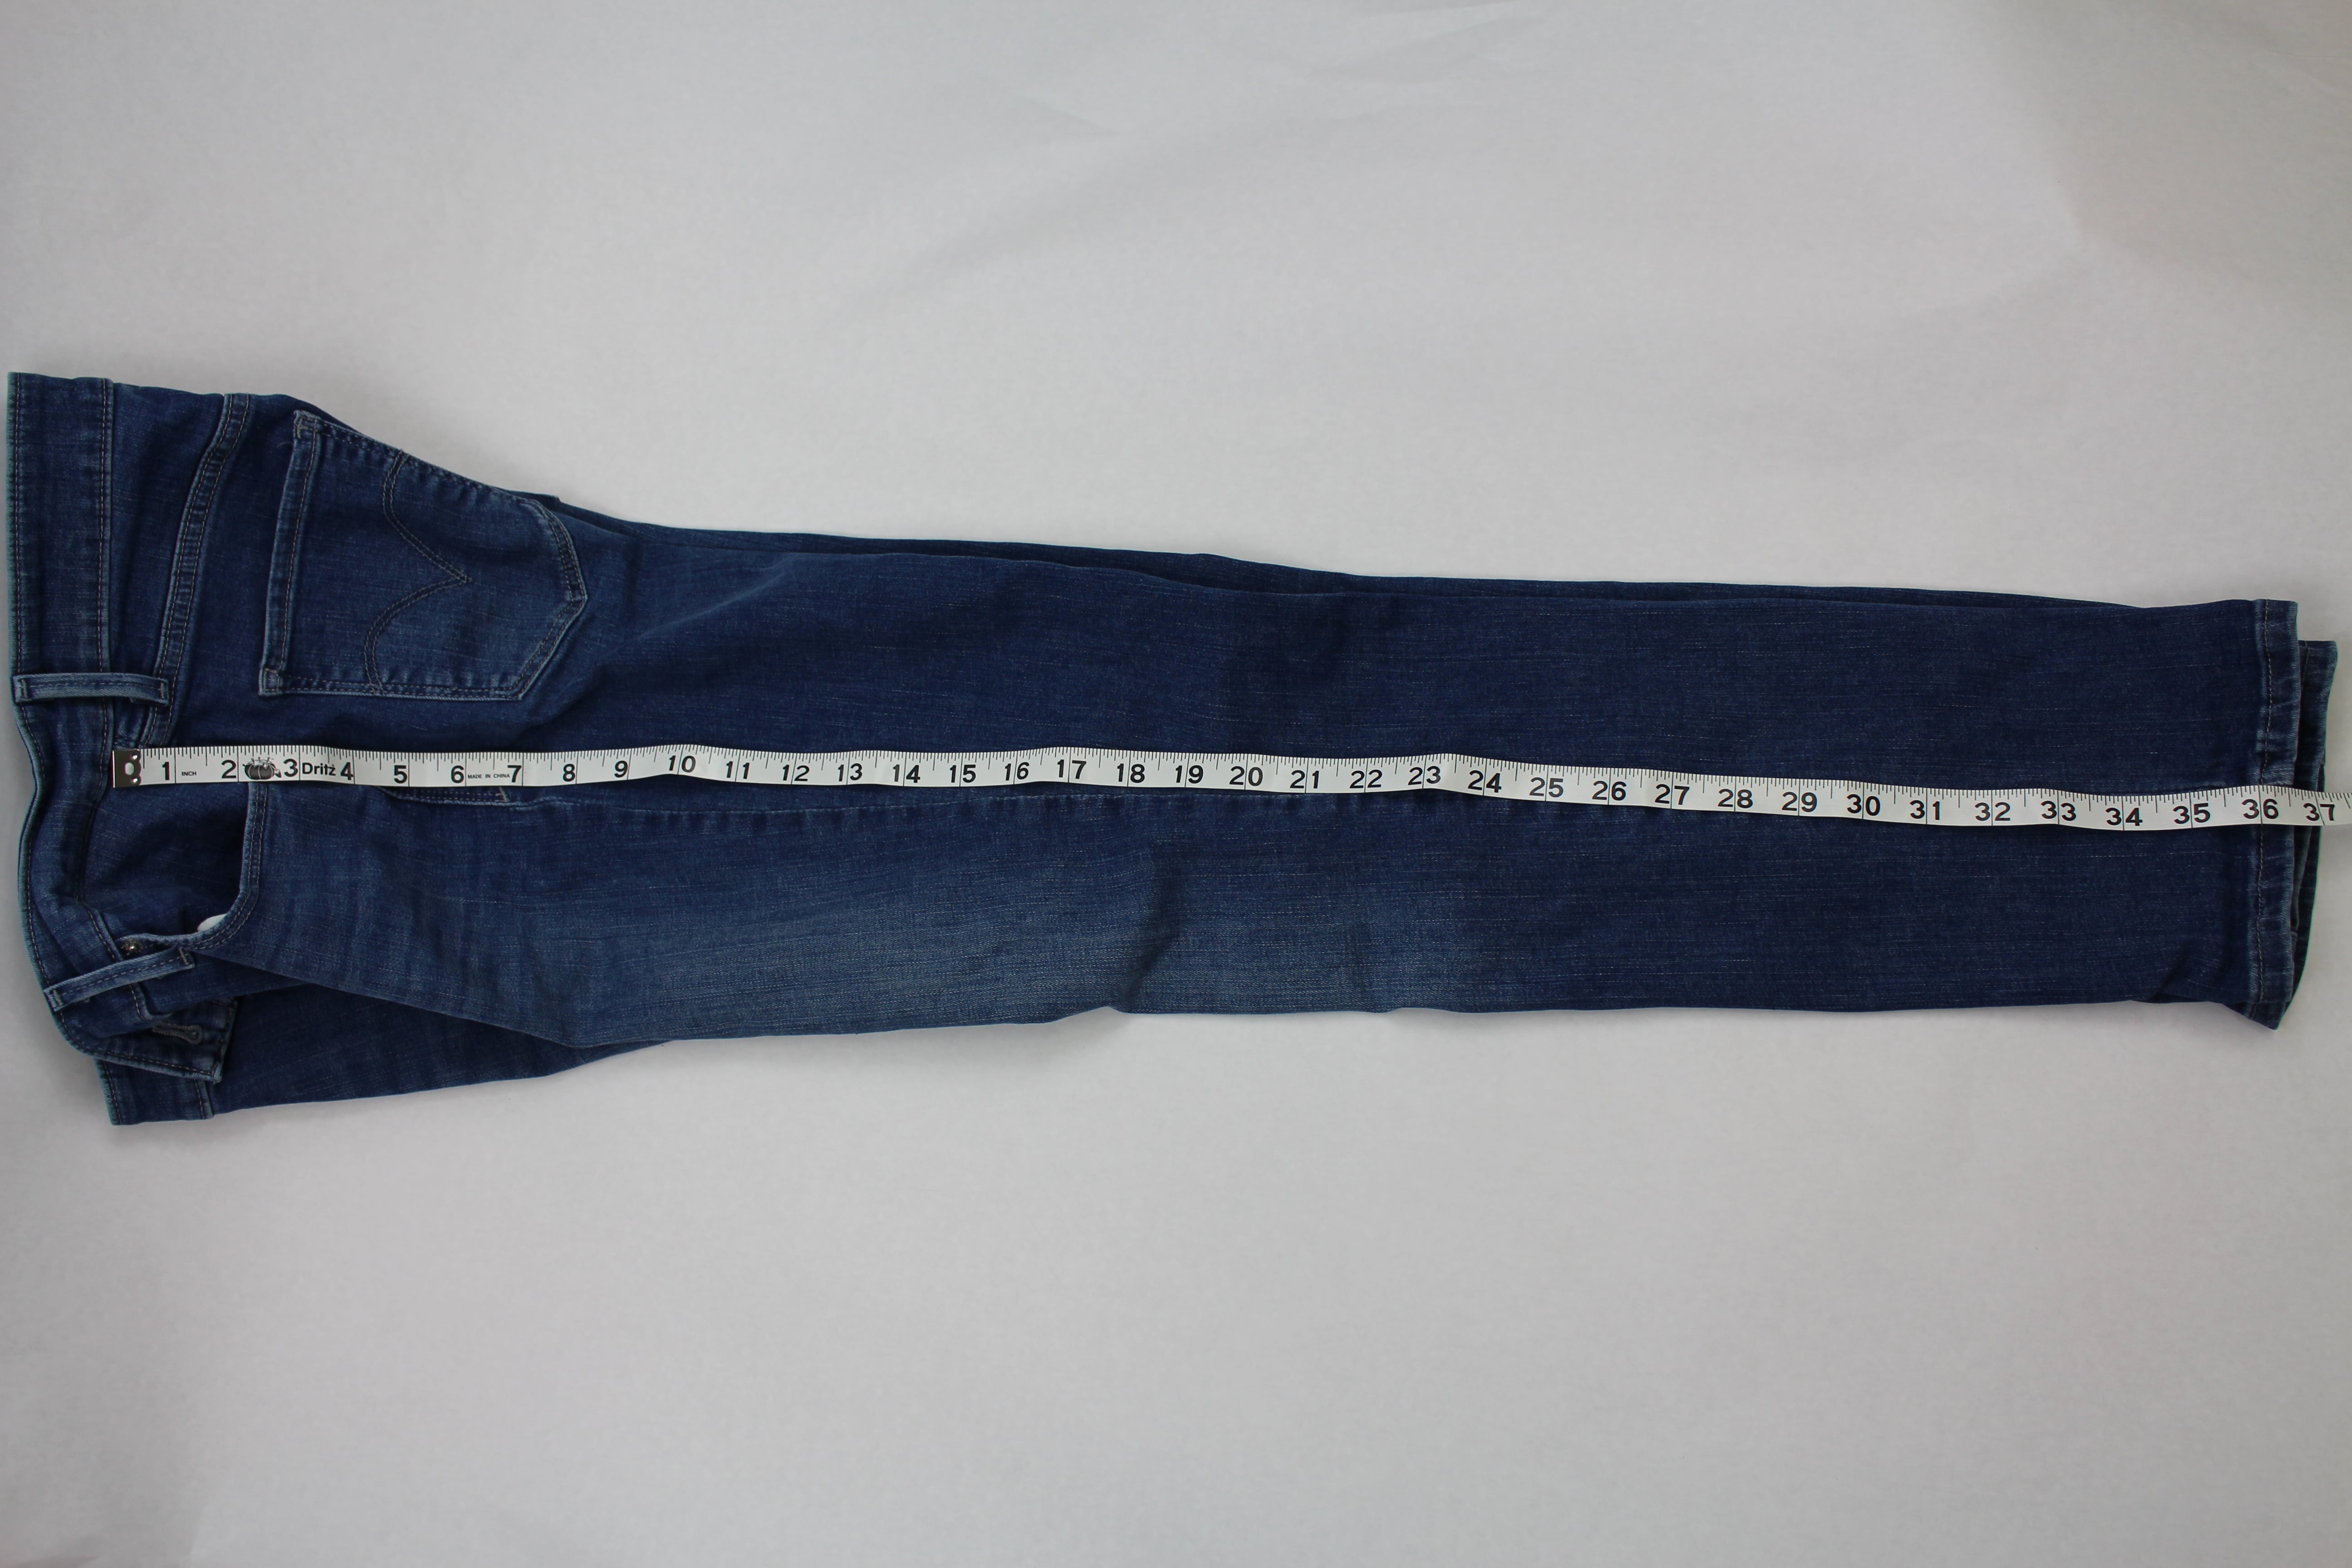
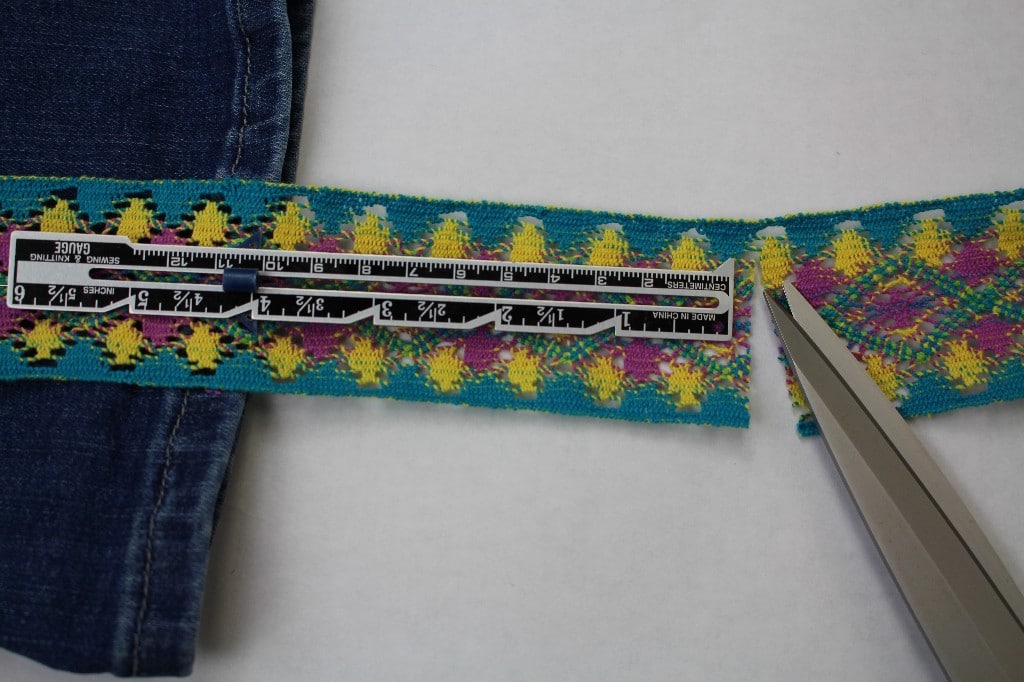
2. Add 6 inches to the outside leg measurement and cut 2 pieces of trim that exact length.
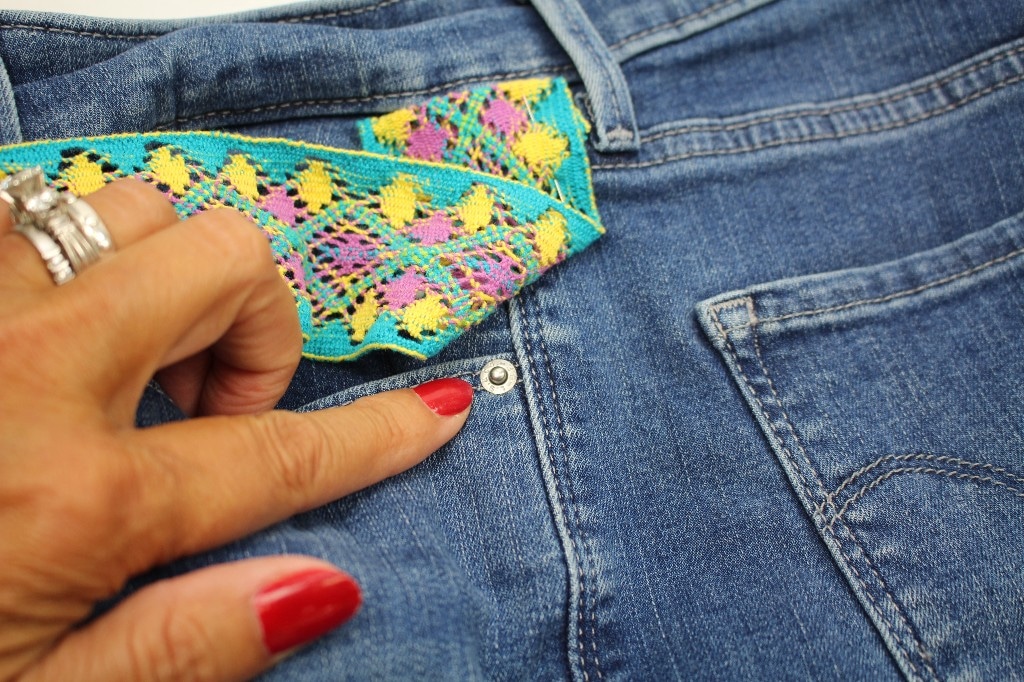
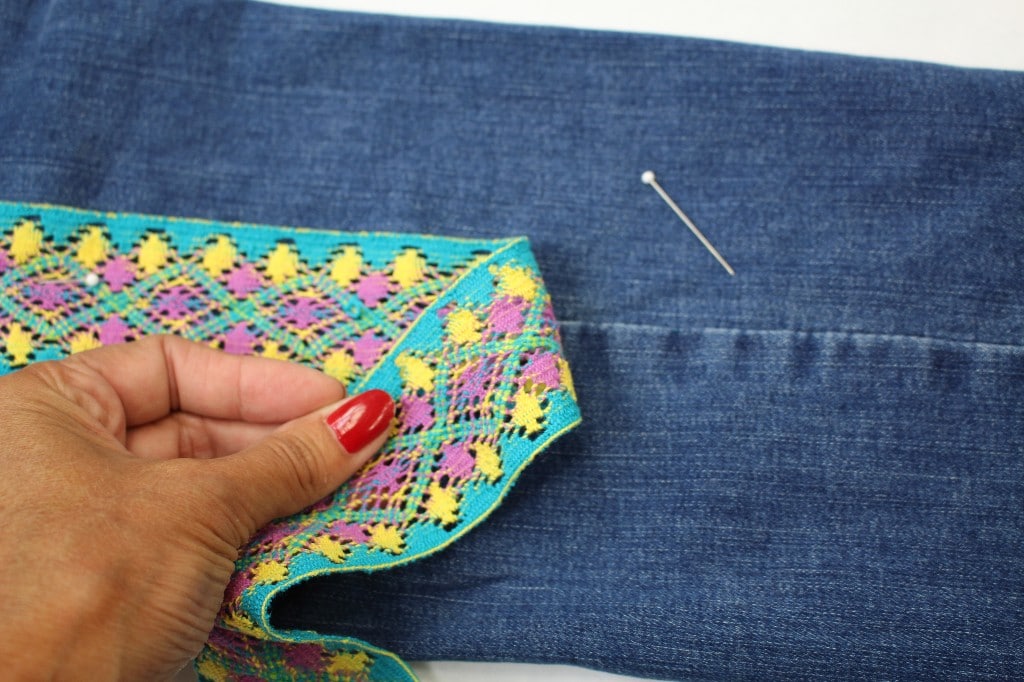
3. Starting at the edge of the waistband, center the trim with the outside leg seam. Fold under the raw edge of the trim about ½” and pin.

4. Continue to pin the trim along the outside leg seam. Be sure to look for metal rivets or other hardware! Here I have a rive and I will make sure to mark this spot as to not break the sewing machine needle.
5. Pin the ribbon/ trim all the way to the hemline. If you plan on folding up the jeans, measure 4 inches below the hemline and cut the trim. If you are not going to fold up the jean hem, measure 2 inches and cut off any excess ribbon.
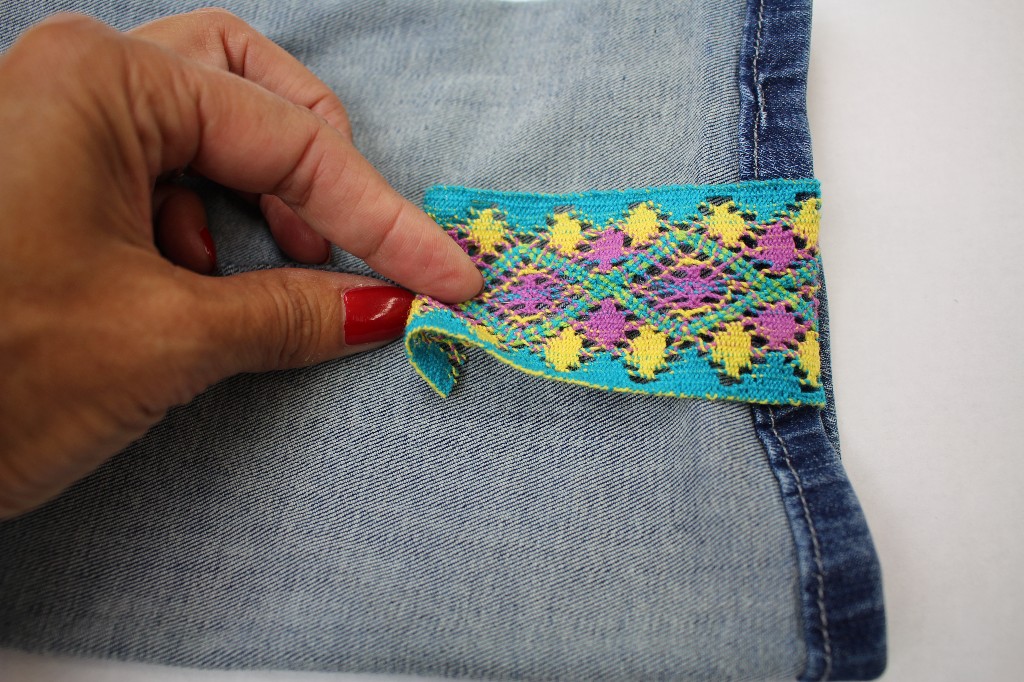
6. Turn the jeans inside out. Center the ribbon on the seam allowance, fold under the raw edge ½” and pin in place.
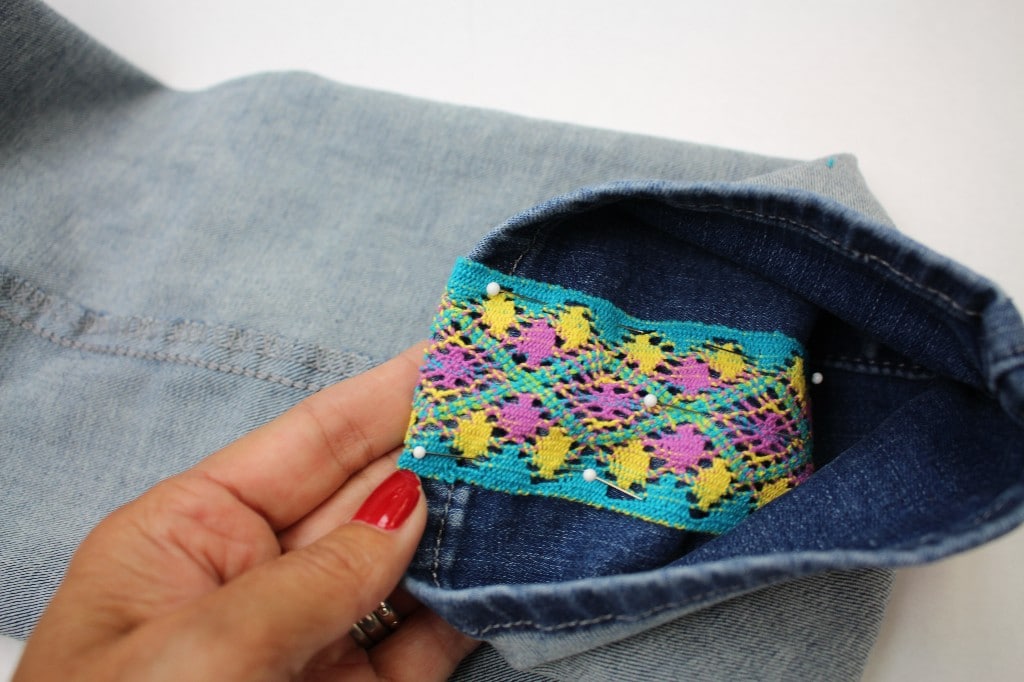
7. Follow these steps on both outside leg seams.
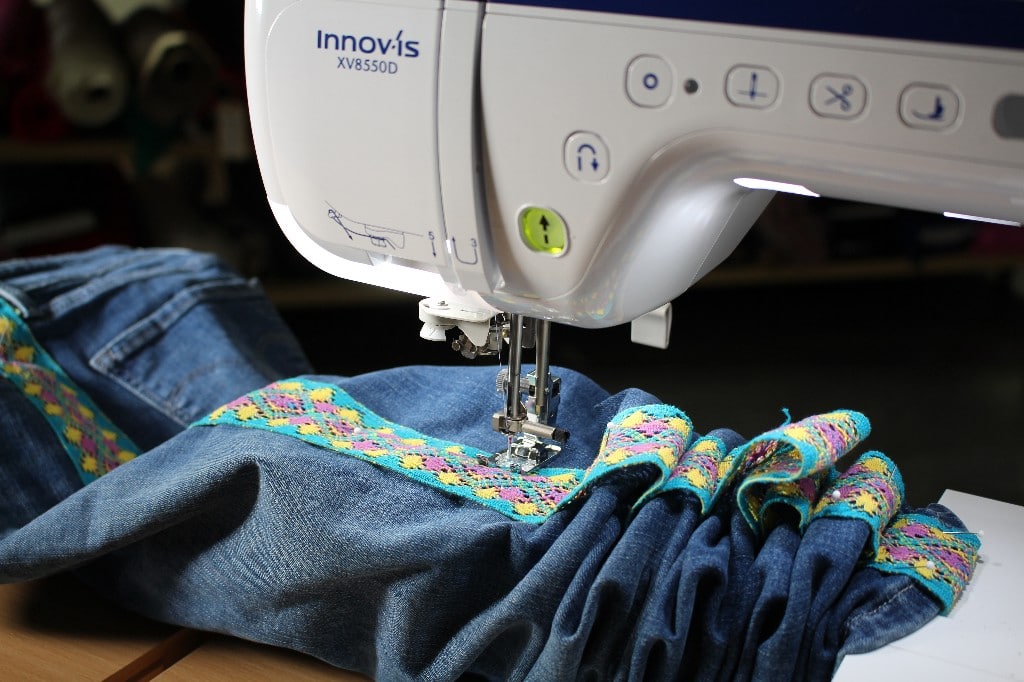
SEWING
Depending on the style and size of the jeans, it can be challenging sewing all the way down to the narrow hemline. To make is easier we are going to utilize the sewing sideways feature!
8. Set up the machine for sewing a straight stitch and move the needle all the way to the far-right position. Slide the jeans under the foot starting at the waistline. To read the full blog post, head over to my post as a Brother Expert Consultant on the Brother Stitching Social.
Looking for more ideas on refashioning jeans, check out my blog post on embellishing jeans with embroidery.Be sure to share photos on the social side #angelawolf – I always love to see what you are working on!
Cheers,


<iframe style="width:120px;height:240px;" marginwidth="0" marginheight="0" scrolling="no" frameborder="0" src="//ws-na.amazon-adsystem.com/widgets/q?ServiceVersion=20070822&OneJS=1&Operation=GetAdHtml&MarketPlace=US&source=ss&ref=as_ss_li_til&ad_type=product_link&tracking_id=angel0df-20&language=en_US&marketplace=amazon®ion=US&placement=B071Z2SX53&asins=B071Z2SX53&linkId=34a5a3fa8e0e9521990c5e781b560157&show_border=true&link_opens_in_new_window=true"></iframe>
<iframe style="width:120px;height:240px;" marginwidth="0" marginheight="0" scrolling="no" frameborder="0" src="//ws-na.amazon-adsystem.com/widgets/q?ServiceVersion=20070822&OneJS=1&Operation=GetAdHtml&MarketPlace=US&source=ss&ref=as_ss_li_til&ad_type=product_link&tracking_id=angel0df-20&language=en_US&marketplace=amazon®ion=US&placement=B07DCVHH5Z&asins=B07DCVHH5Z&linkId=c9d70b3a4f4346aad36d9f2bd43b7210&show_border=true&link_opens_in_new_window=true"></iframe>
<a target="_blank" href="https://shareasale.com/r.cfm?b=1173404&u=1586241&m=29190&urllink=&afftrack="><img src="https://static.shareasale.com/image/29190/300x2509.jpg" border="0" alt="FREE 7 Day Bluprint Trial at Craftsy.com" /></a>
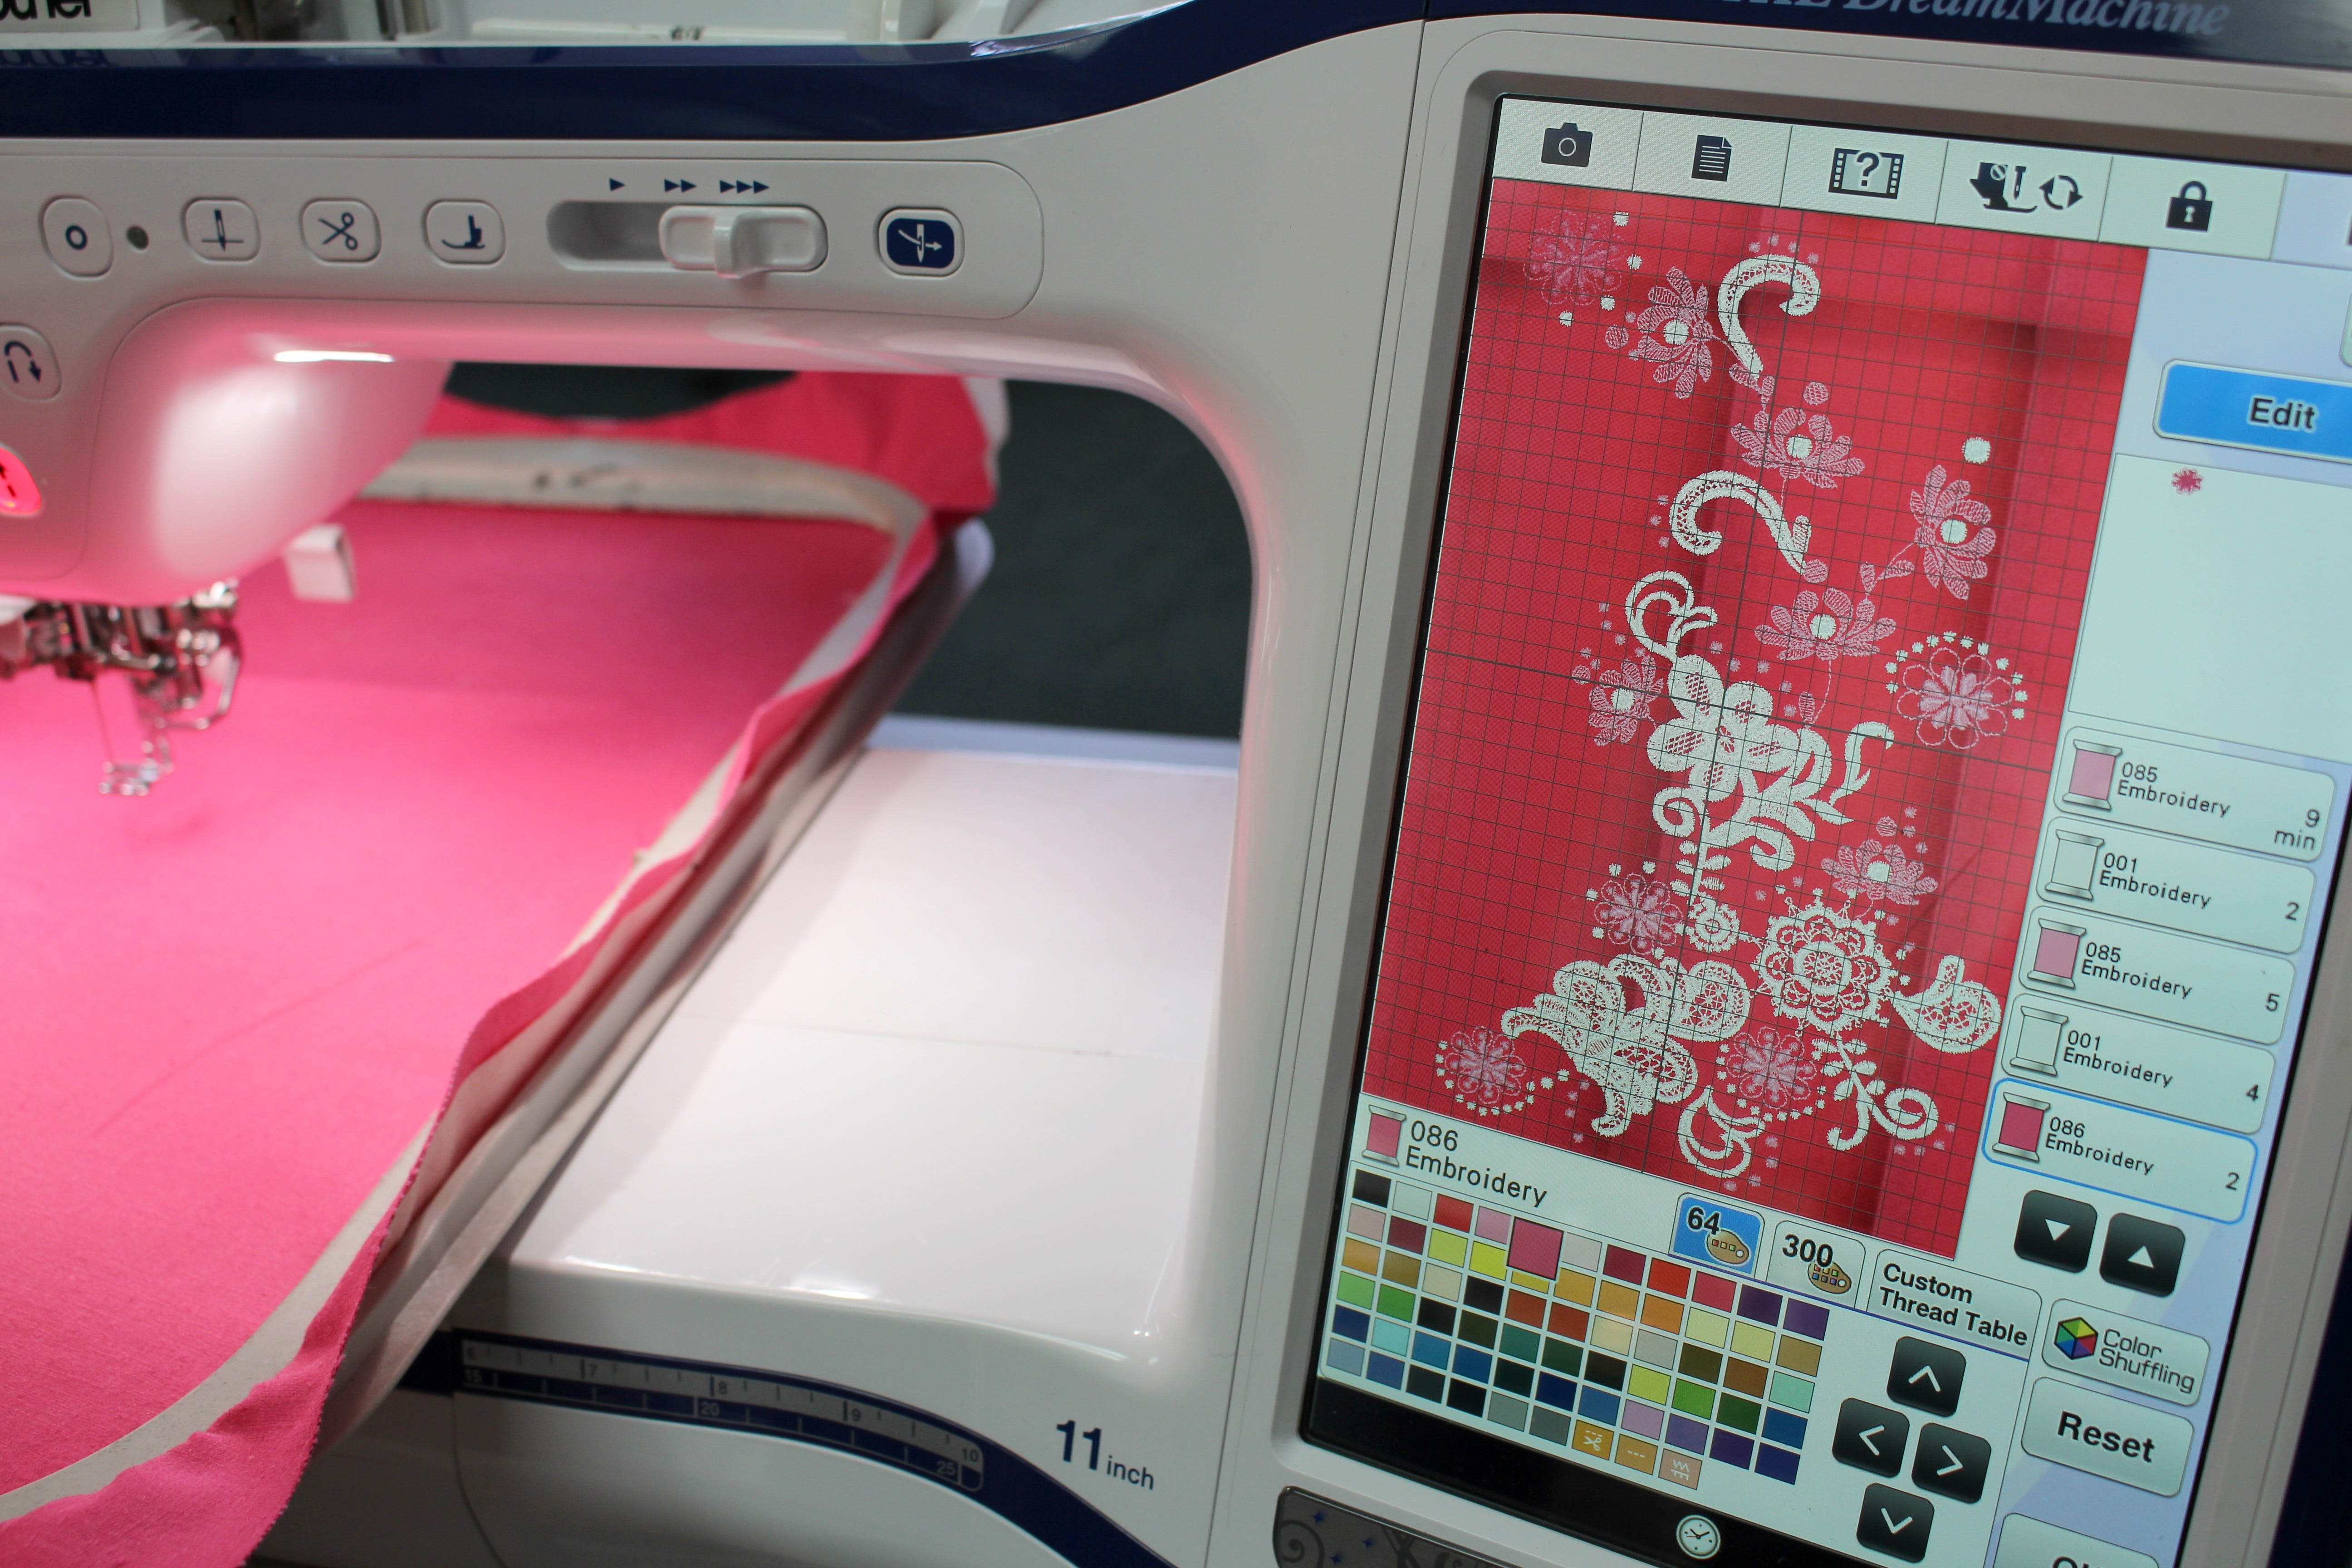
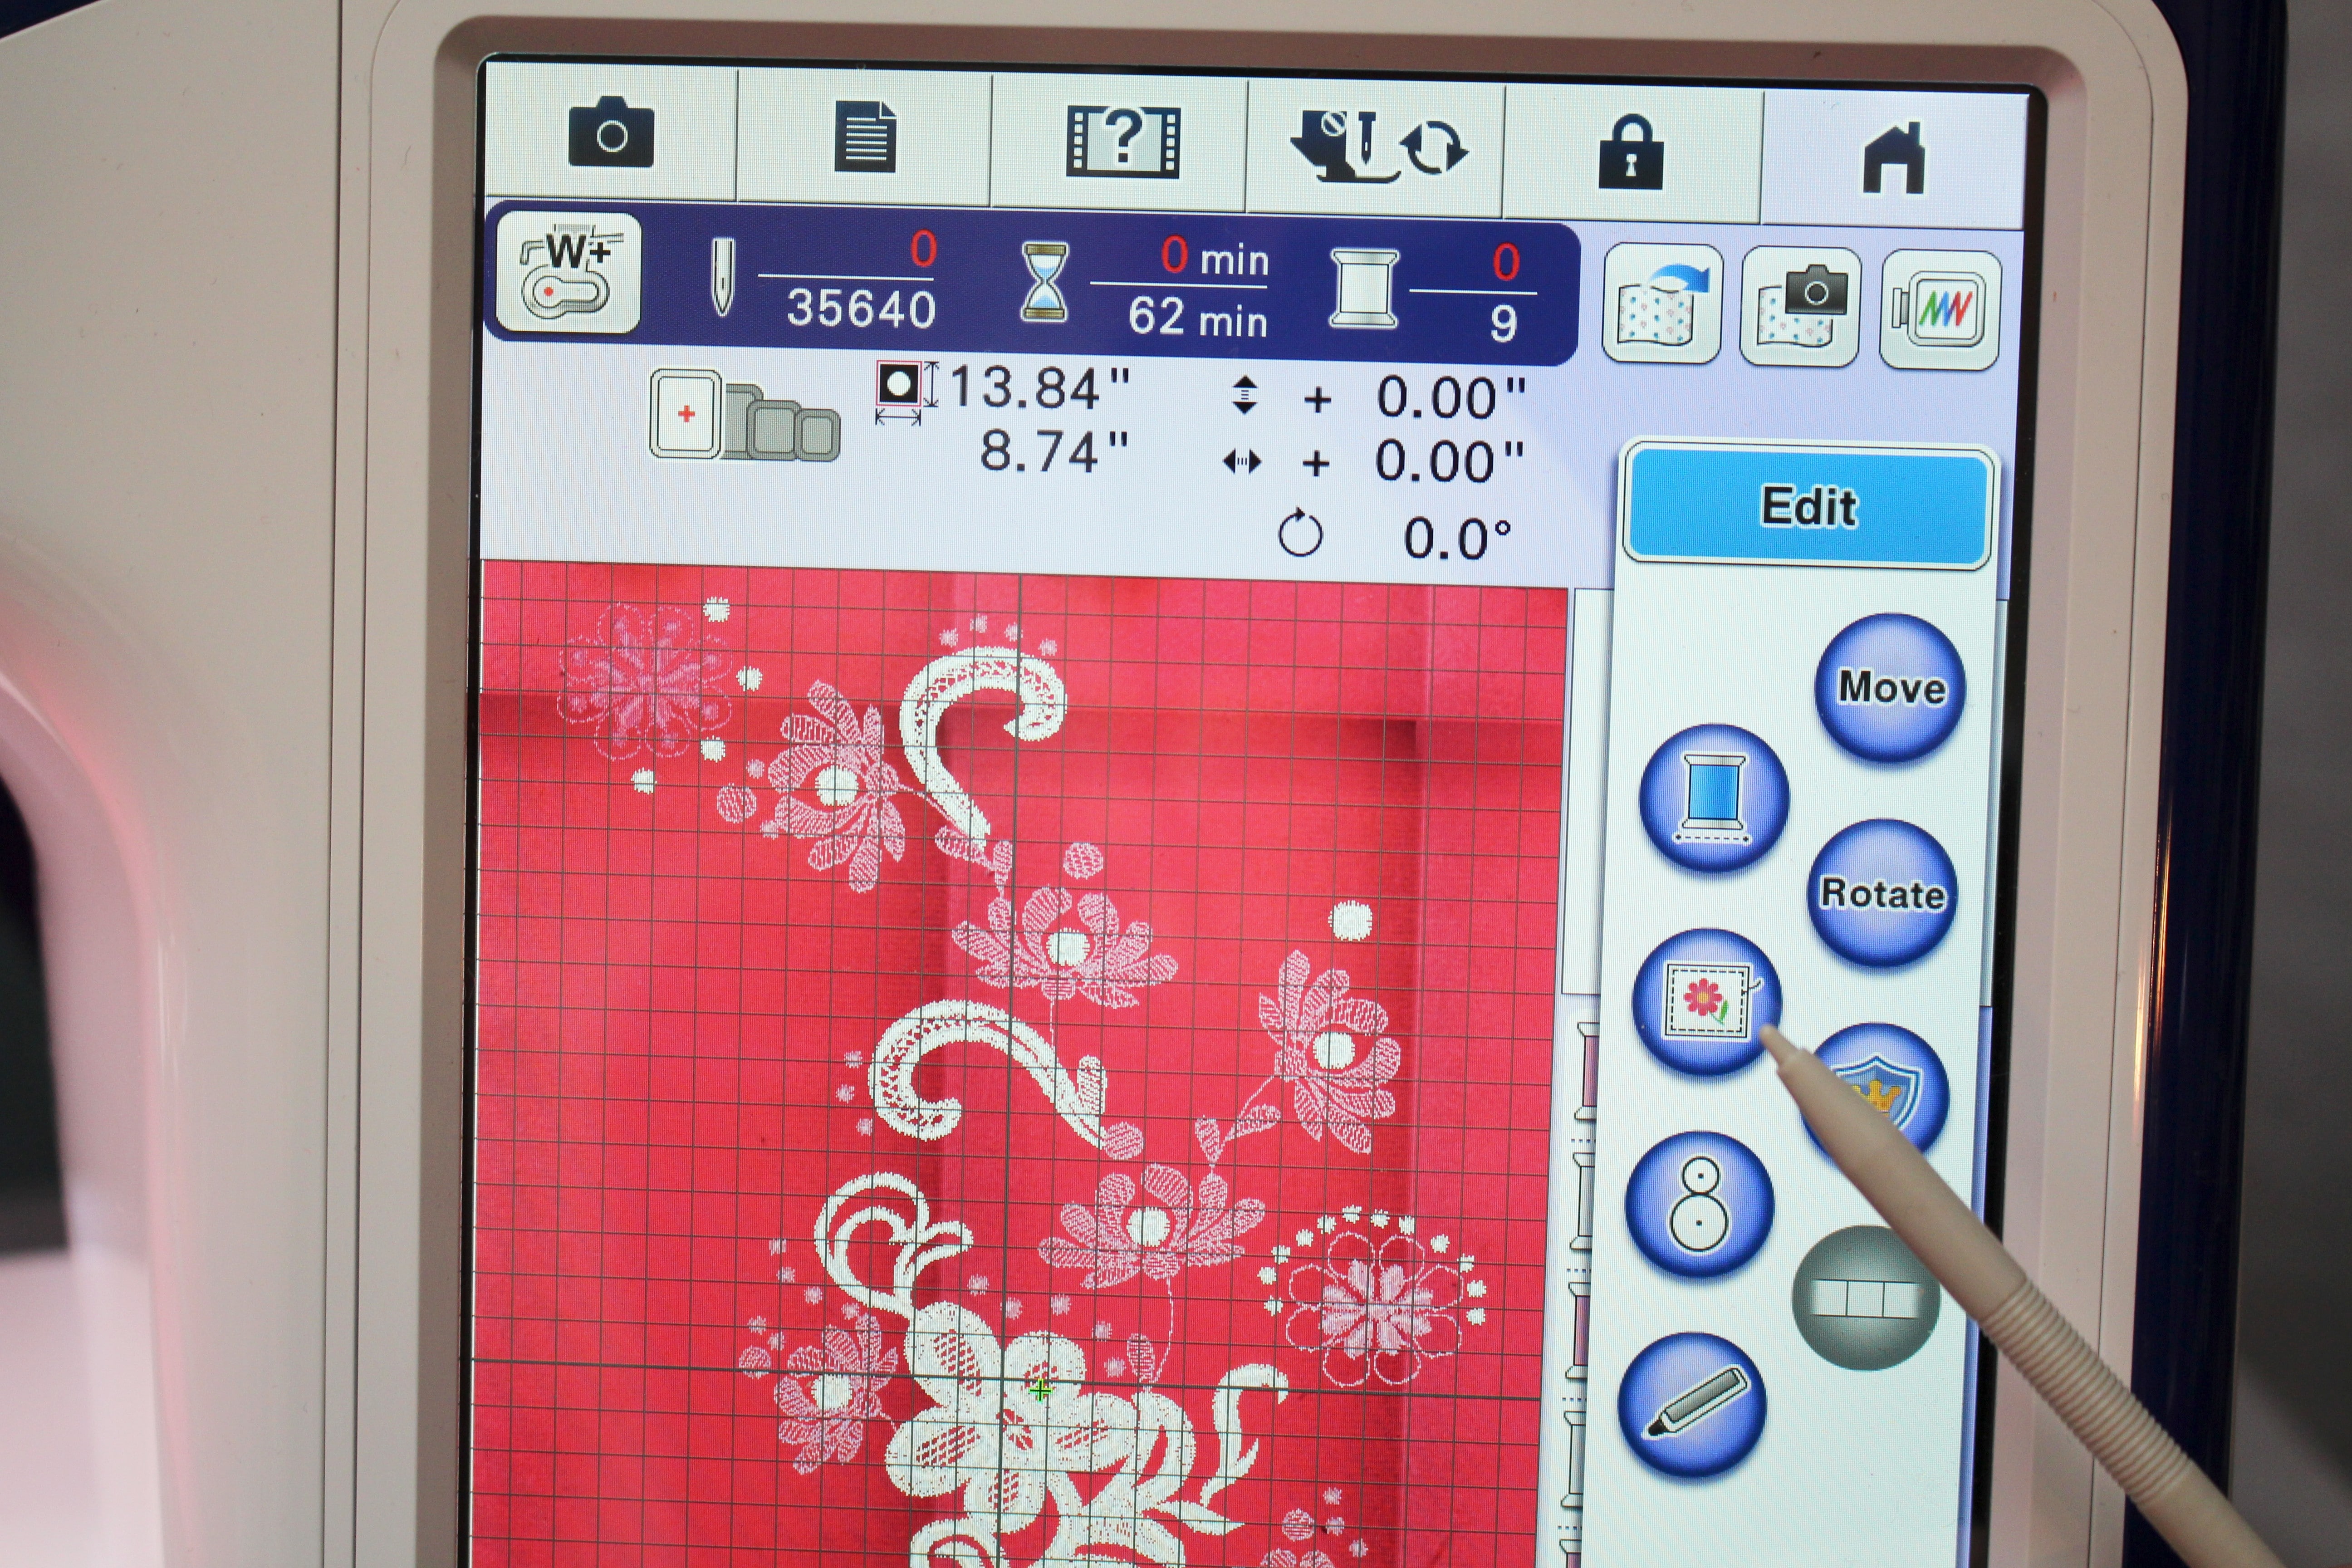
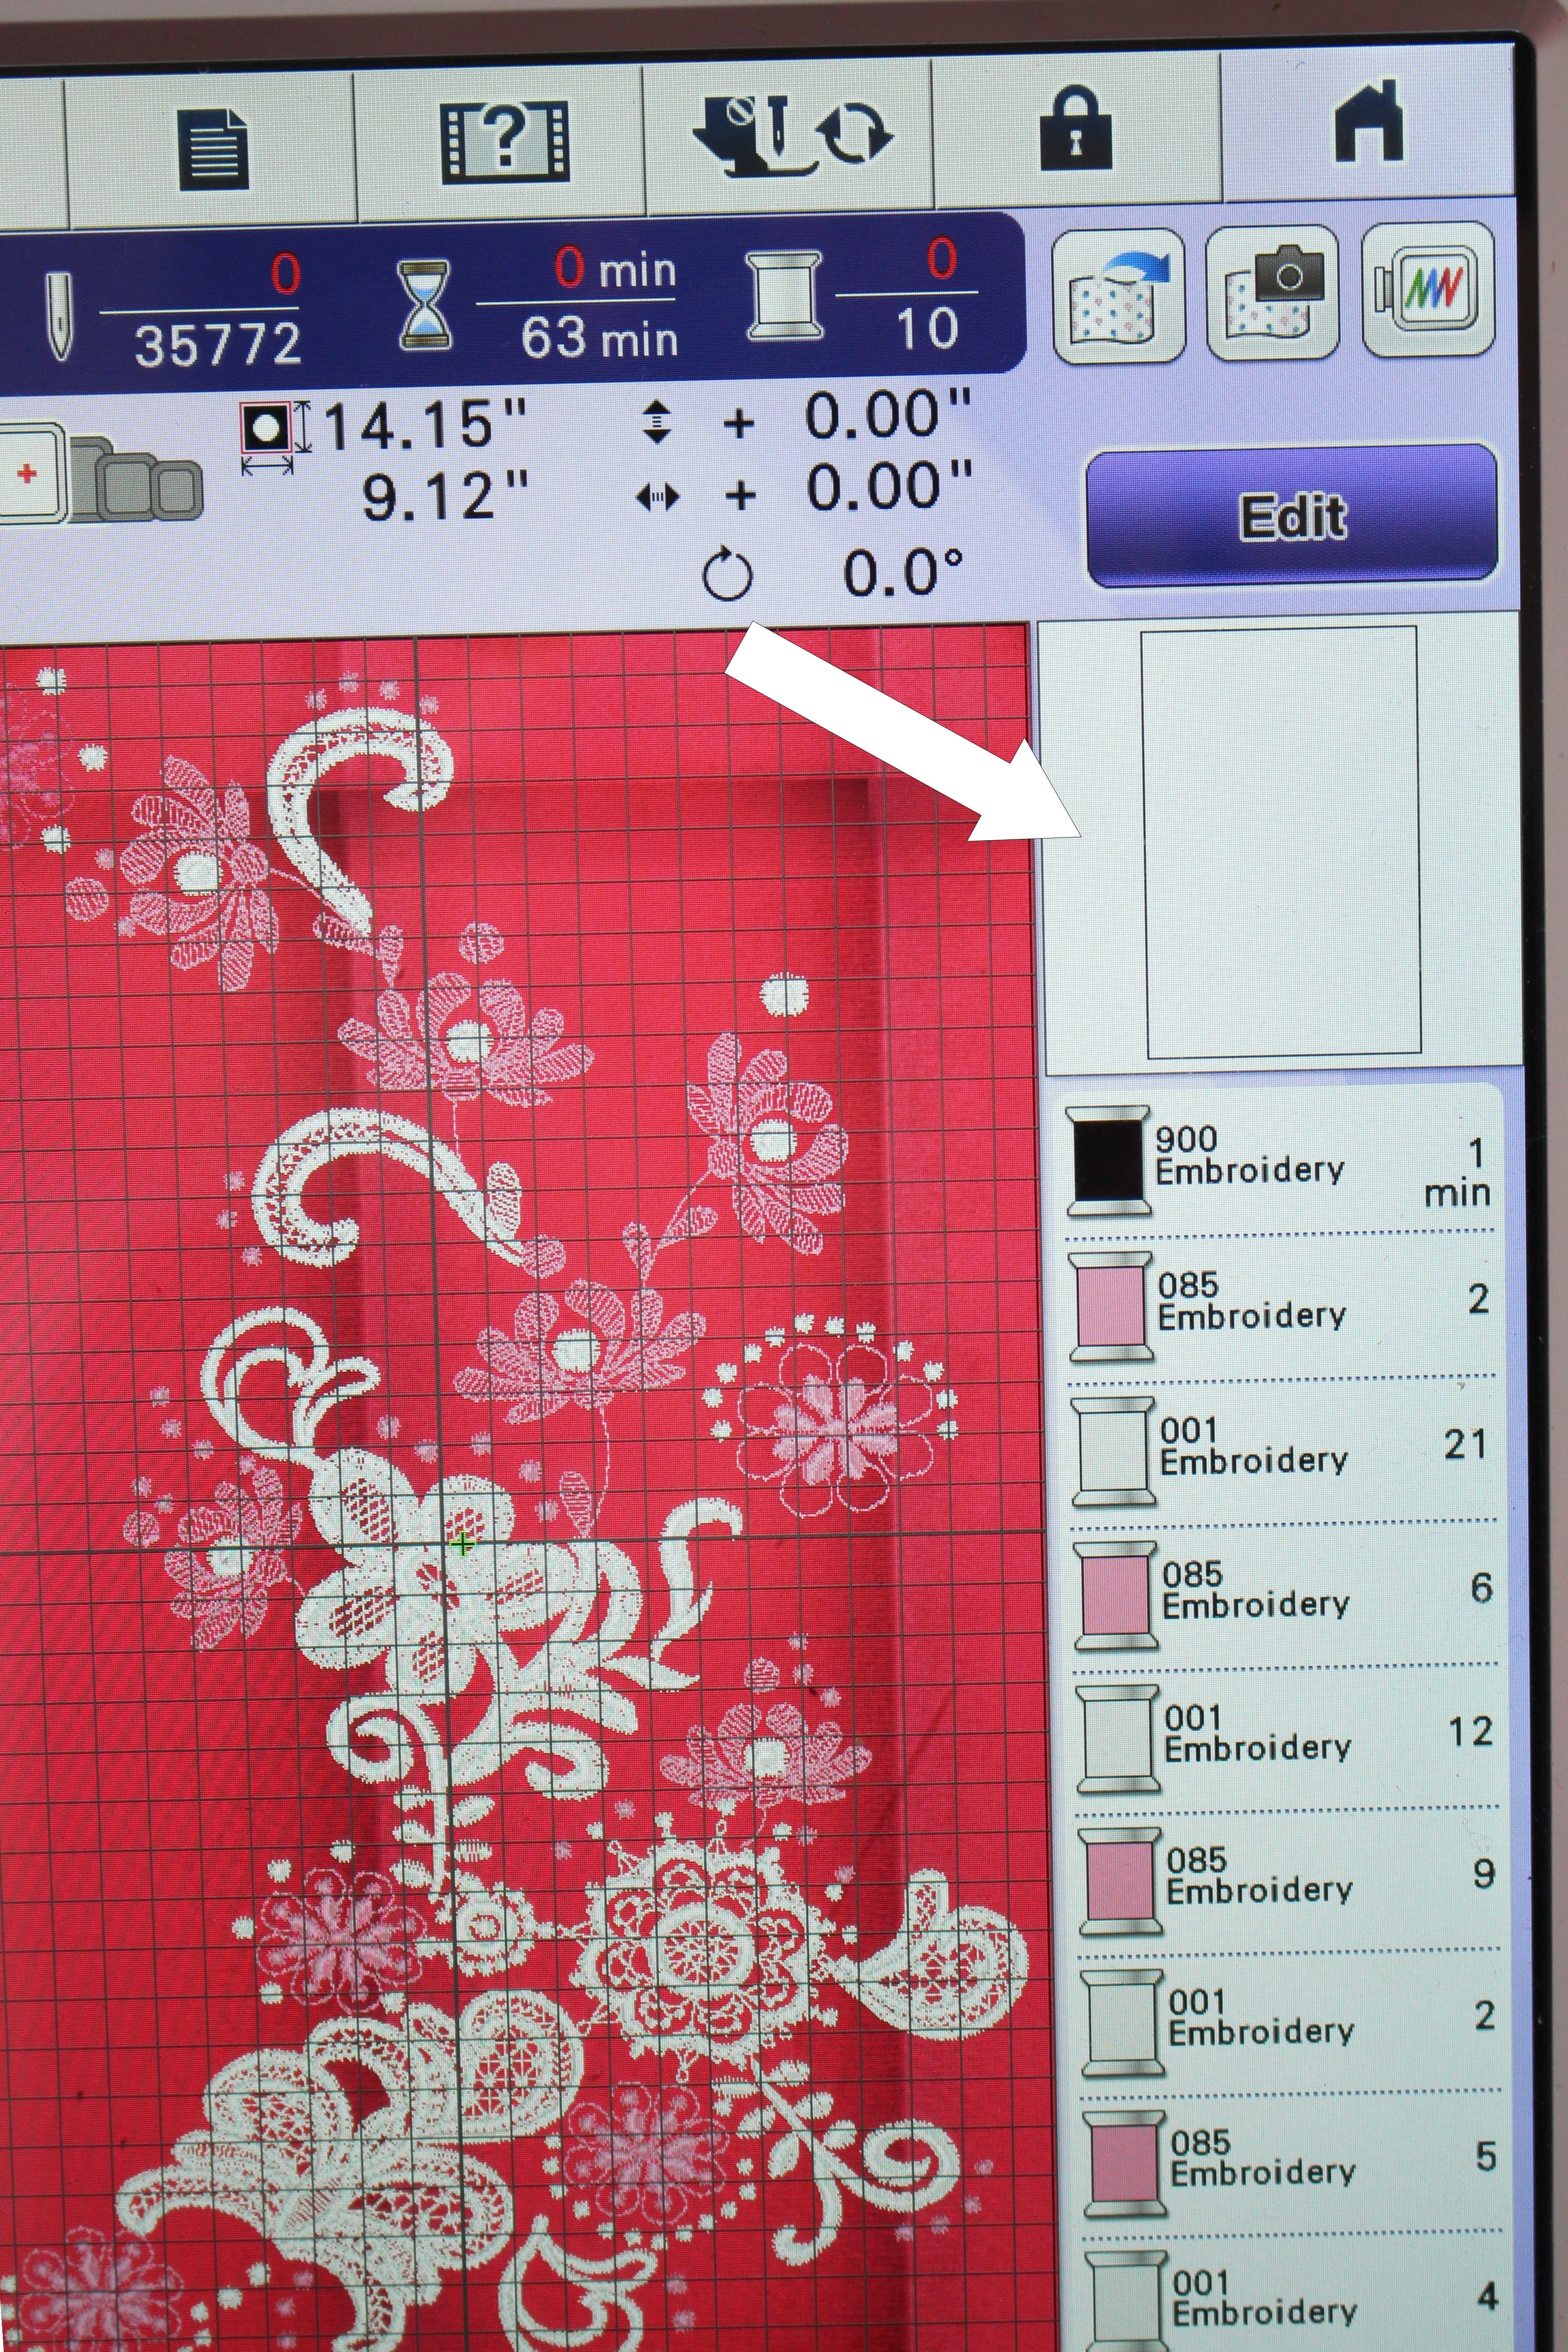
309: Boucle Skirt + Quilted Lining = Touch of Couture Part 1

Ep. 305: Learn What is Planned for the Sew Fun Cruise in February 2024
Episode 305 🧵 Behind the Scenes with Angela Wolf I know you have heard me say many time ... I am never going on a cruise! Winn and I are on the water all the time, why would I want to go on a cruise?!? Kelli Presley and Phyllis Batz will be joining me live to talk...

Ep. 304 Meet Jeff – Founder of CraftOptics
Episode 305 🧵 Behind the Scenes with Angela Wolf Featuring CraftOptics I am not sure about your, but if I am working in a low lit area or sewing beads onto a garment, I tend to lean forward and squint, this ending up with a terrible back ache! CraftOptics has changed...
Ep. 303 Delila Knit Top Part 3
Episode 303 🧵 Behind the Scenes with Angela Wolf The last part of our Delila Slit Sleeve Sewalong! Have you checked out all the Delila tops posted in our private Angela Wolf Patterns Group? So cute!!! Angie Hotchkiss ~ Angela Wolf Facebook GroupDarlene Deck ~...
Ep. 302 Delila Knit Top Sewalong Part 2
Episode 302 🧵 Behind the Scenes with Angela Wolf We are onto part 2 in the Delila sew along! We have cut our fabric and ready to sew. Did you have any questions about fitting? If so, be sure to take your photos with questions to the Angela Wolf Patterns Facebook...

Ep. 301 Delila Knit Top Sewalong Part 1
Episode 301 🧵 Behind the Scenes with Angela Wolf Getting into summer and looking for stylish tops to wear with jeans, shorts, or skirts and one of my fist patterns always shows up ... The DelilaDelila Pattern has 9 Options I designed this pattern to be able to sew...
Ep. 260 Sewing the Shirley Wrap Top with a Sweater Knit
Episode 260 🧵 Behind the Scenes with Angela Wolf ~ Sew the Shirley Wrap with a Sweater Knit The Shirley Wrap pattern is so versatile and this time we will use a thicker, sweater knit fabric. You can find the Shirley pattern in PDF and paper patterns in size XXS -...
VLOG 259 Behind the Scenes ✂️ Pressing with a Tailors Clapper
Episode 259 ~ At your side 🧵 Virtually! Organizing and Sewing Clear Vinyl Join Angela Wolf with the next steps in sewing the Shirley Wrap with a sweater knit. Pressing hems with a tailors clapper, prepping neckline, and marking gathering.Catch the Next Show ... Be...