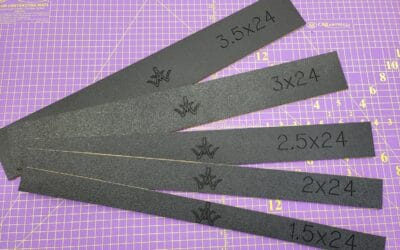
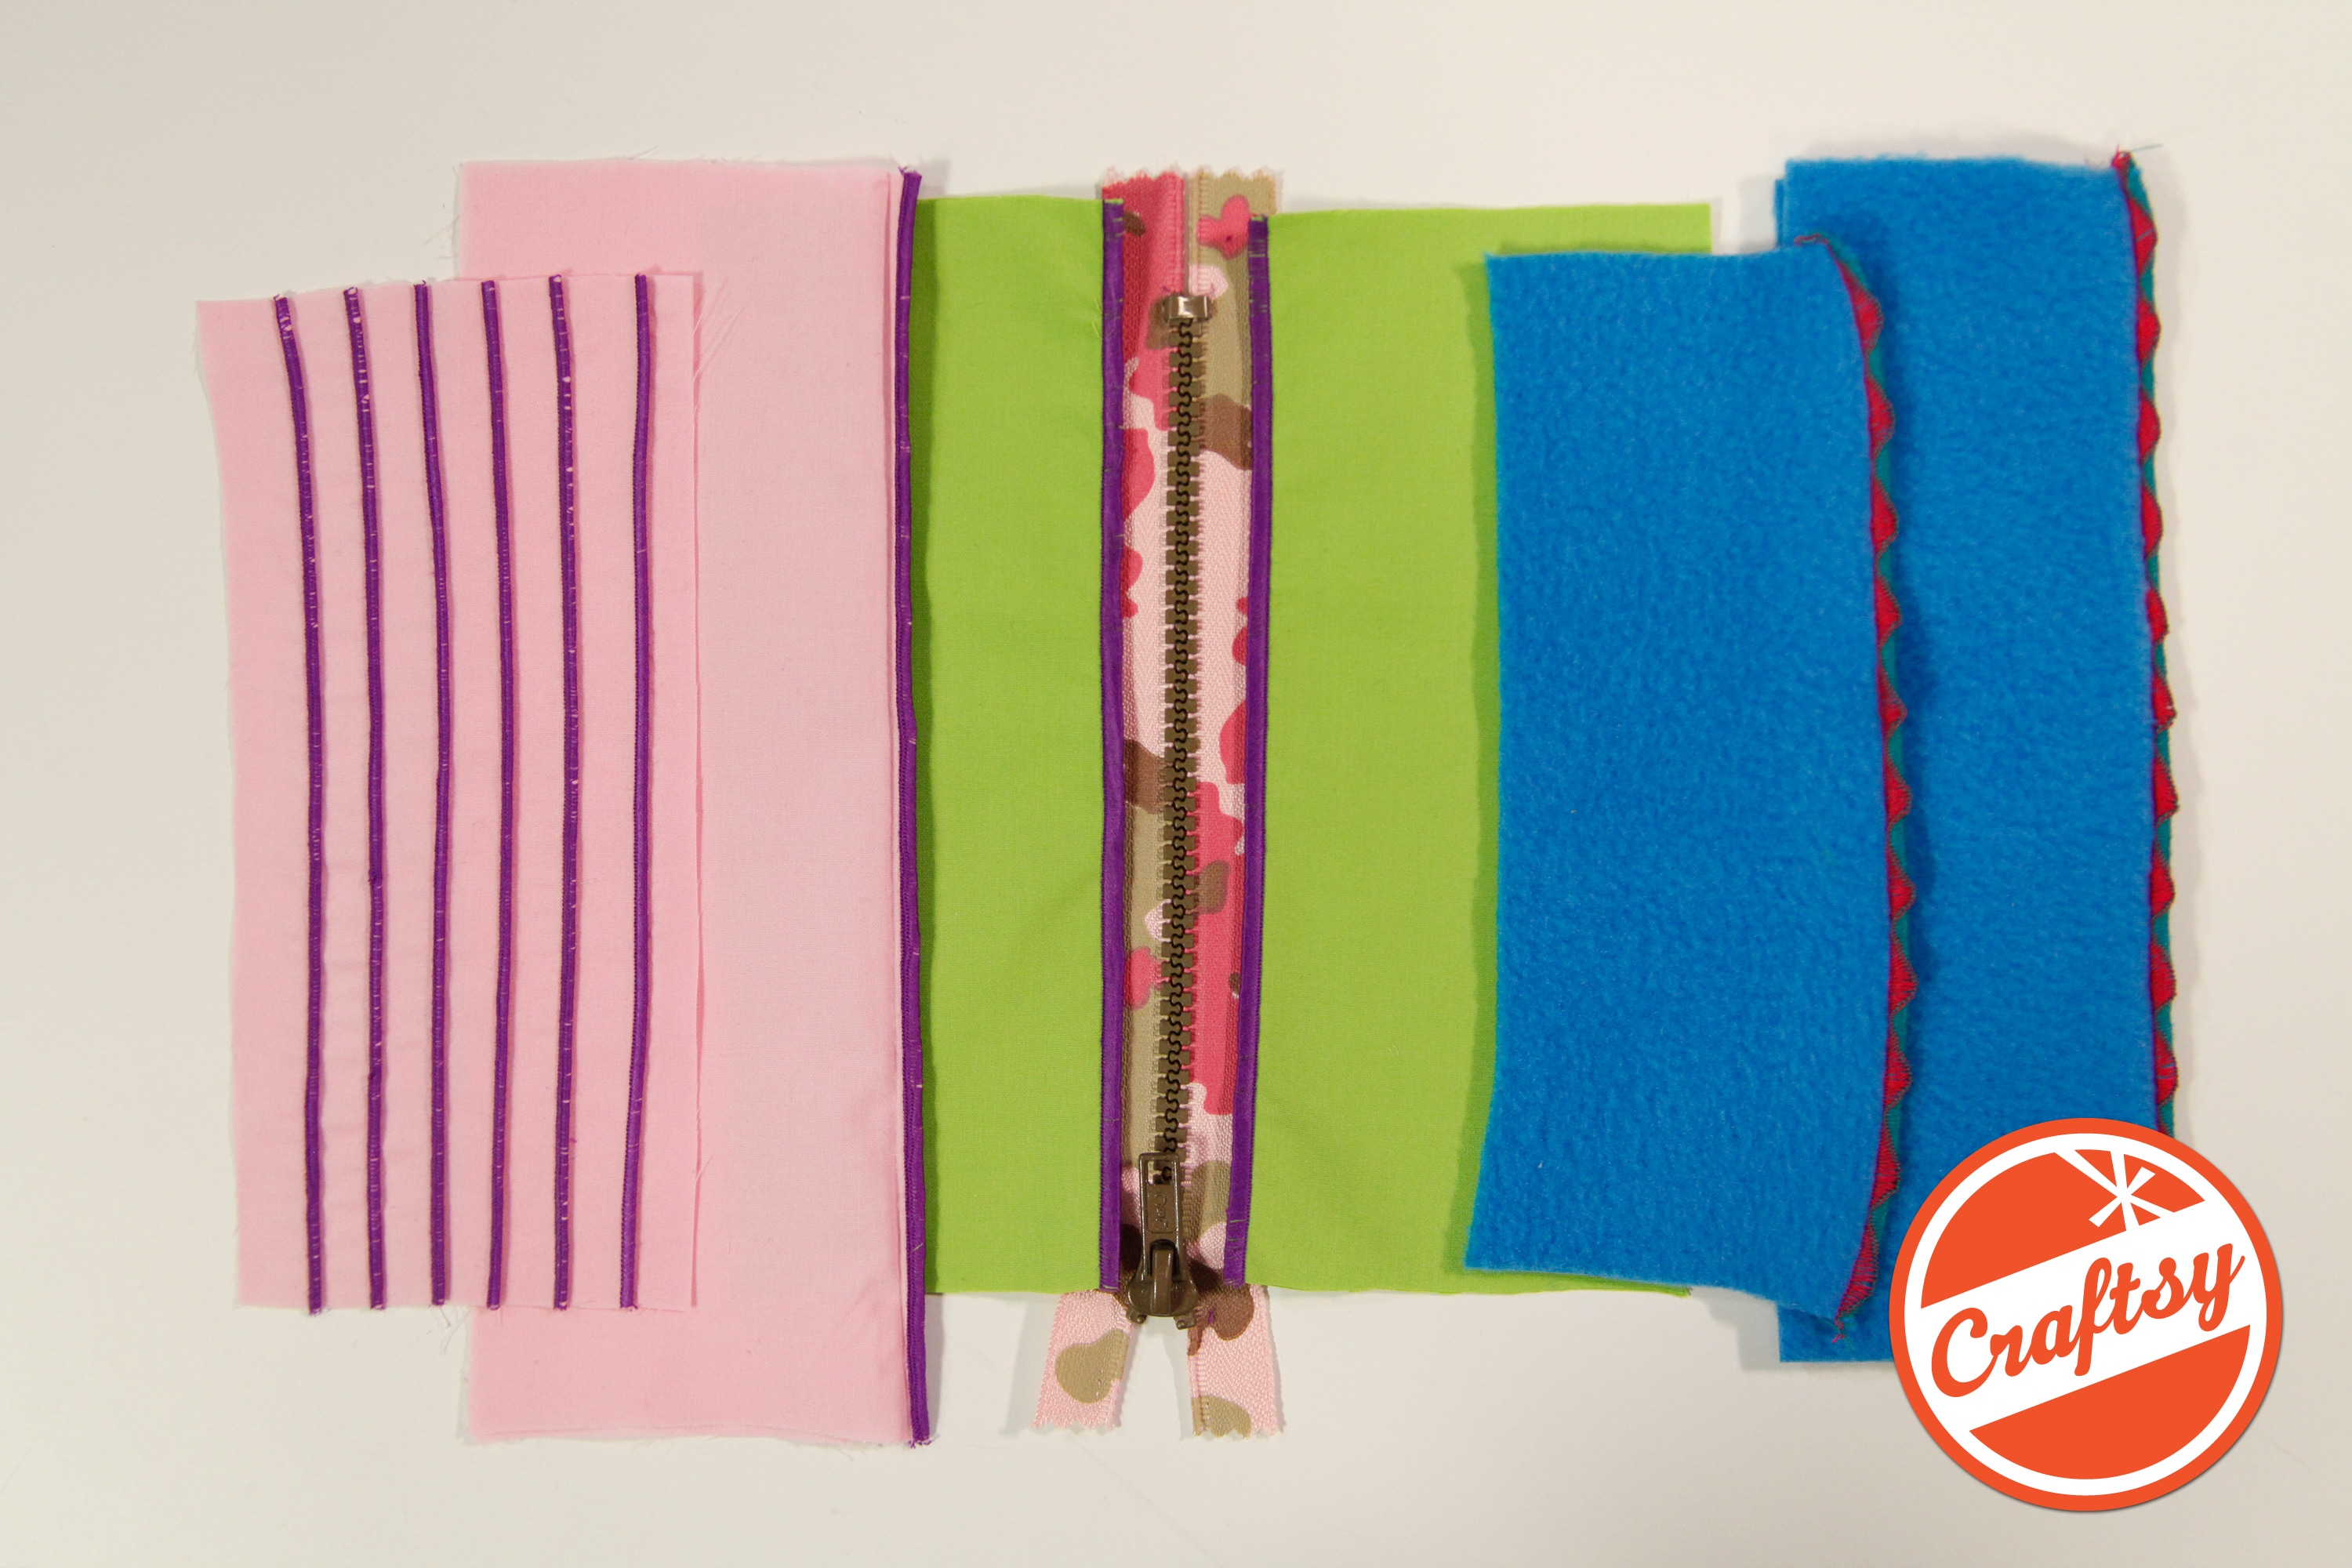
Refashion Jeans with Trim You might have noticed some of the fashions of the late 60’s and 70’s making a comeback on the store shelves, from floral fabrics to embellished jeans. How about adding crocheted ribbon trim along the outside leg! This is so...
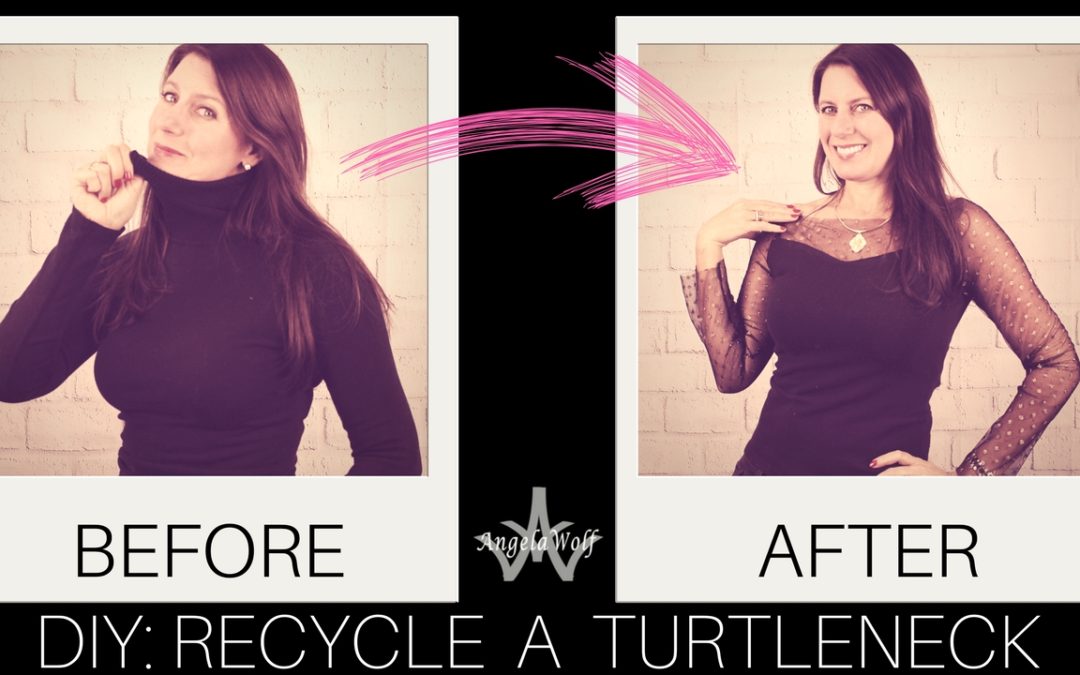
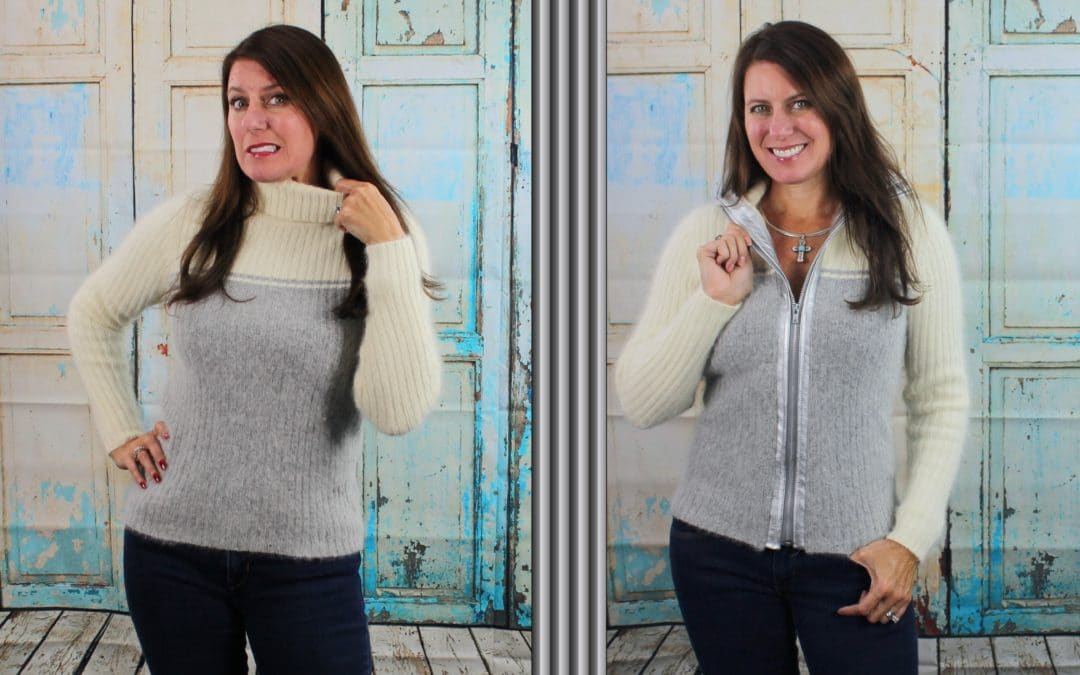
DIY RESTYLE PROJECT: TURTLENECK MAKE OVER

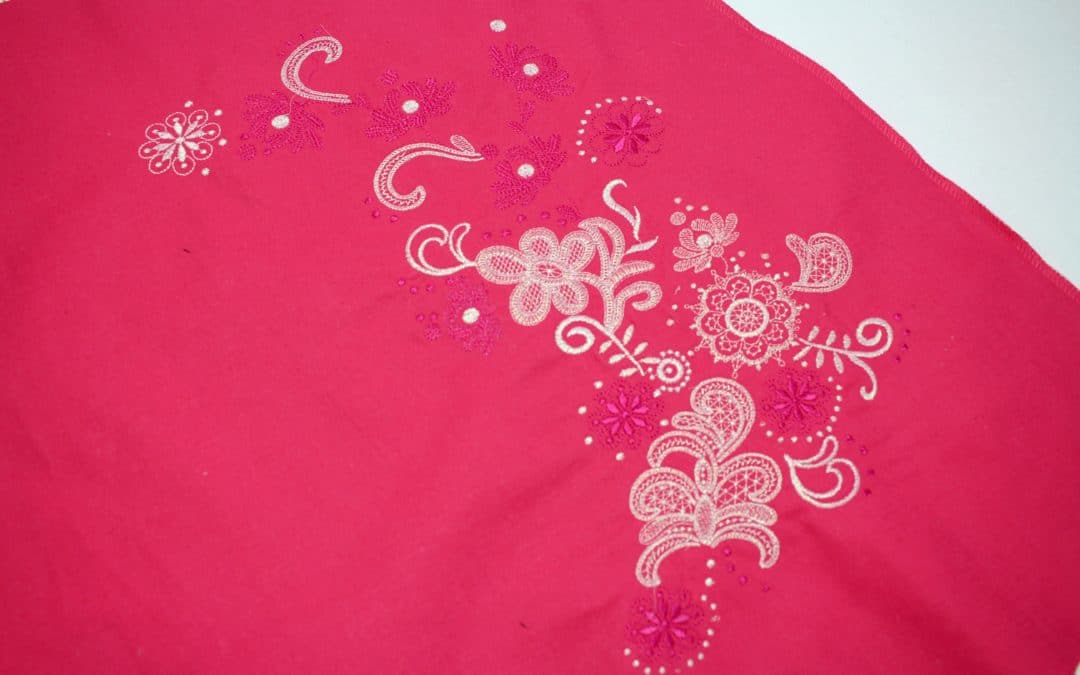
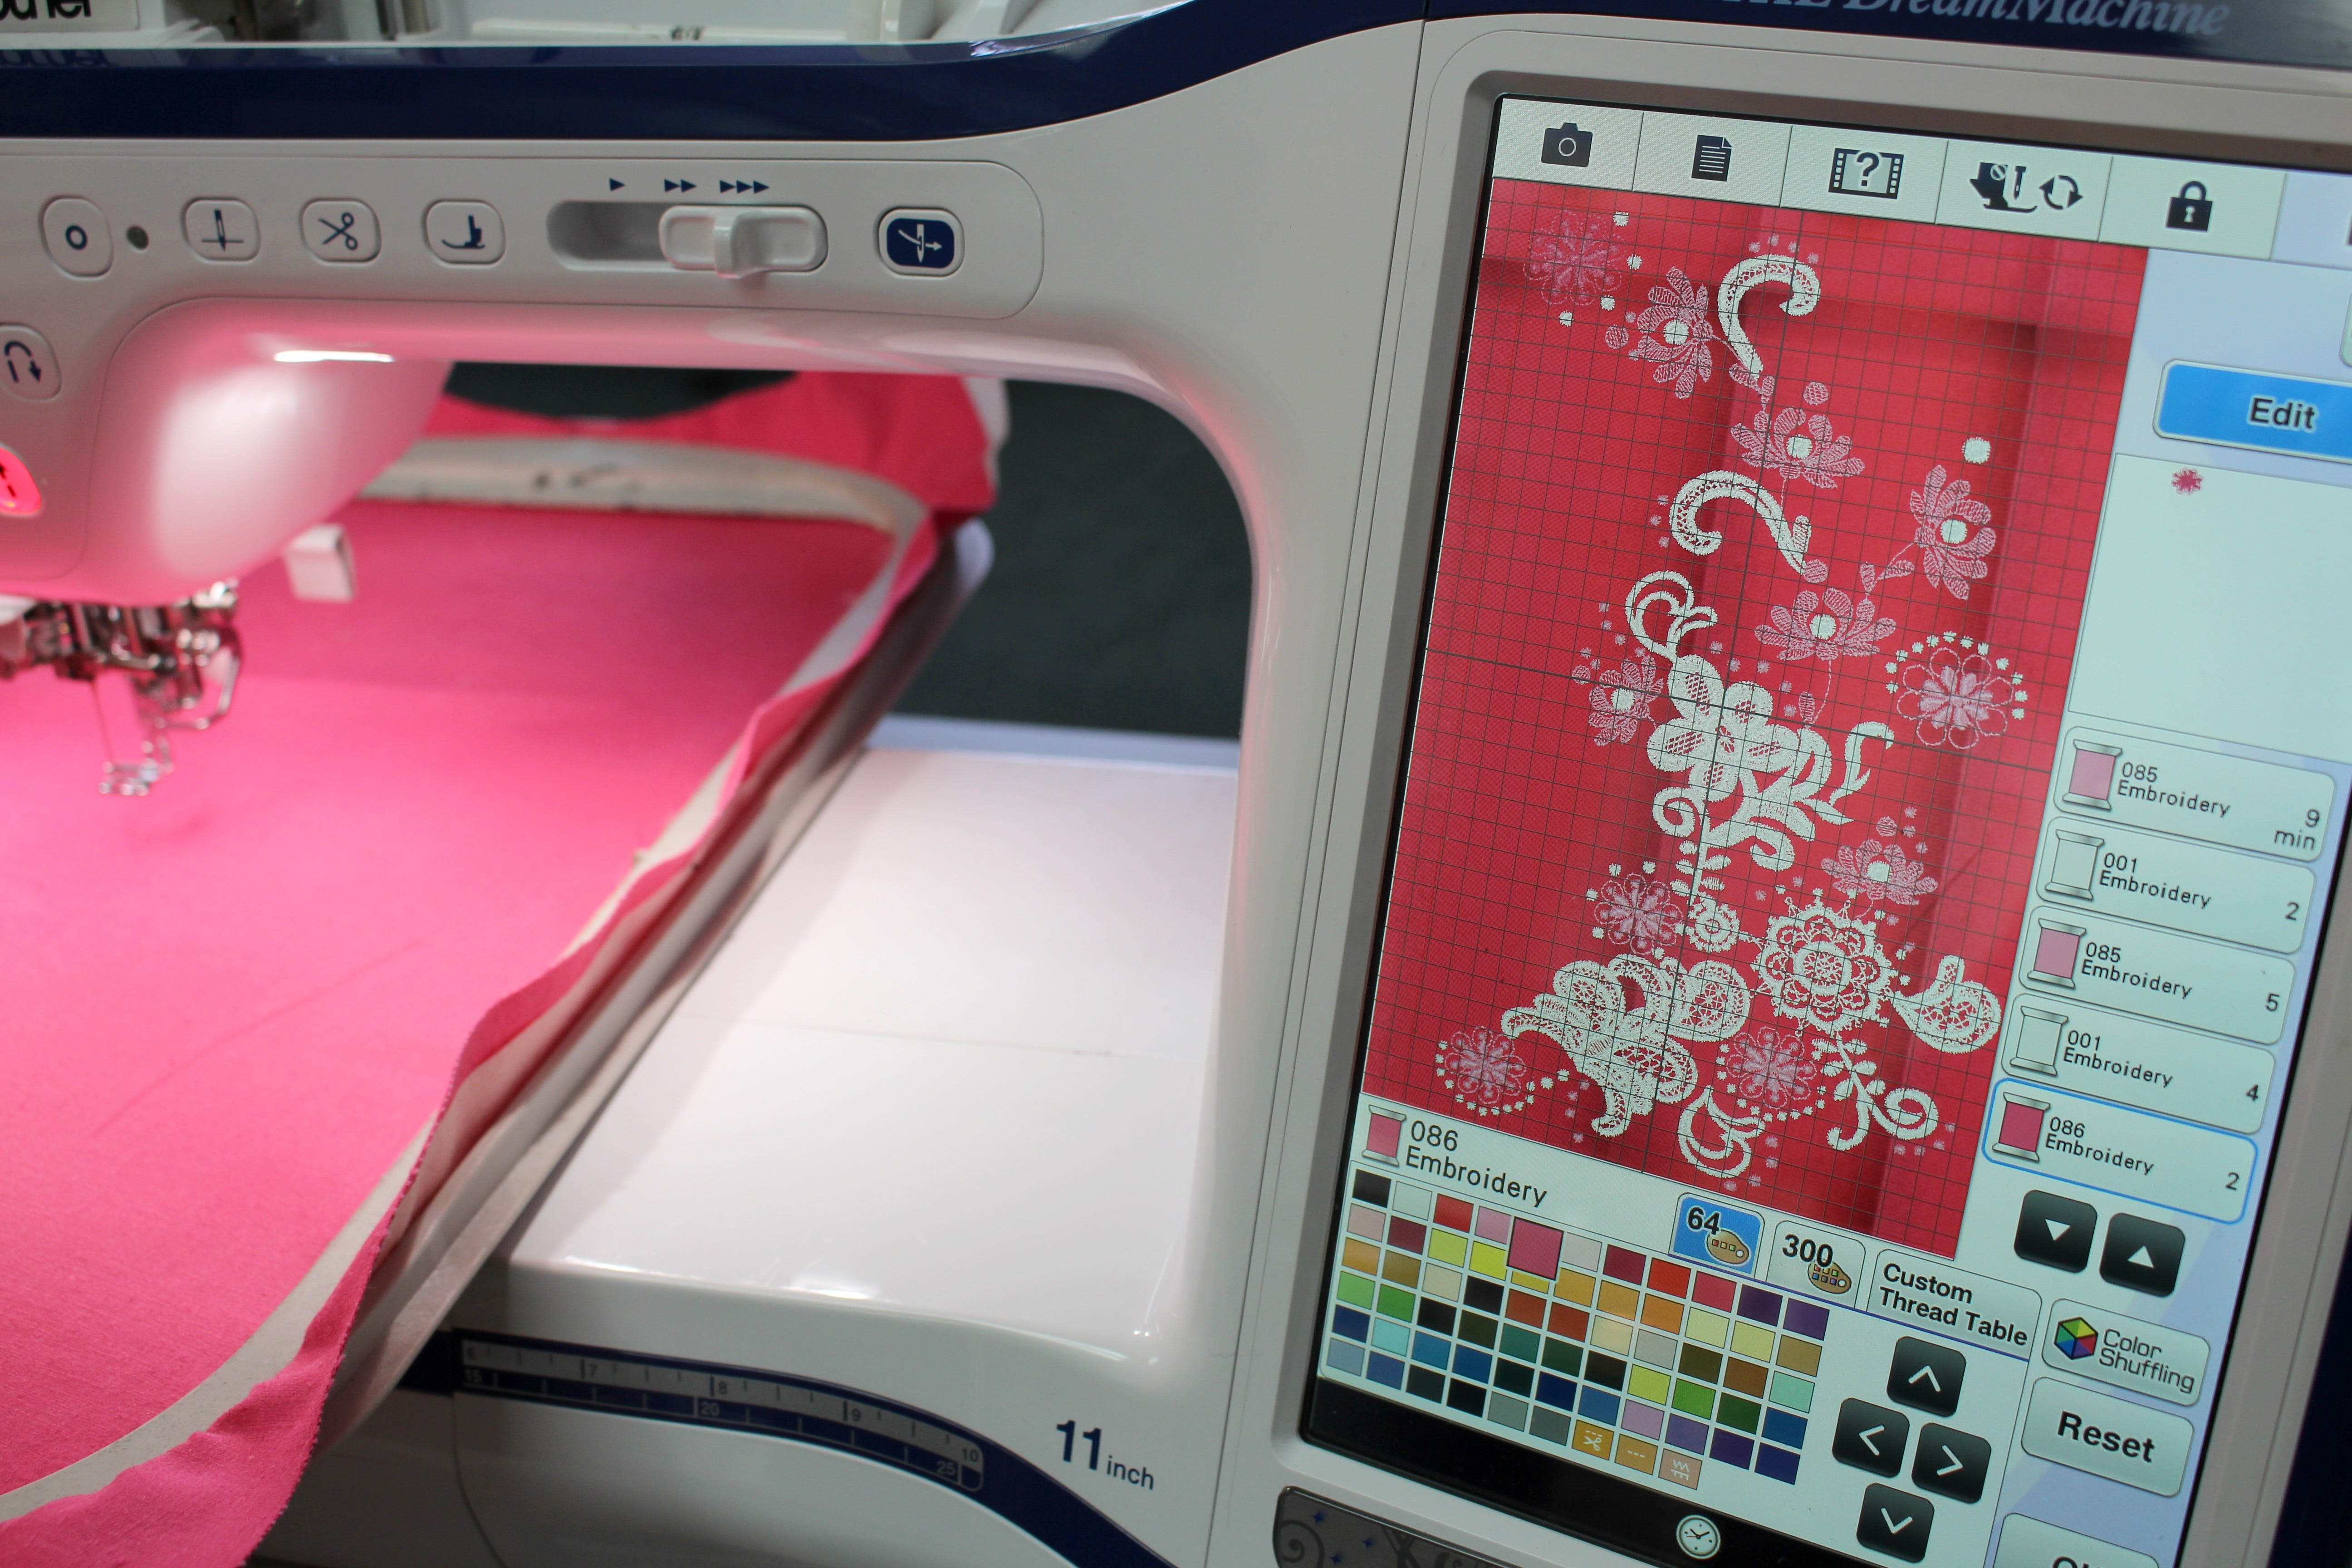
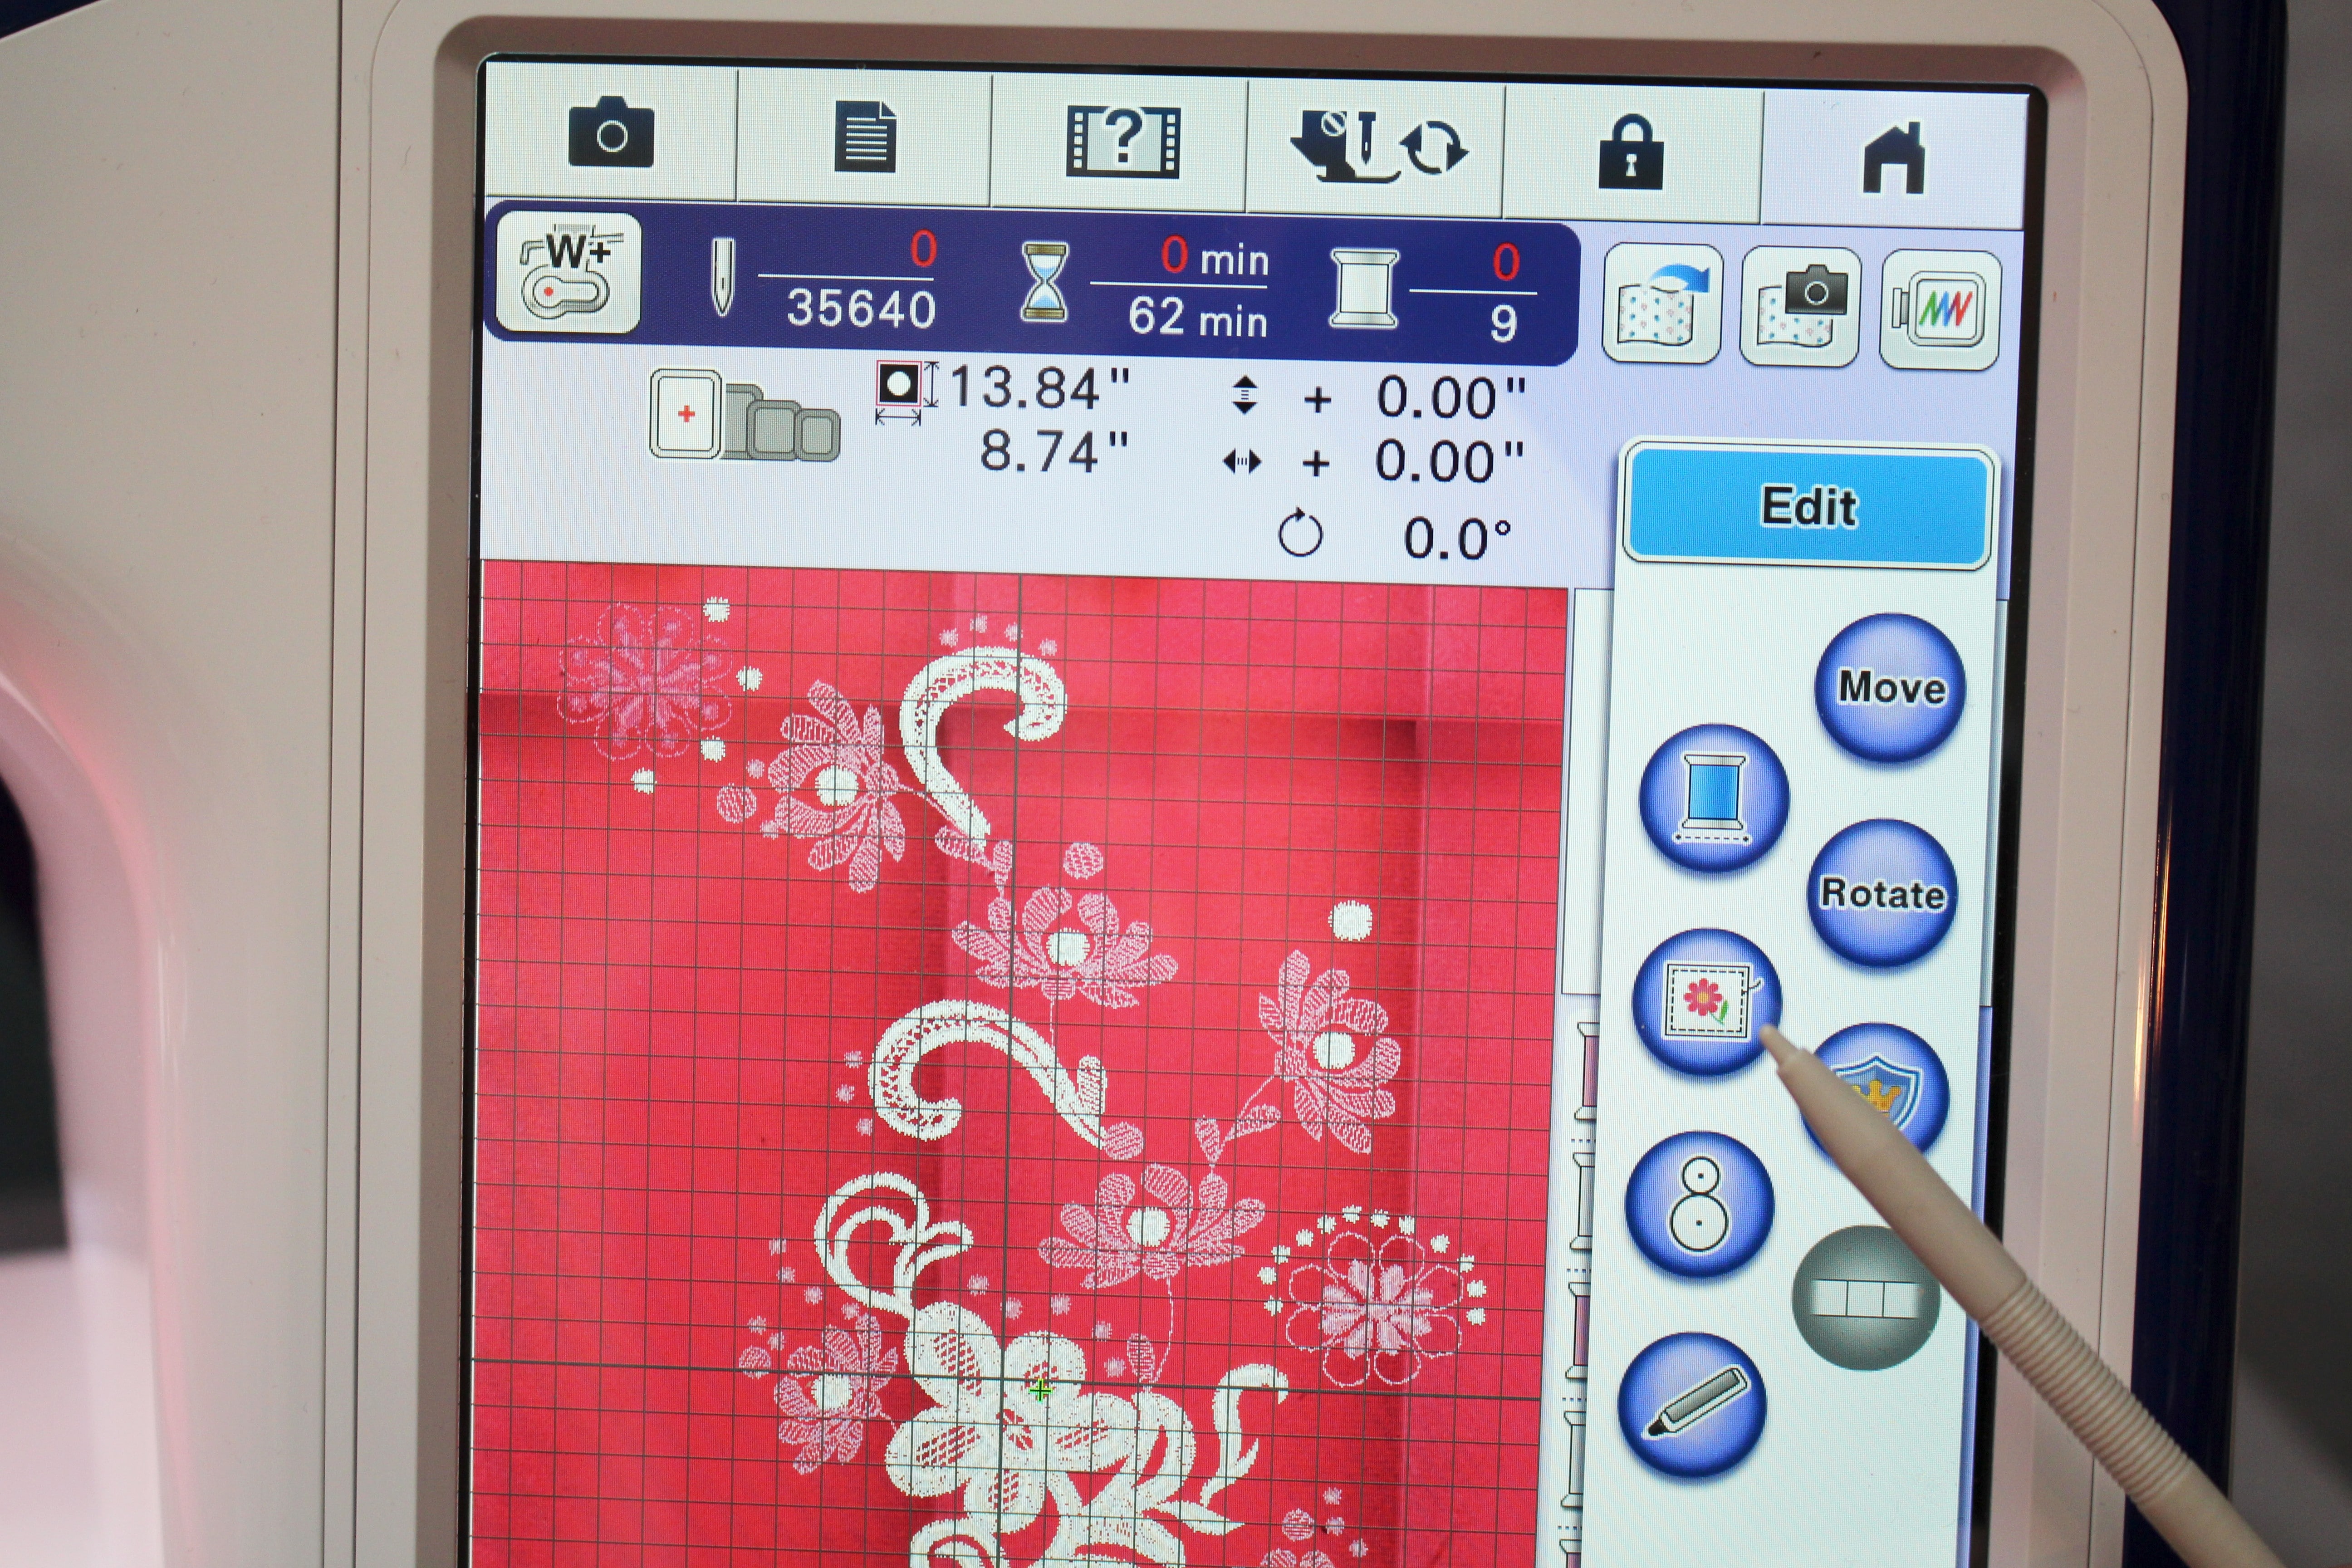
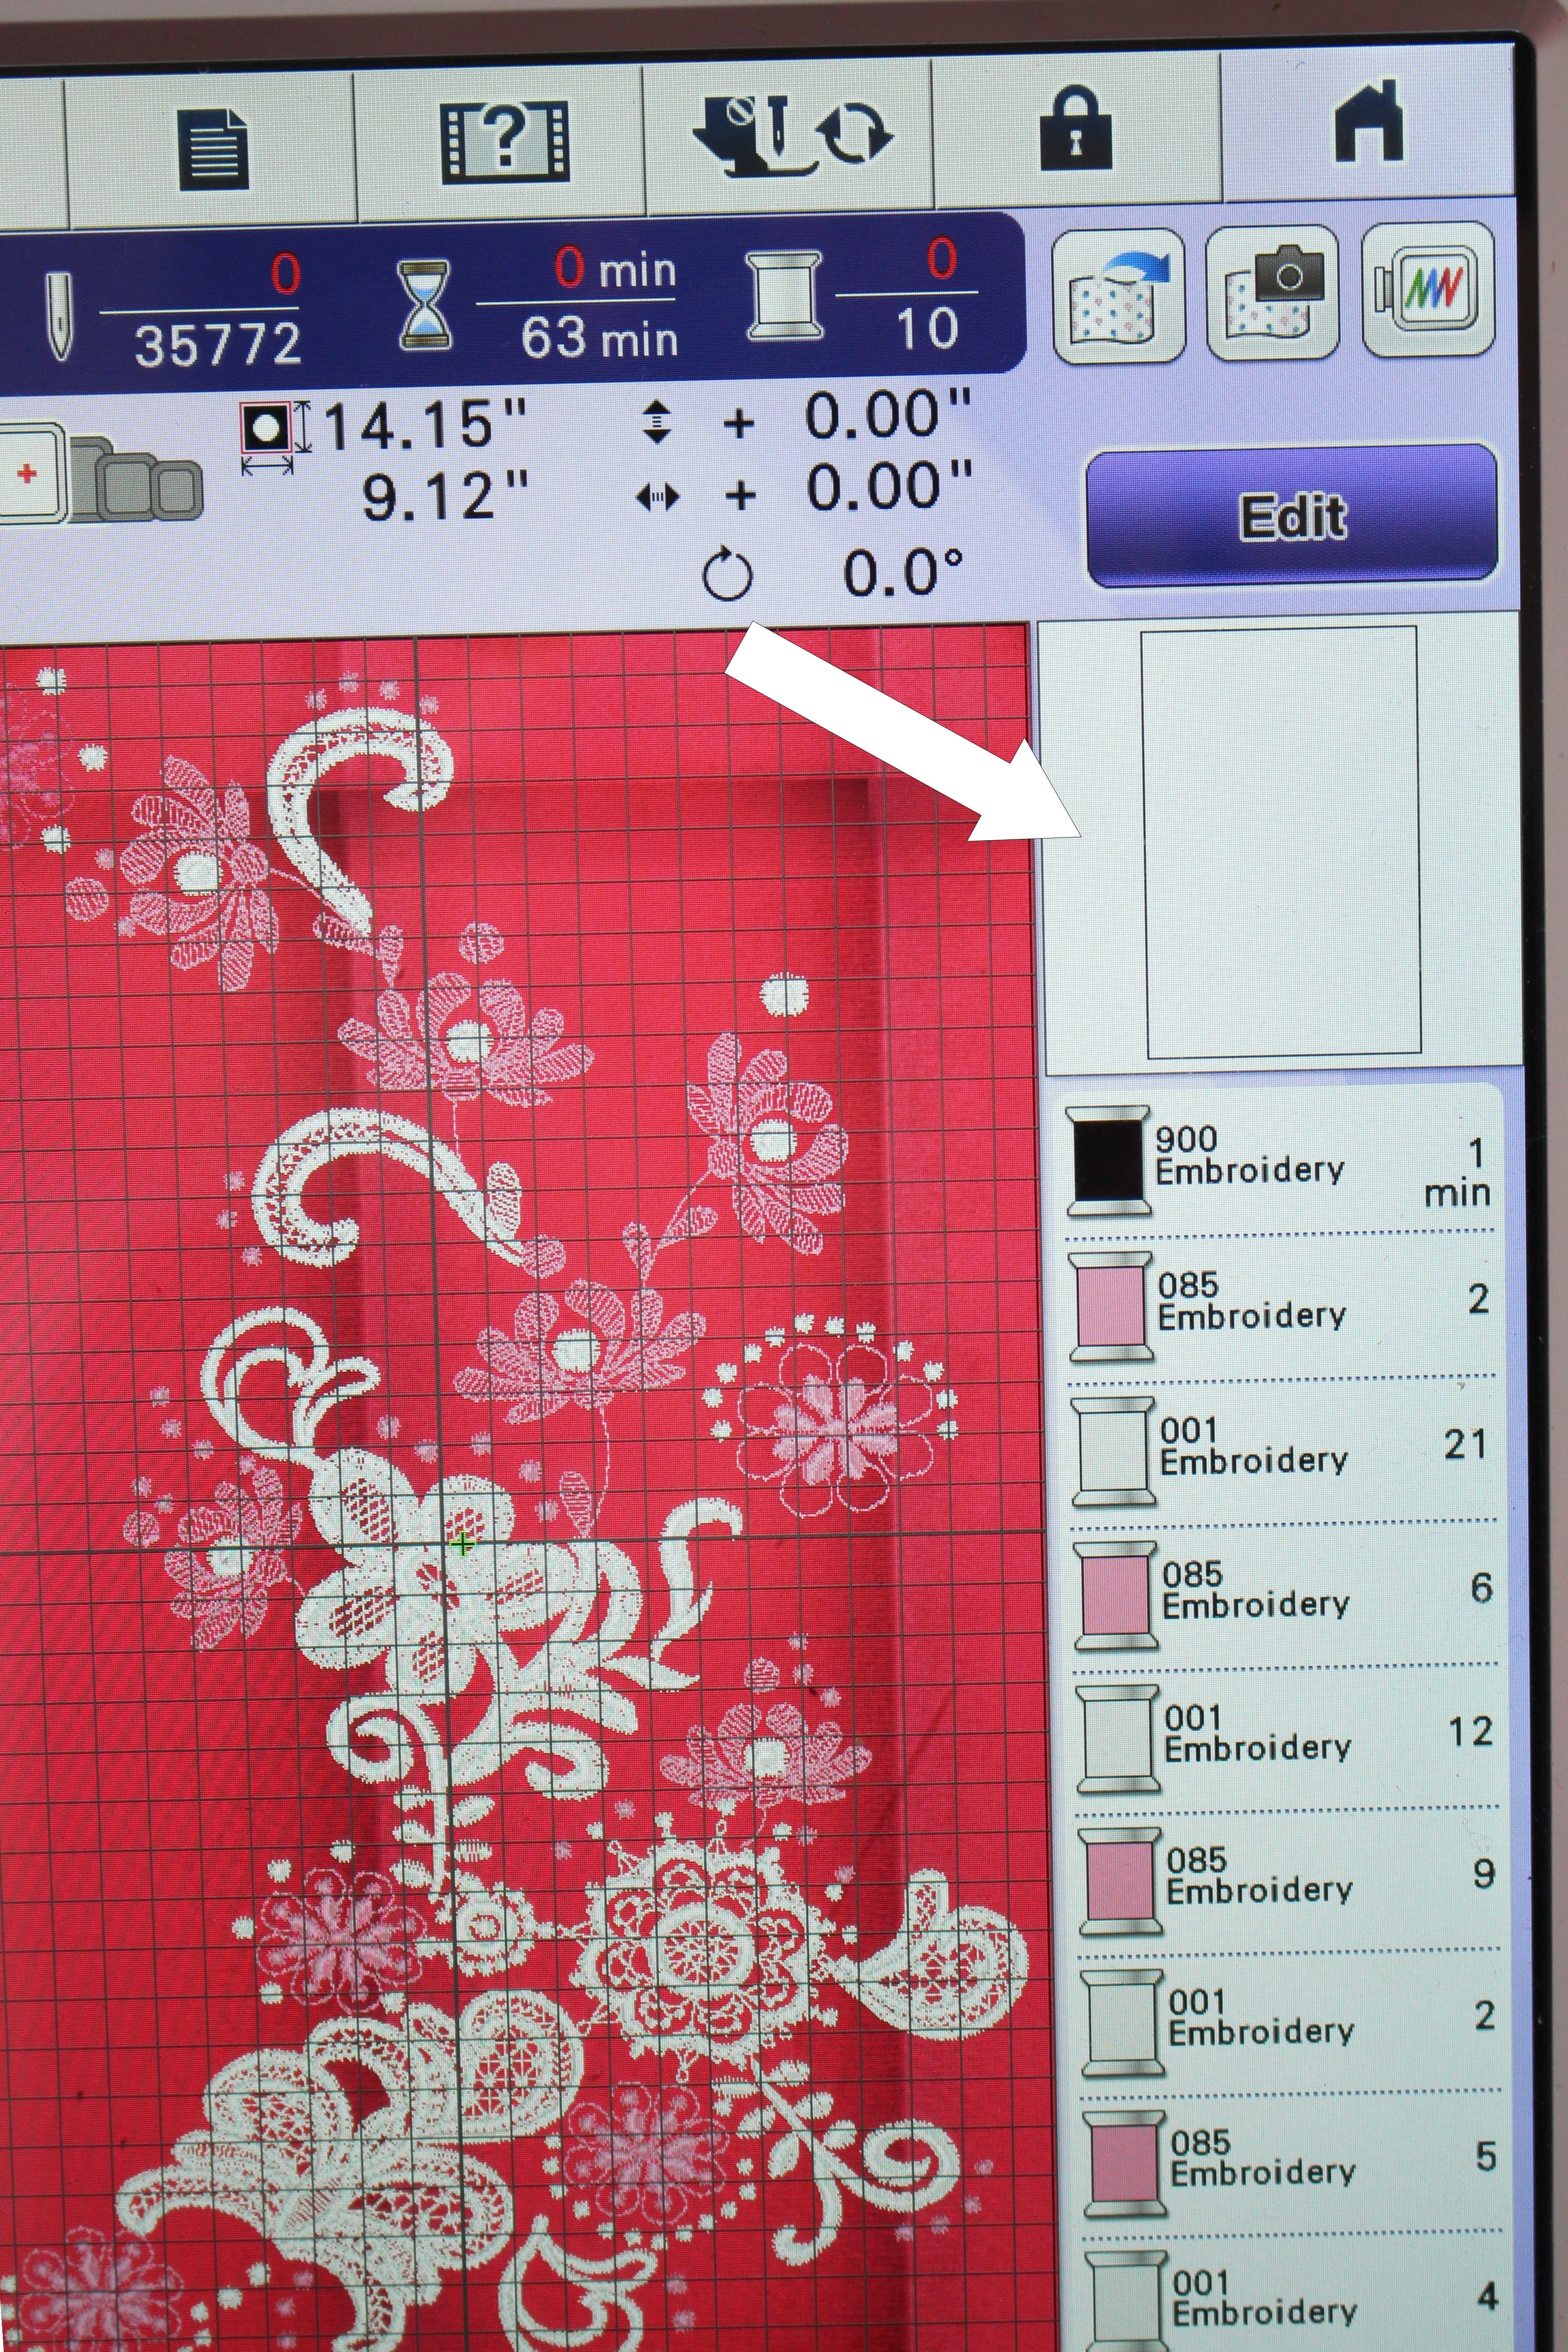
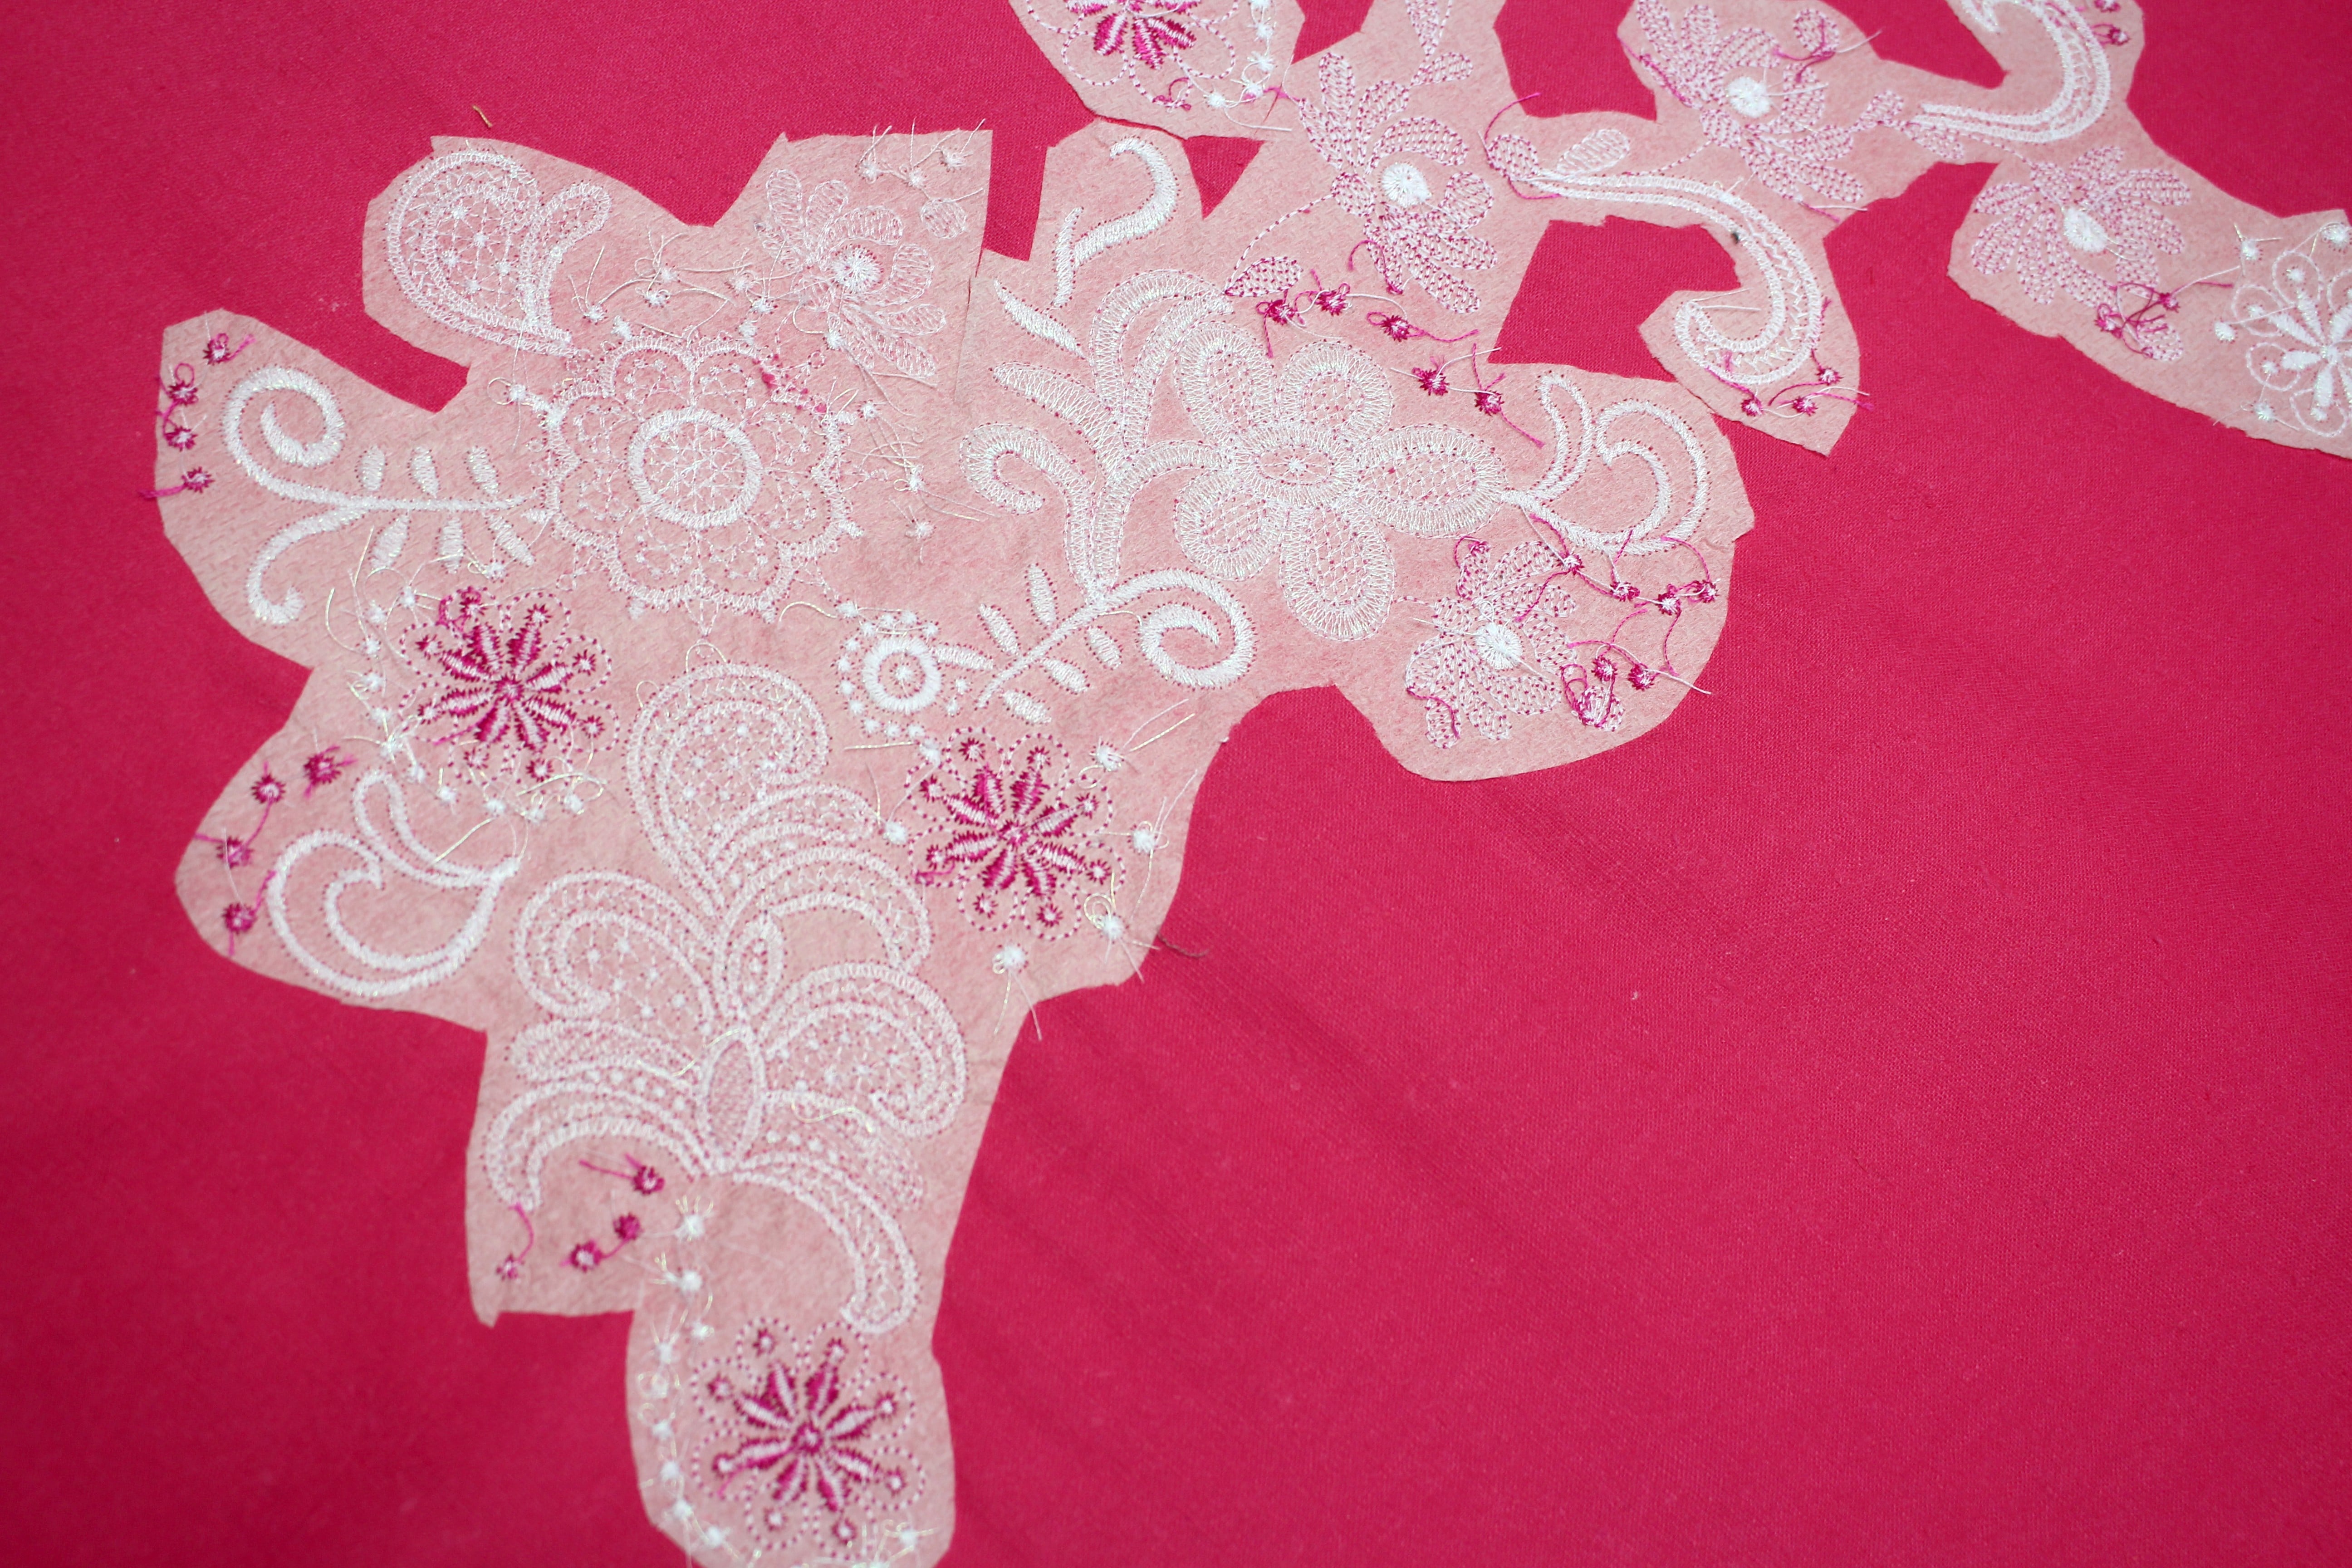
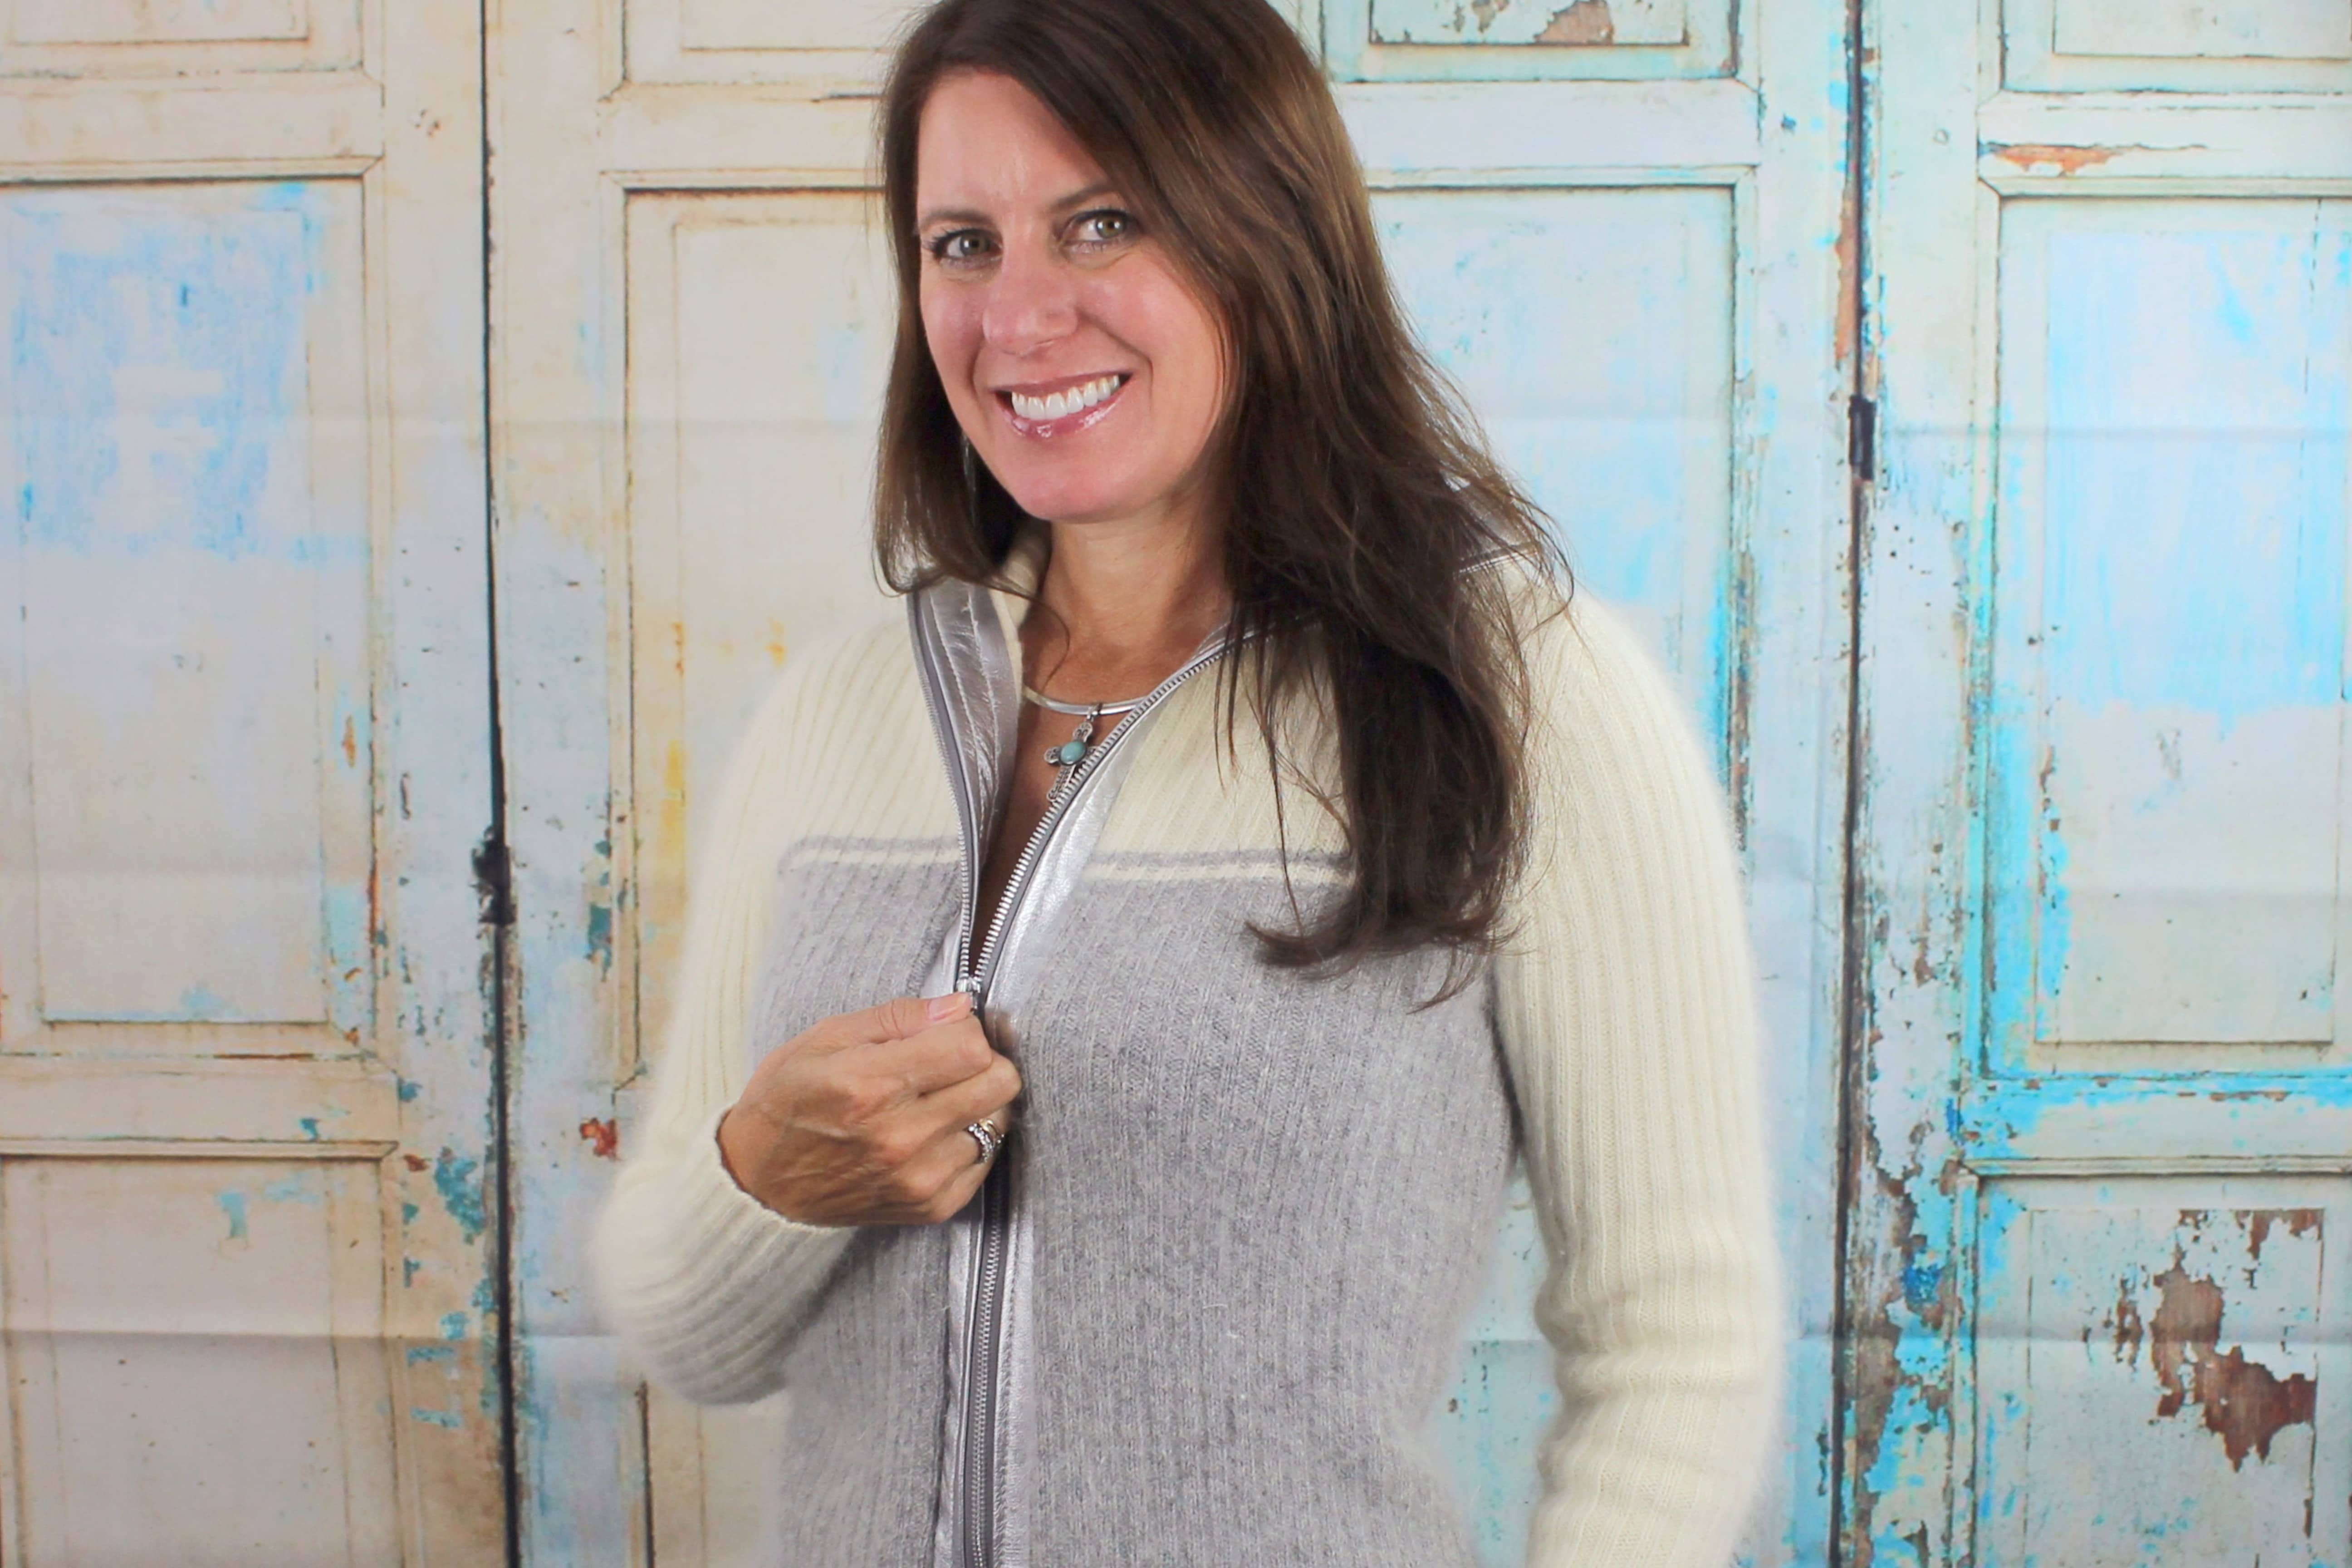
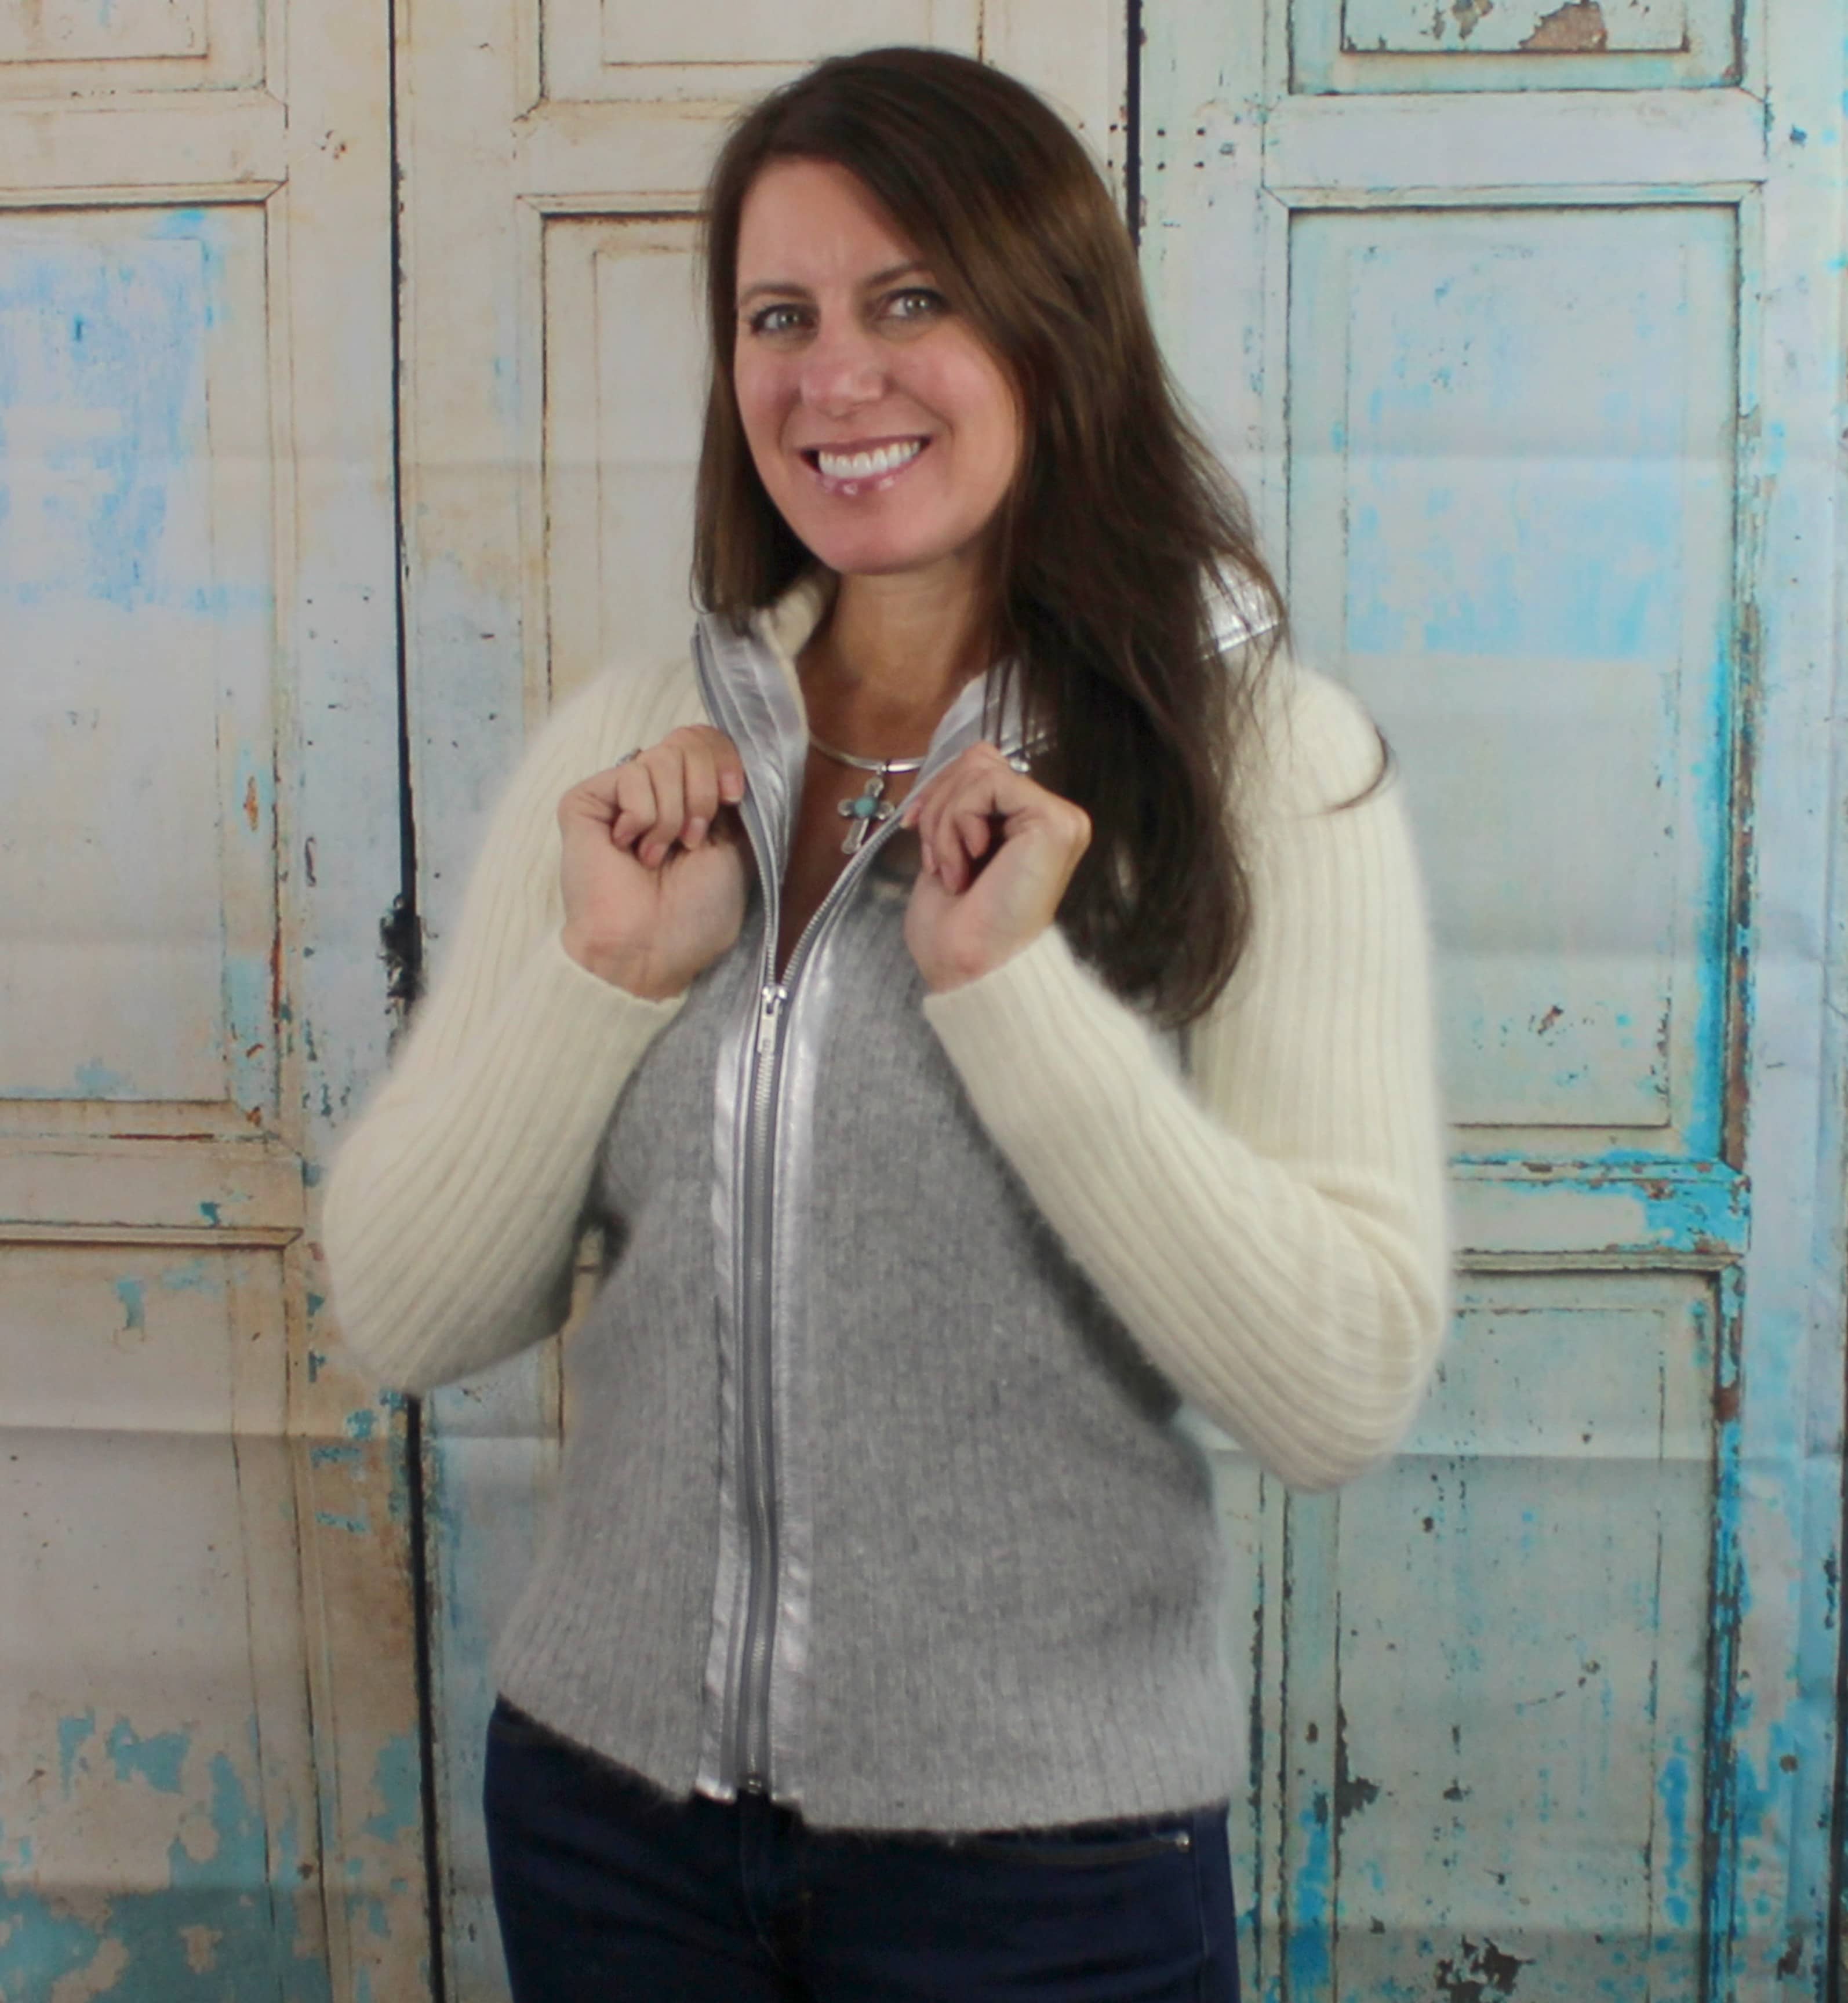
I have a few turtlenecks that are made of beautiful fabrics, but I can’t stand the high, tight neckline. Time for another DIY recycle project to makeover this sweater! The look of see through fabric, embroidered, and embellished tulle are so trendy right now – why not add a touch of glamour 🙂 I have listed all the steps here and included a video below with the full tutorial.
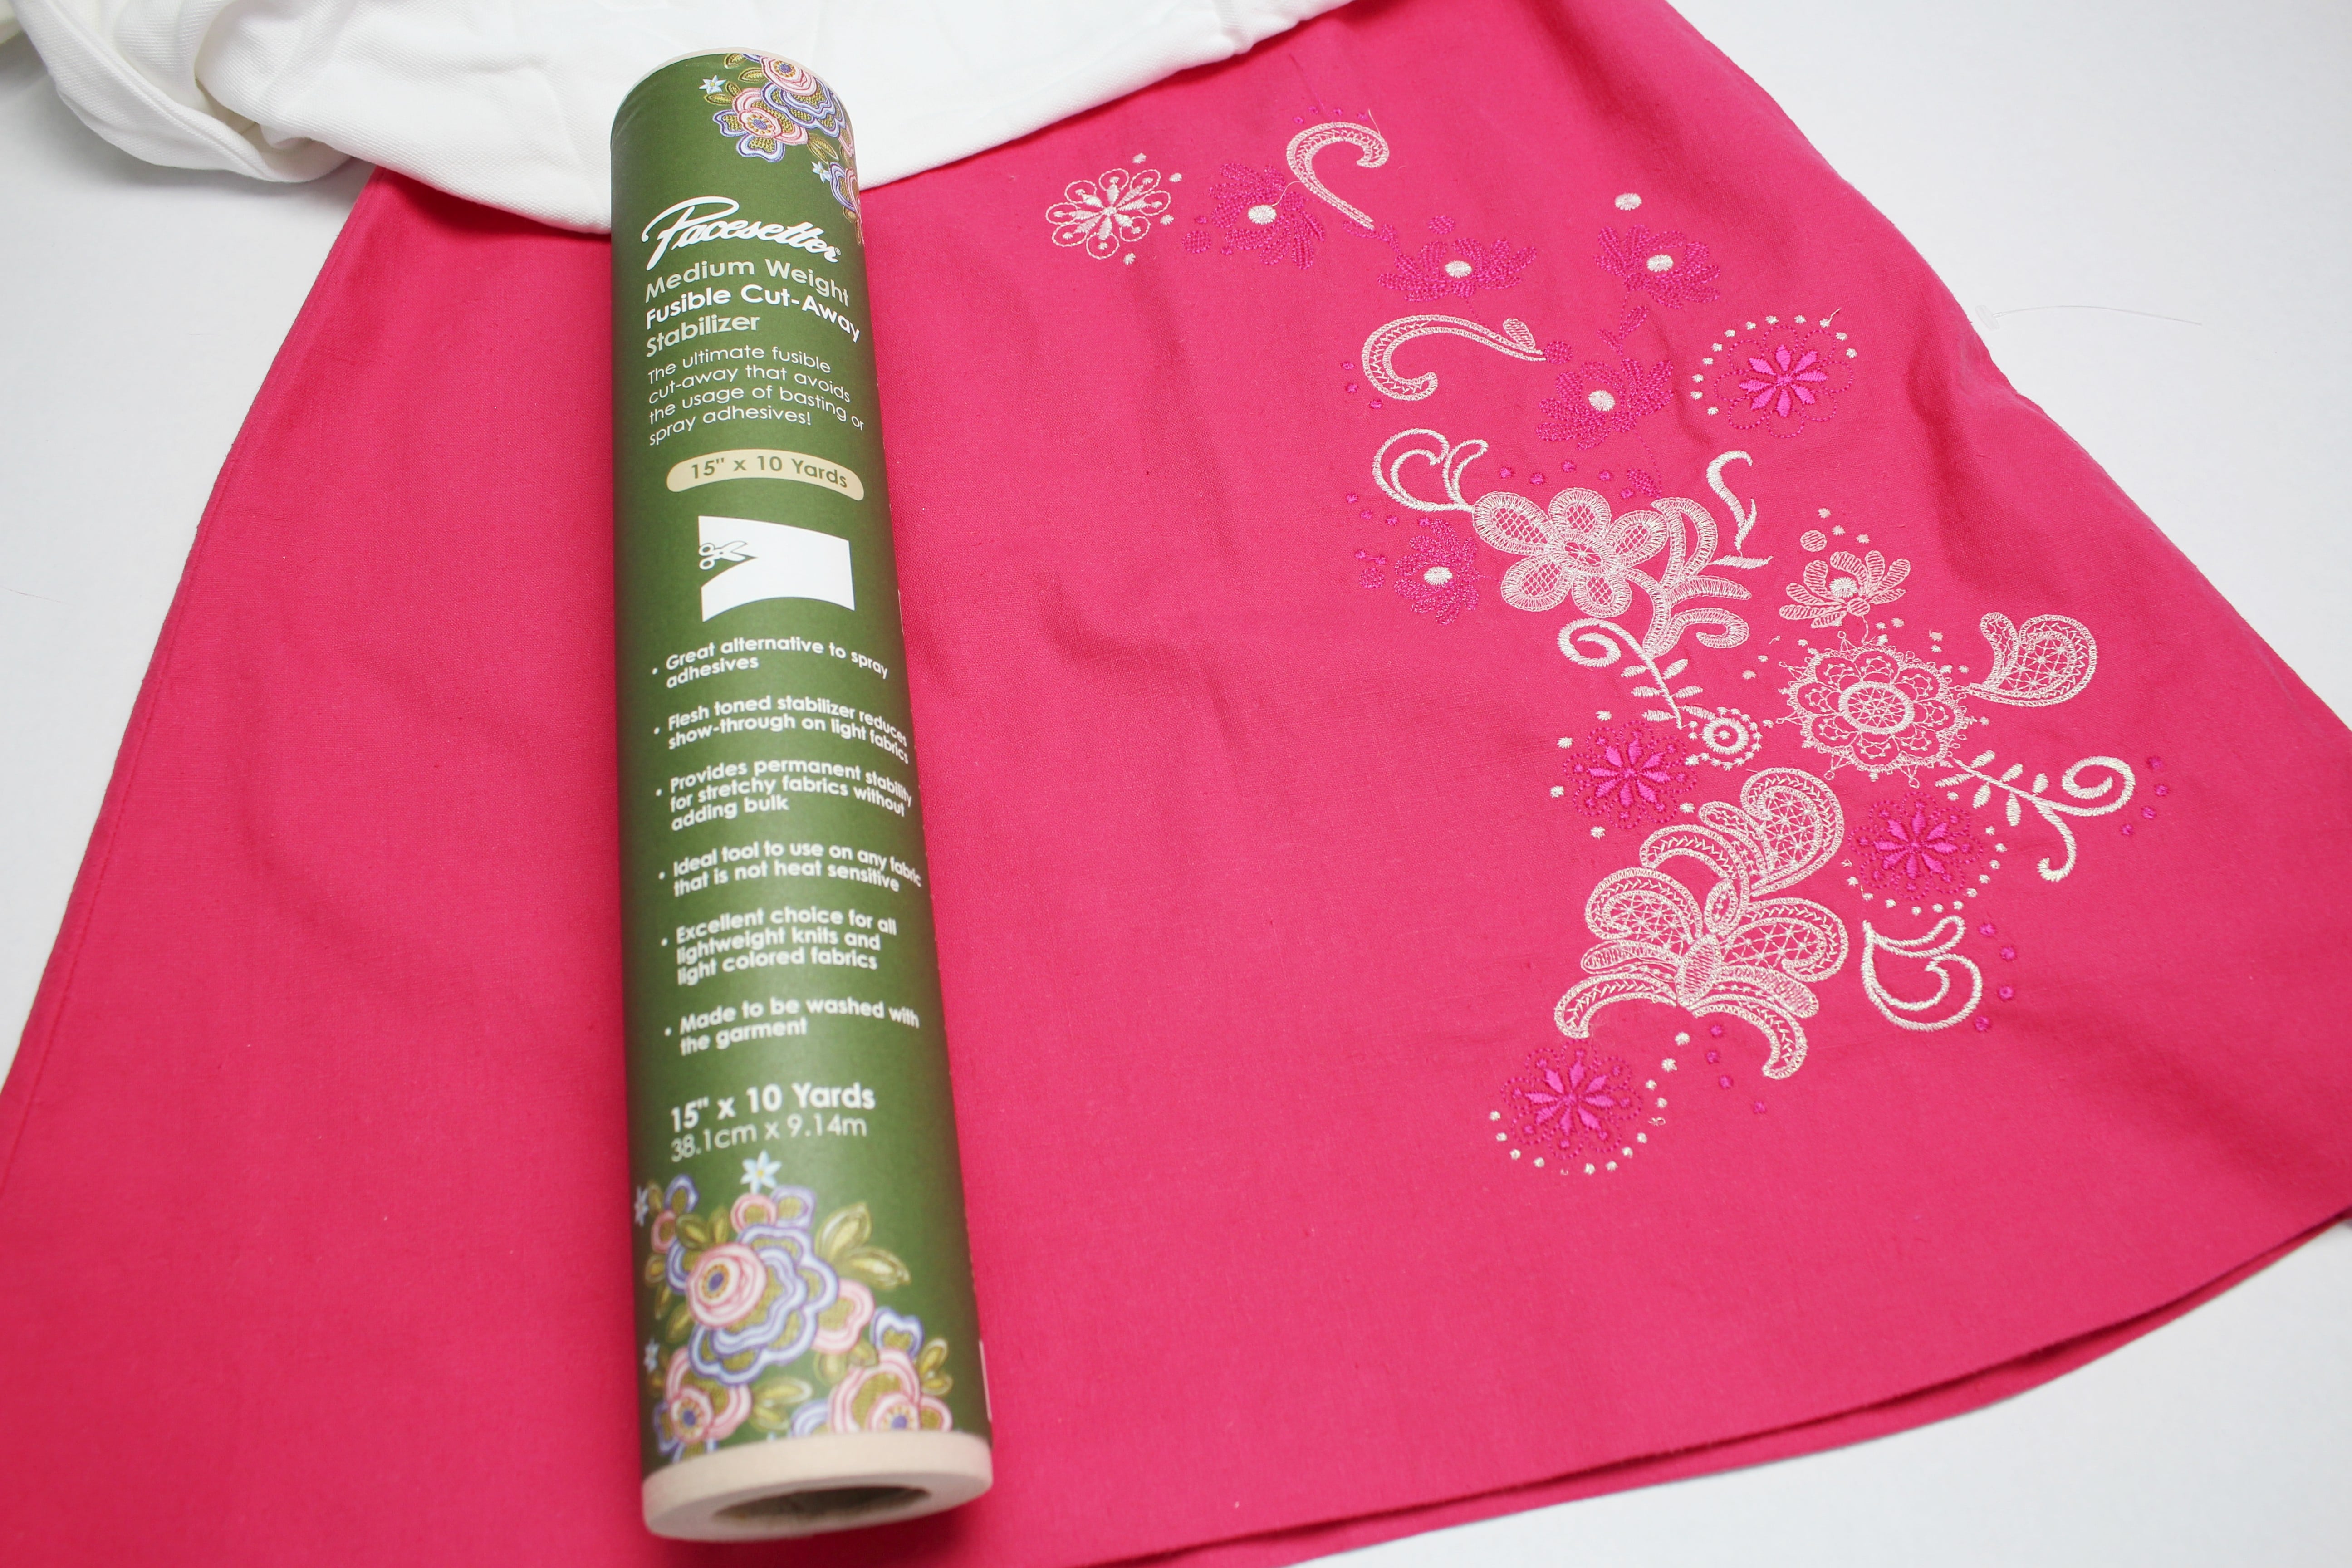
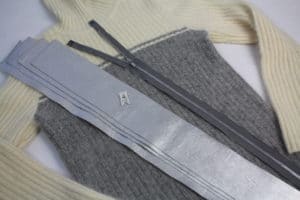
Supplies: Turtleneck, Tulle Fabric, Sewing Supplies including scissors, quilters ruler, tailors chalk, pins, universal or stretch thread (you can find the sewing supplies here on my amazon page)
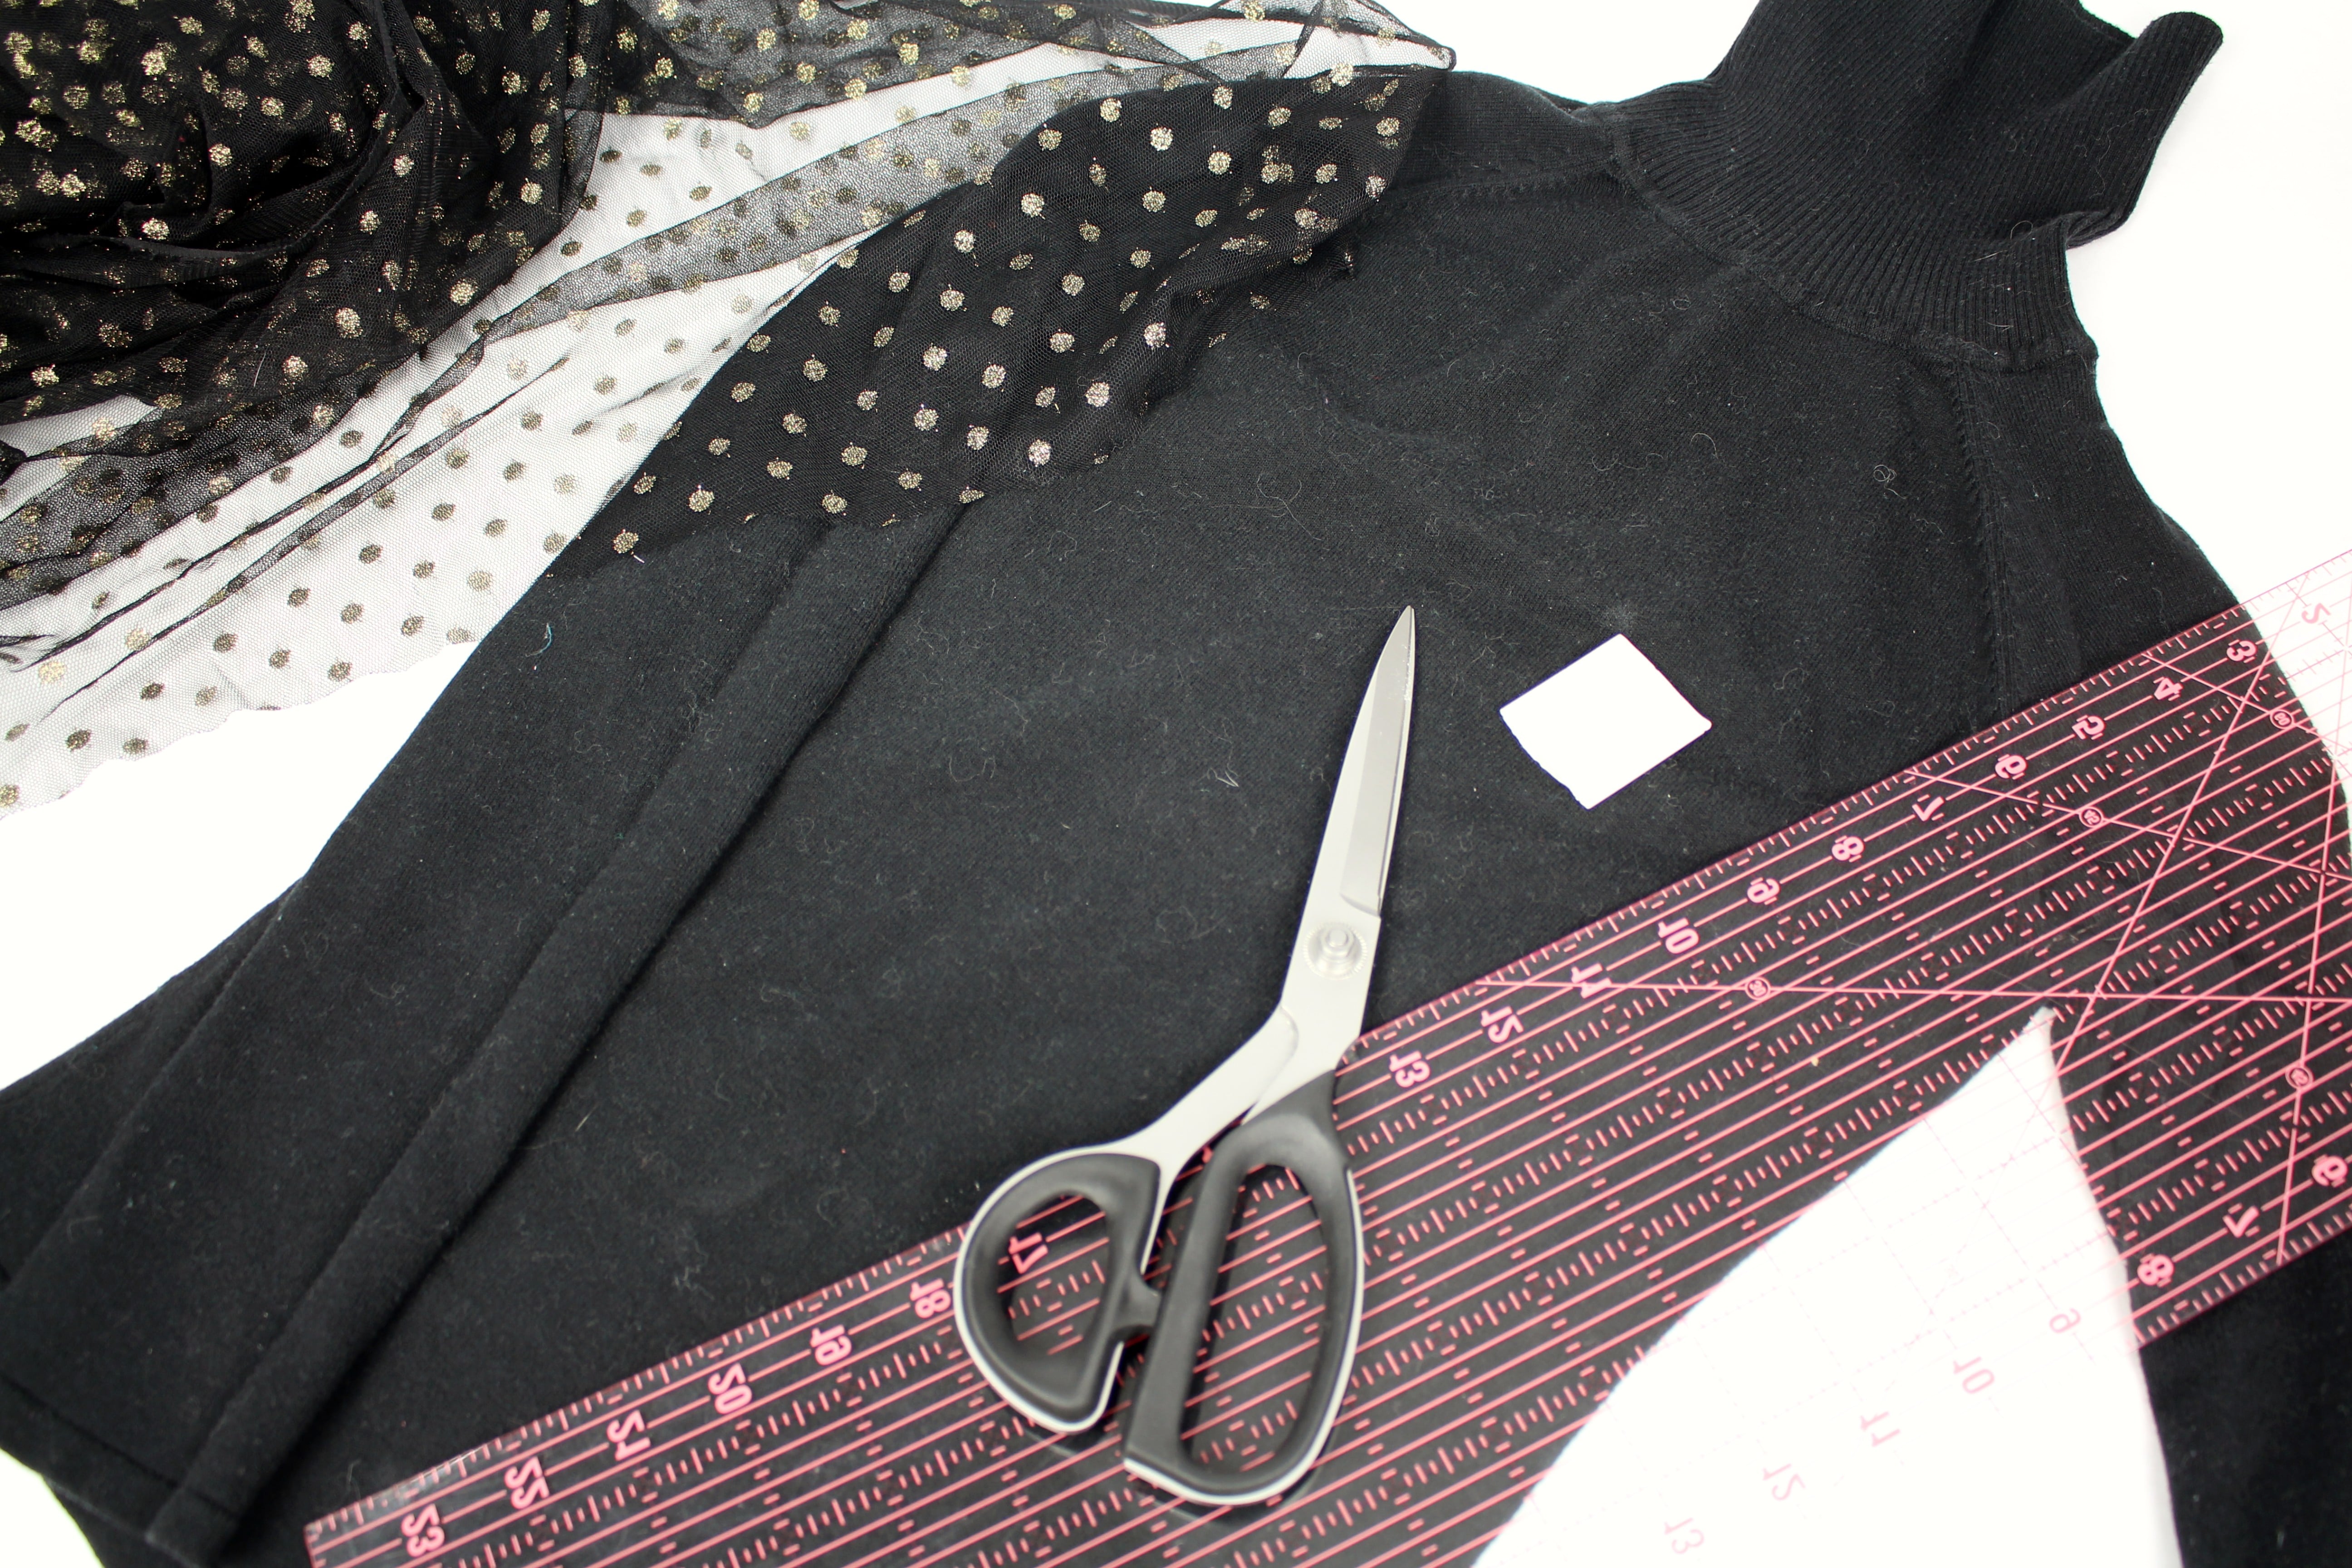
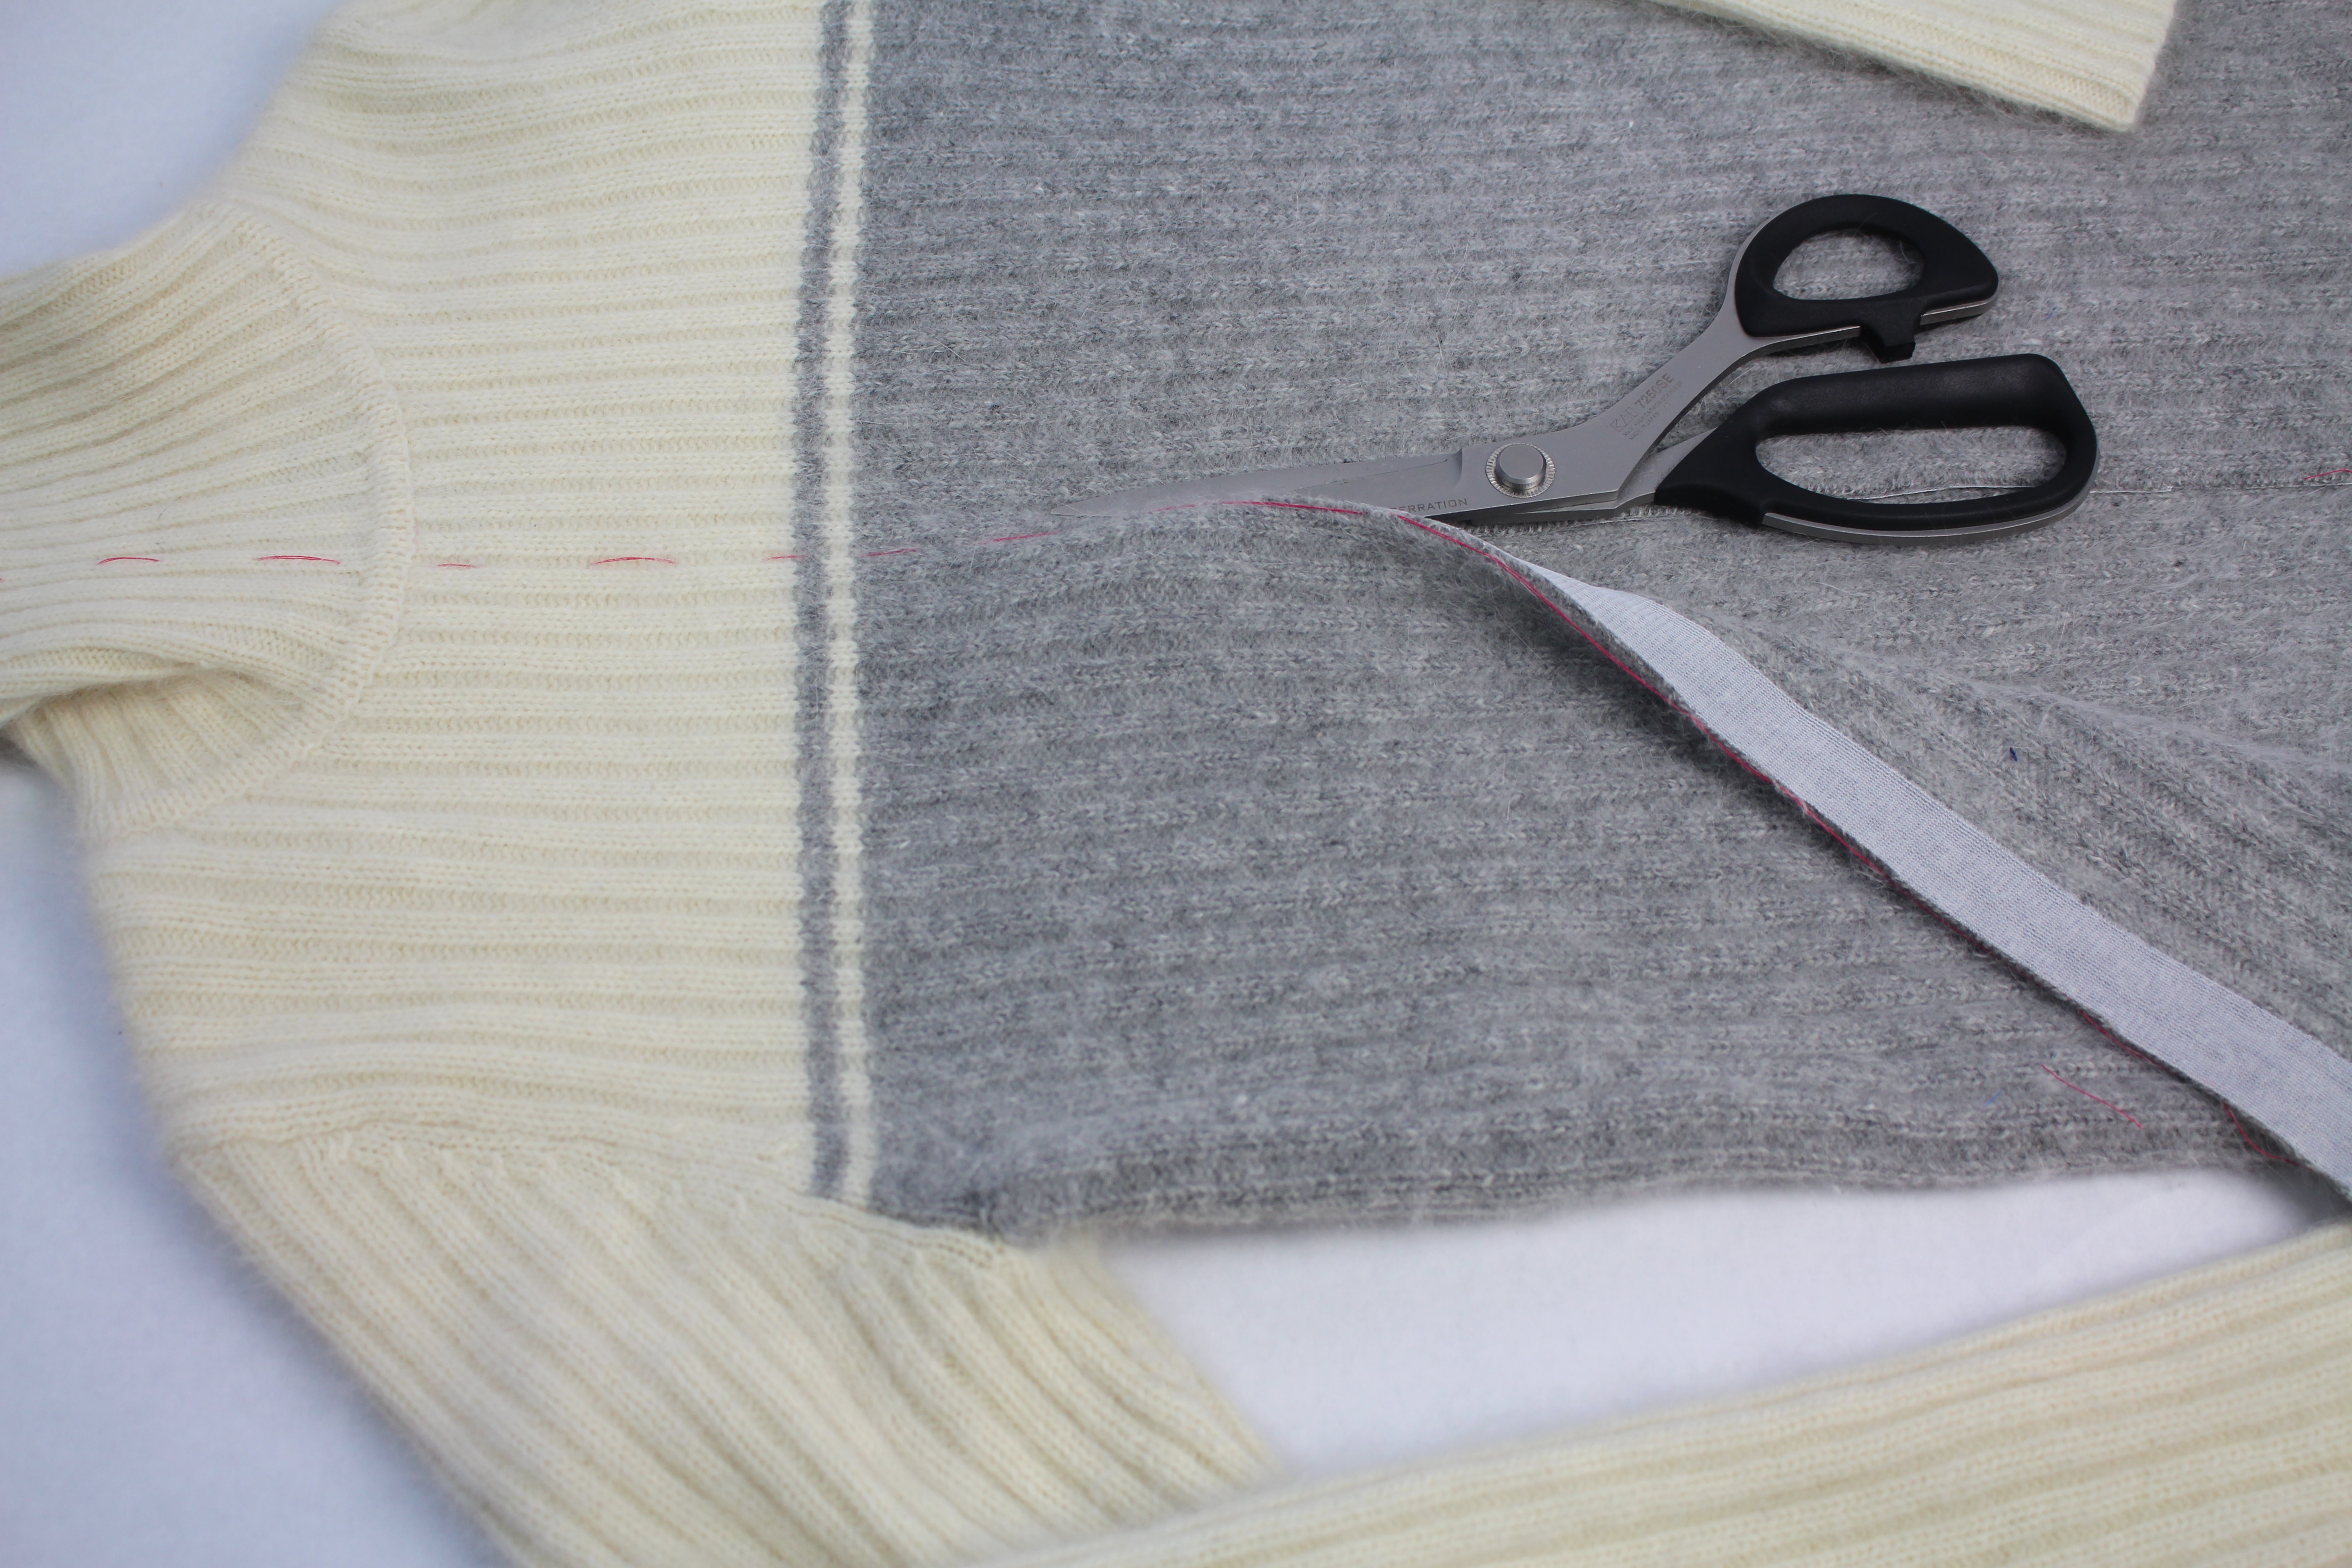
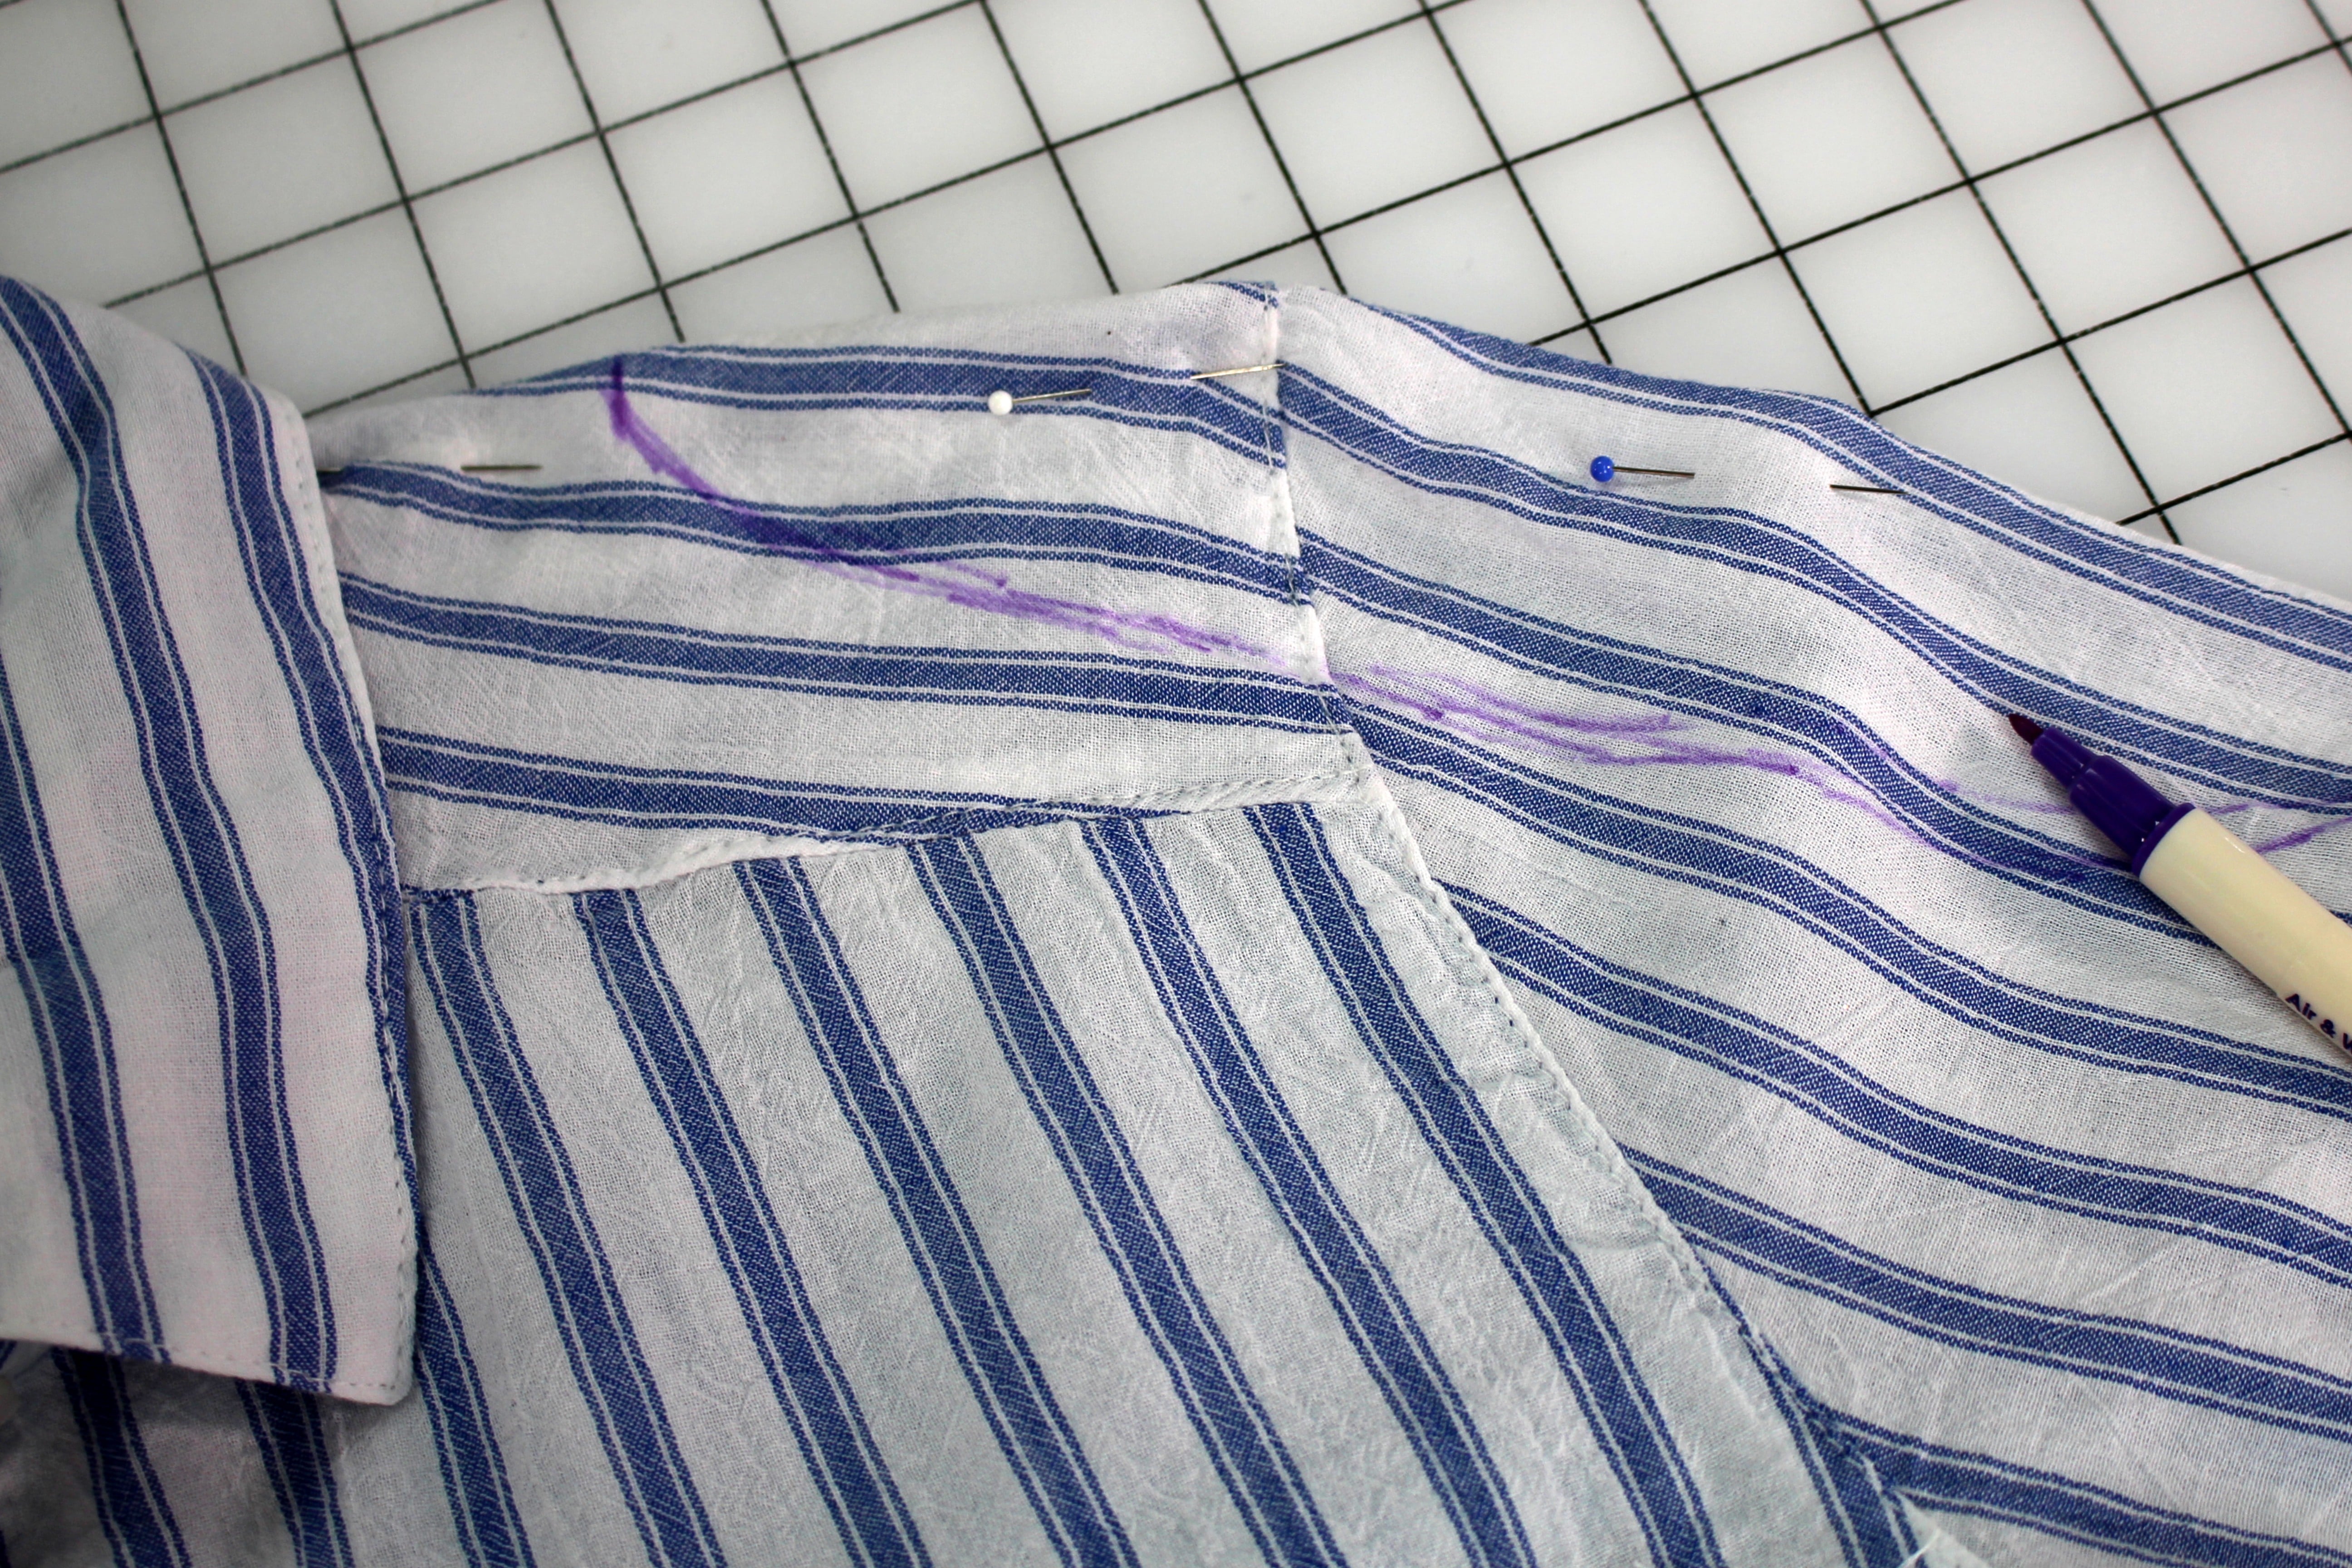
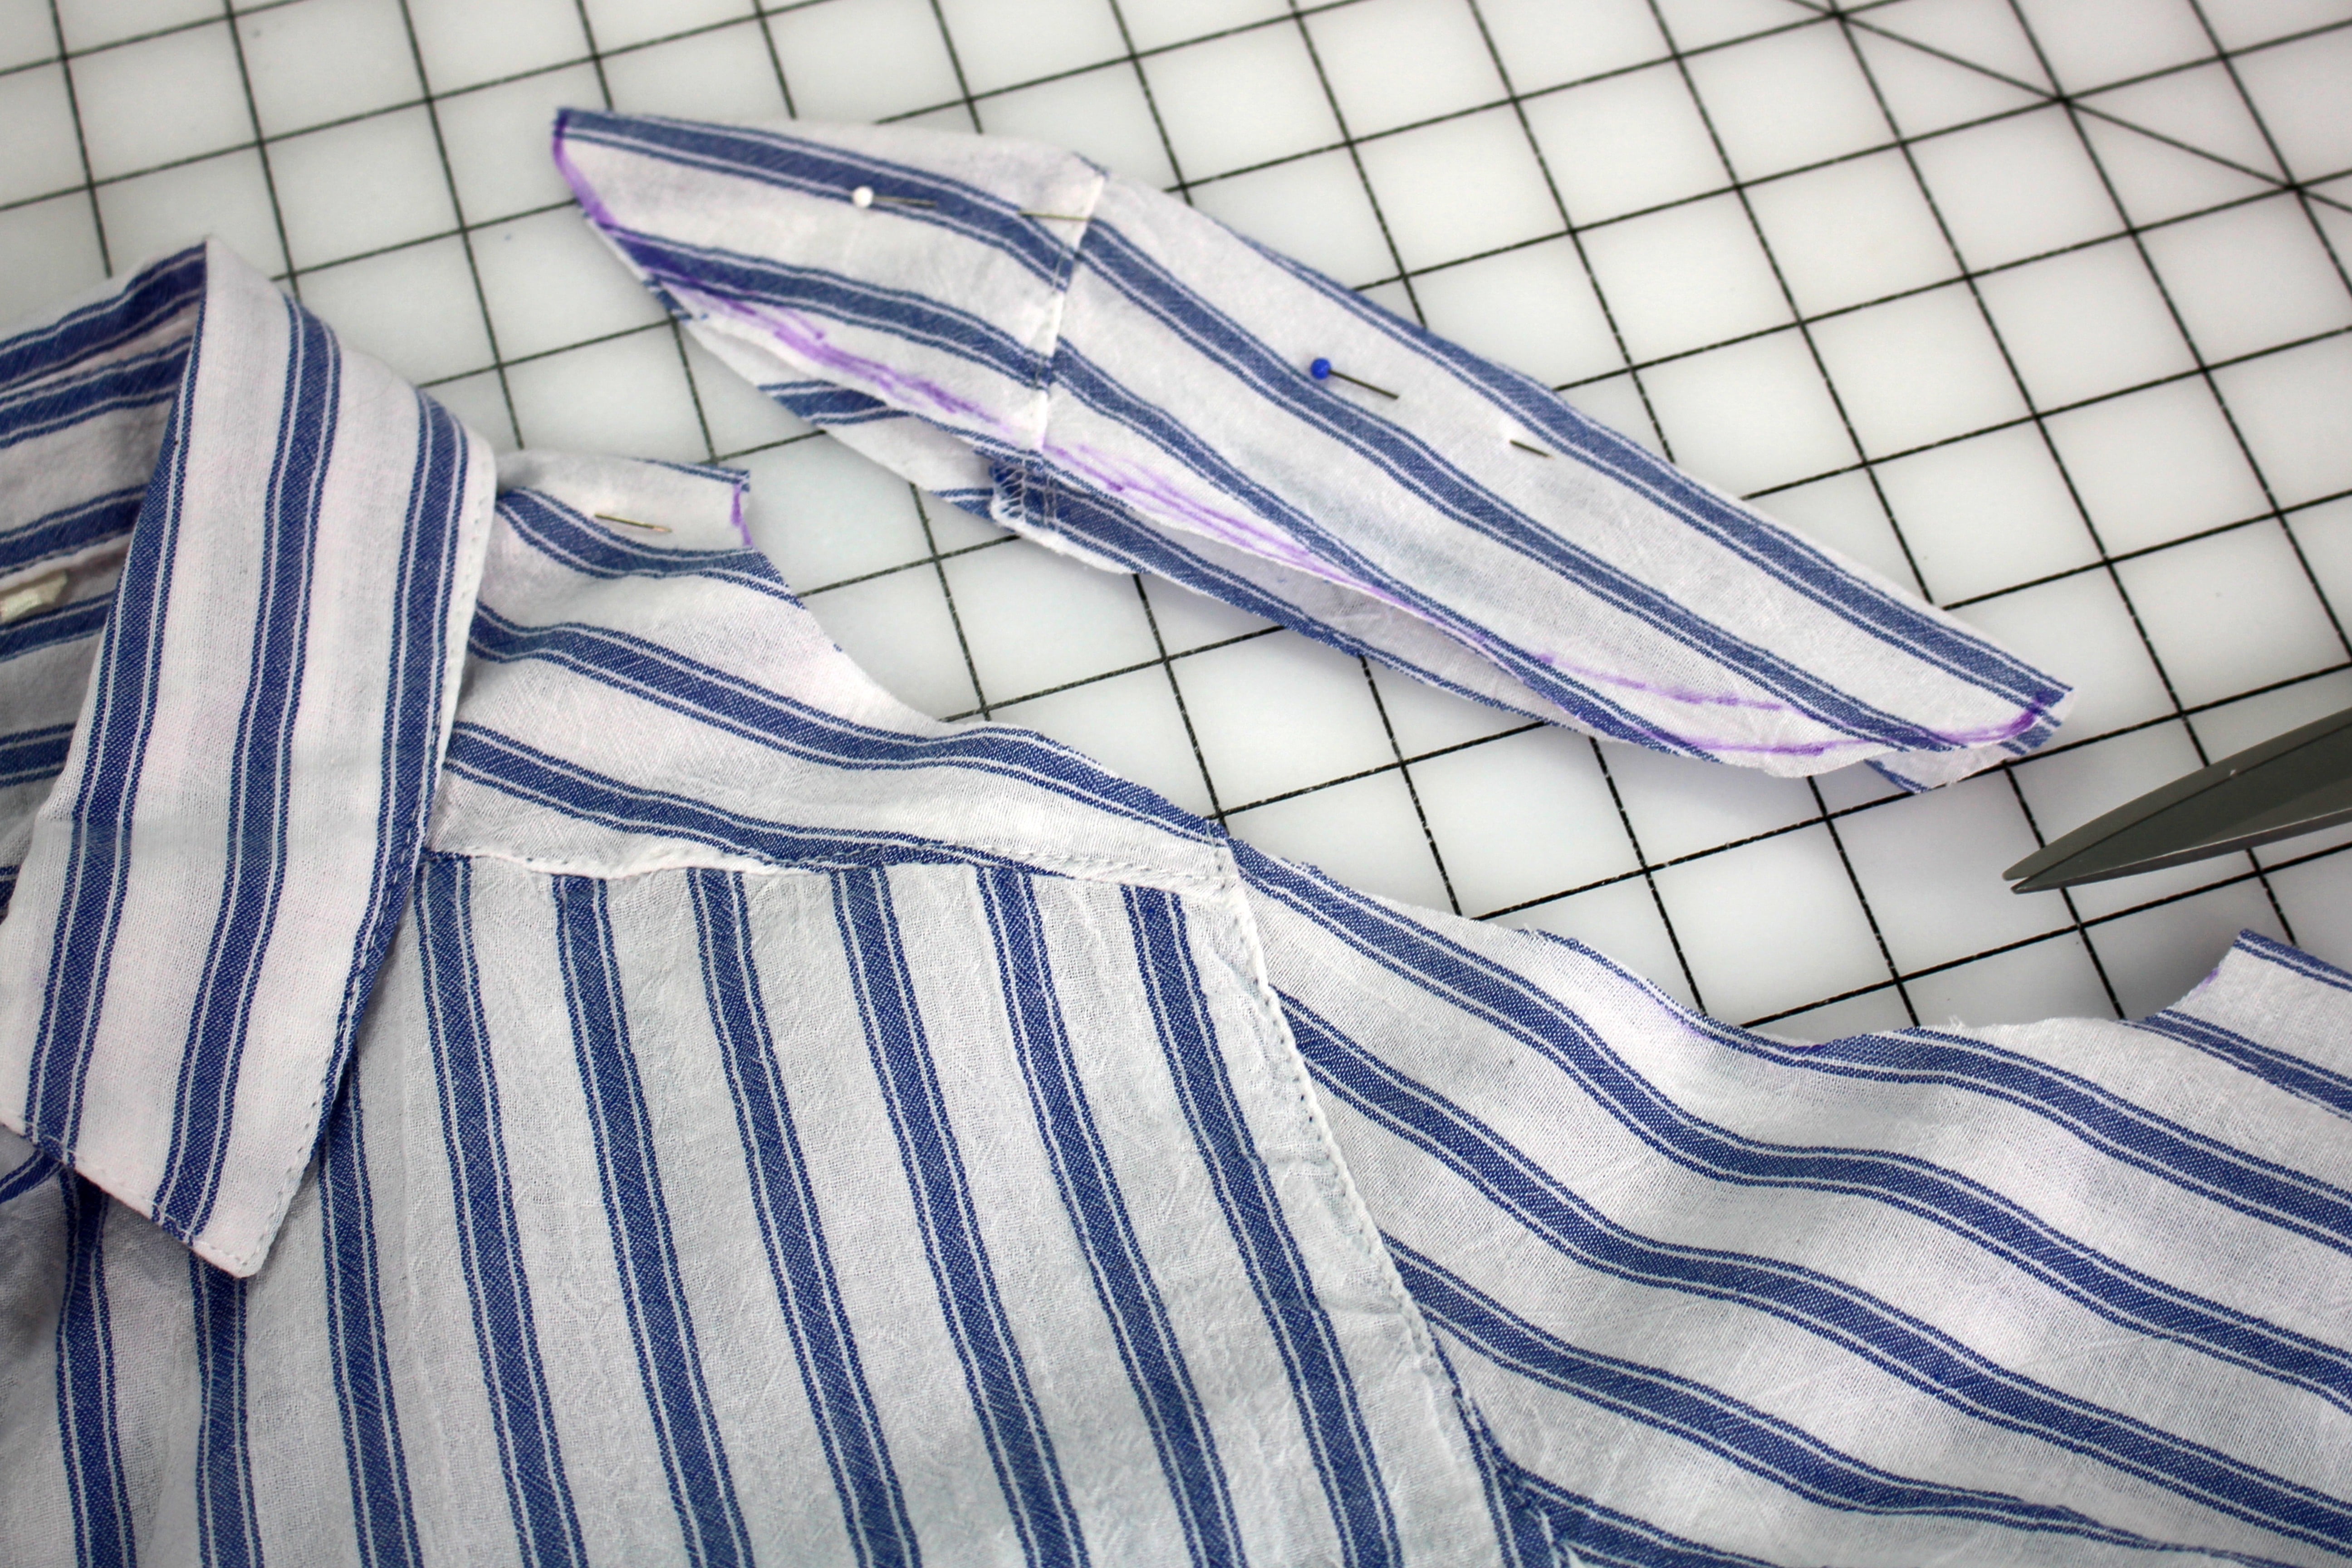
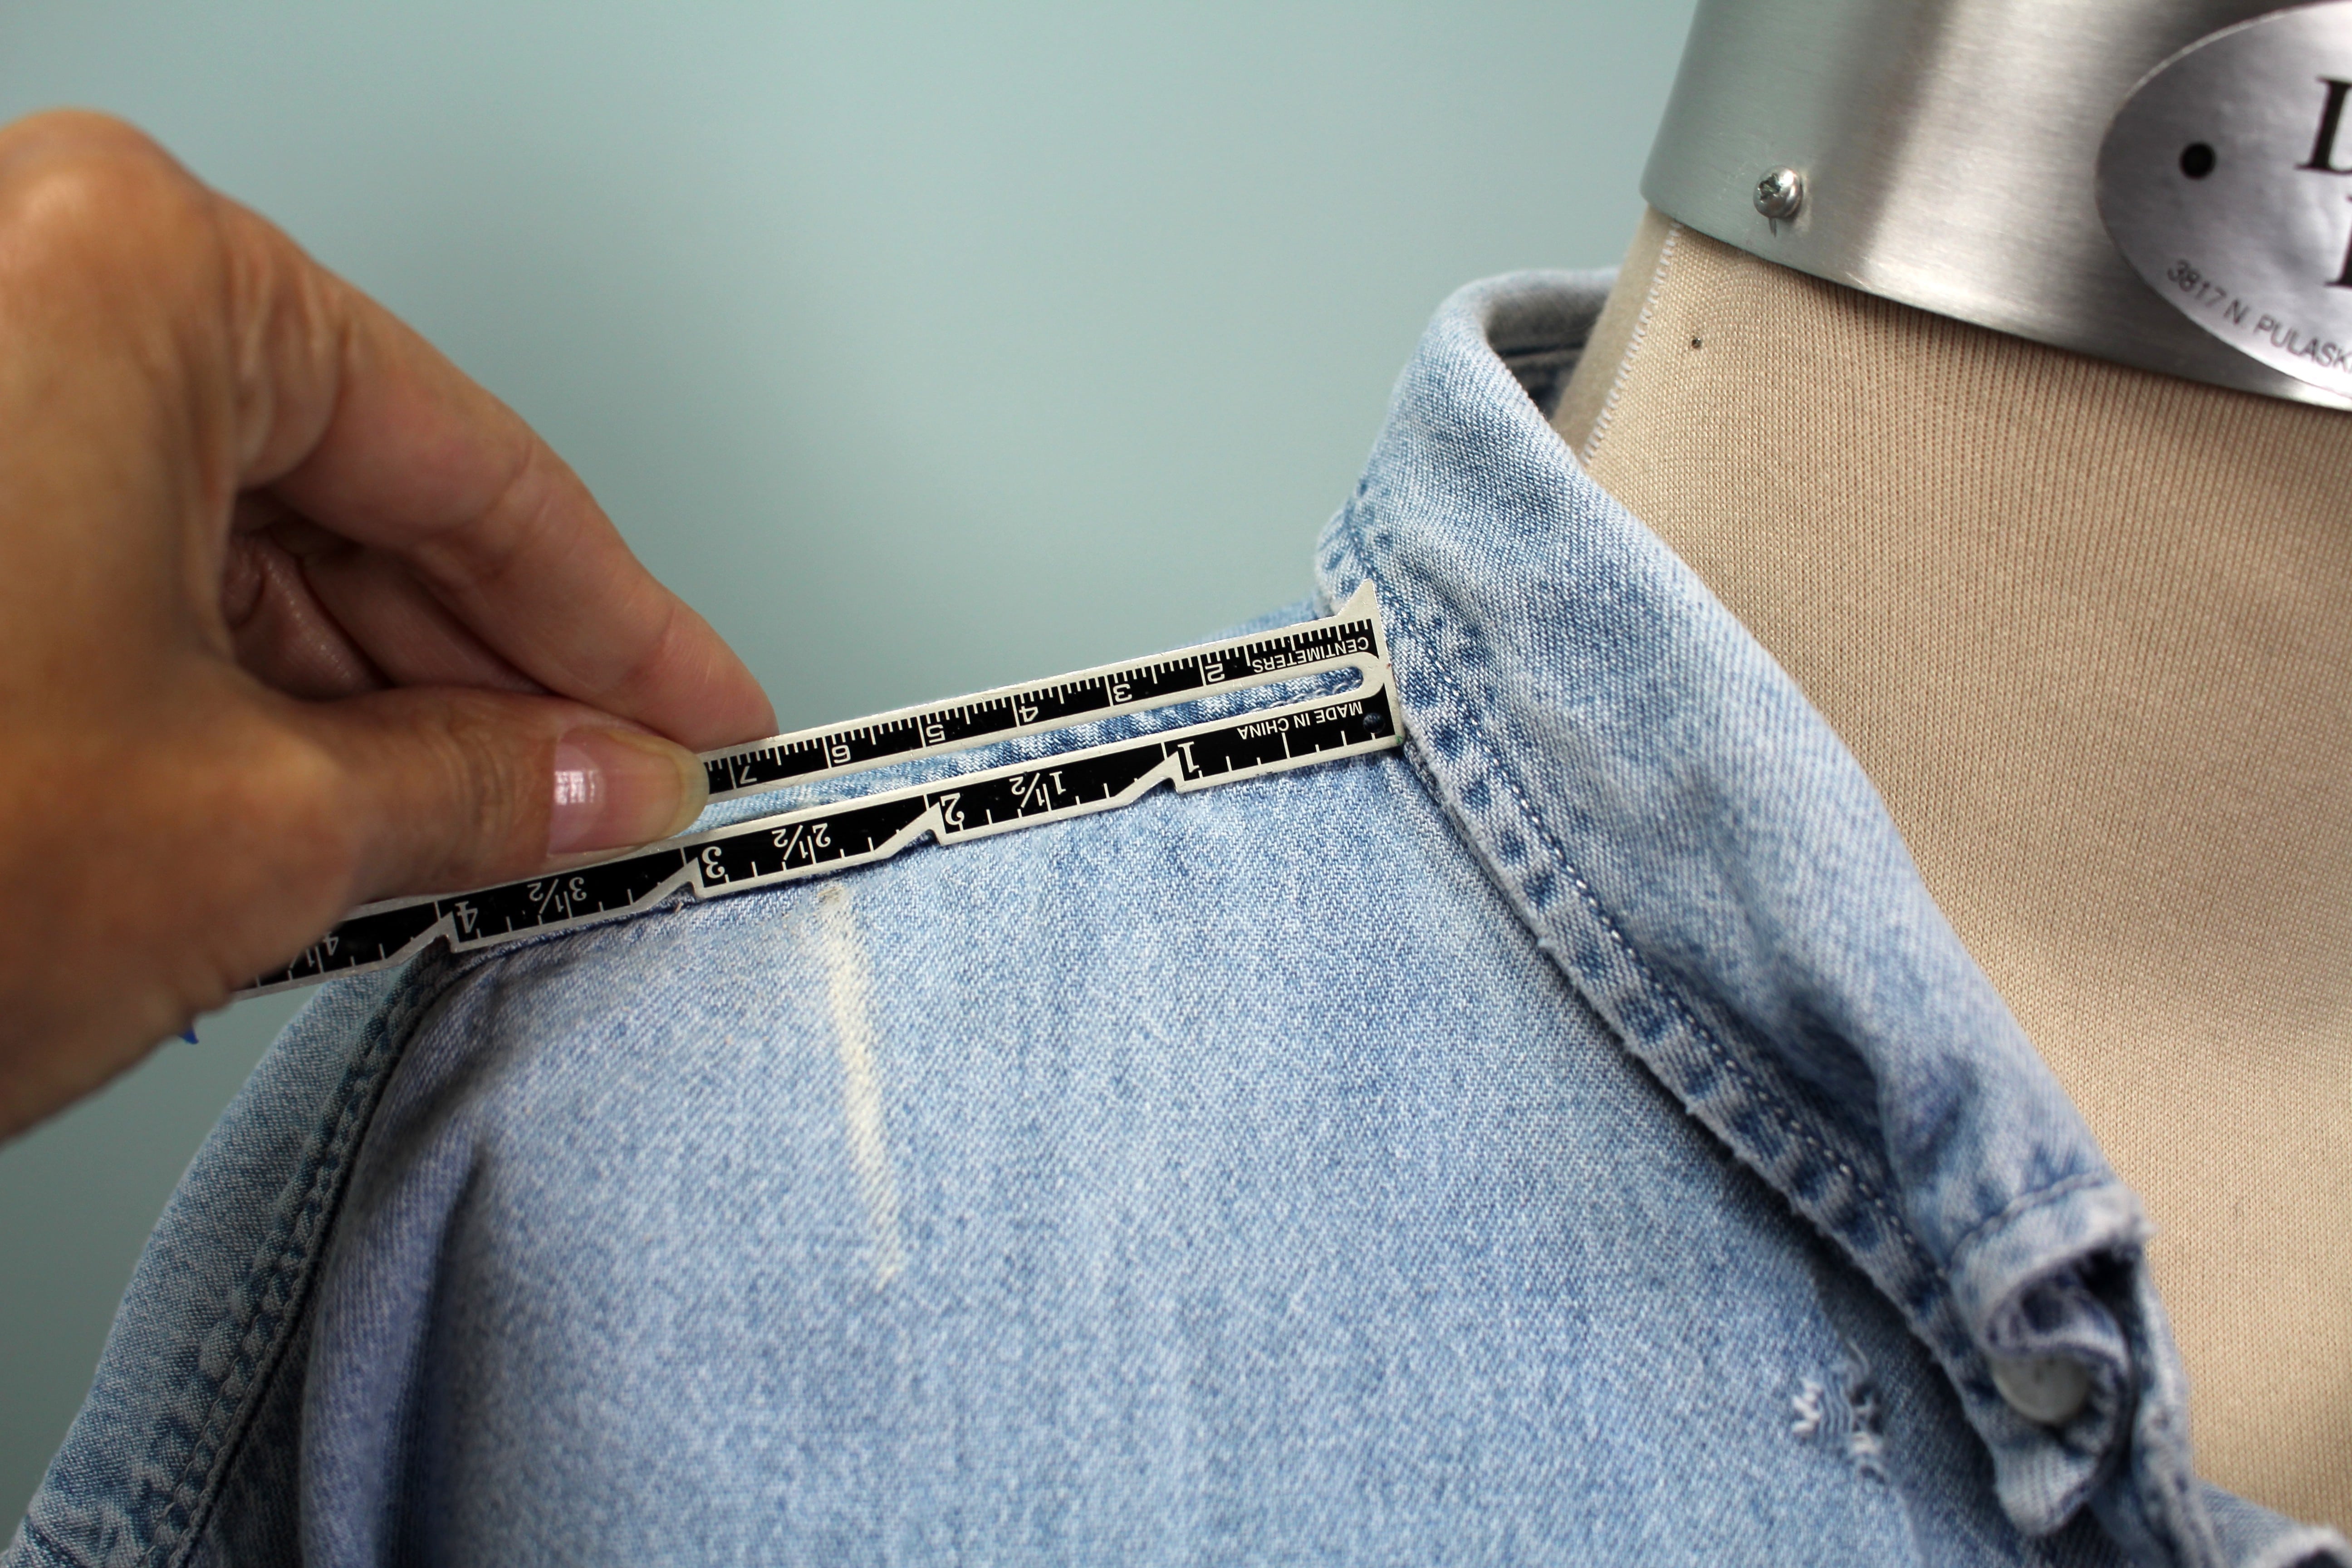
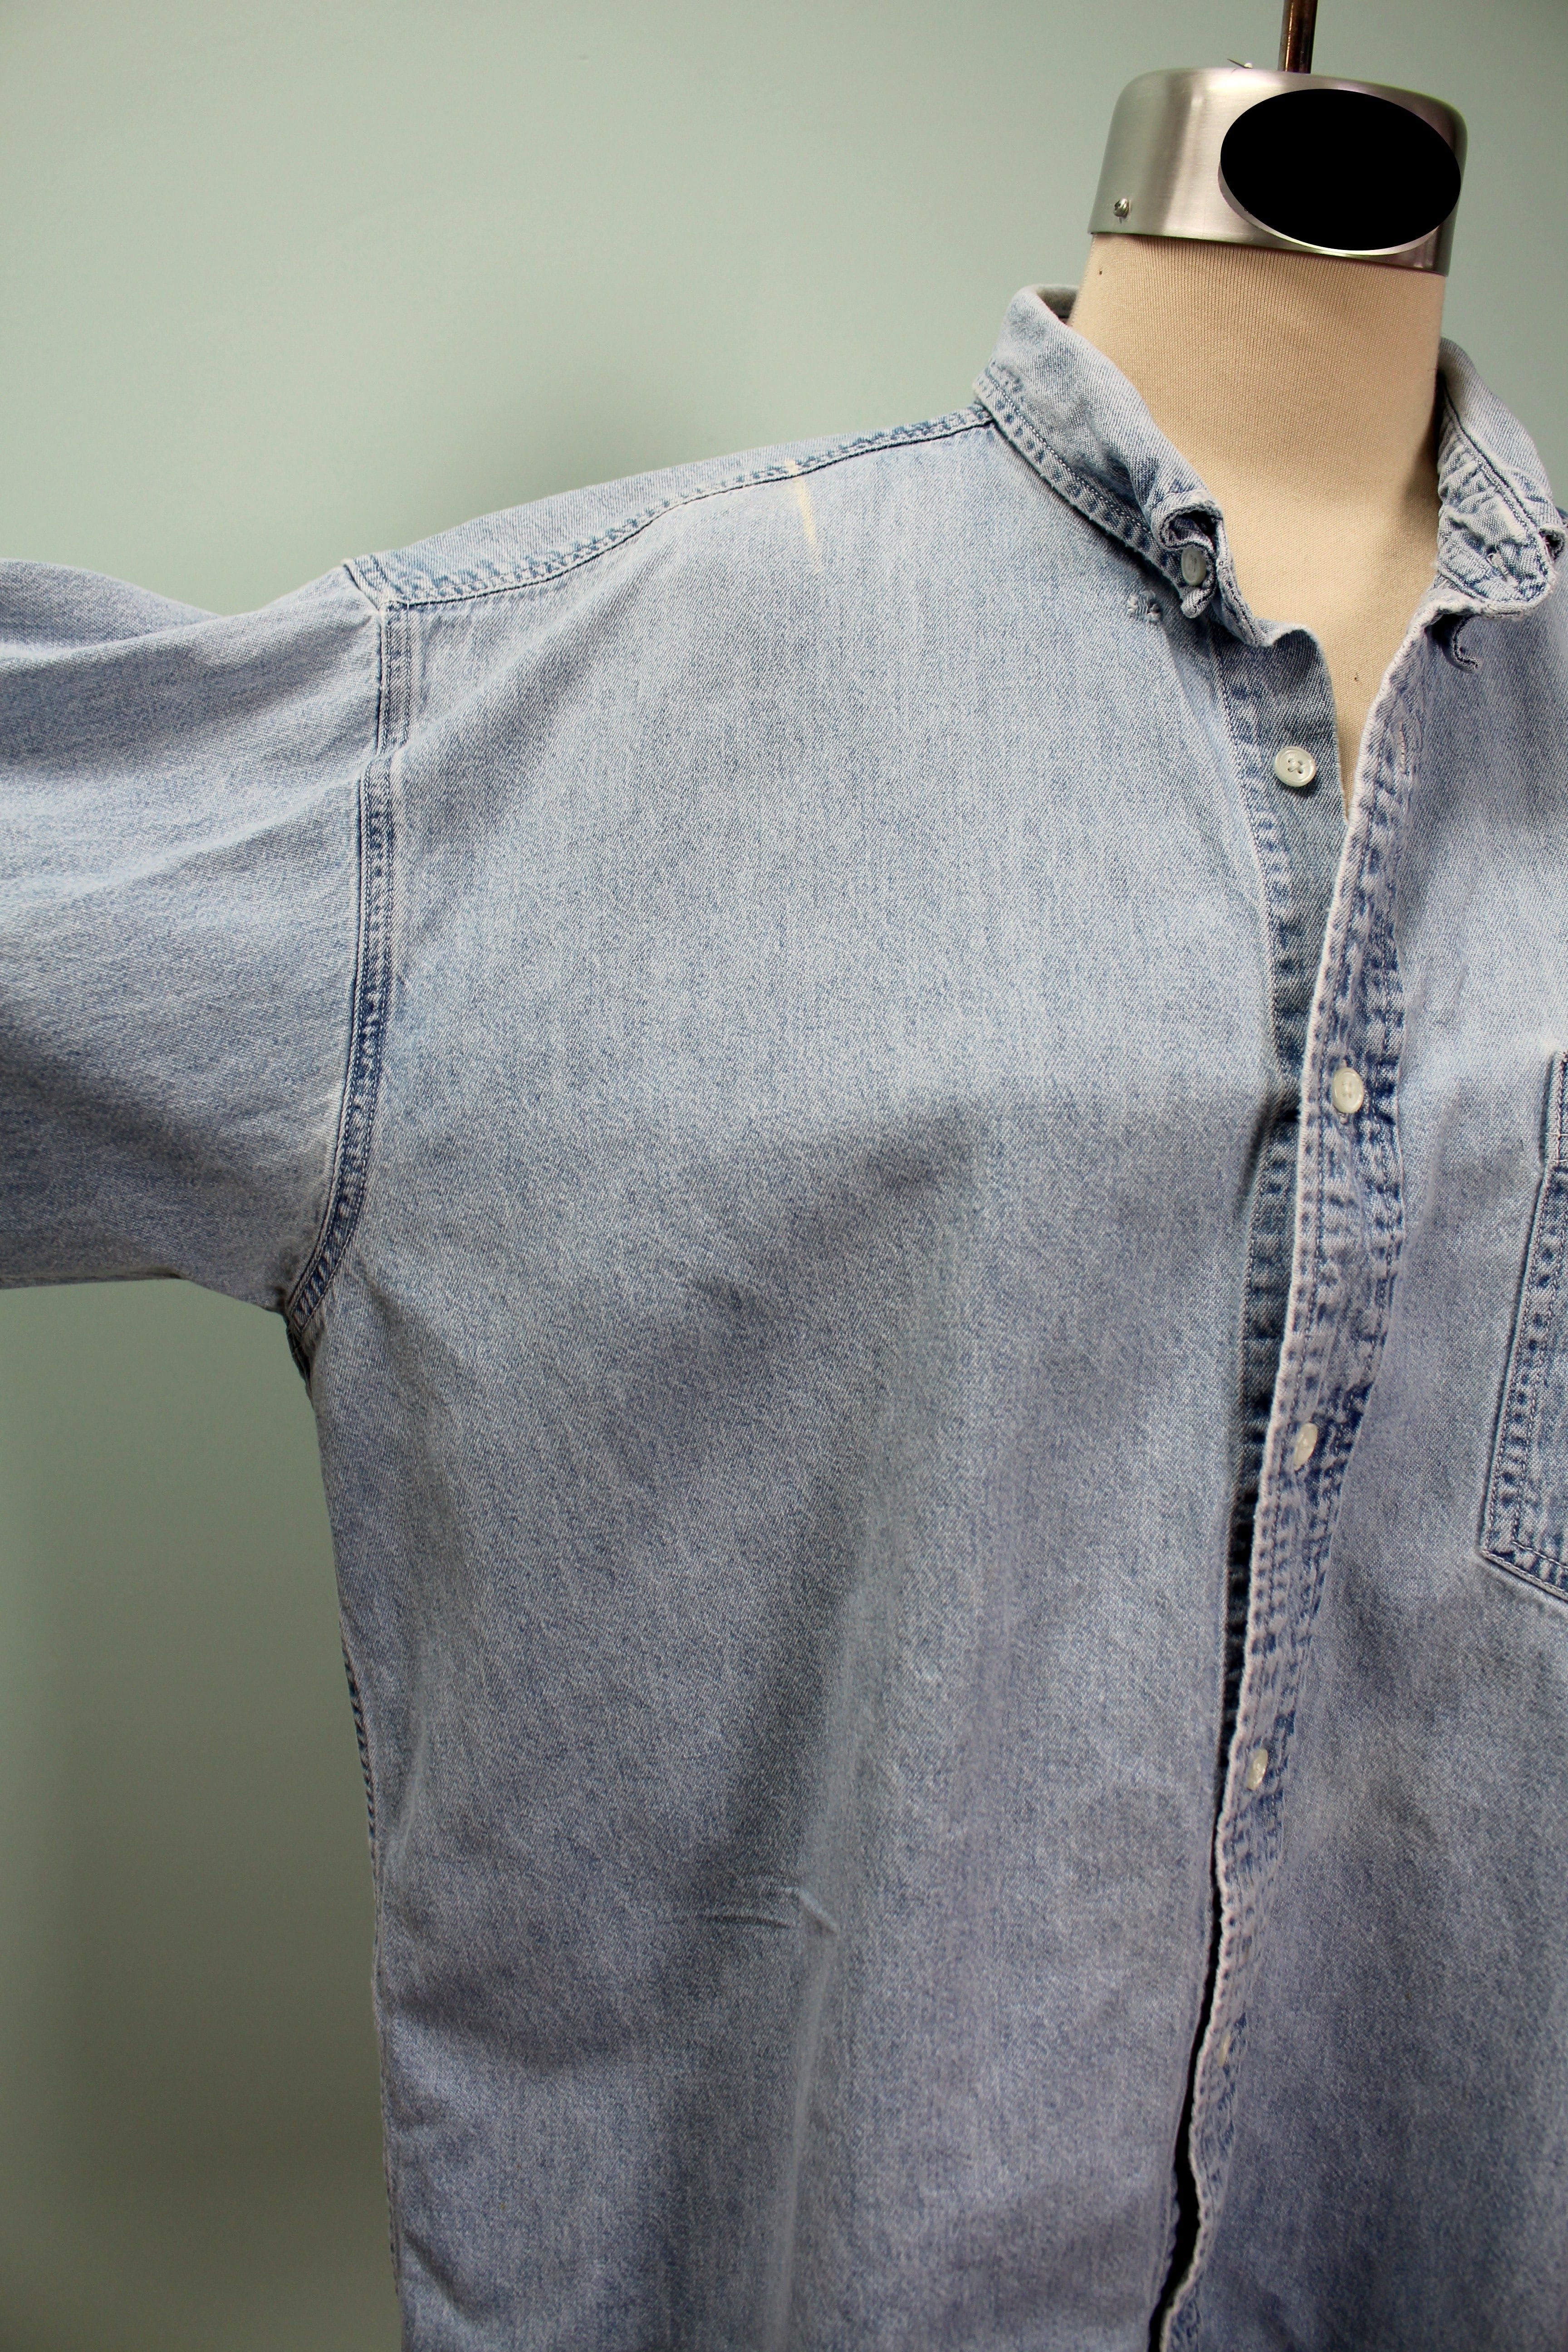
The first thing we are going to do is cut off the sleeves and collar (my turtleneck has a raglan sleeve, but any sleeve style will work). Cut inside of the sleeve seamline and underneath the collar. Save the sleeves to use as a pattern.

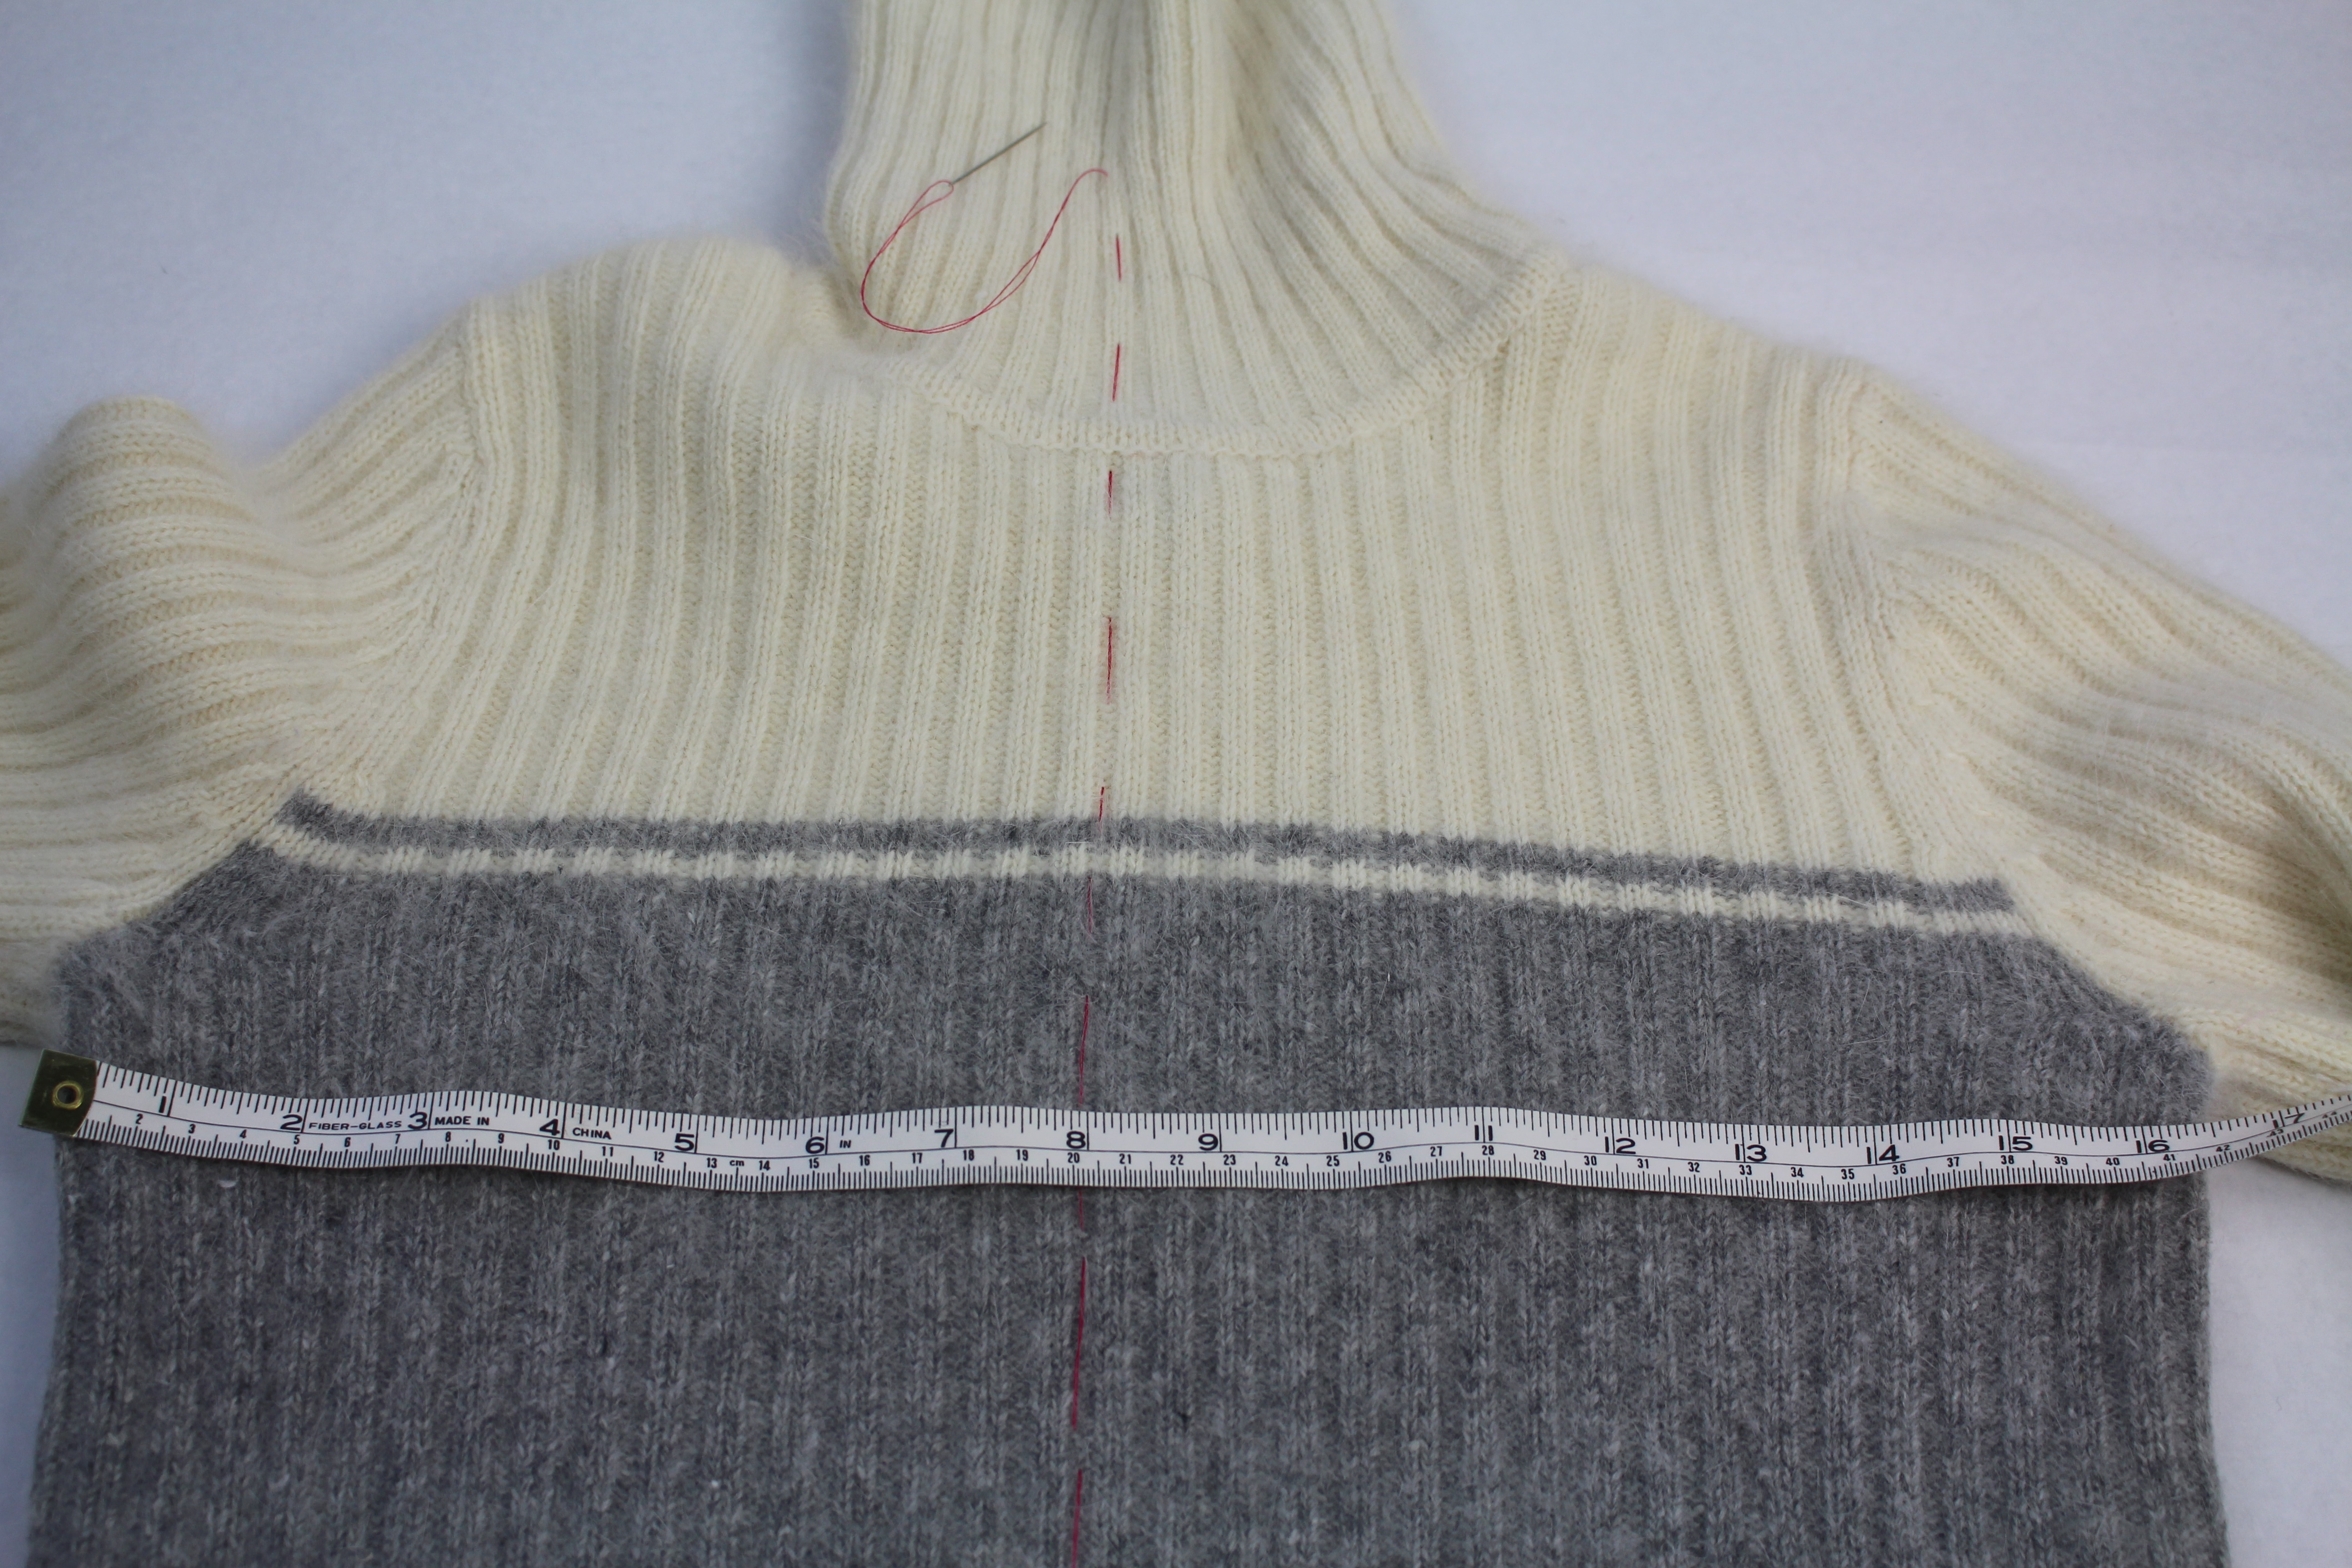
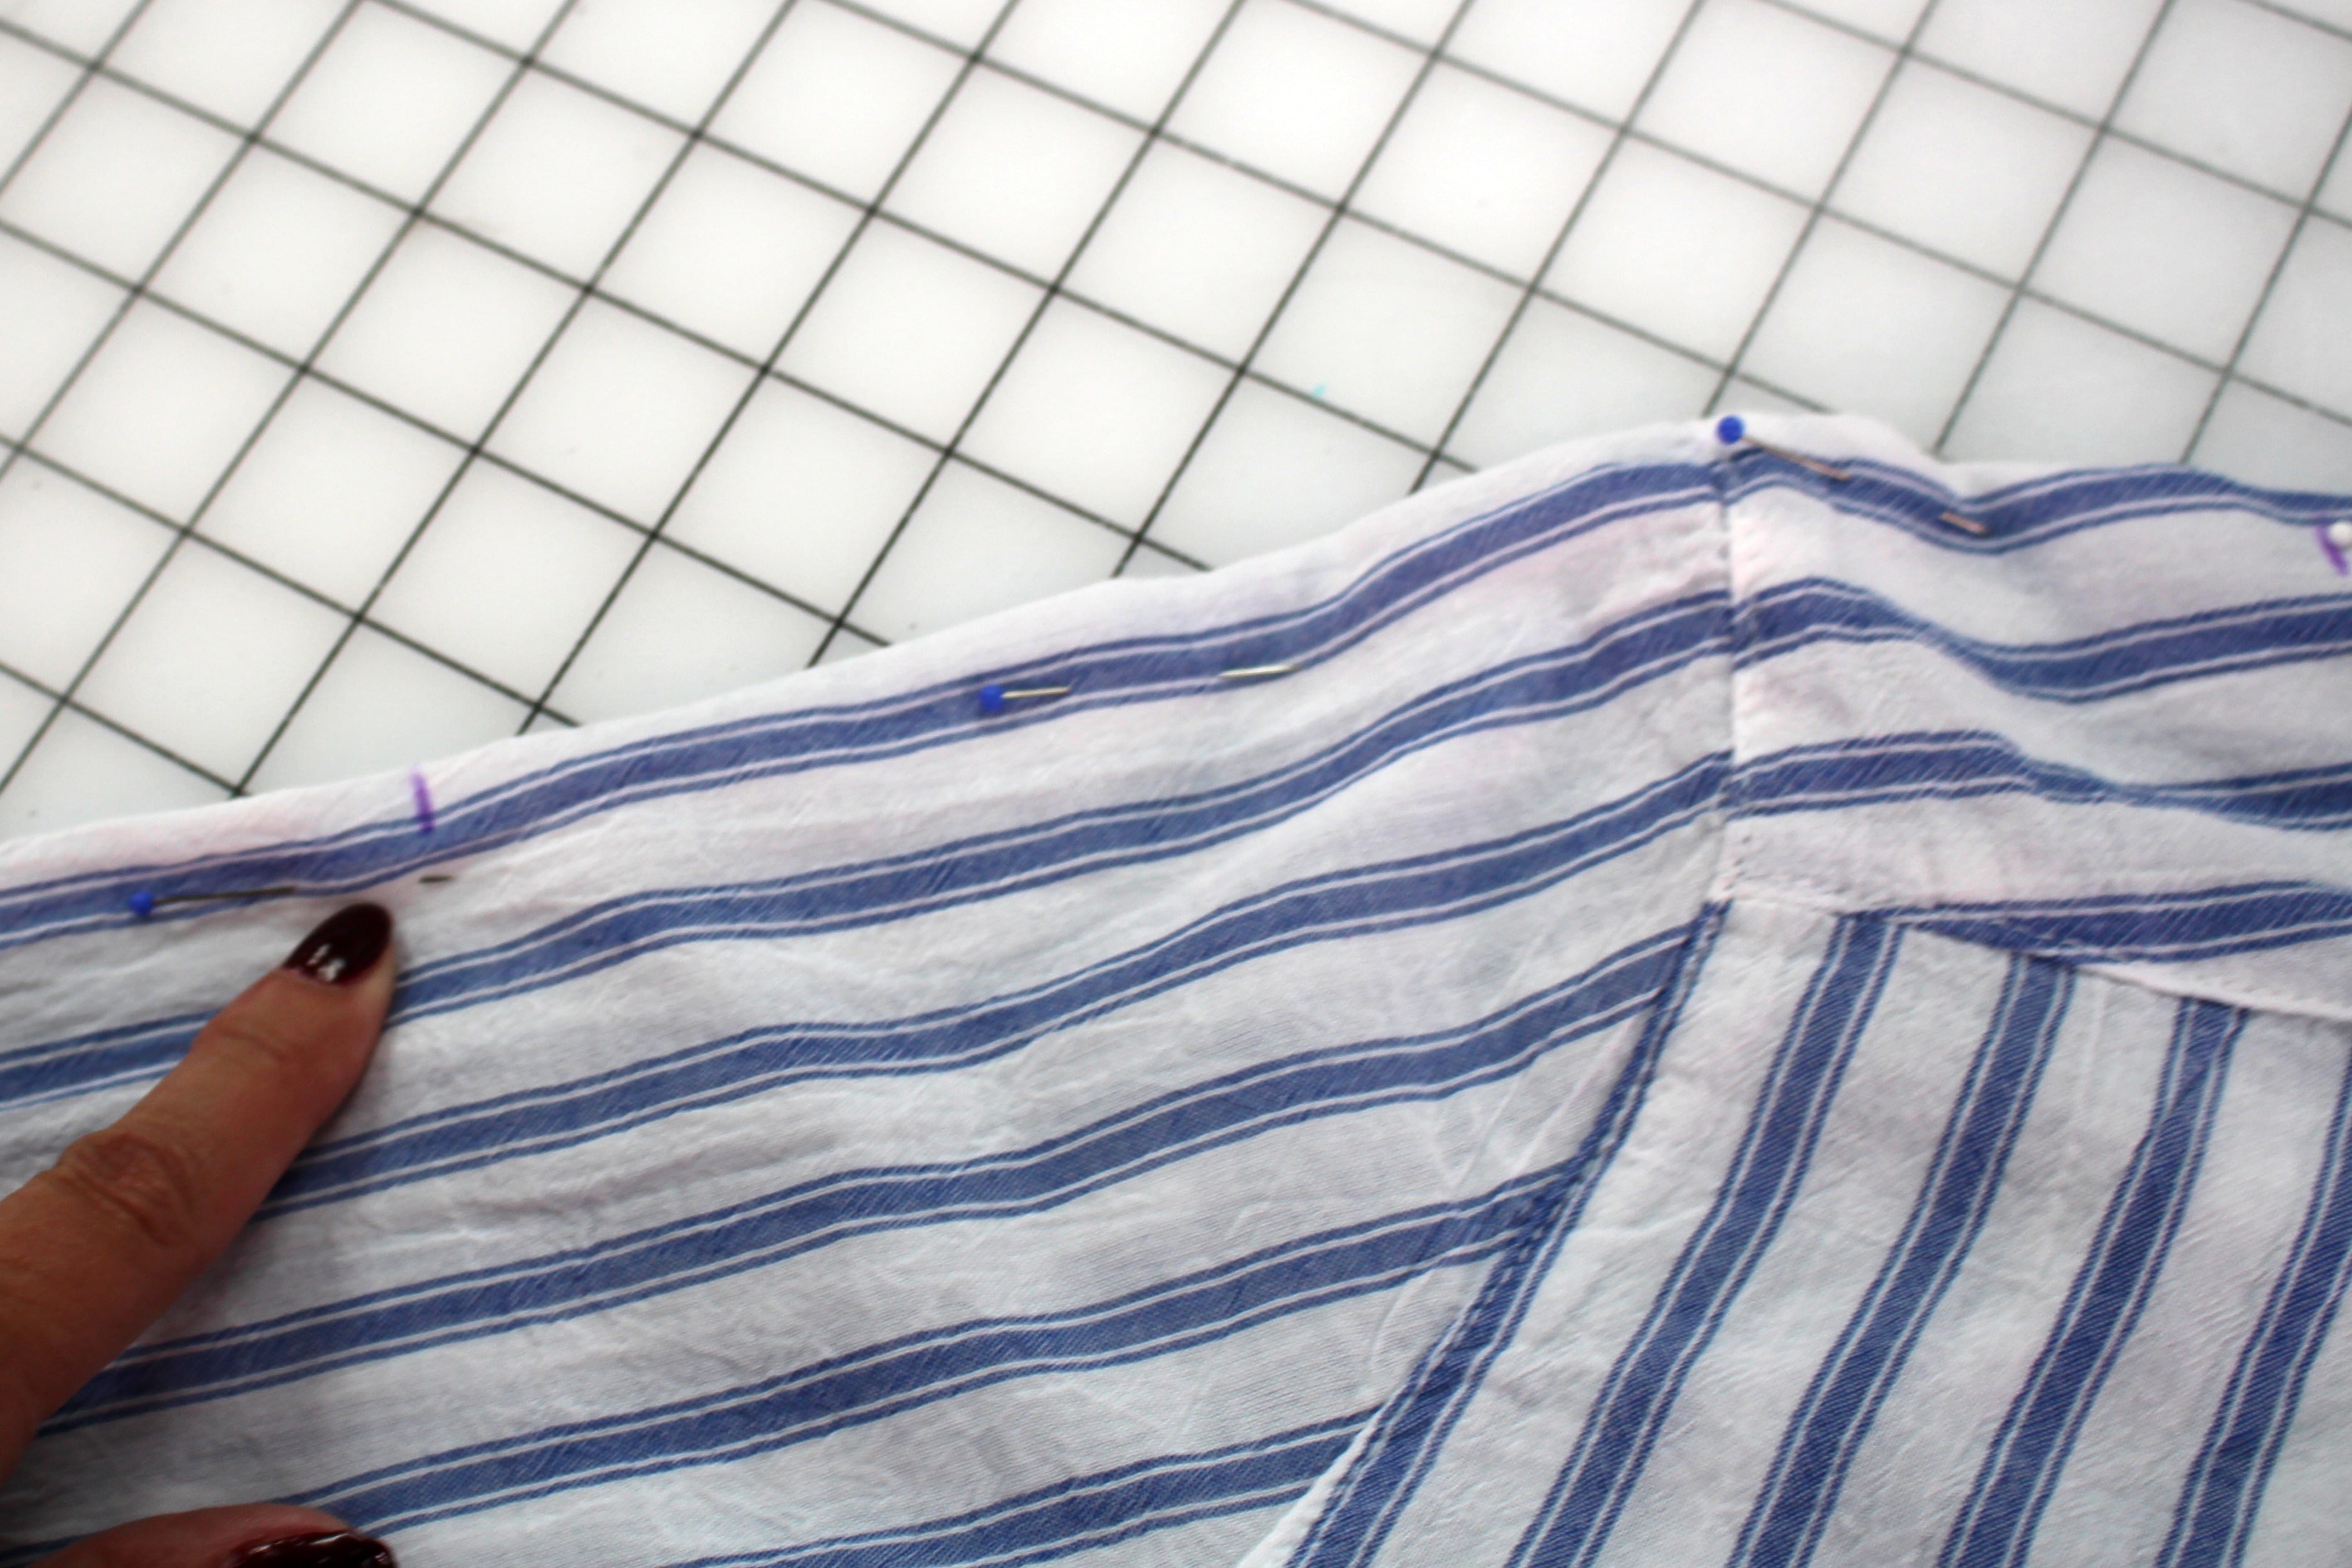
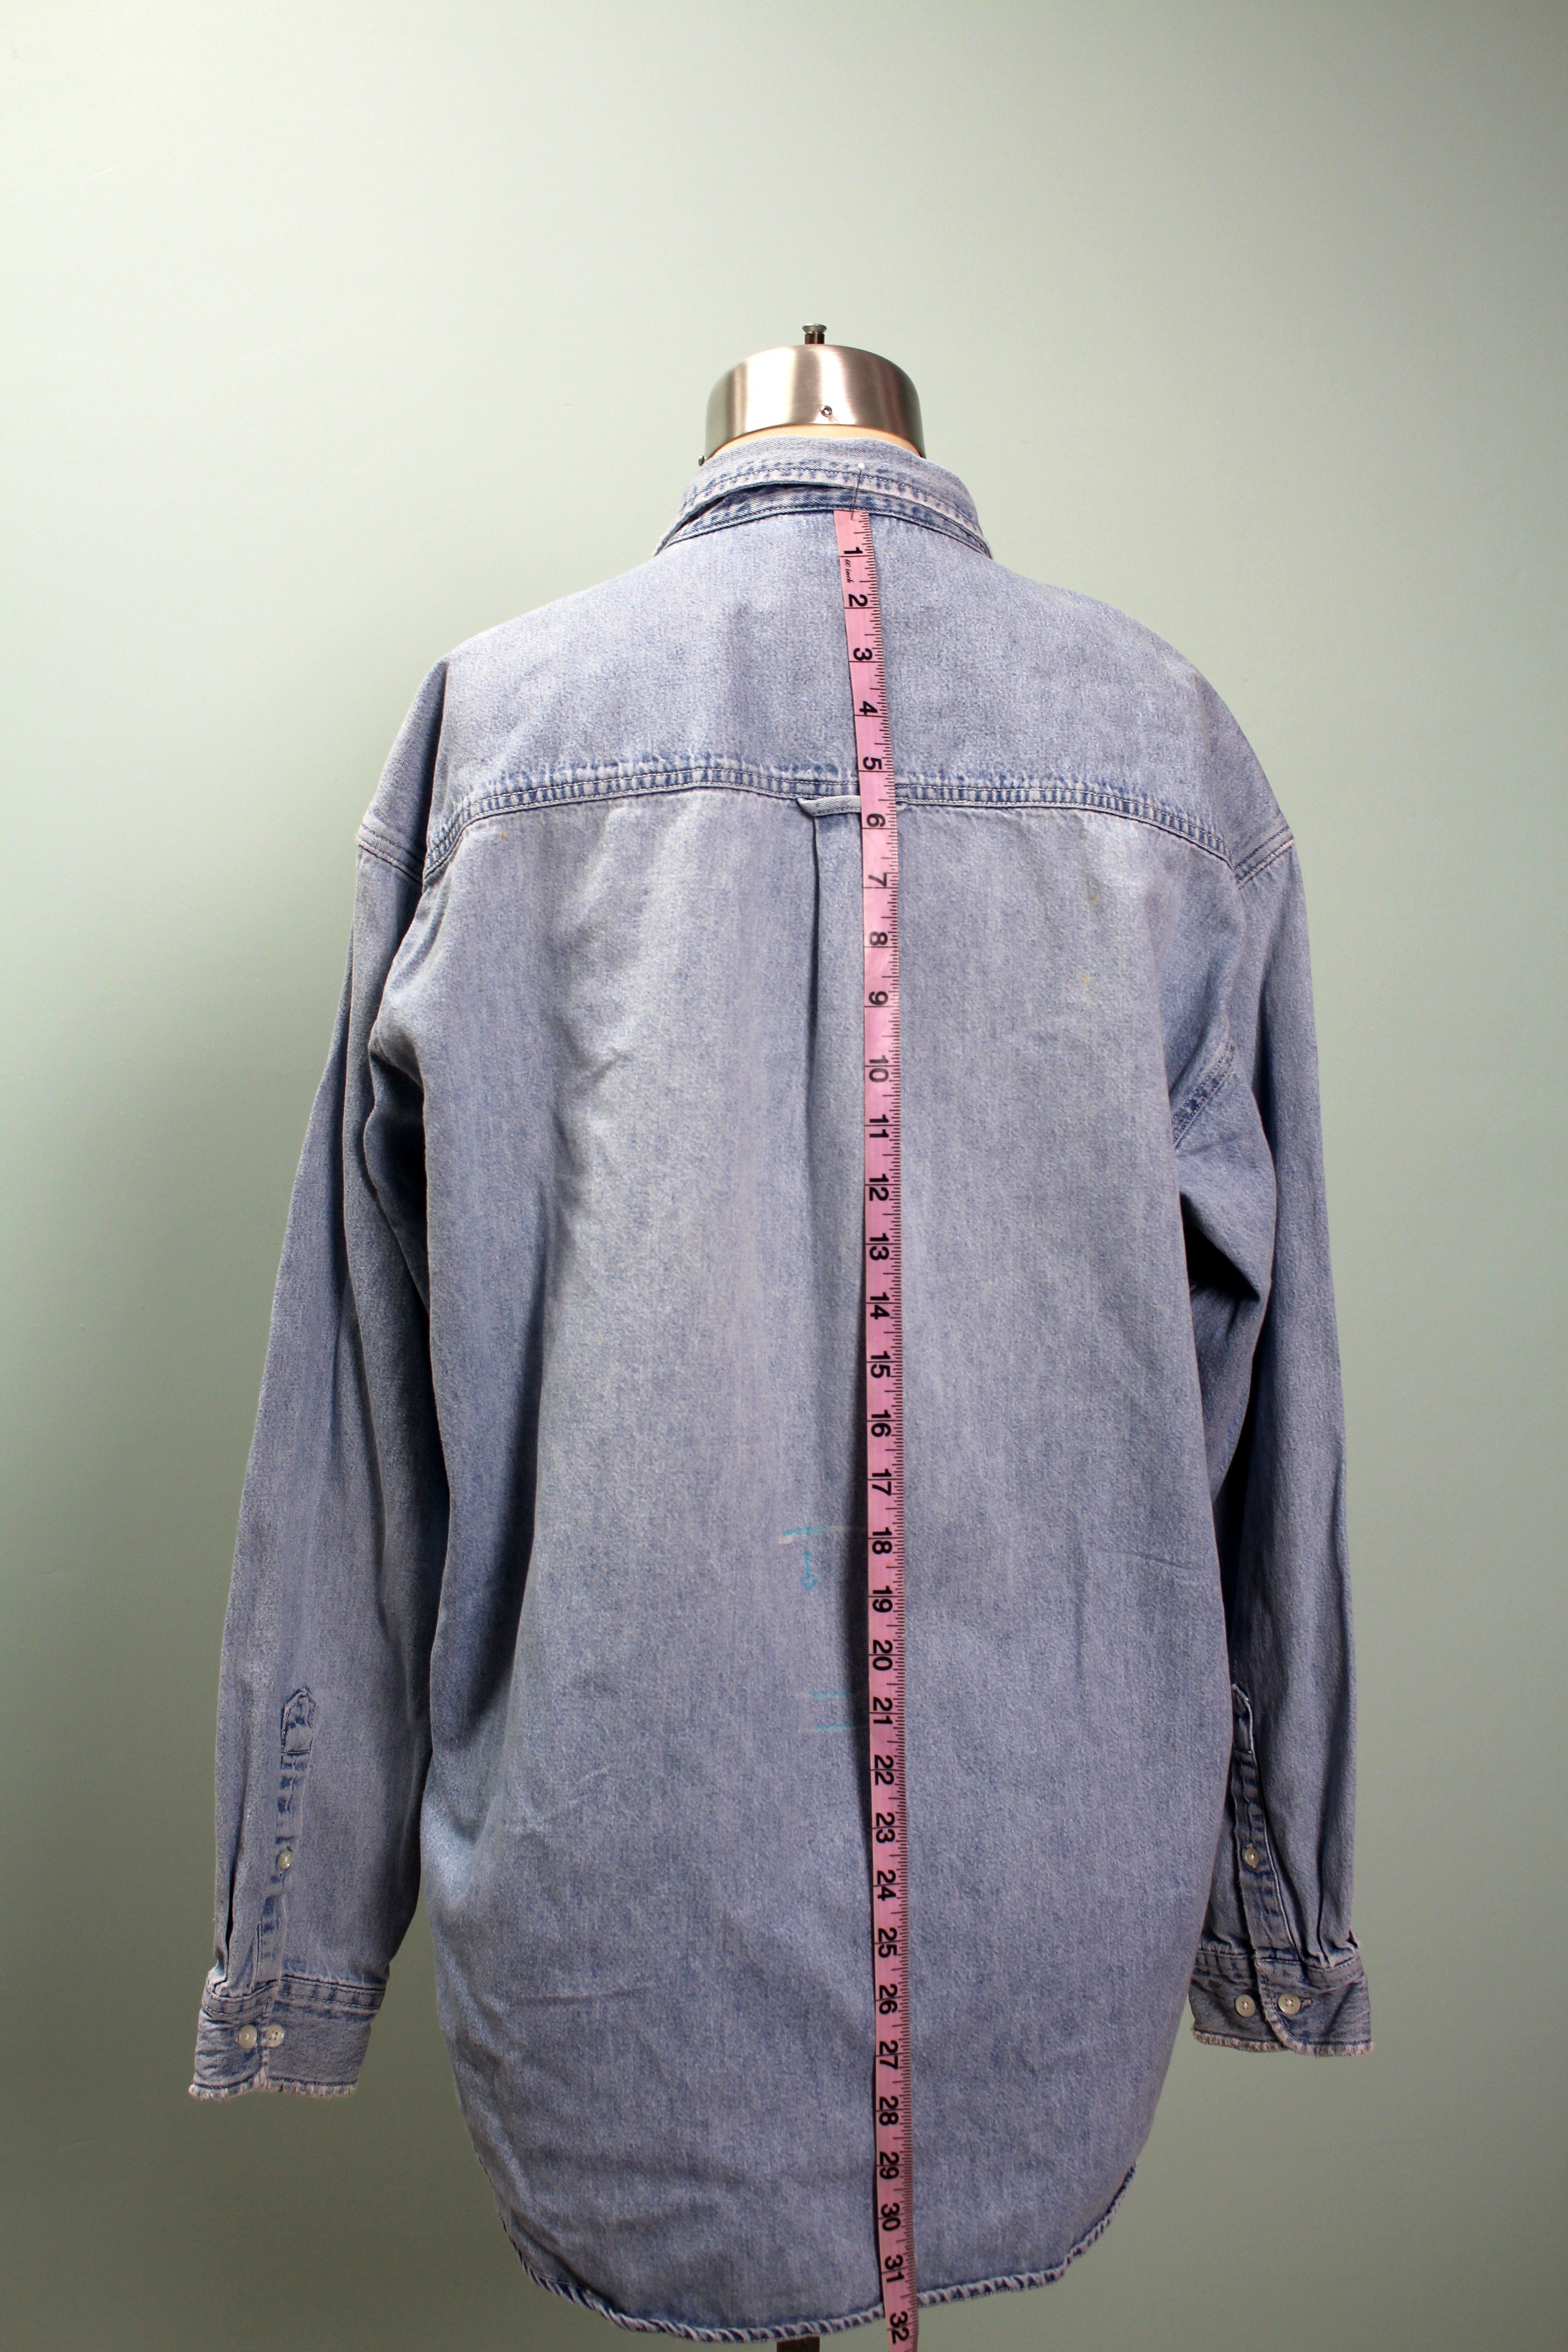
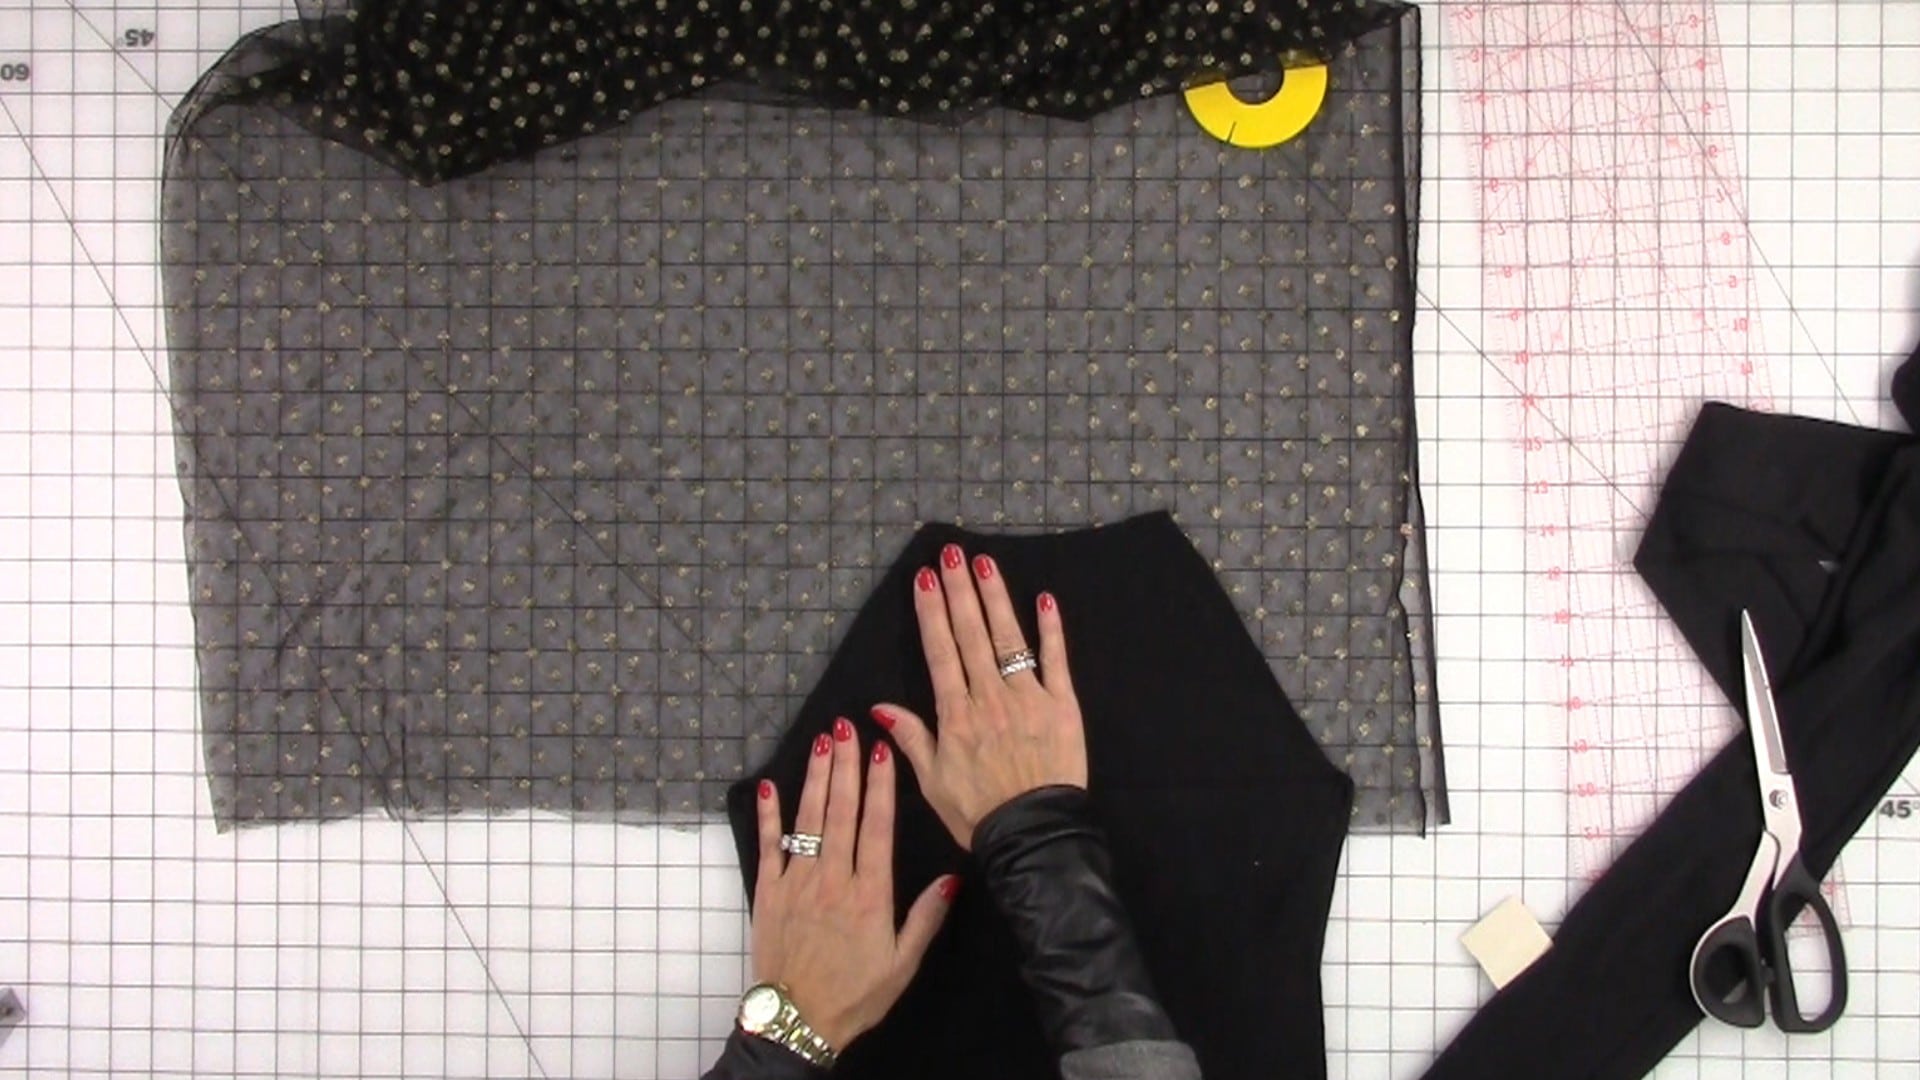
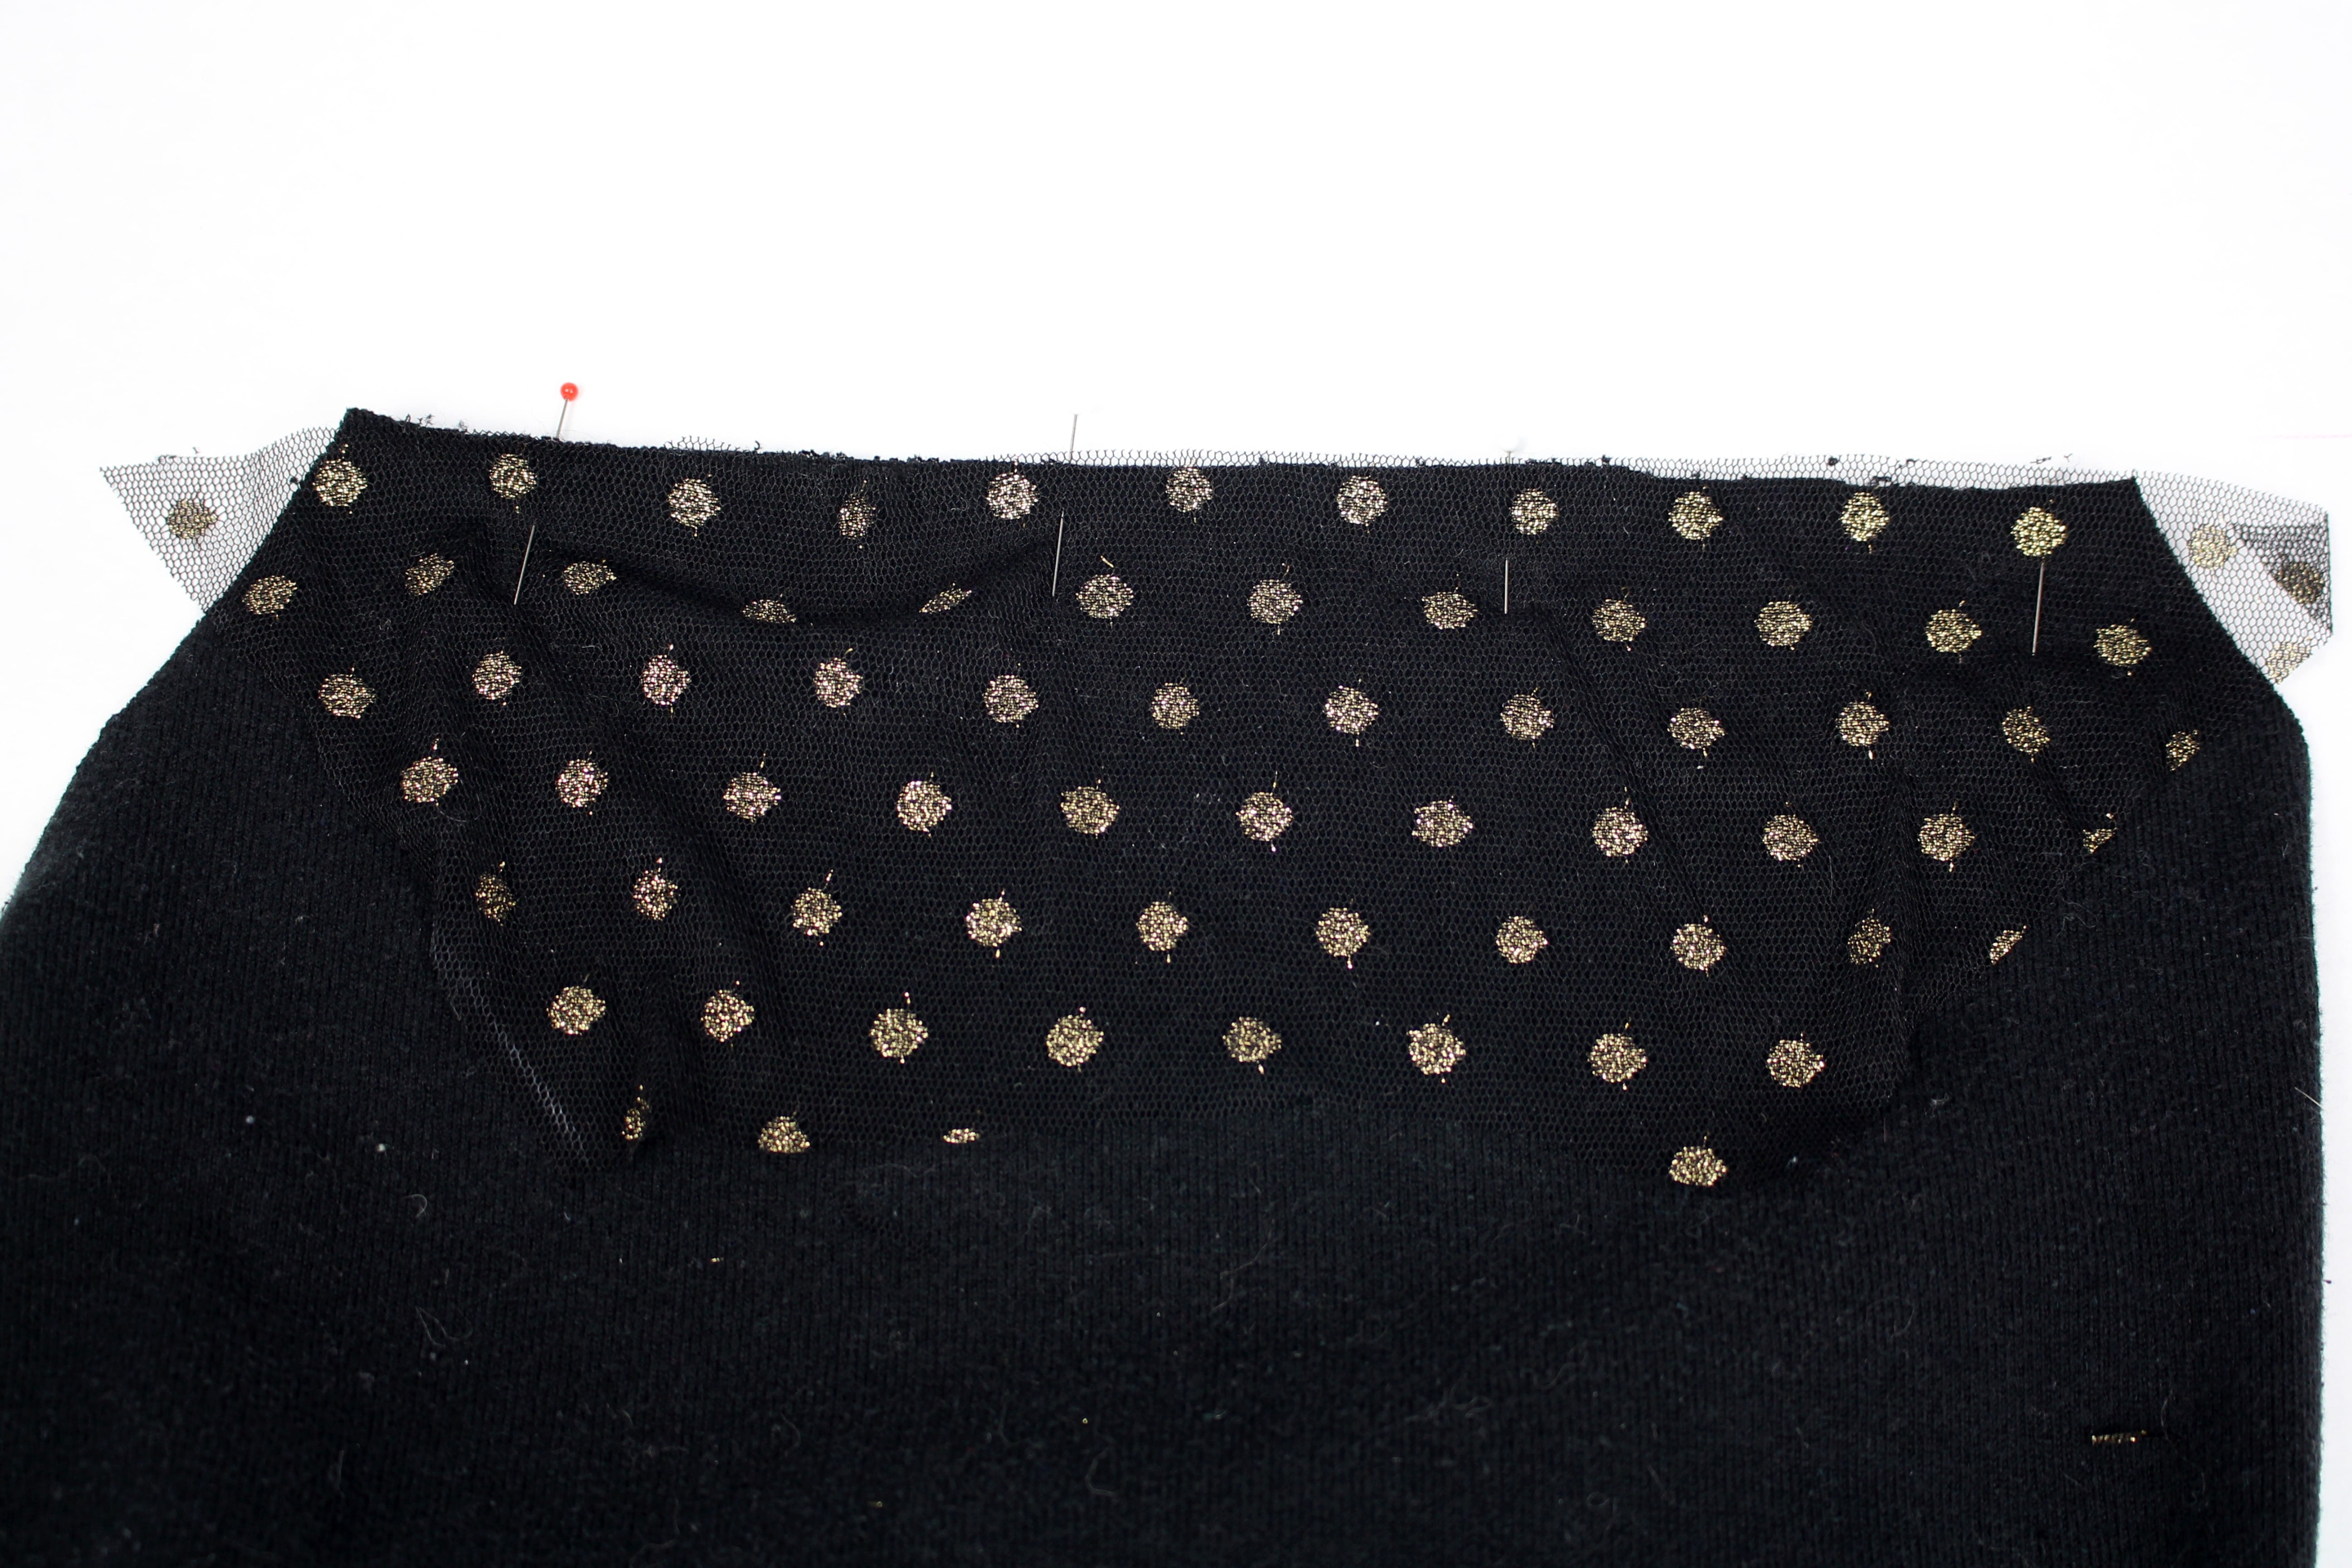
Mark the back of the sweater: Trace the back for the sweater outline onto the tulle fabric from the underarm up.
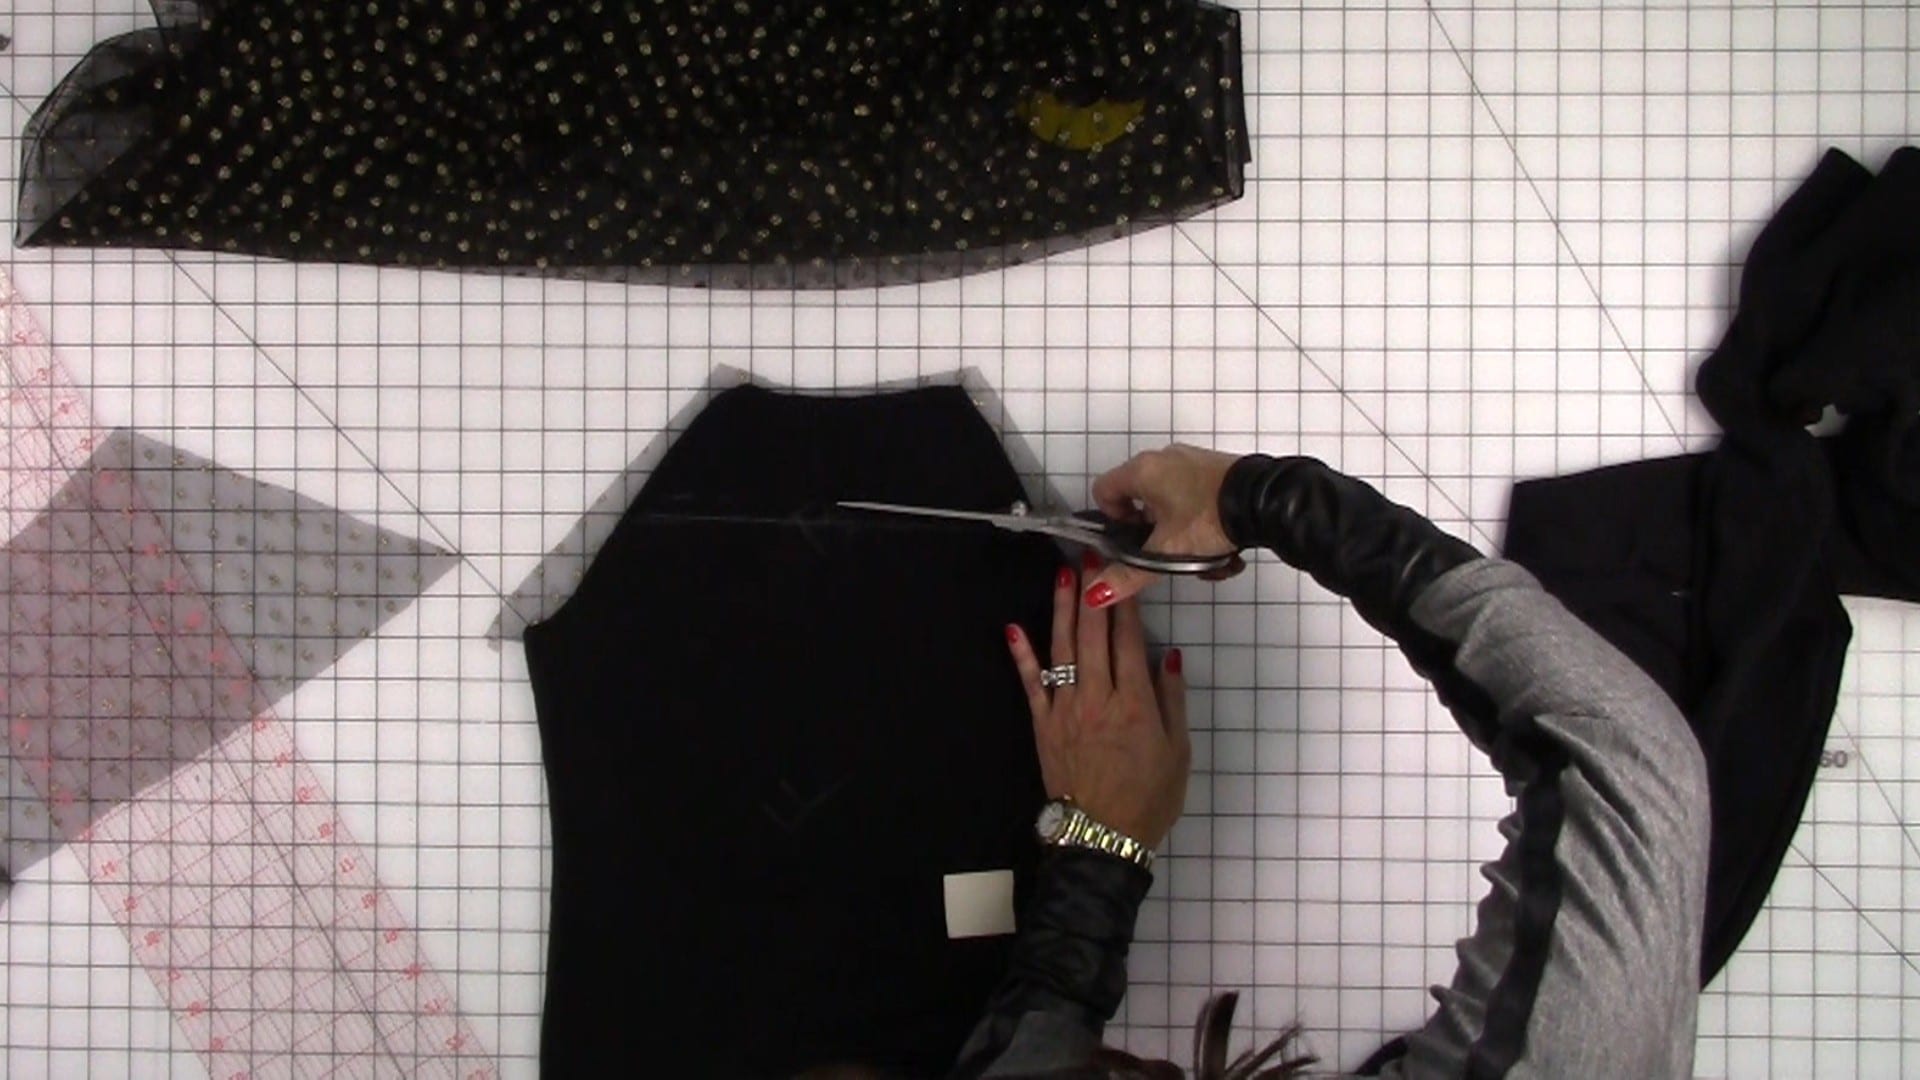
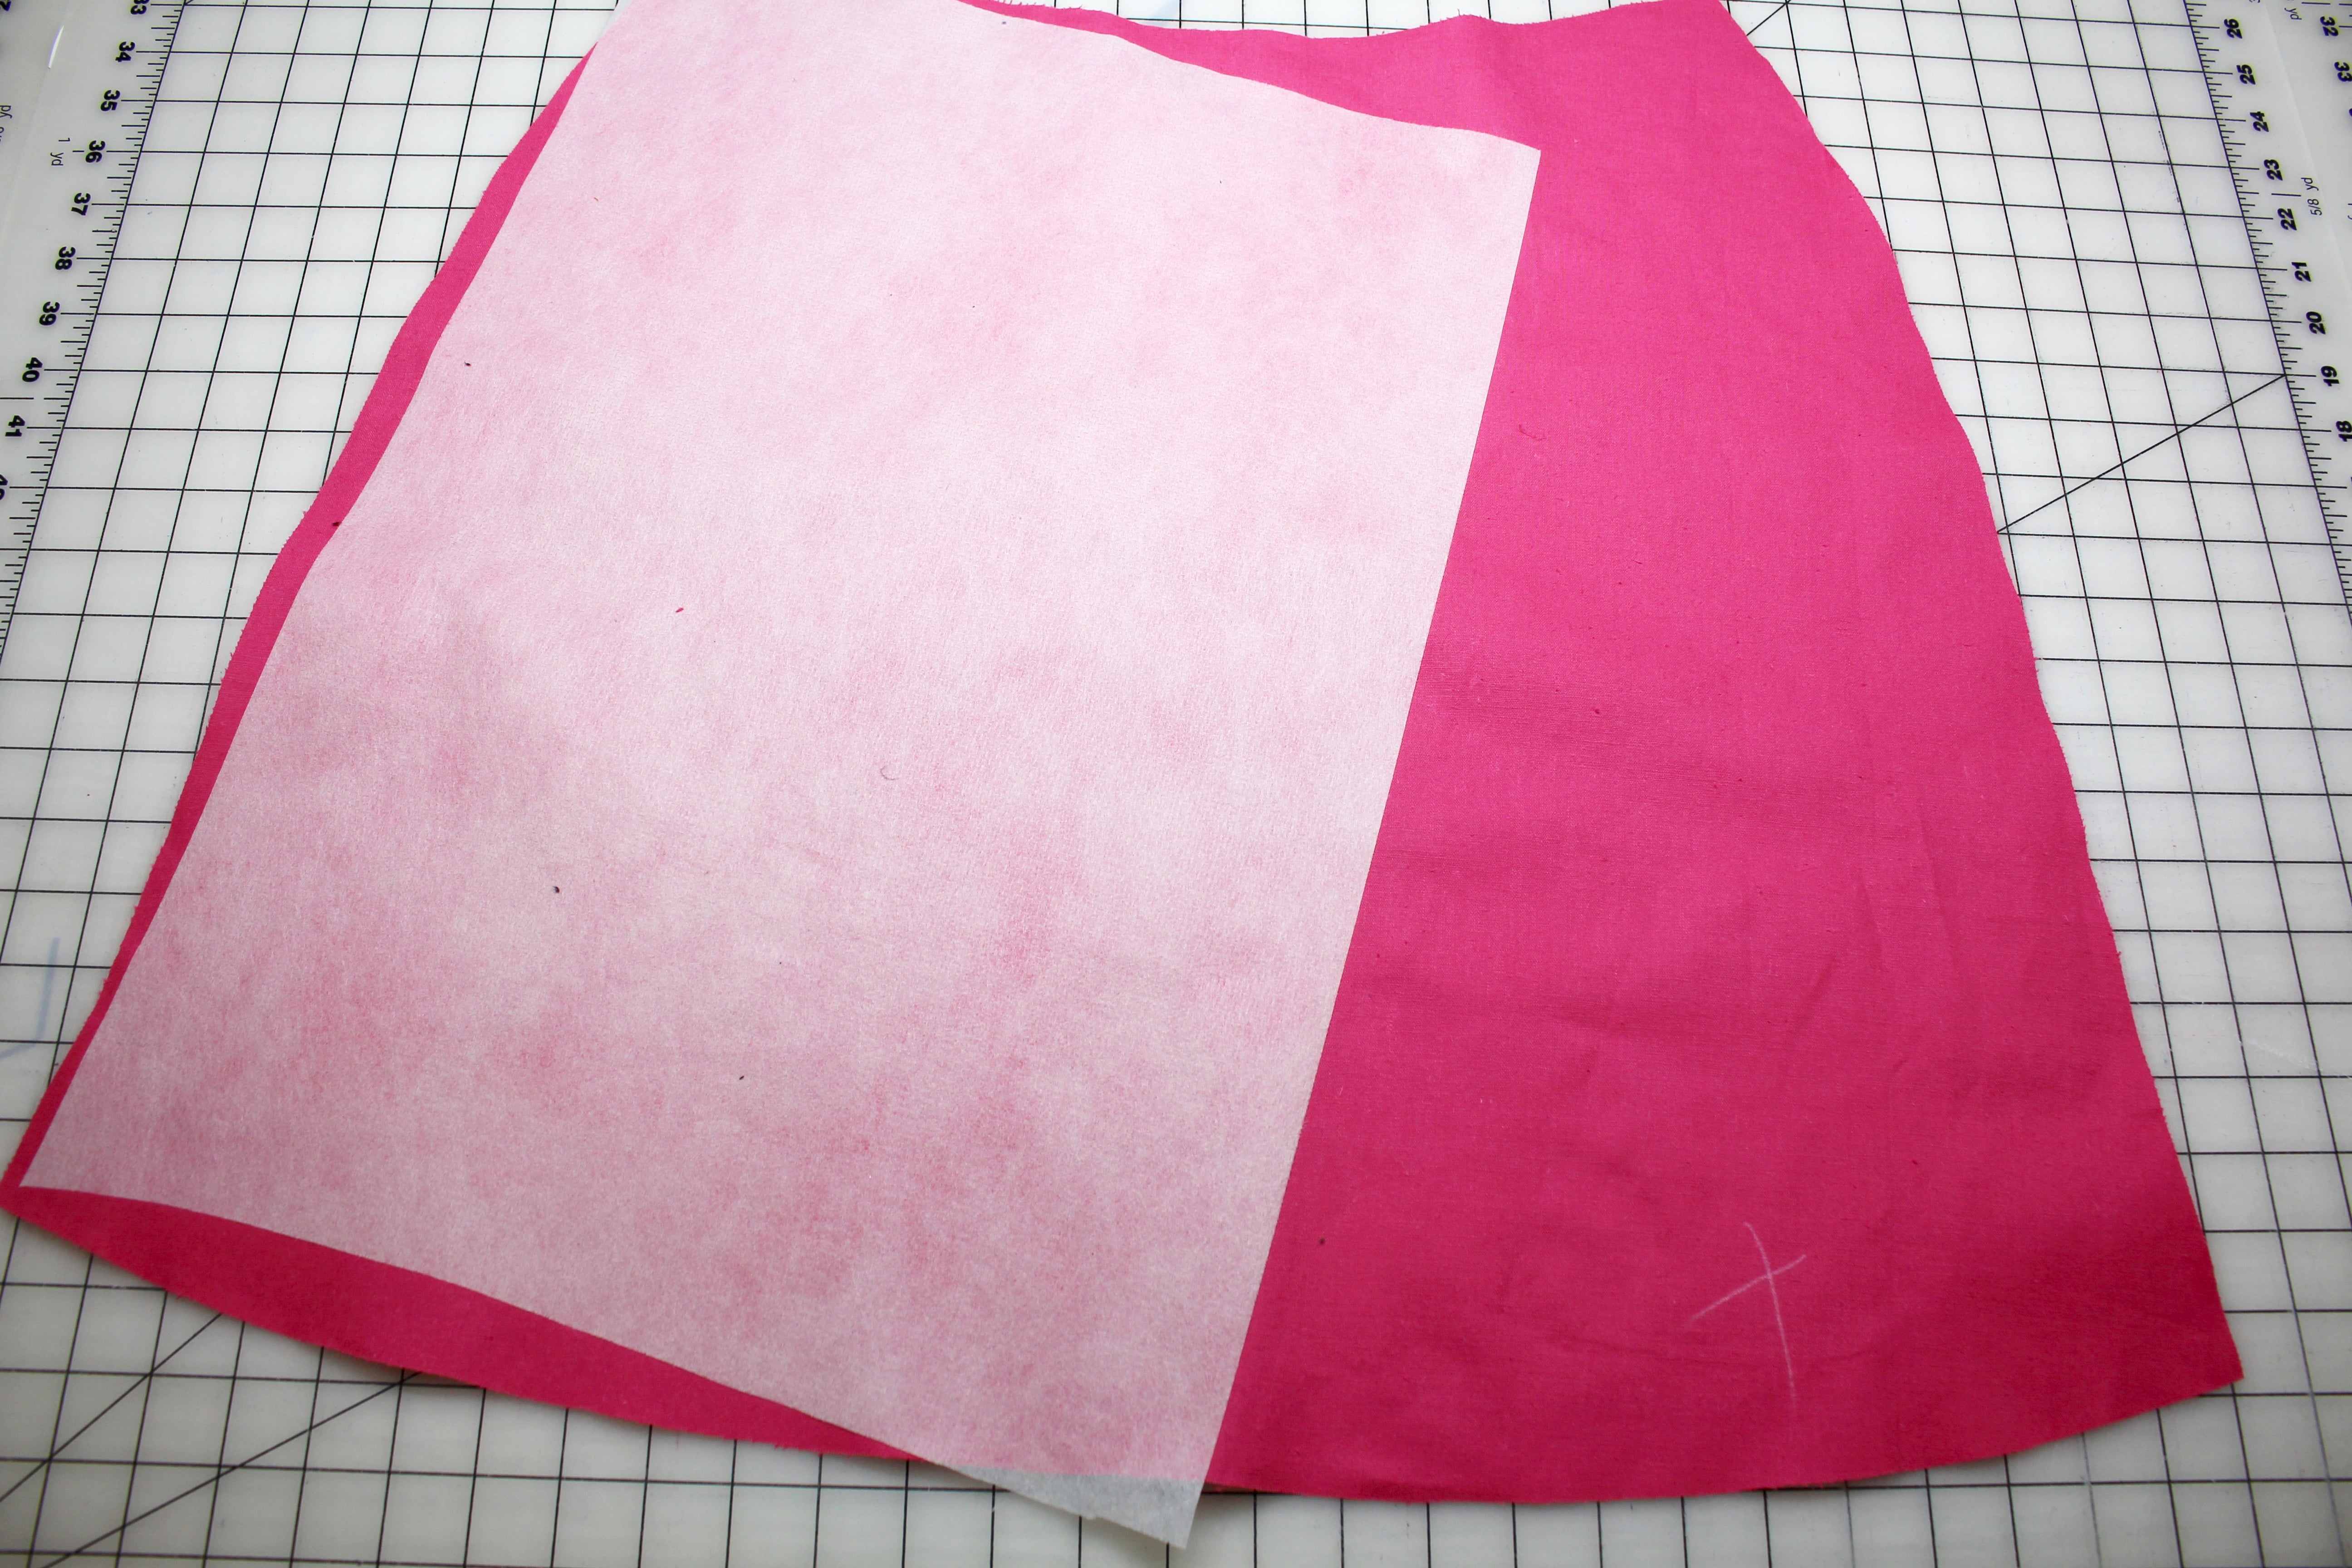
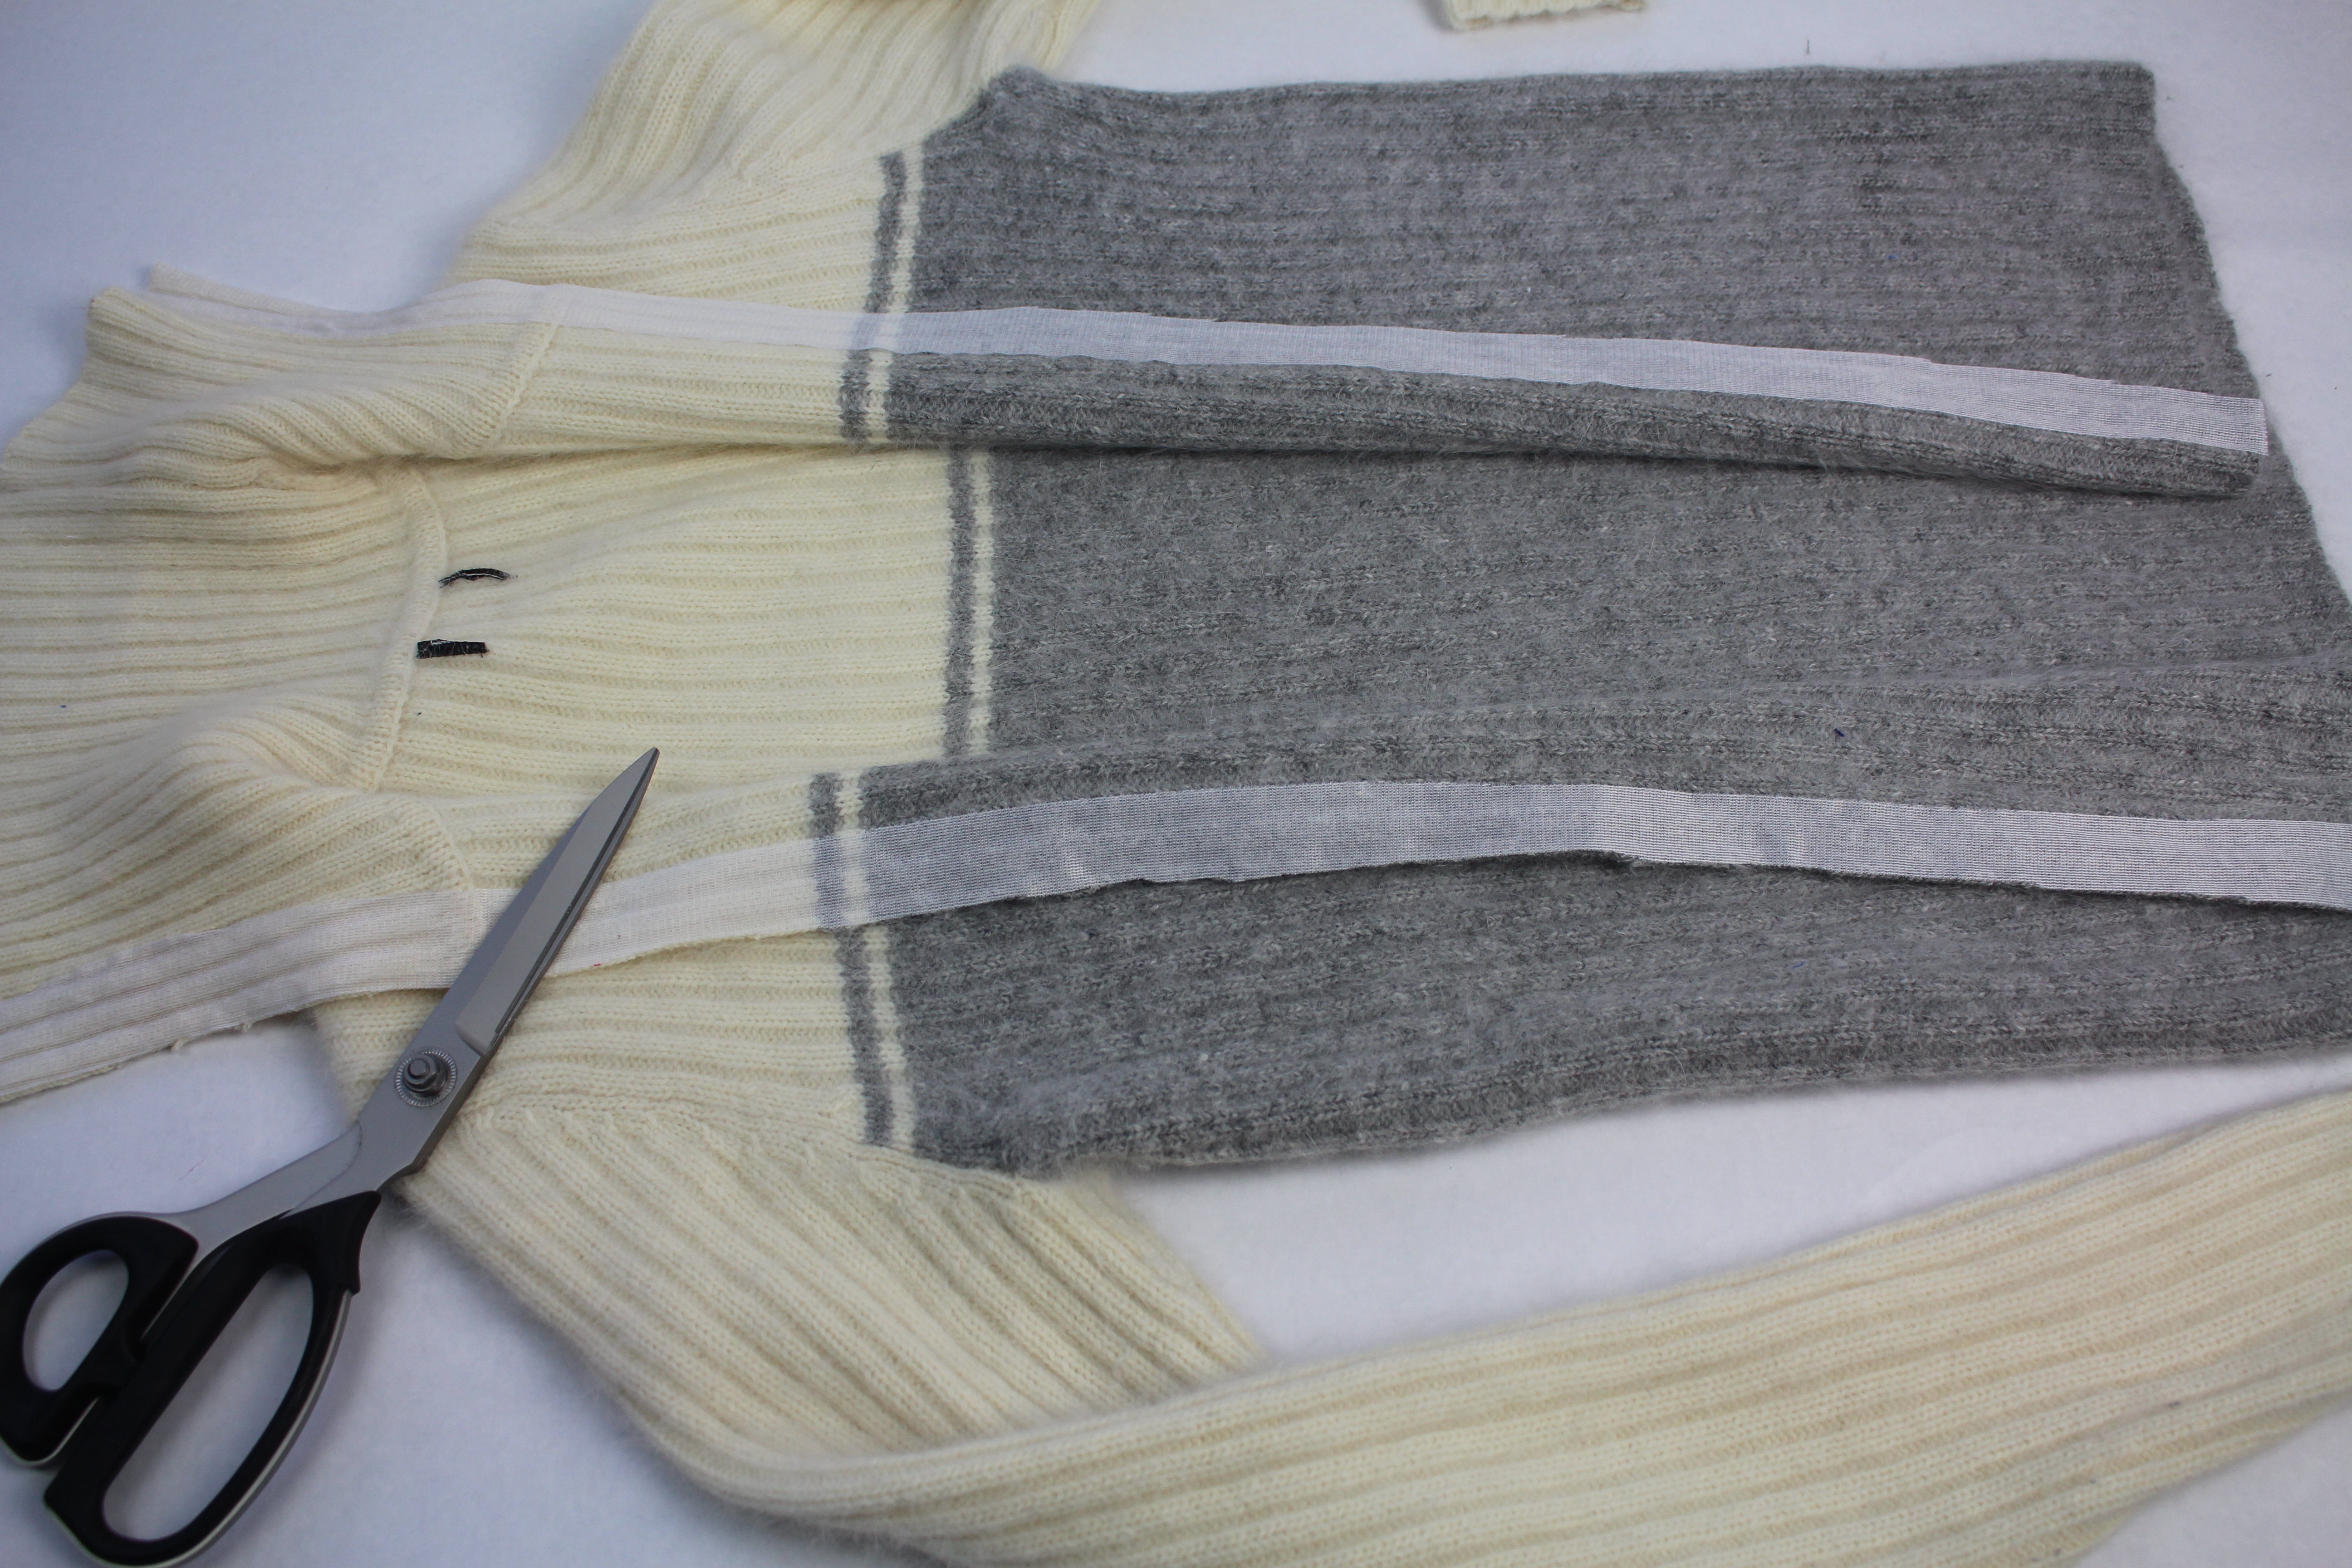
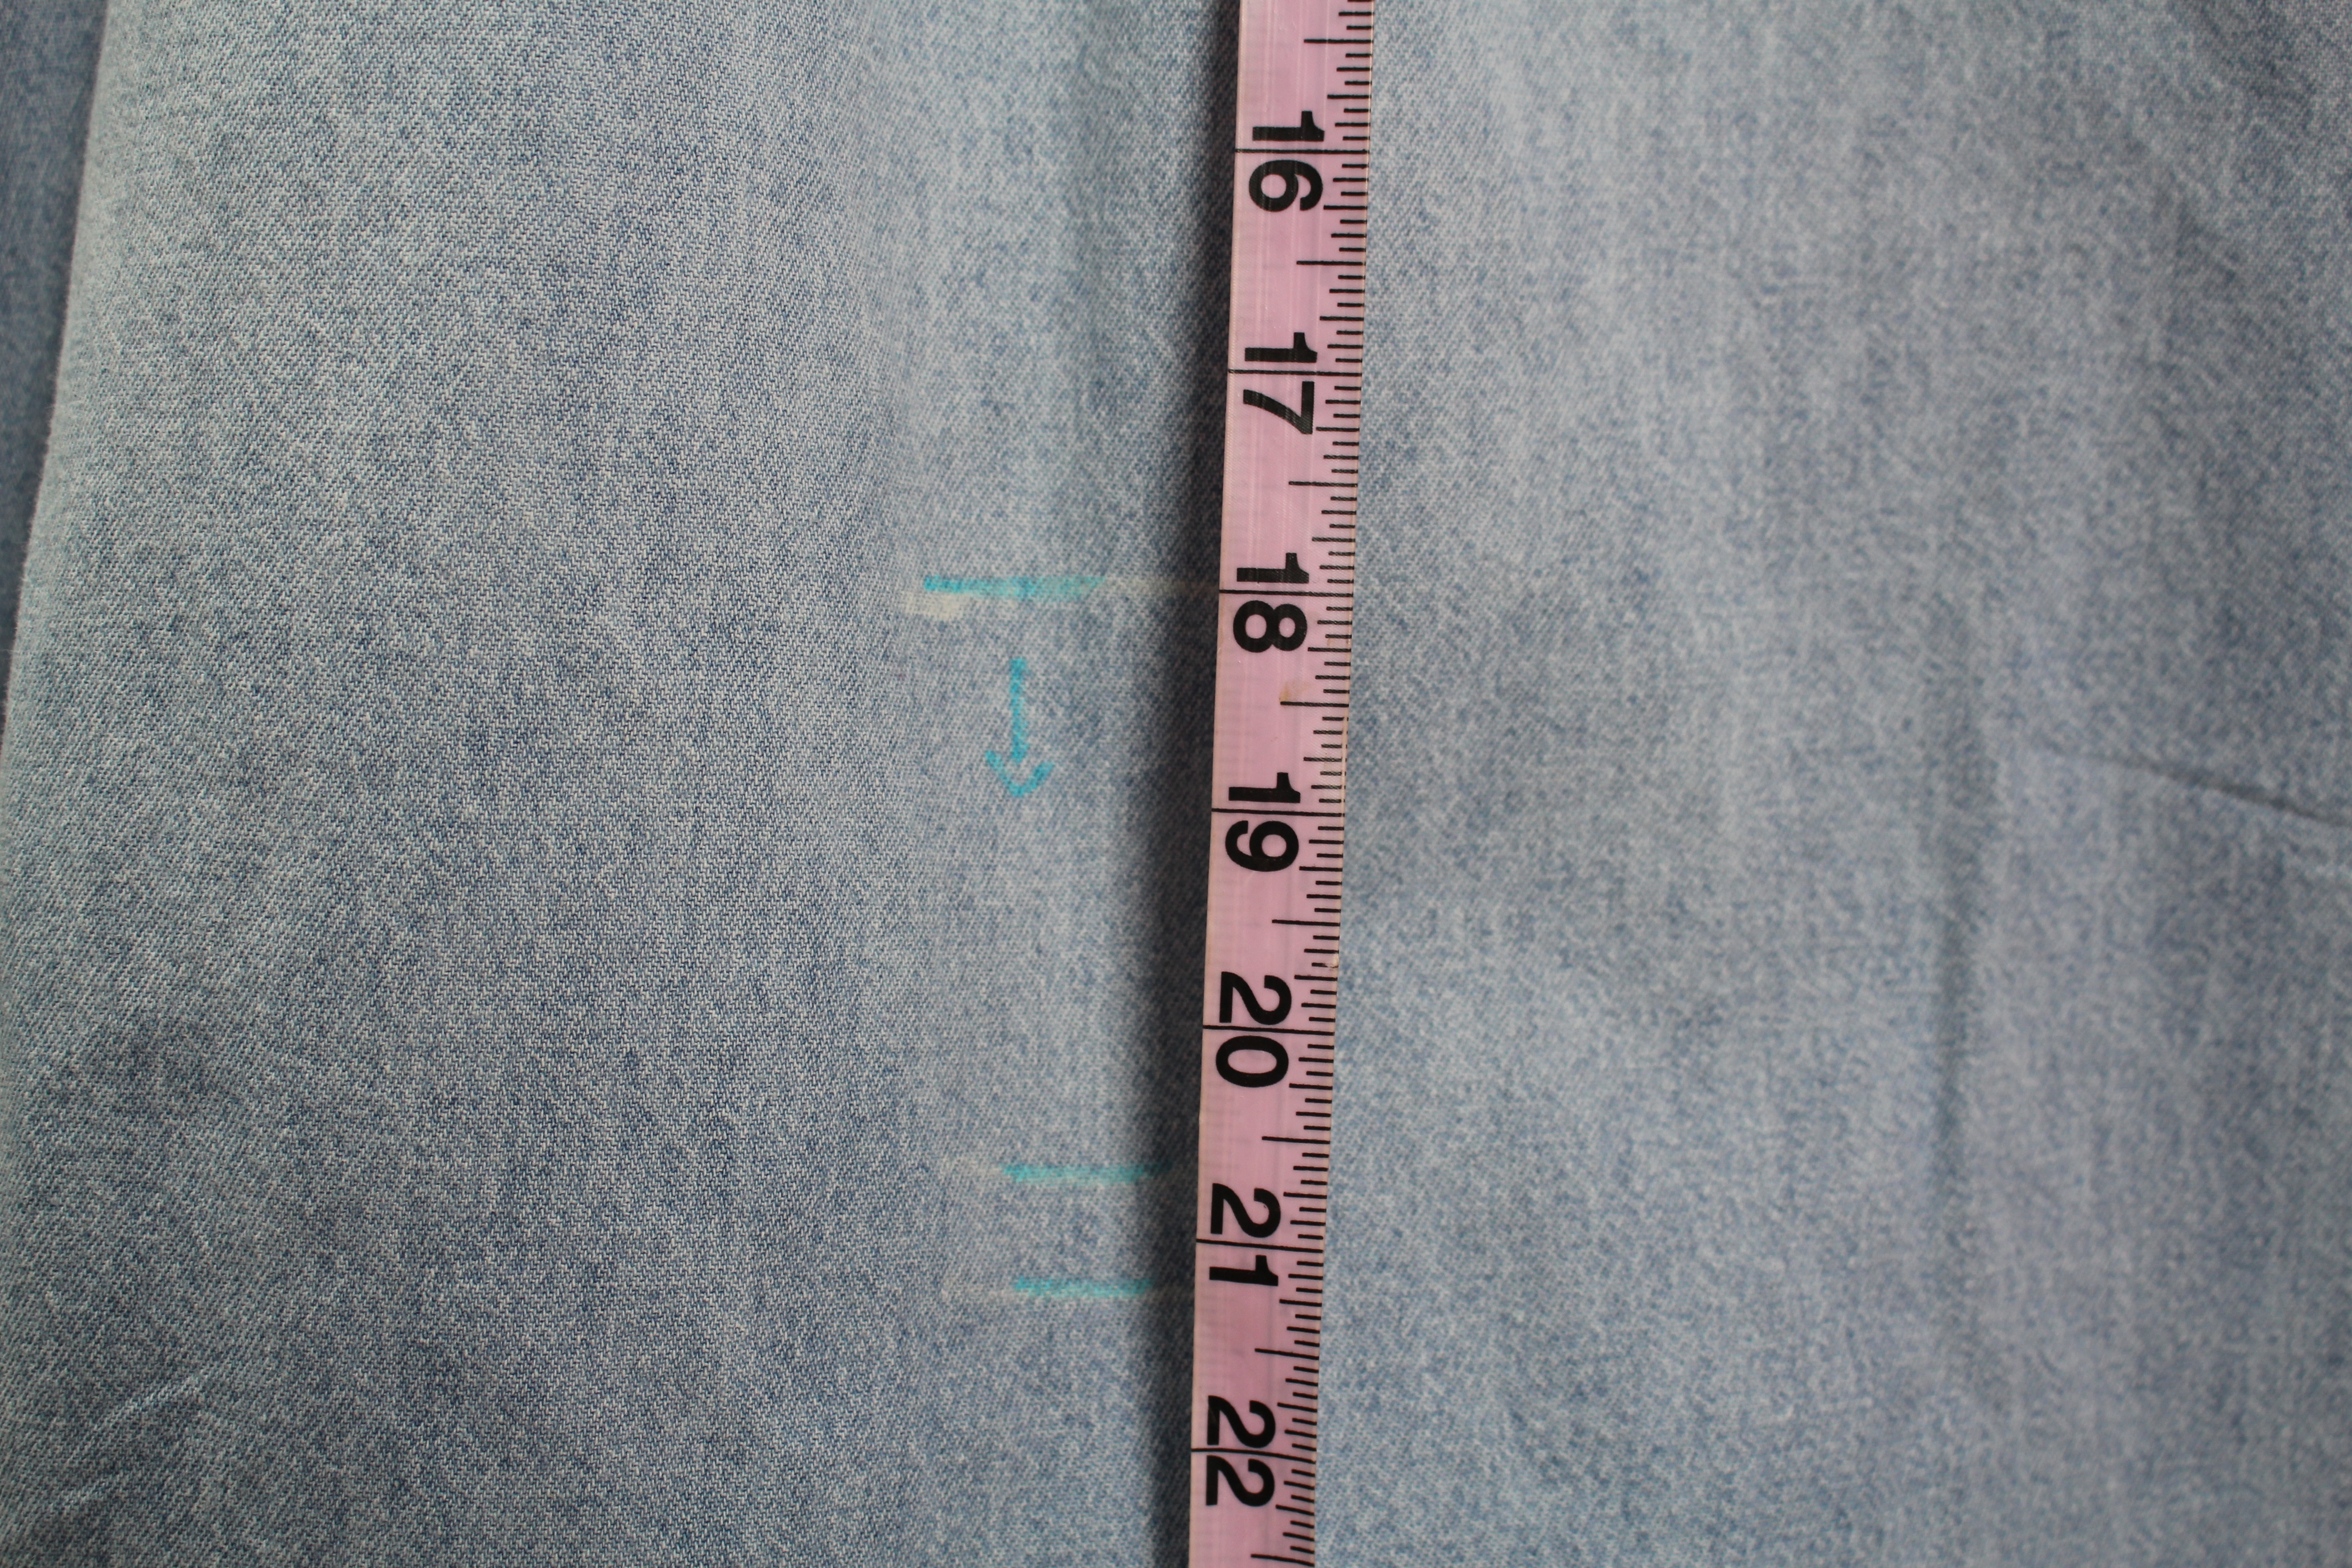
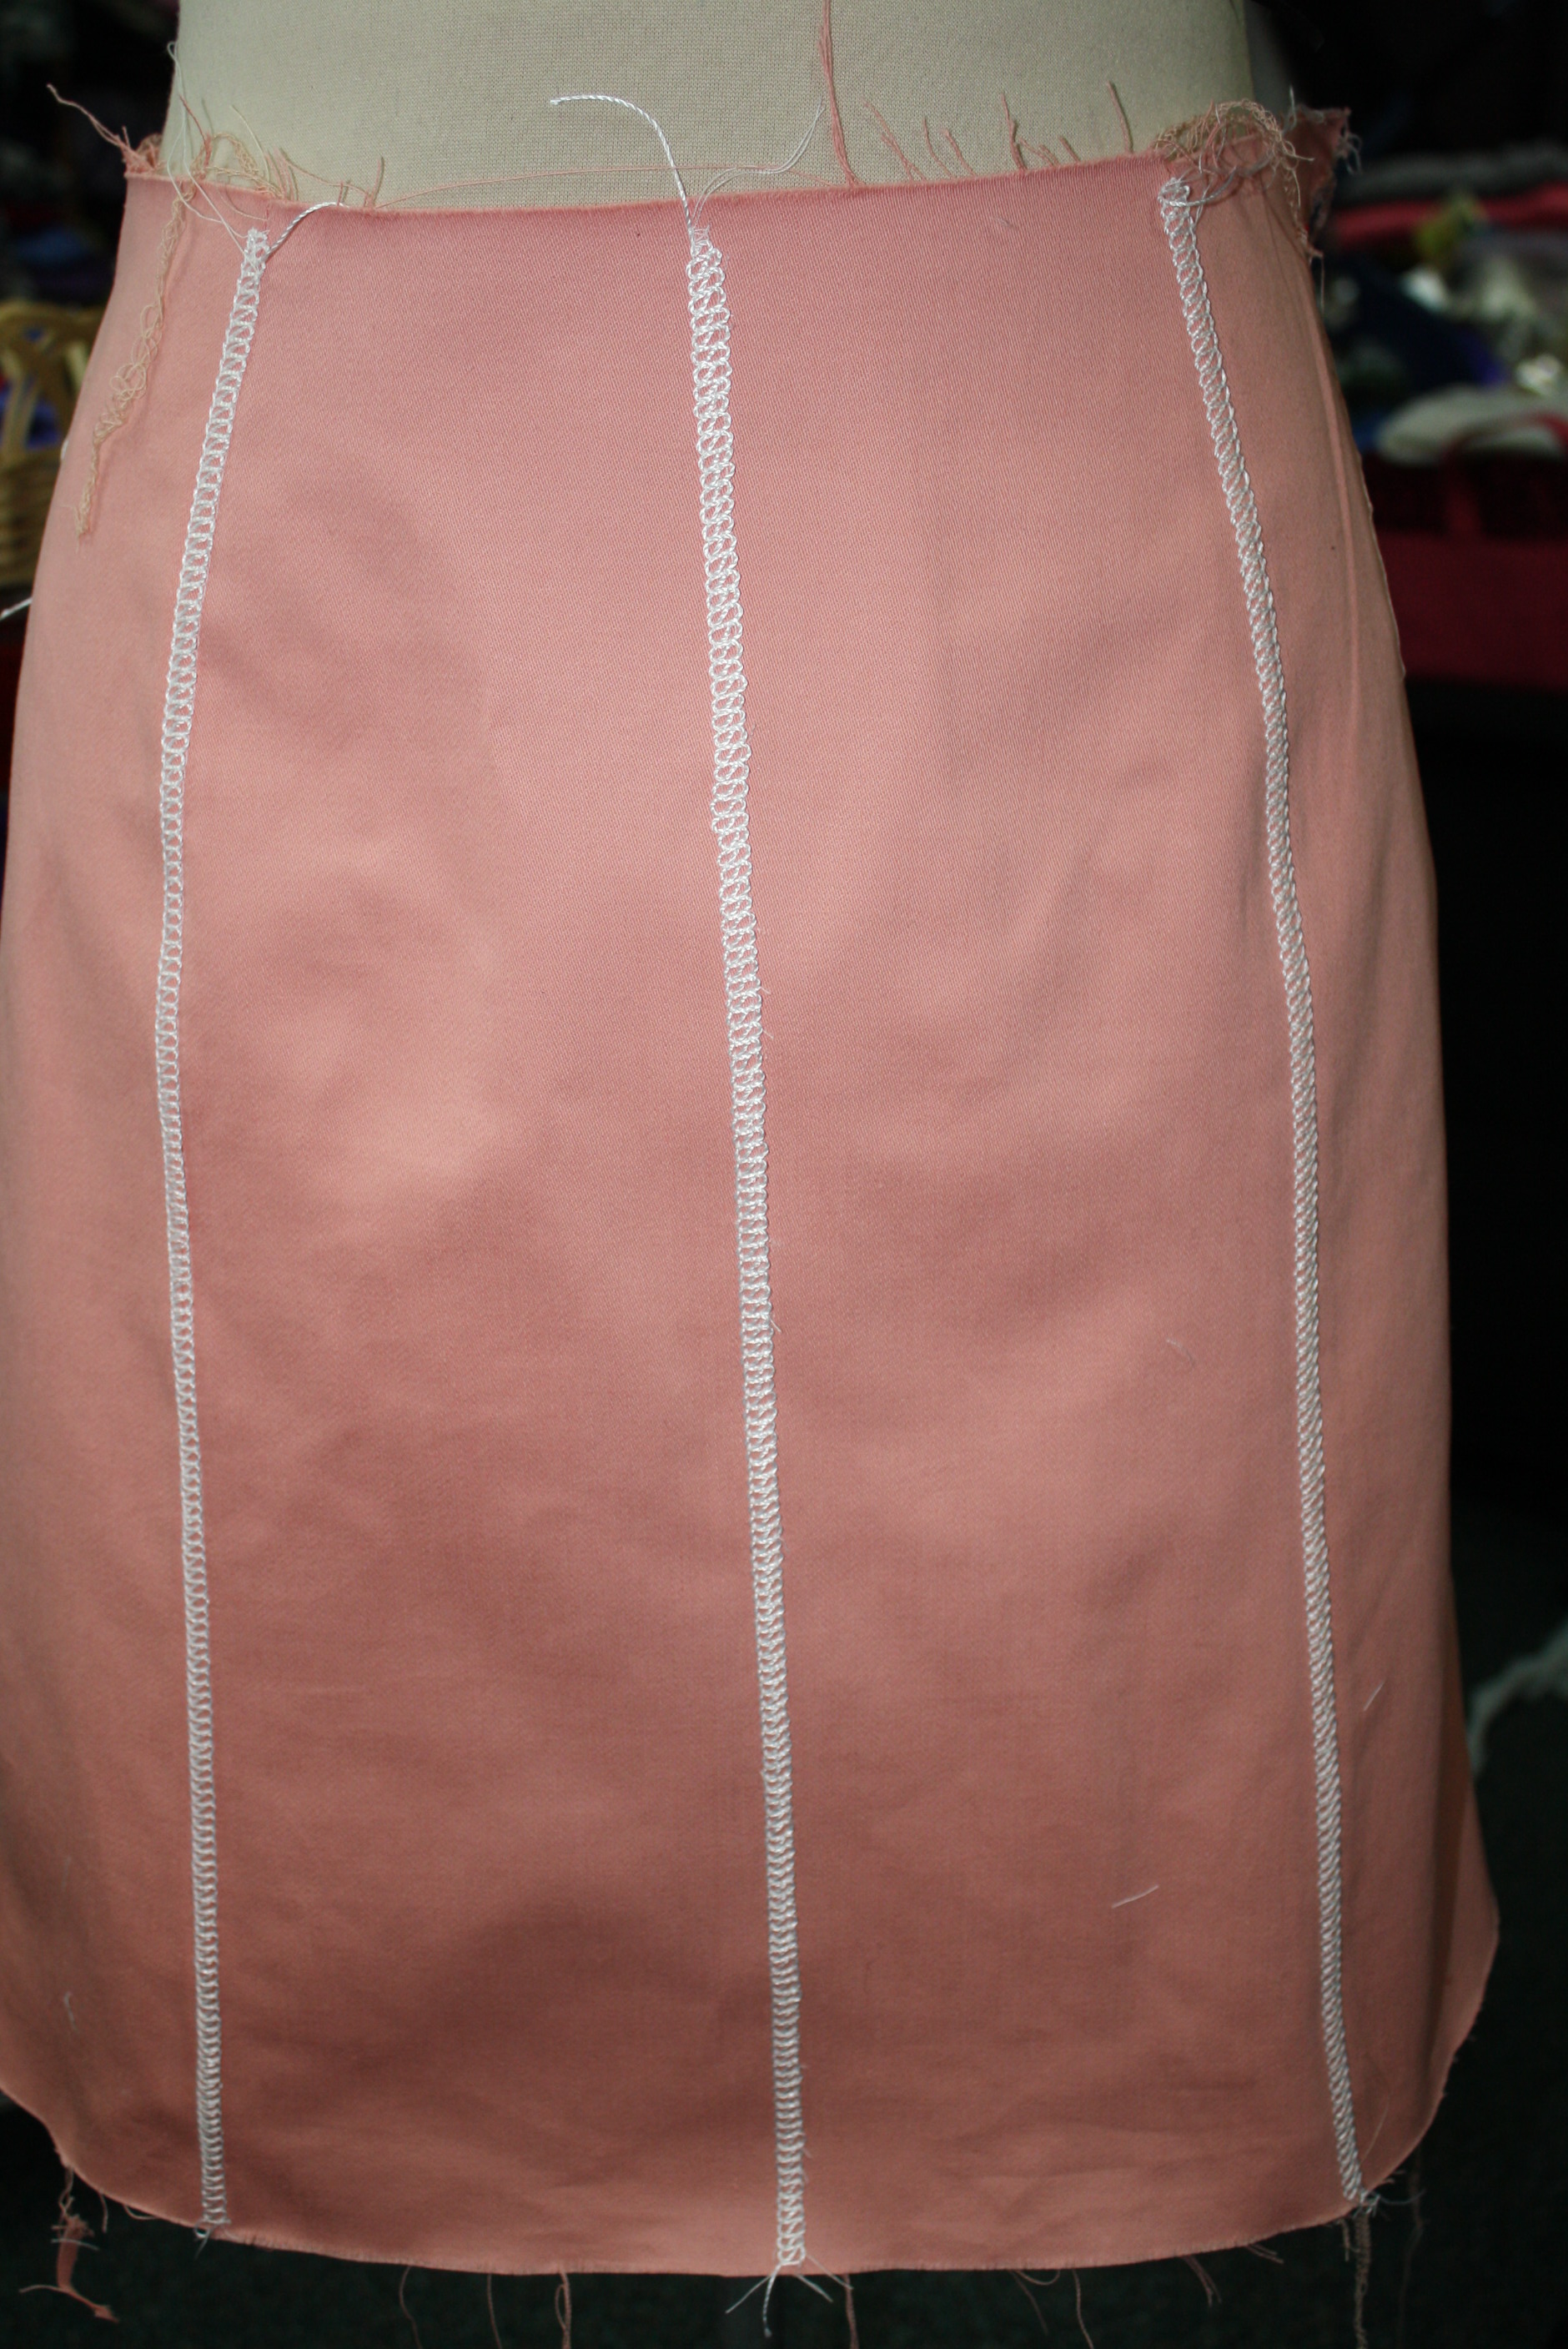
Mark a line across the sweater where you want the sweater fabric to meet the tulle fabric. Add a seam allowance and cut. Align the sweater with the tulle fabric. add a seam allowance onto the tulle fabric and cut. (the video below shows all these steps in detail).
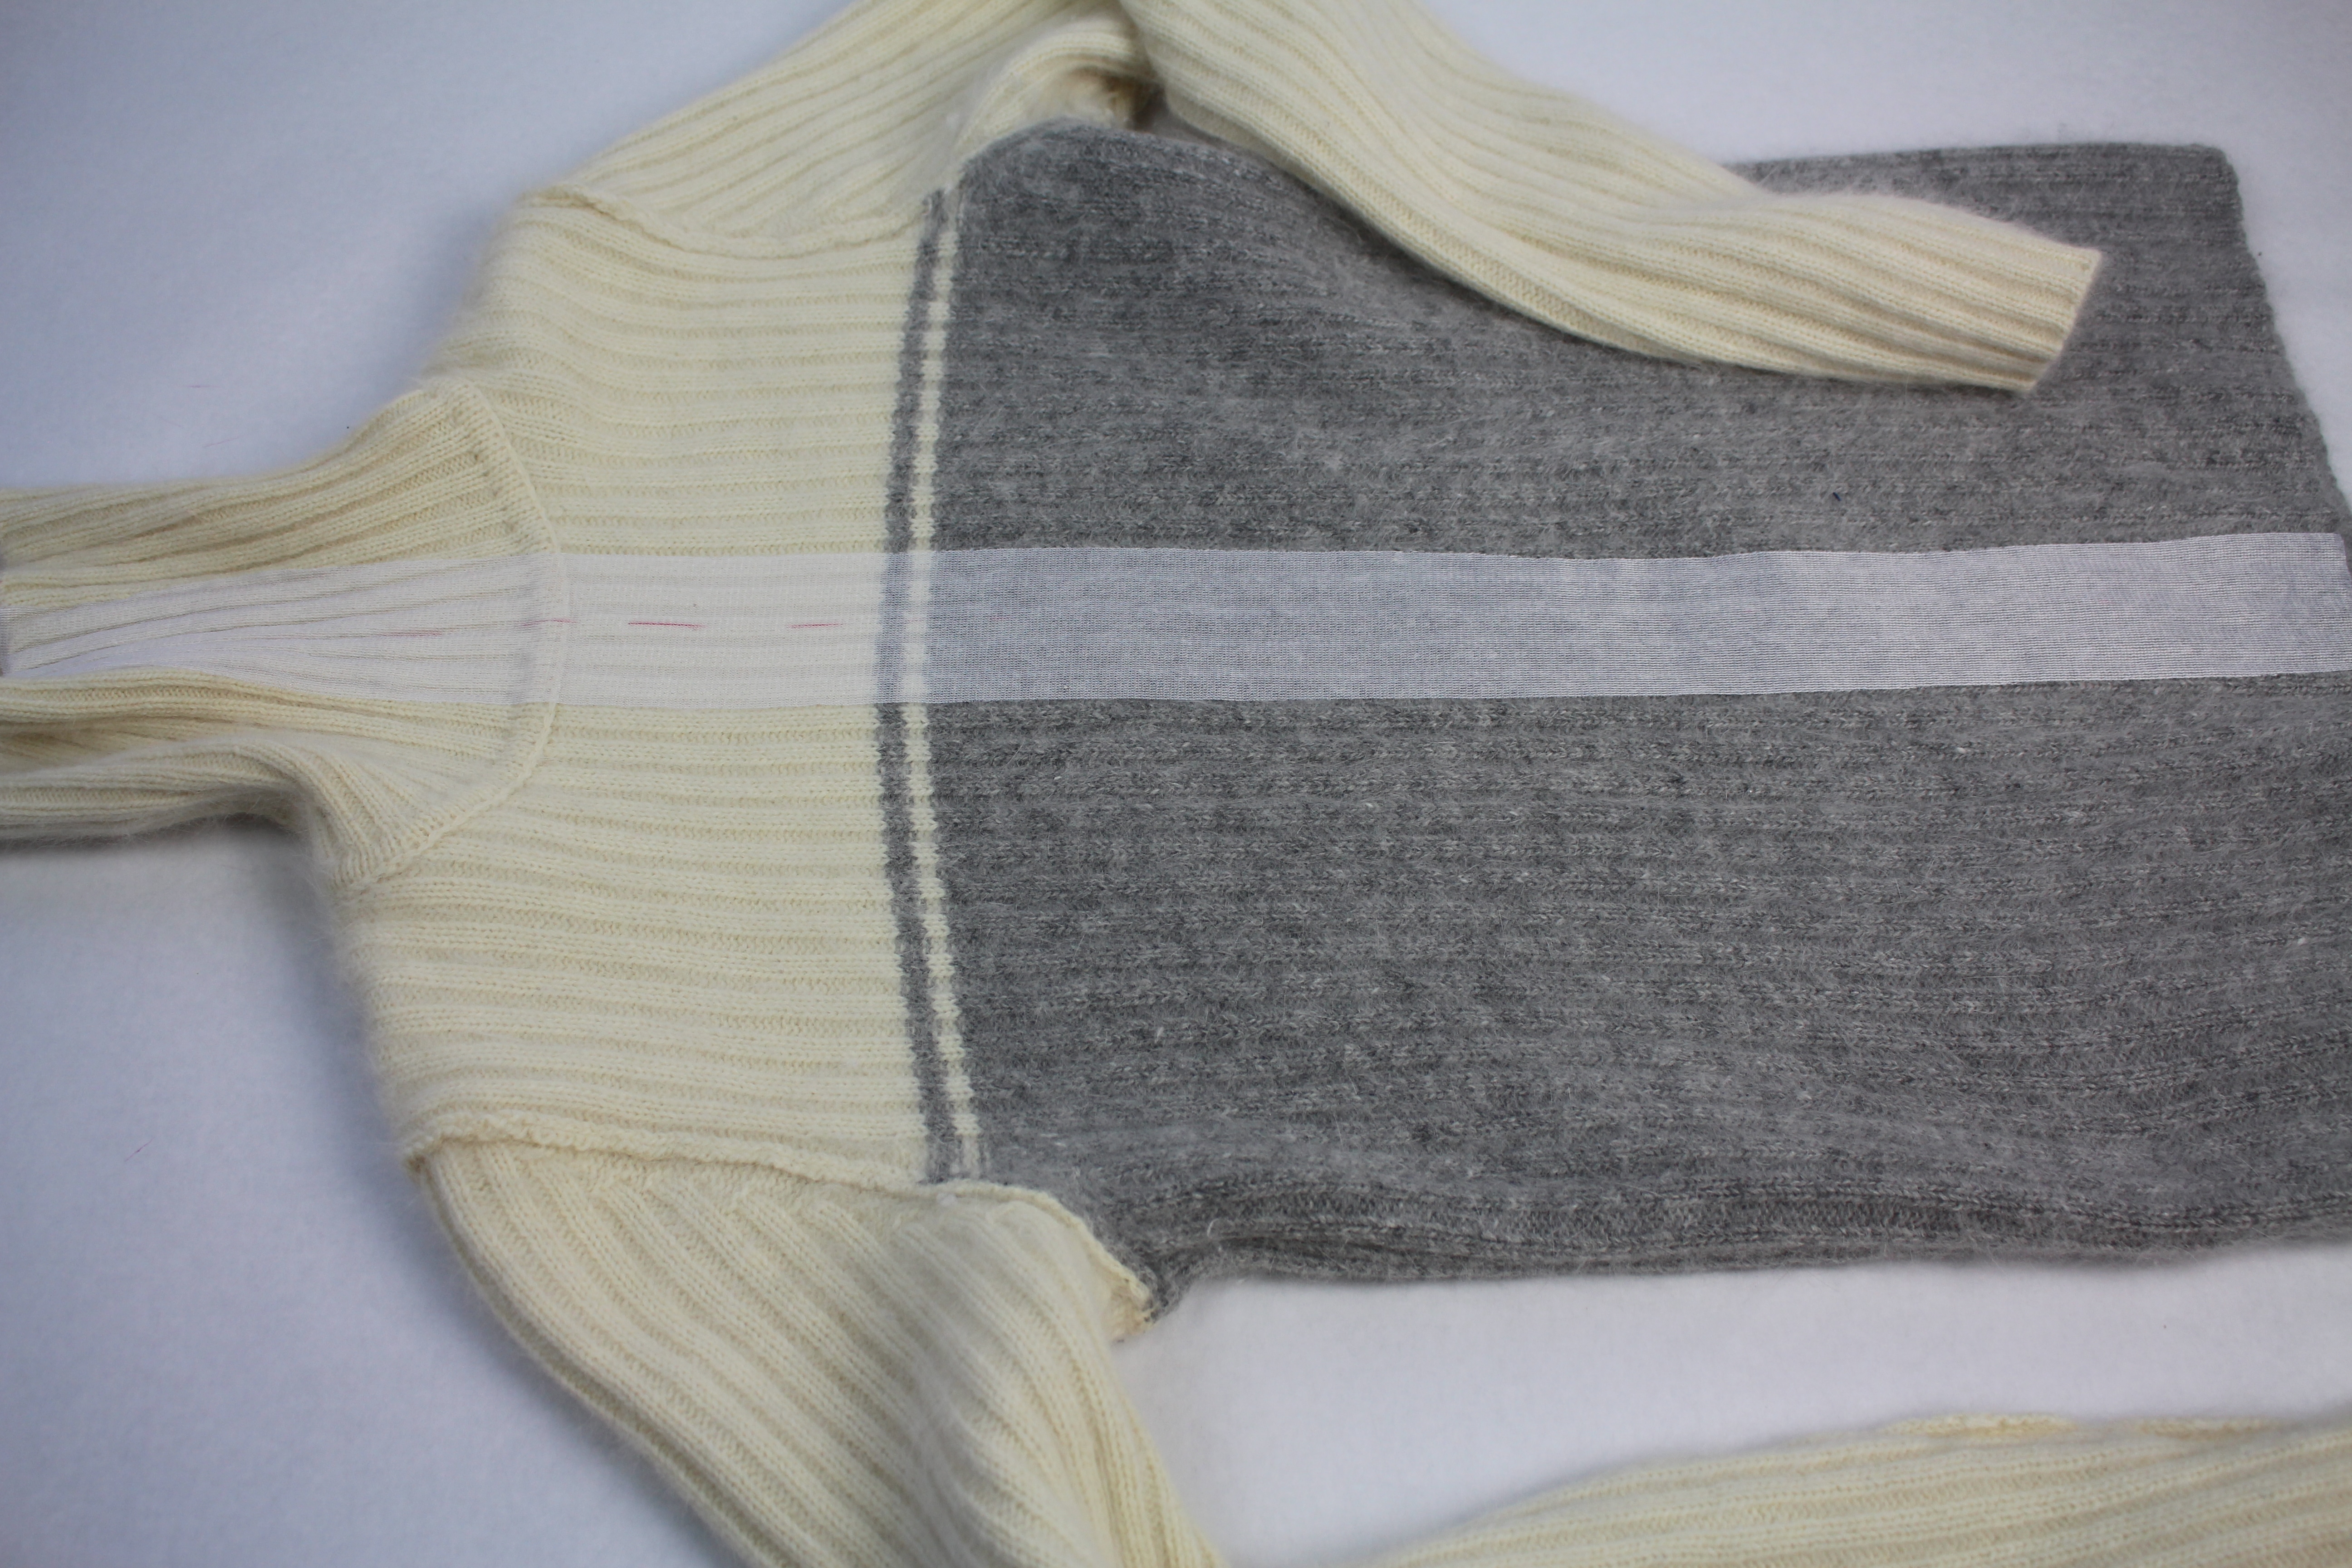
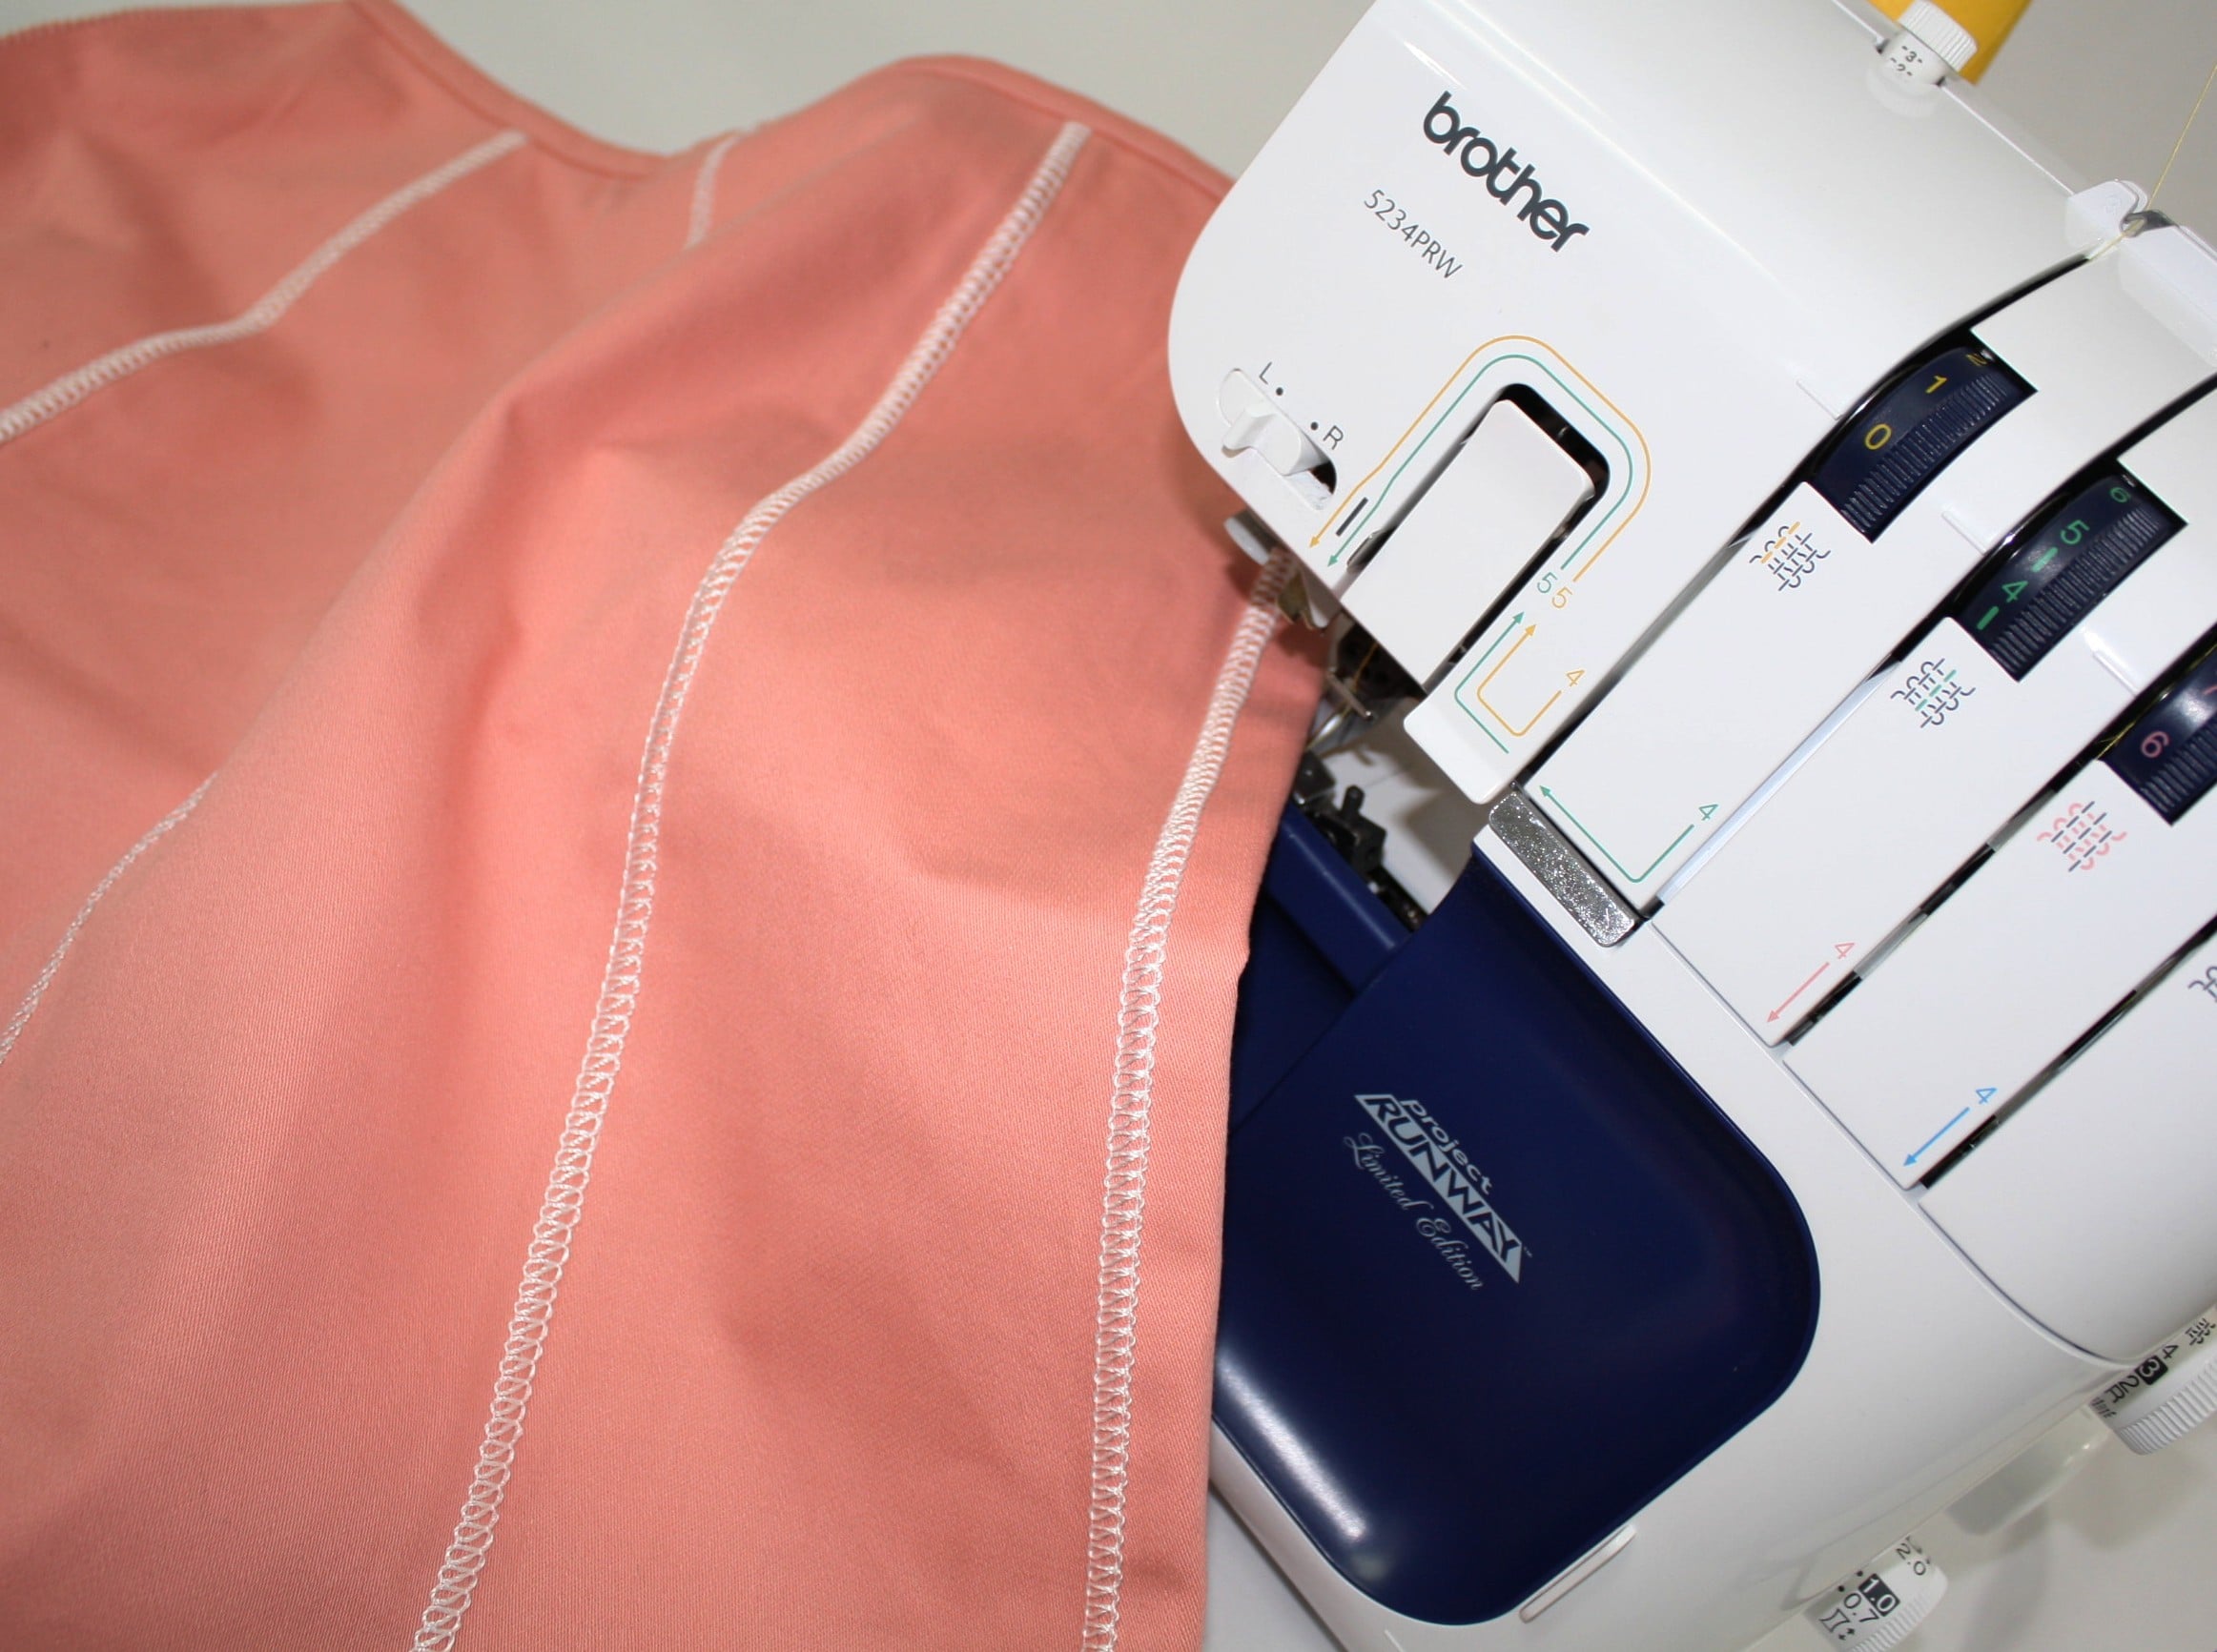
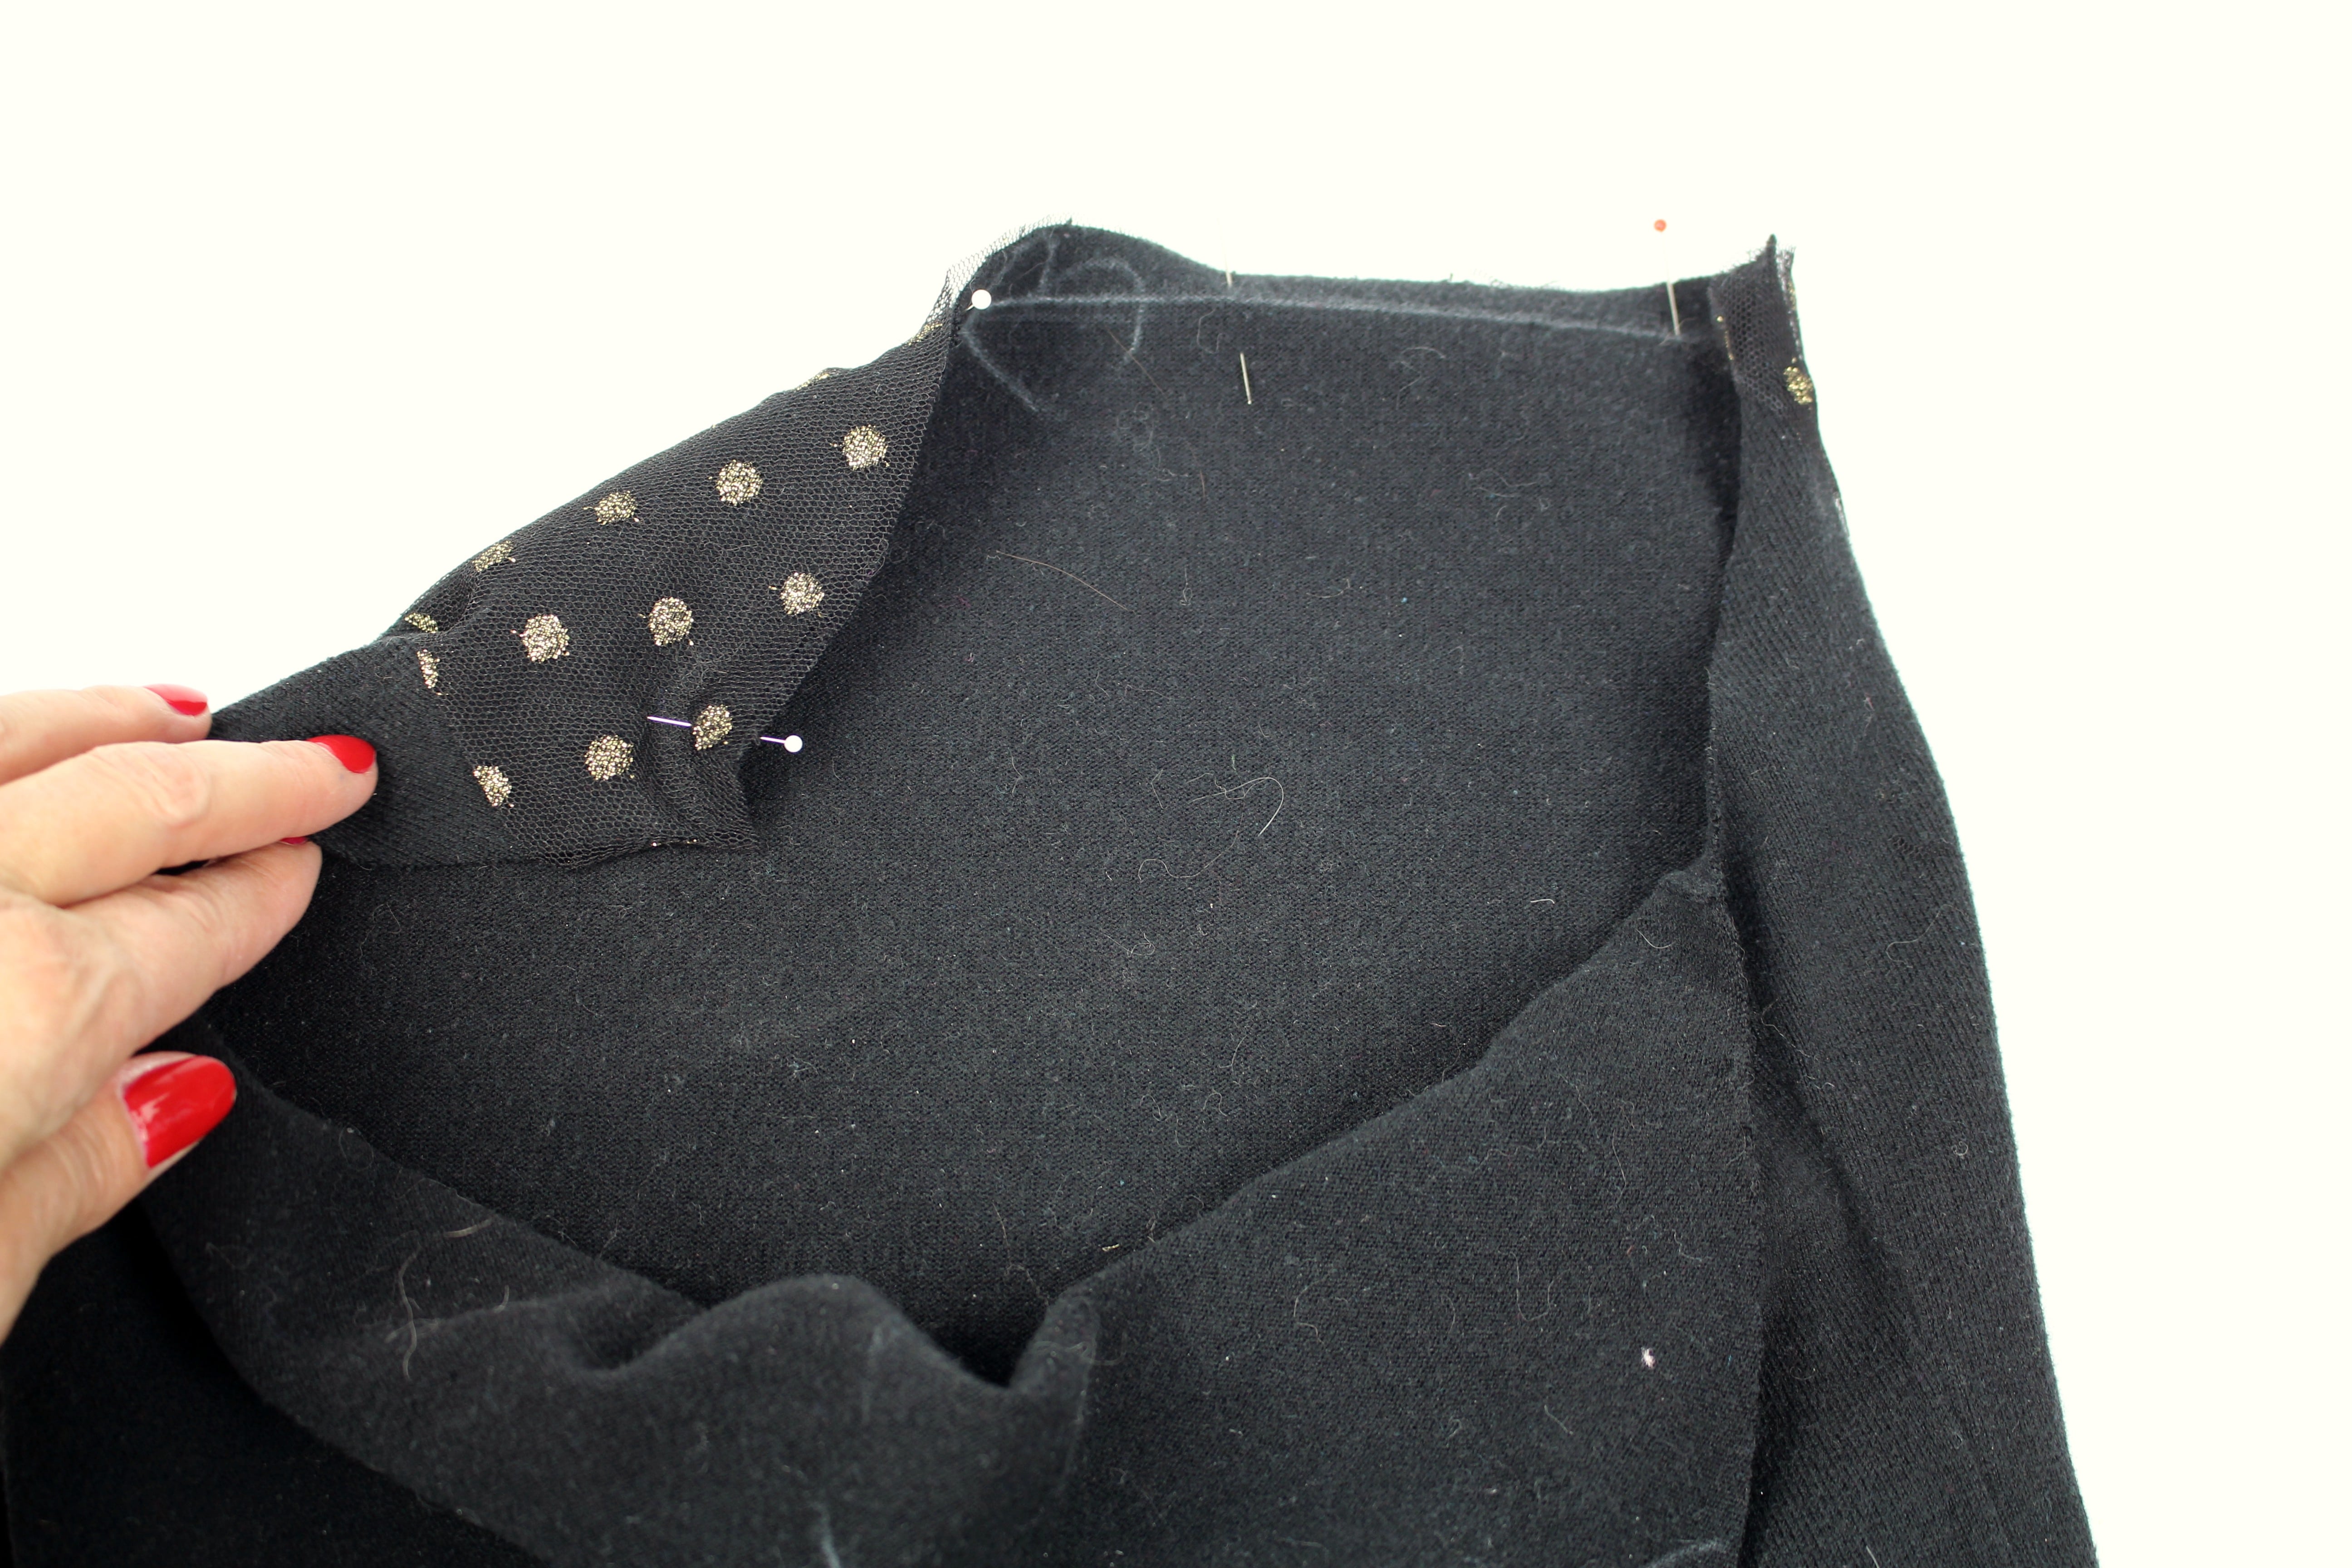
With right sides together, pin the tulle fabric to the sweater fabric.
Click on the video below to watch the full tutorial or head over to my post as a Brother Expert Consultant on the Brother Stitching Sewcial.
Are you going to try this cute restyle? Leave a comment below and tell me what you think 🙂
Cheers,


Previous DIY Restyling, Recycling, and Makeover Blog Posts …
DIY: Refashion Jeans with Trim
read more
EMBELLISHING JEANS WITH FREE MOTION EMBROIDERY
Embellishing Jeans with Free Motion Embroidery An easy way to restyle or upcycle jeans is to add a touch of embroidery. Free motion embroidery, also referred to as thread painting, is so easy and you don’t even need an embroidery machine for this...
Tutorial: Transform a Turtleneck into a Boatneck
Transform a Turtleneck into a Stylish Boatneck Top Here is another recycle project for the turtlenecks in our closet and its easy - perfect for beginners! For this sewing tutorial I am using a turtleneck that has a design, but any tank top will work. ...
<a target="_blank" href="https://shareasale.com/r.cfm?b=1130527&u=1586241&m=29190&urllink=&afftrack="><img src="https://static.shareasale.com/image/29190/728x90.gif" border="0" alt="Craftsy Unlimited FREE 7 day trial at Craftsy.com" /></a>