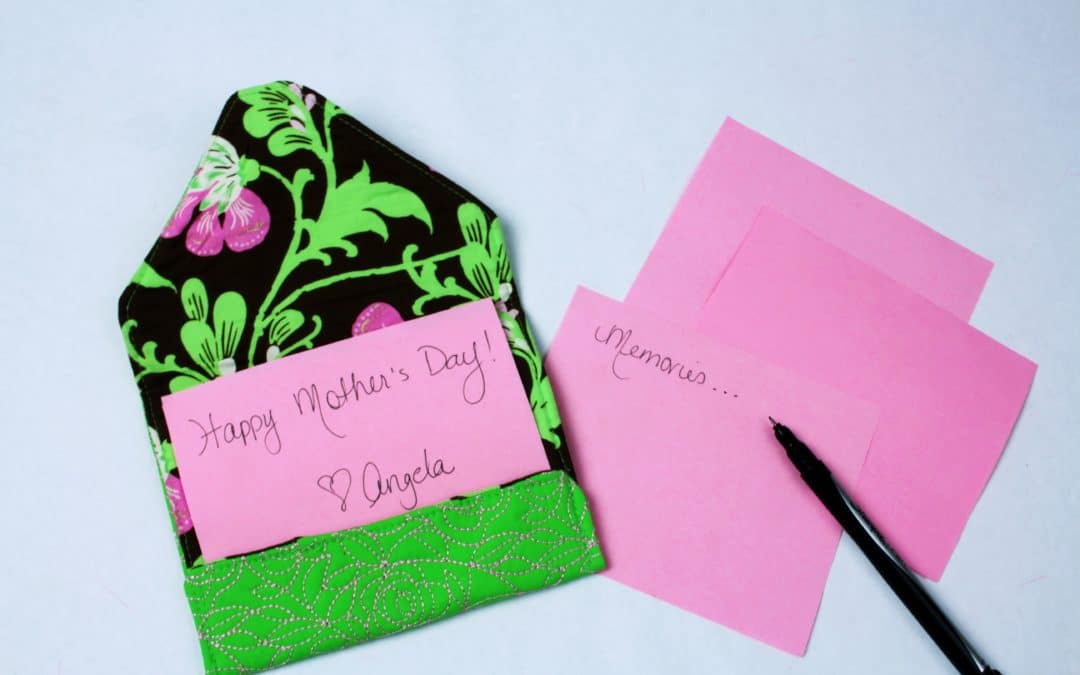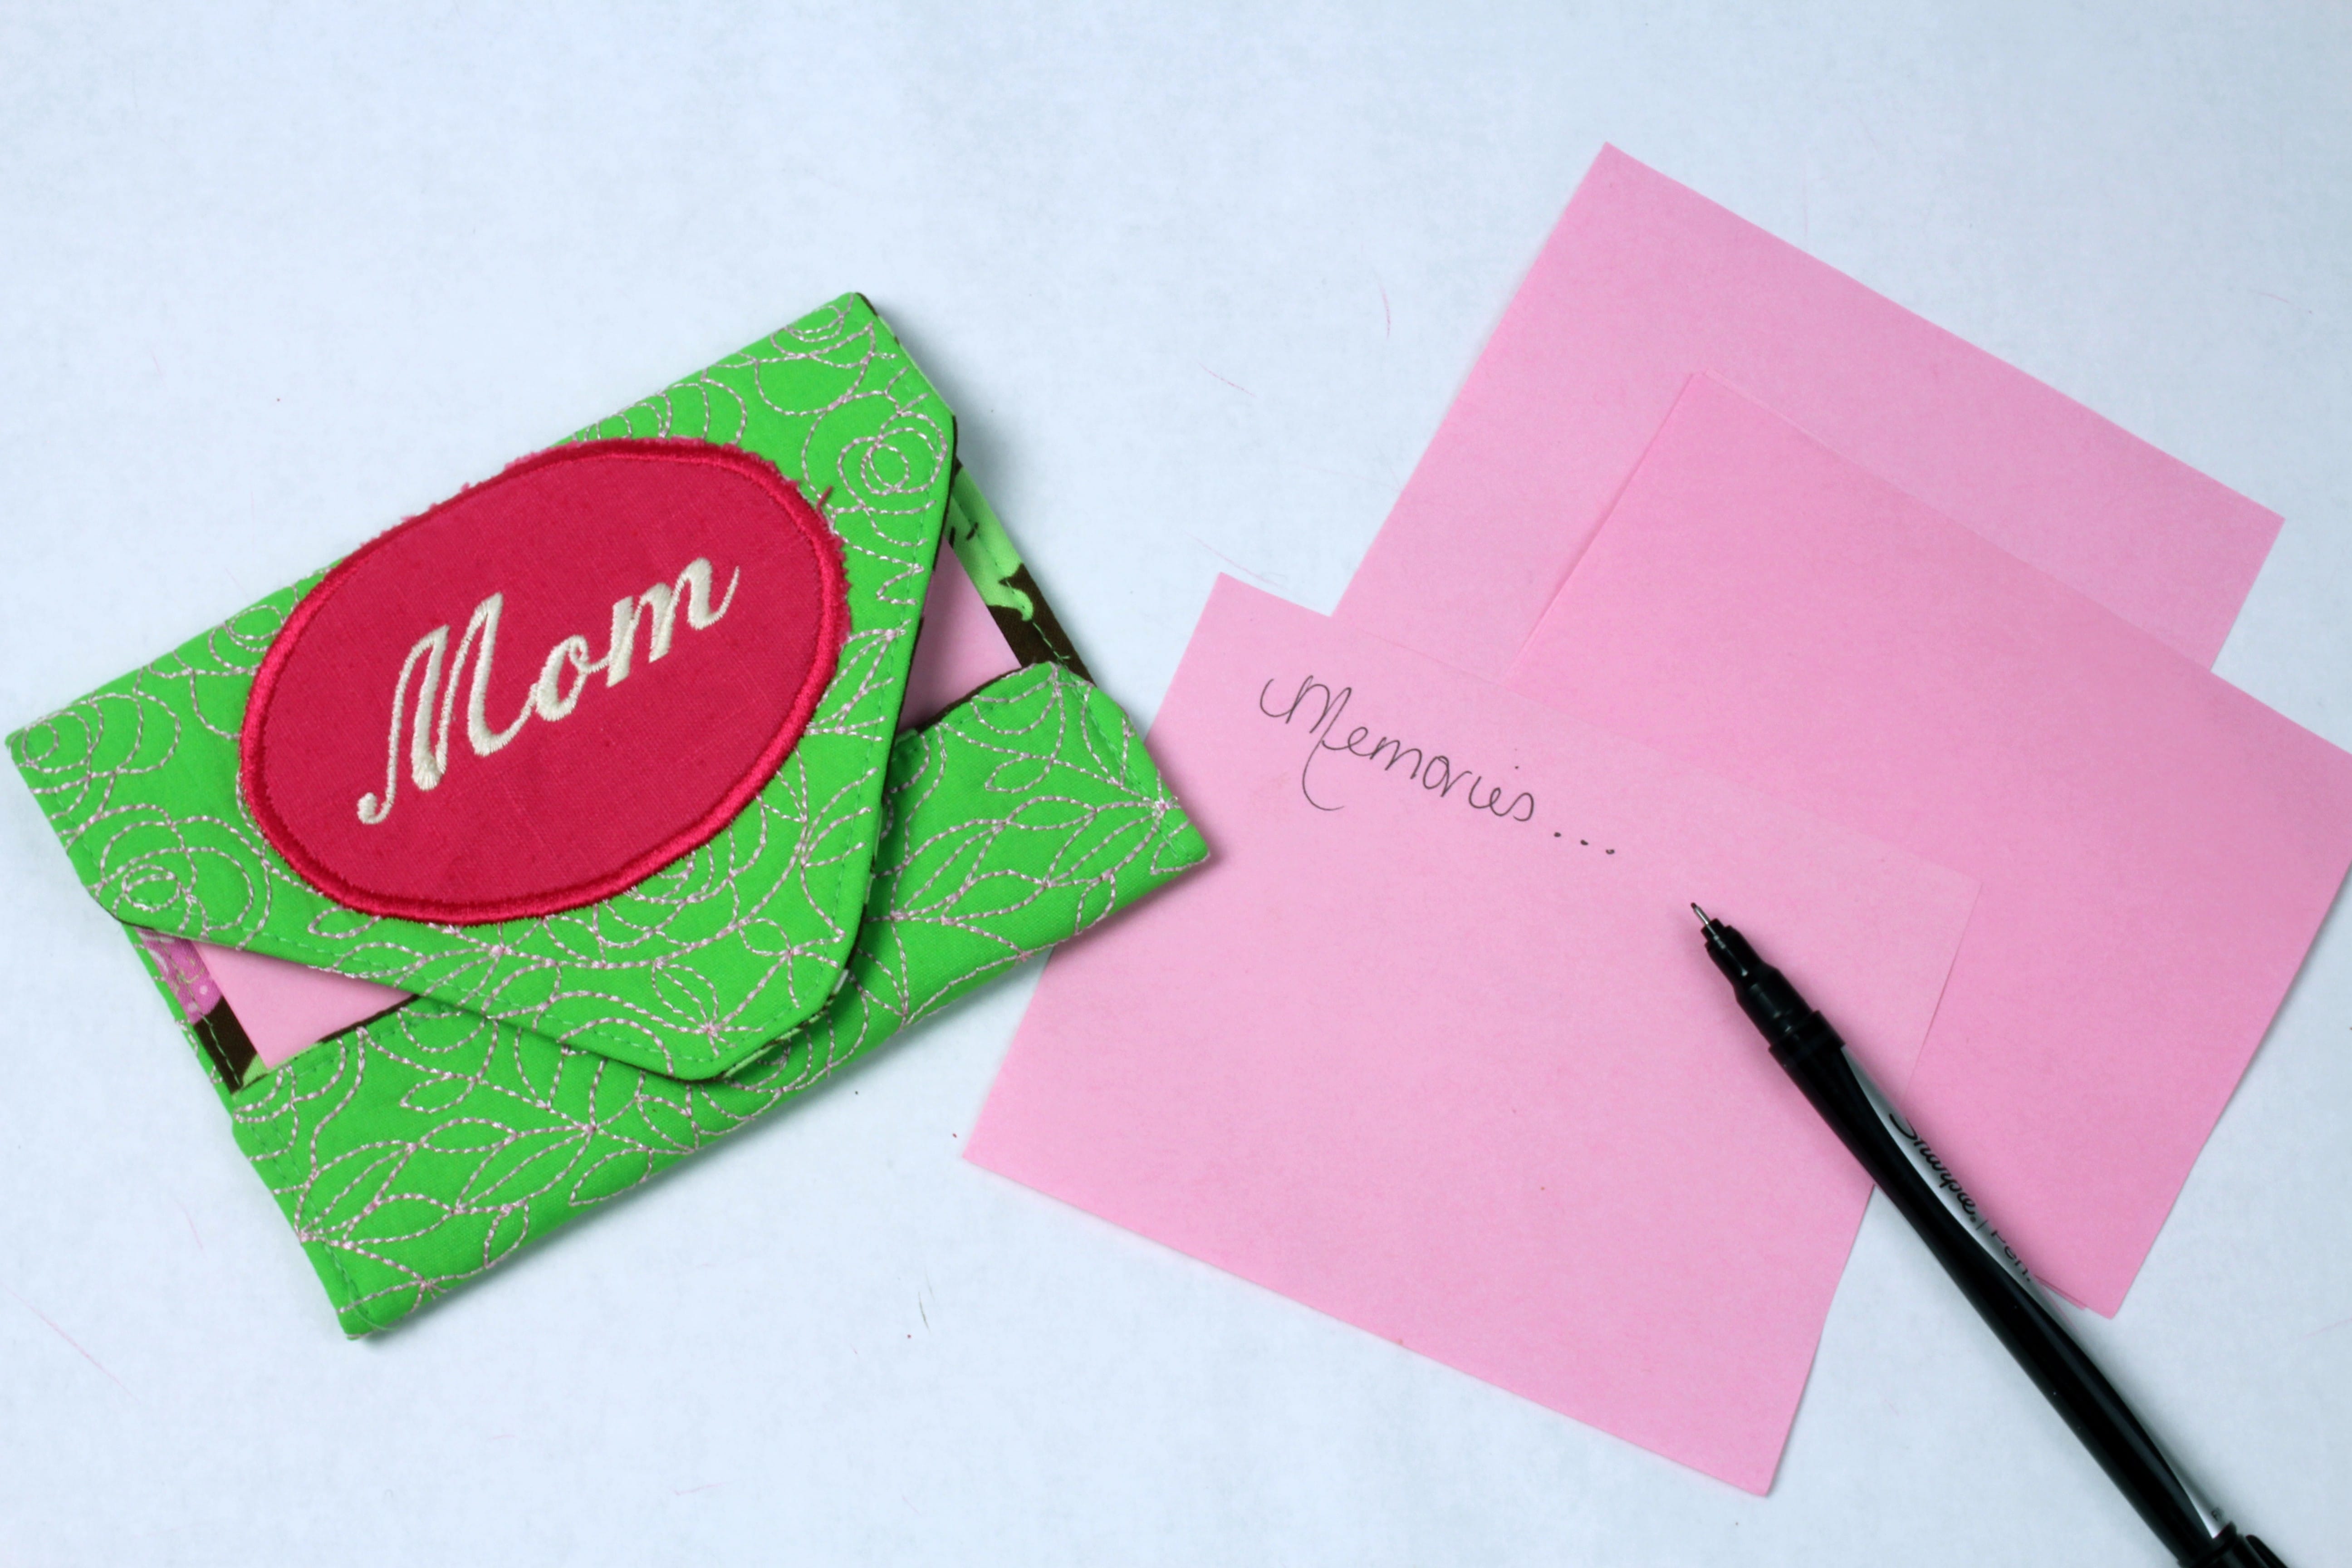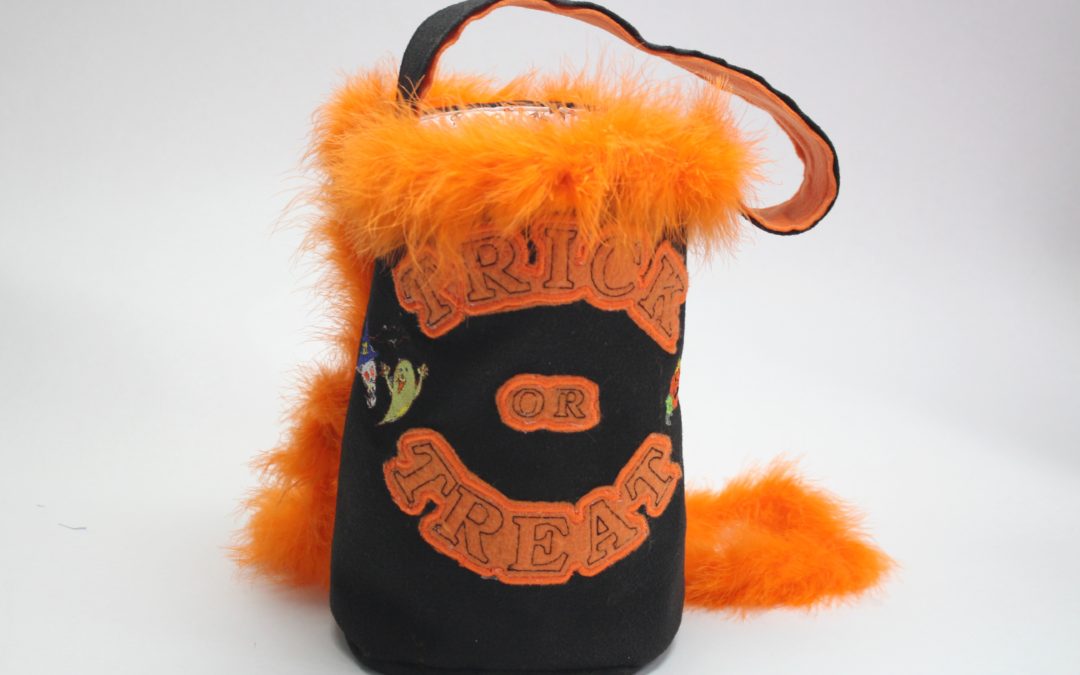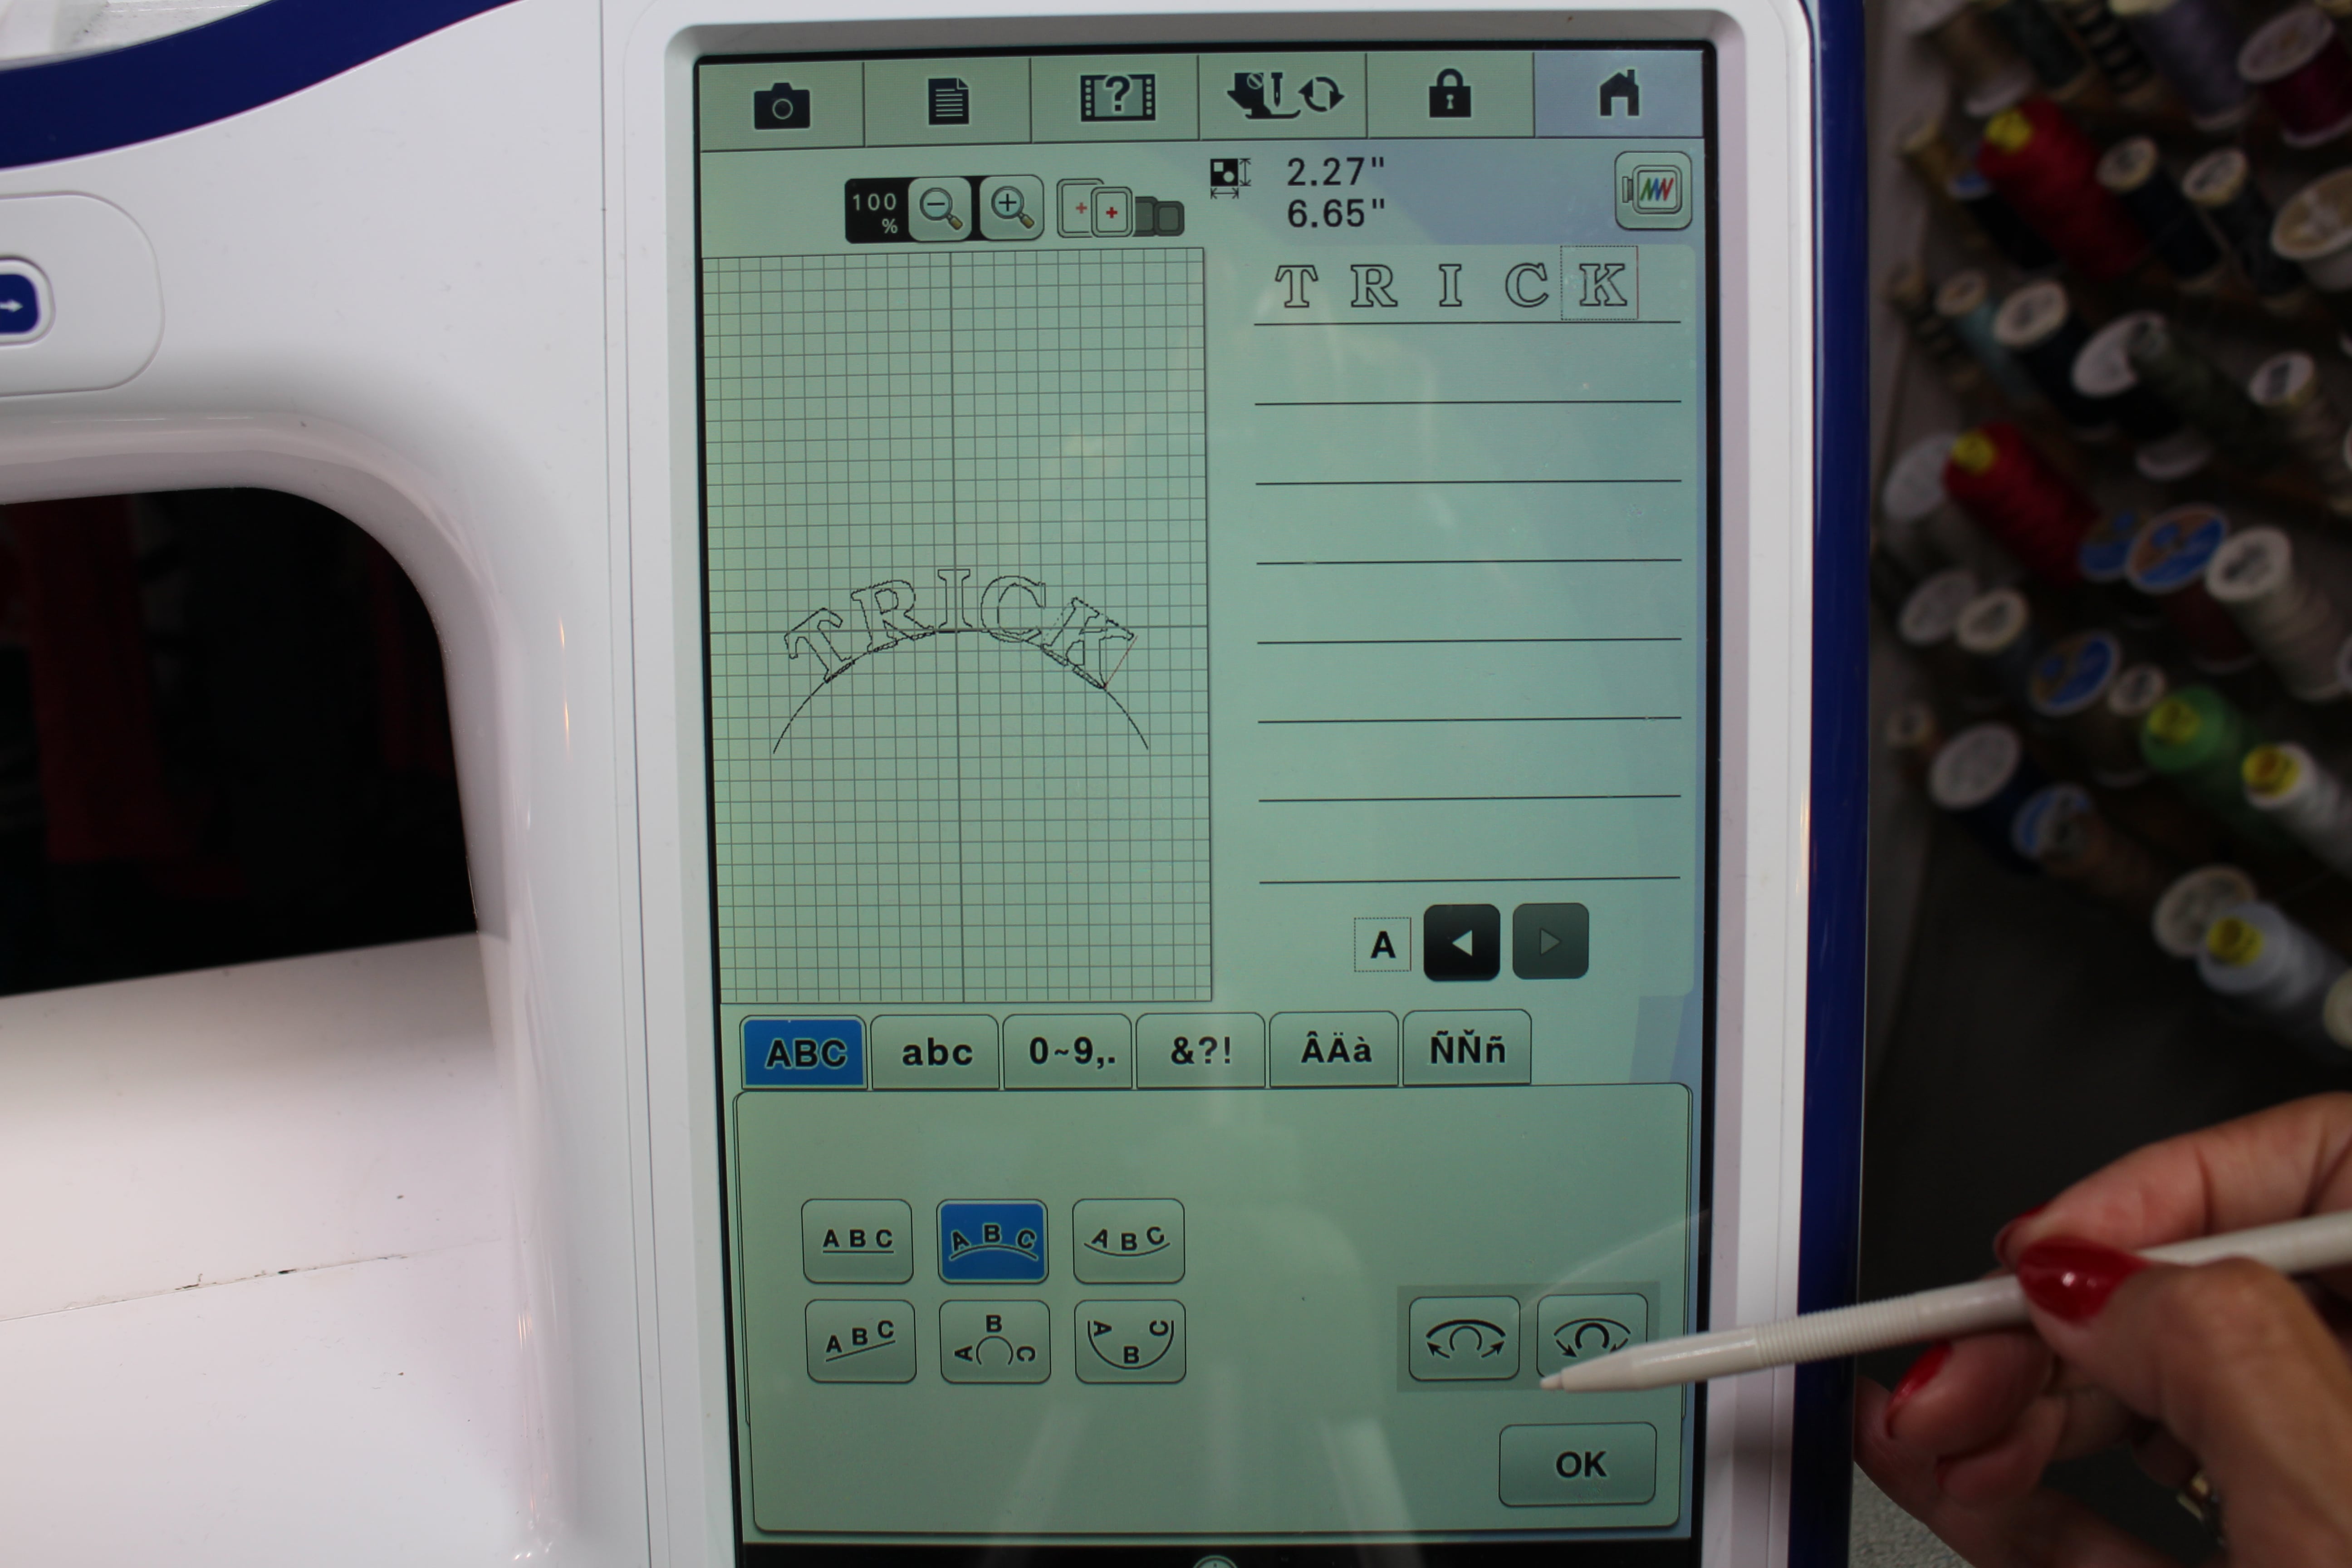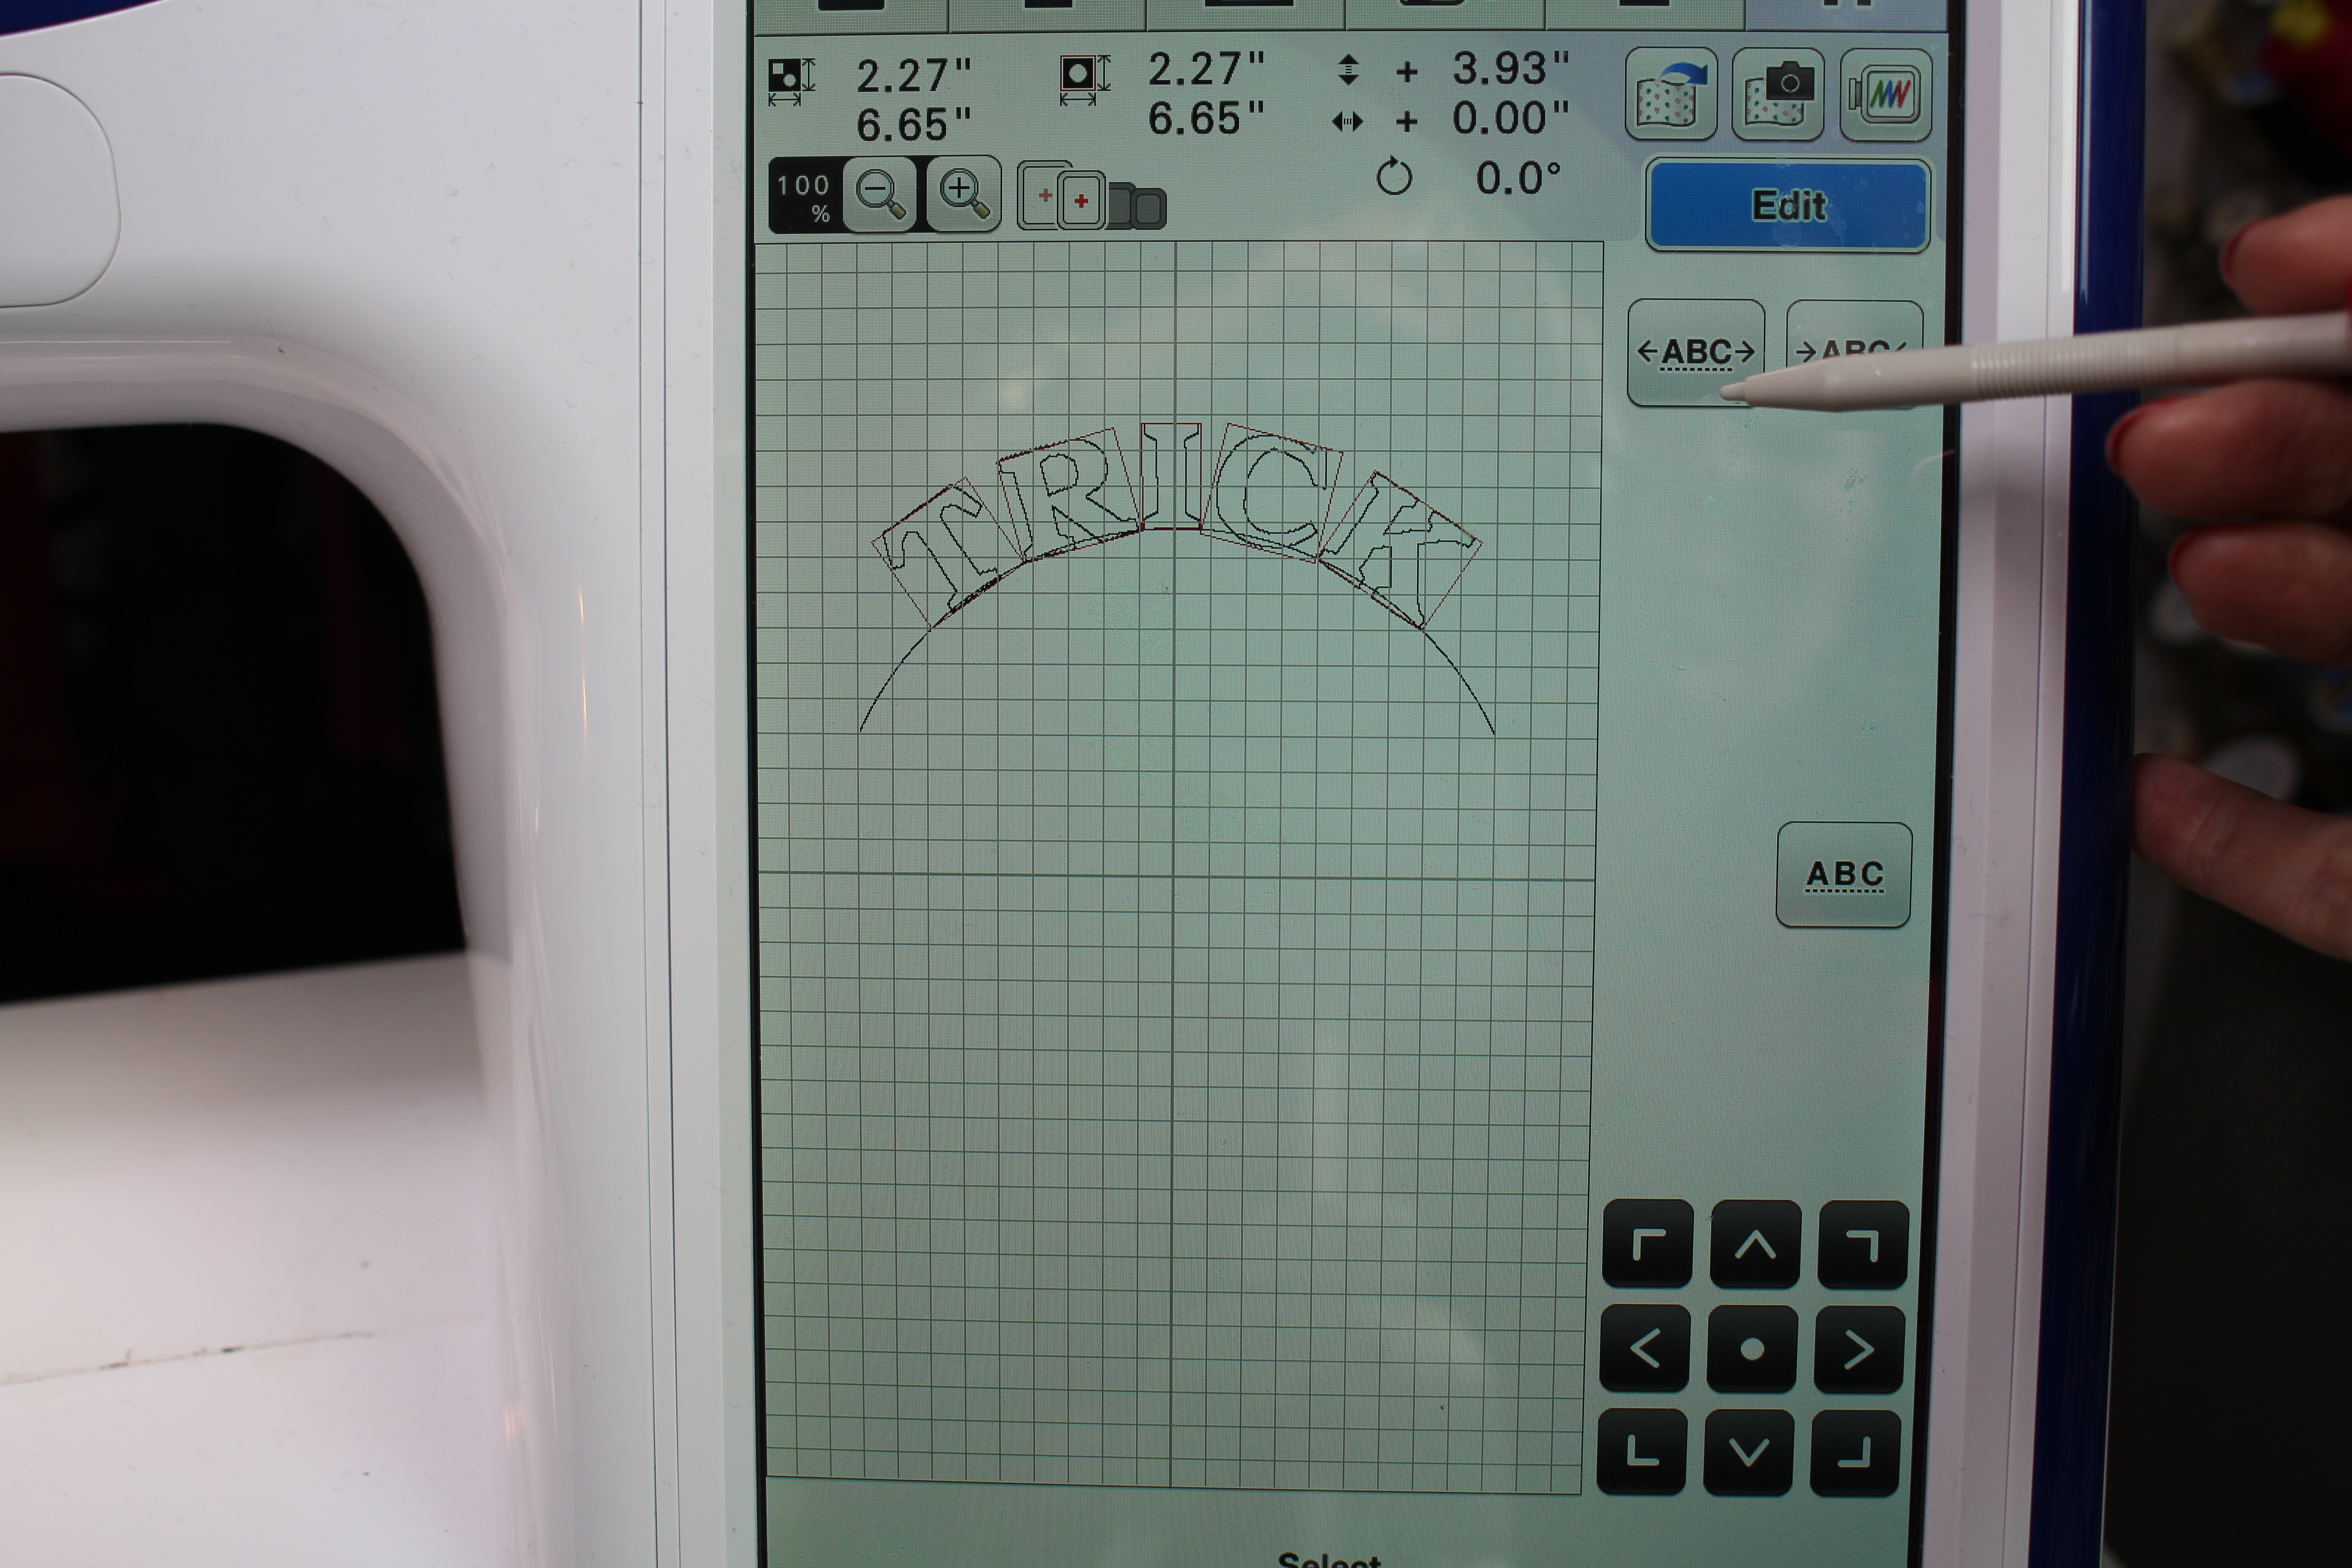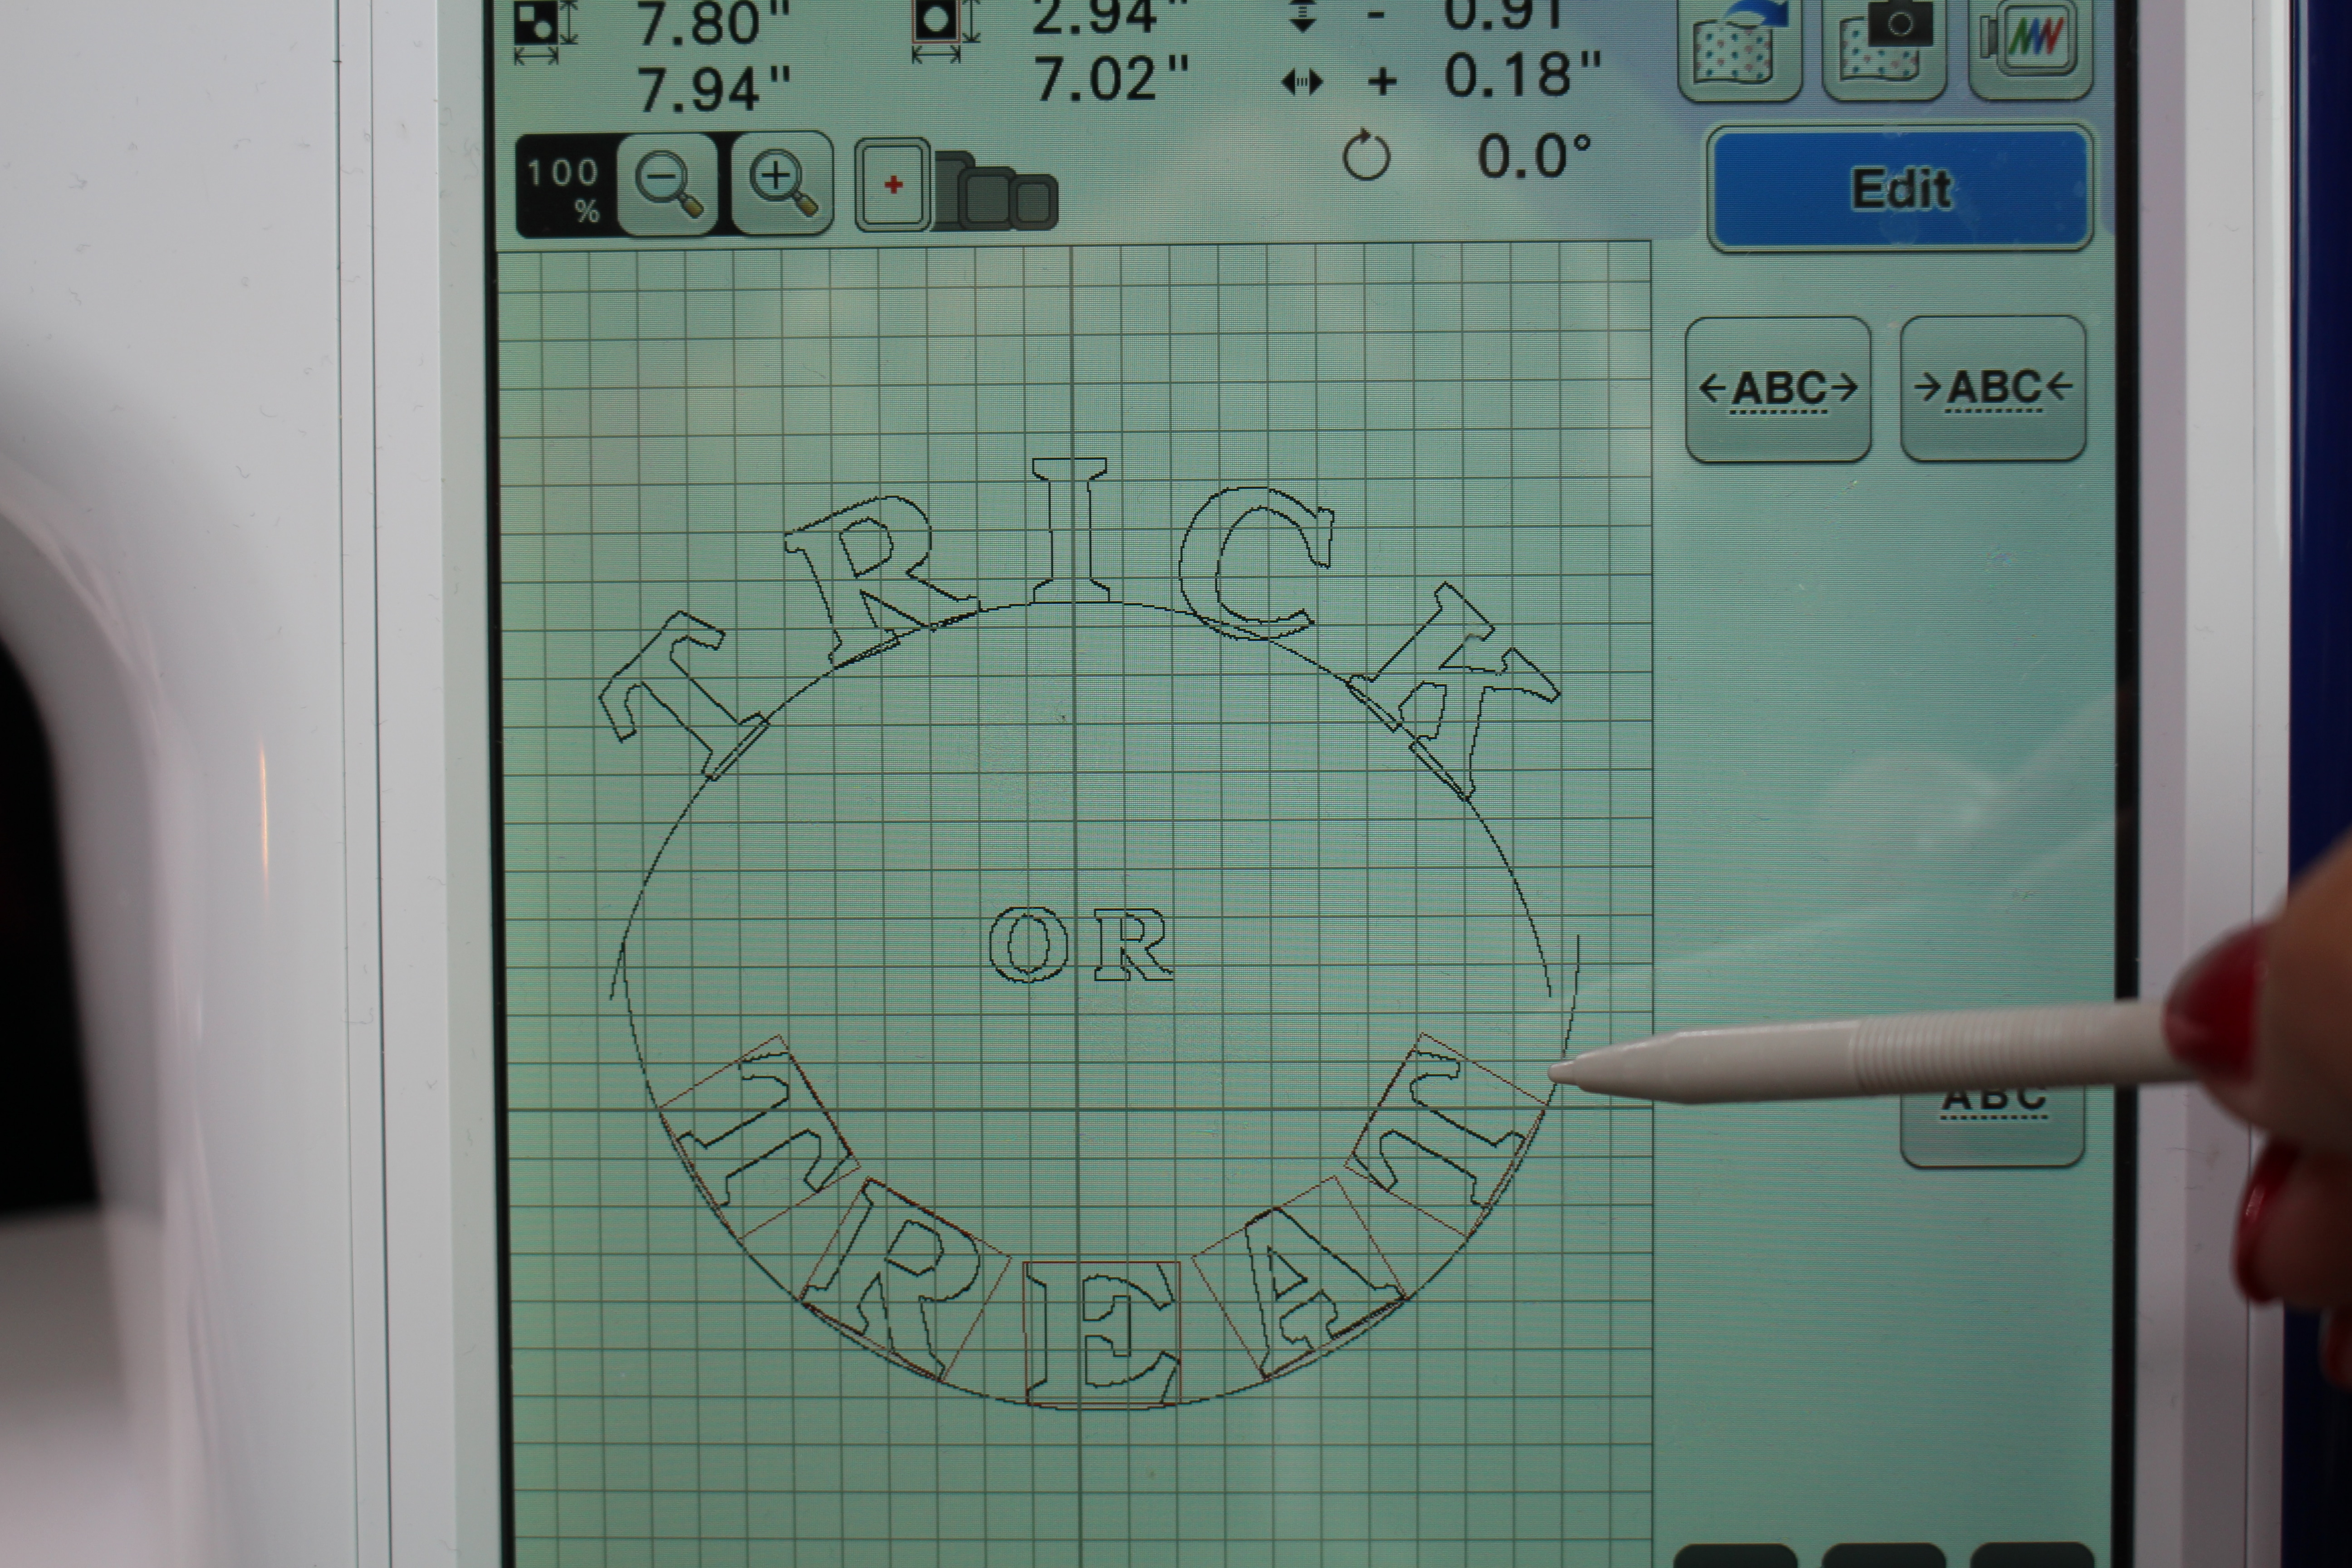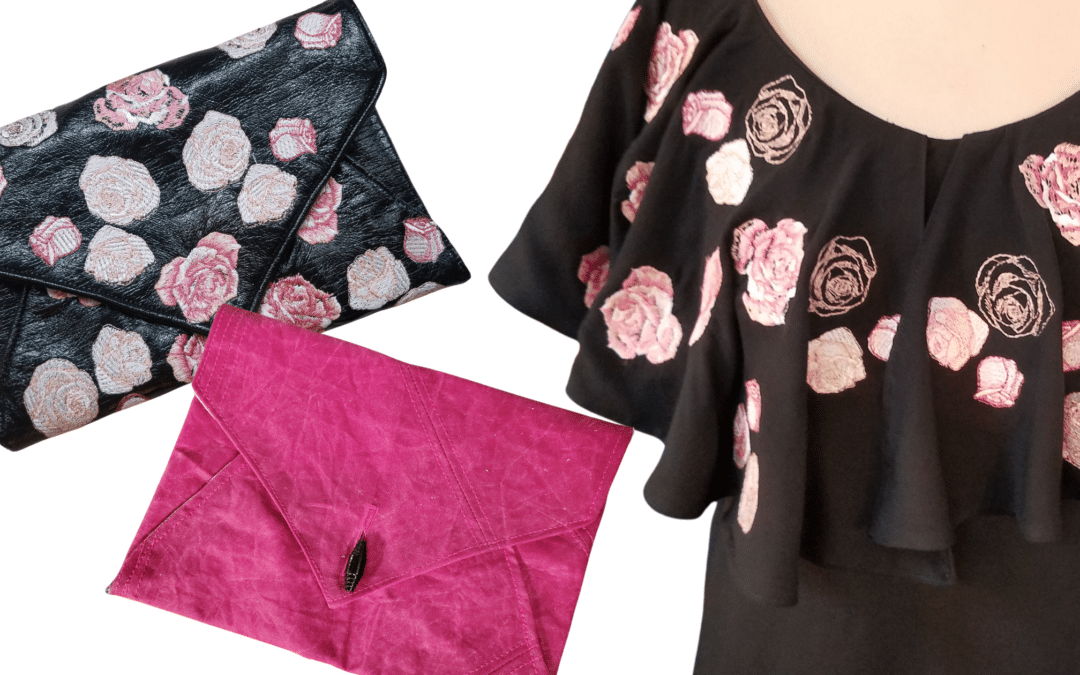
325: Learn to Sew an Envelops Purse Clutch with Angel Wolf
")
Envelope Pattern
There are three download versions for the envelope pattern:
Full Layout – Use this for projector printing or printing on a plotter.
Letter Size Printing – Use this when printing letter size paper (8.5″ x 11″). Print pages 1-8, the last page is an overview of the pattern.
A4 Size Printing – Use the when printing on A4 size paper (17.7″ x 8.3″). Print pages 1-8, the last page is an overview of the pattern.
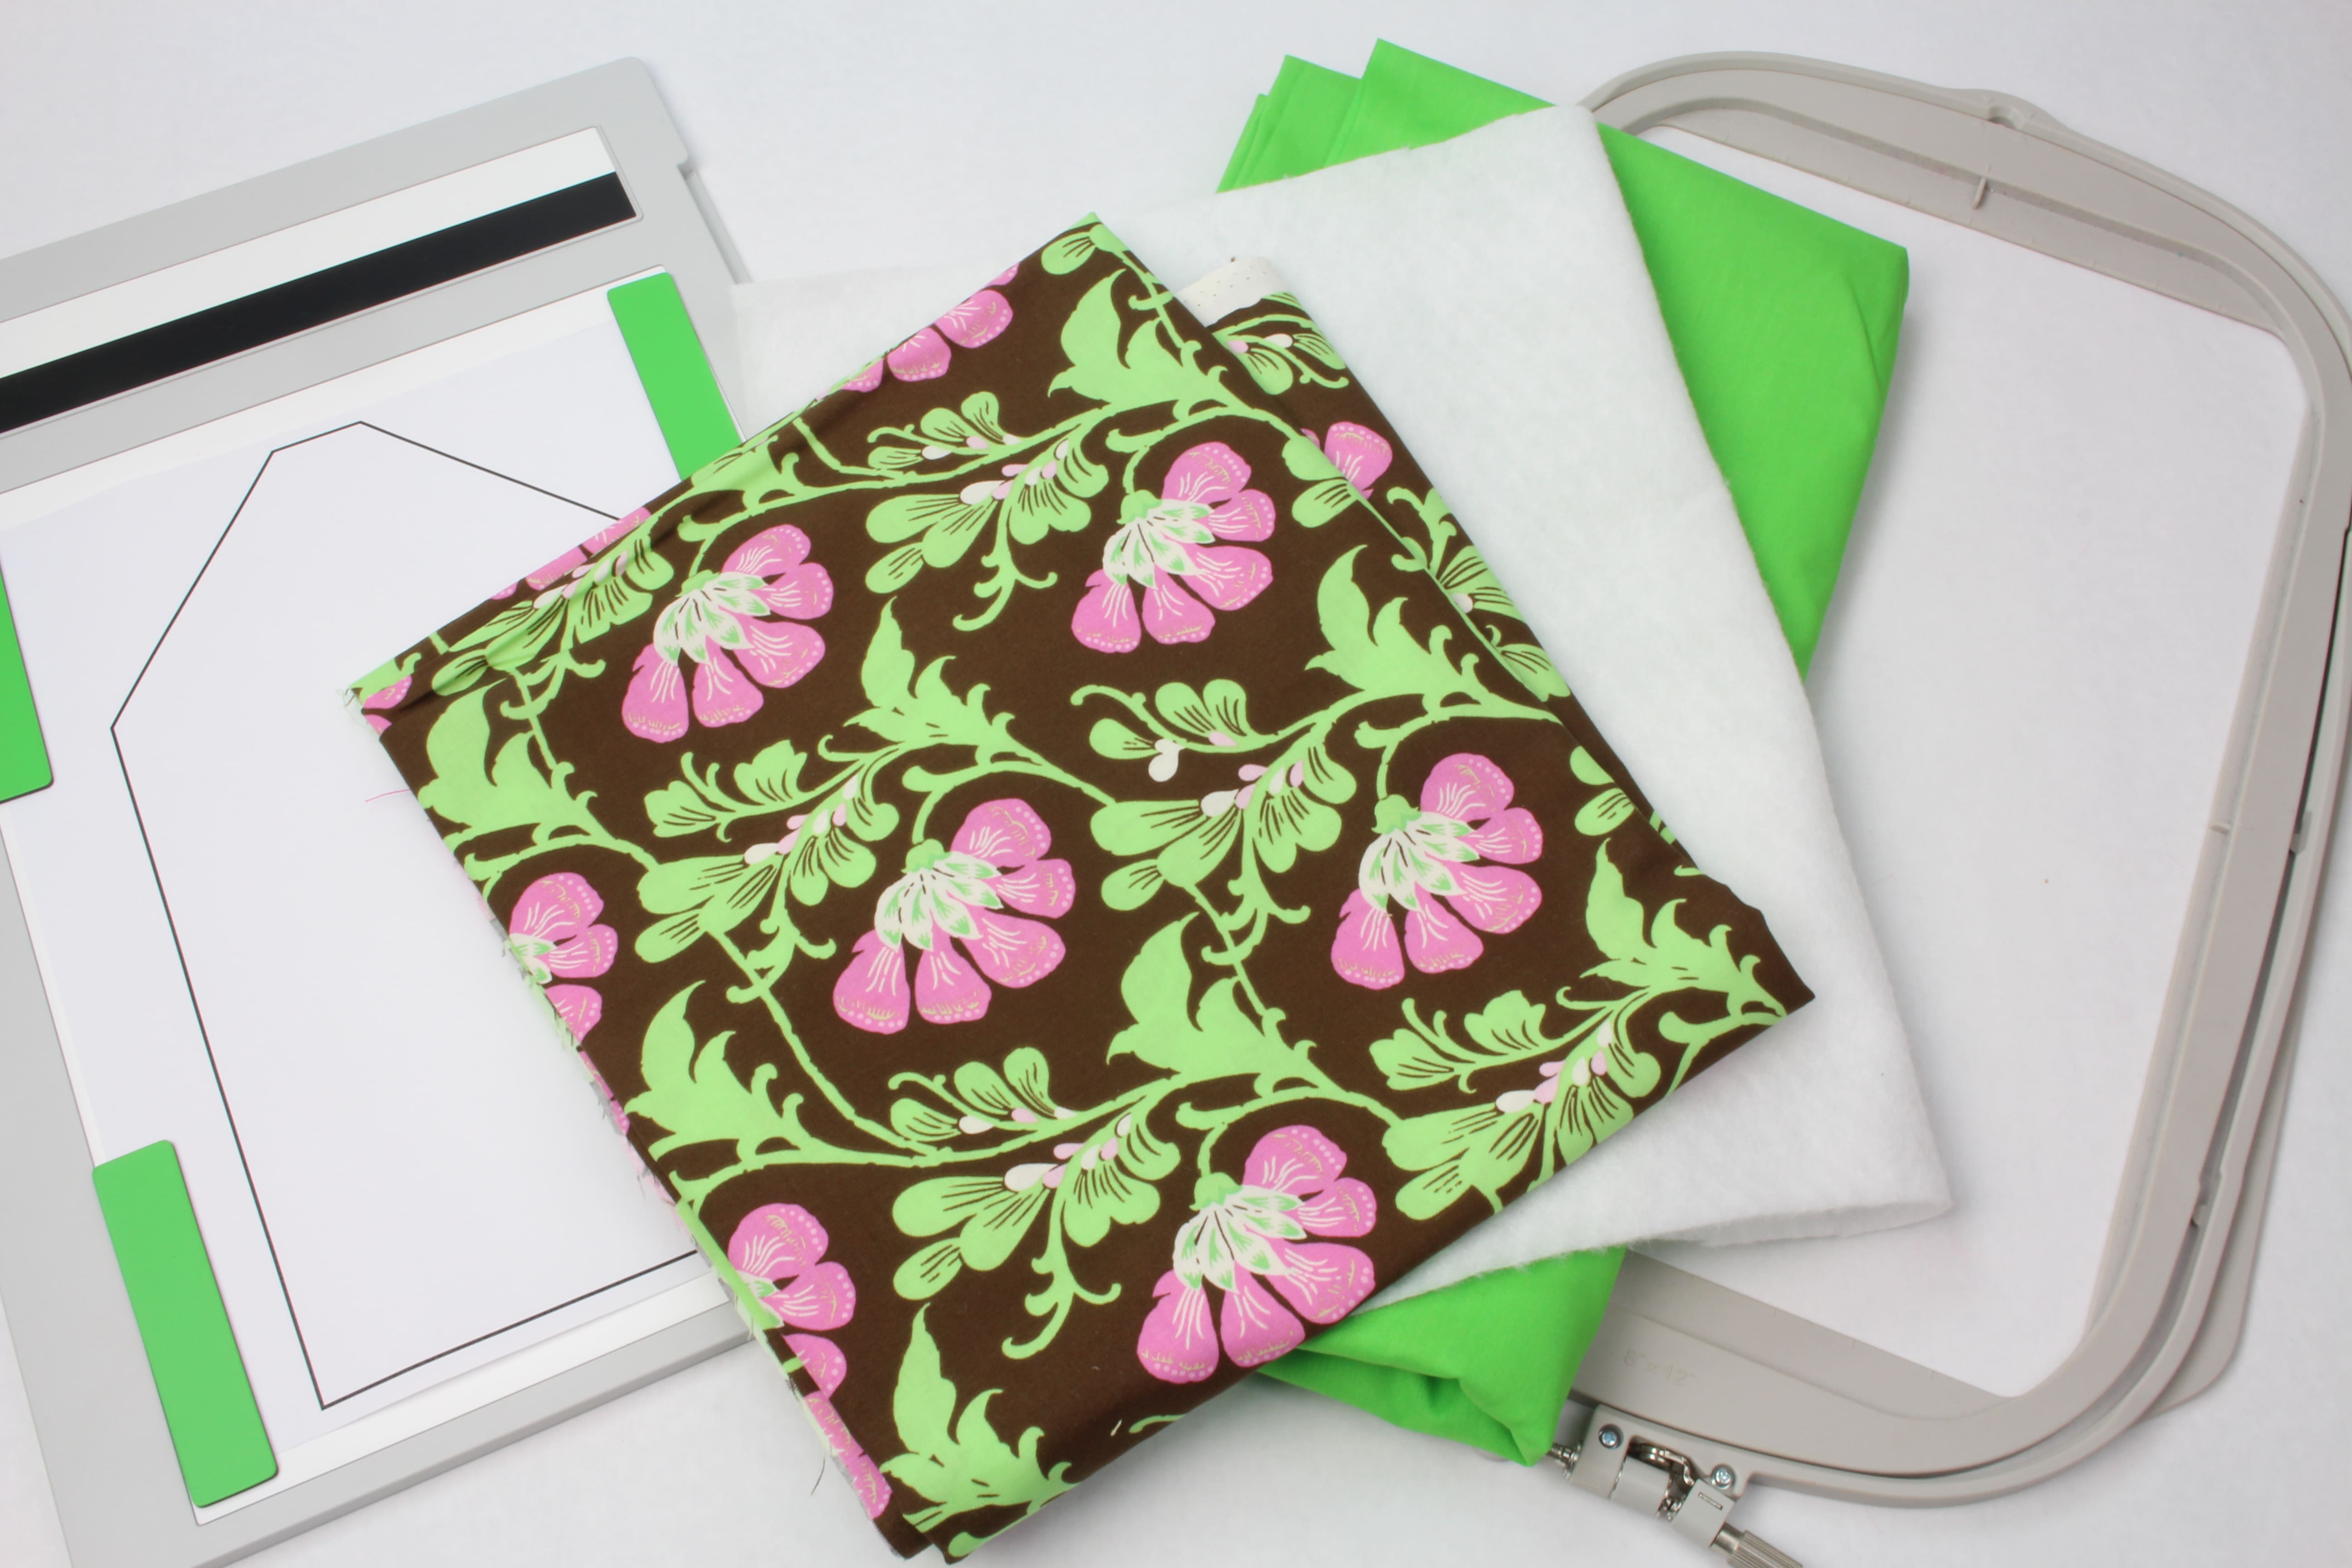
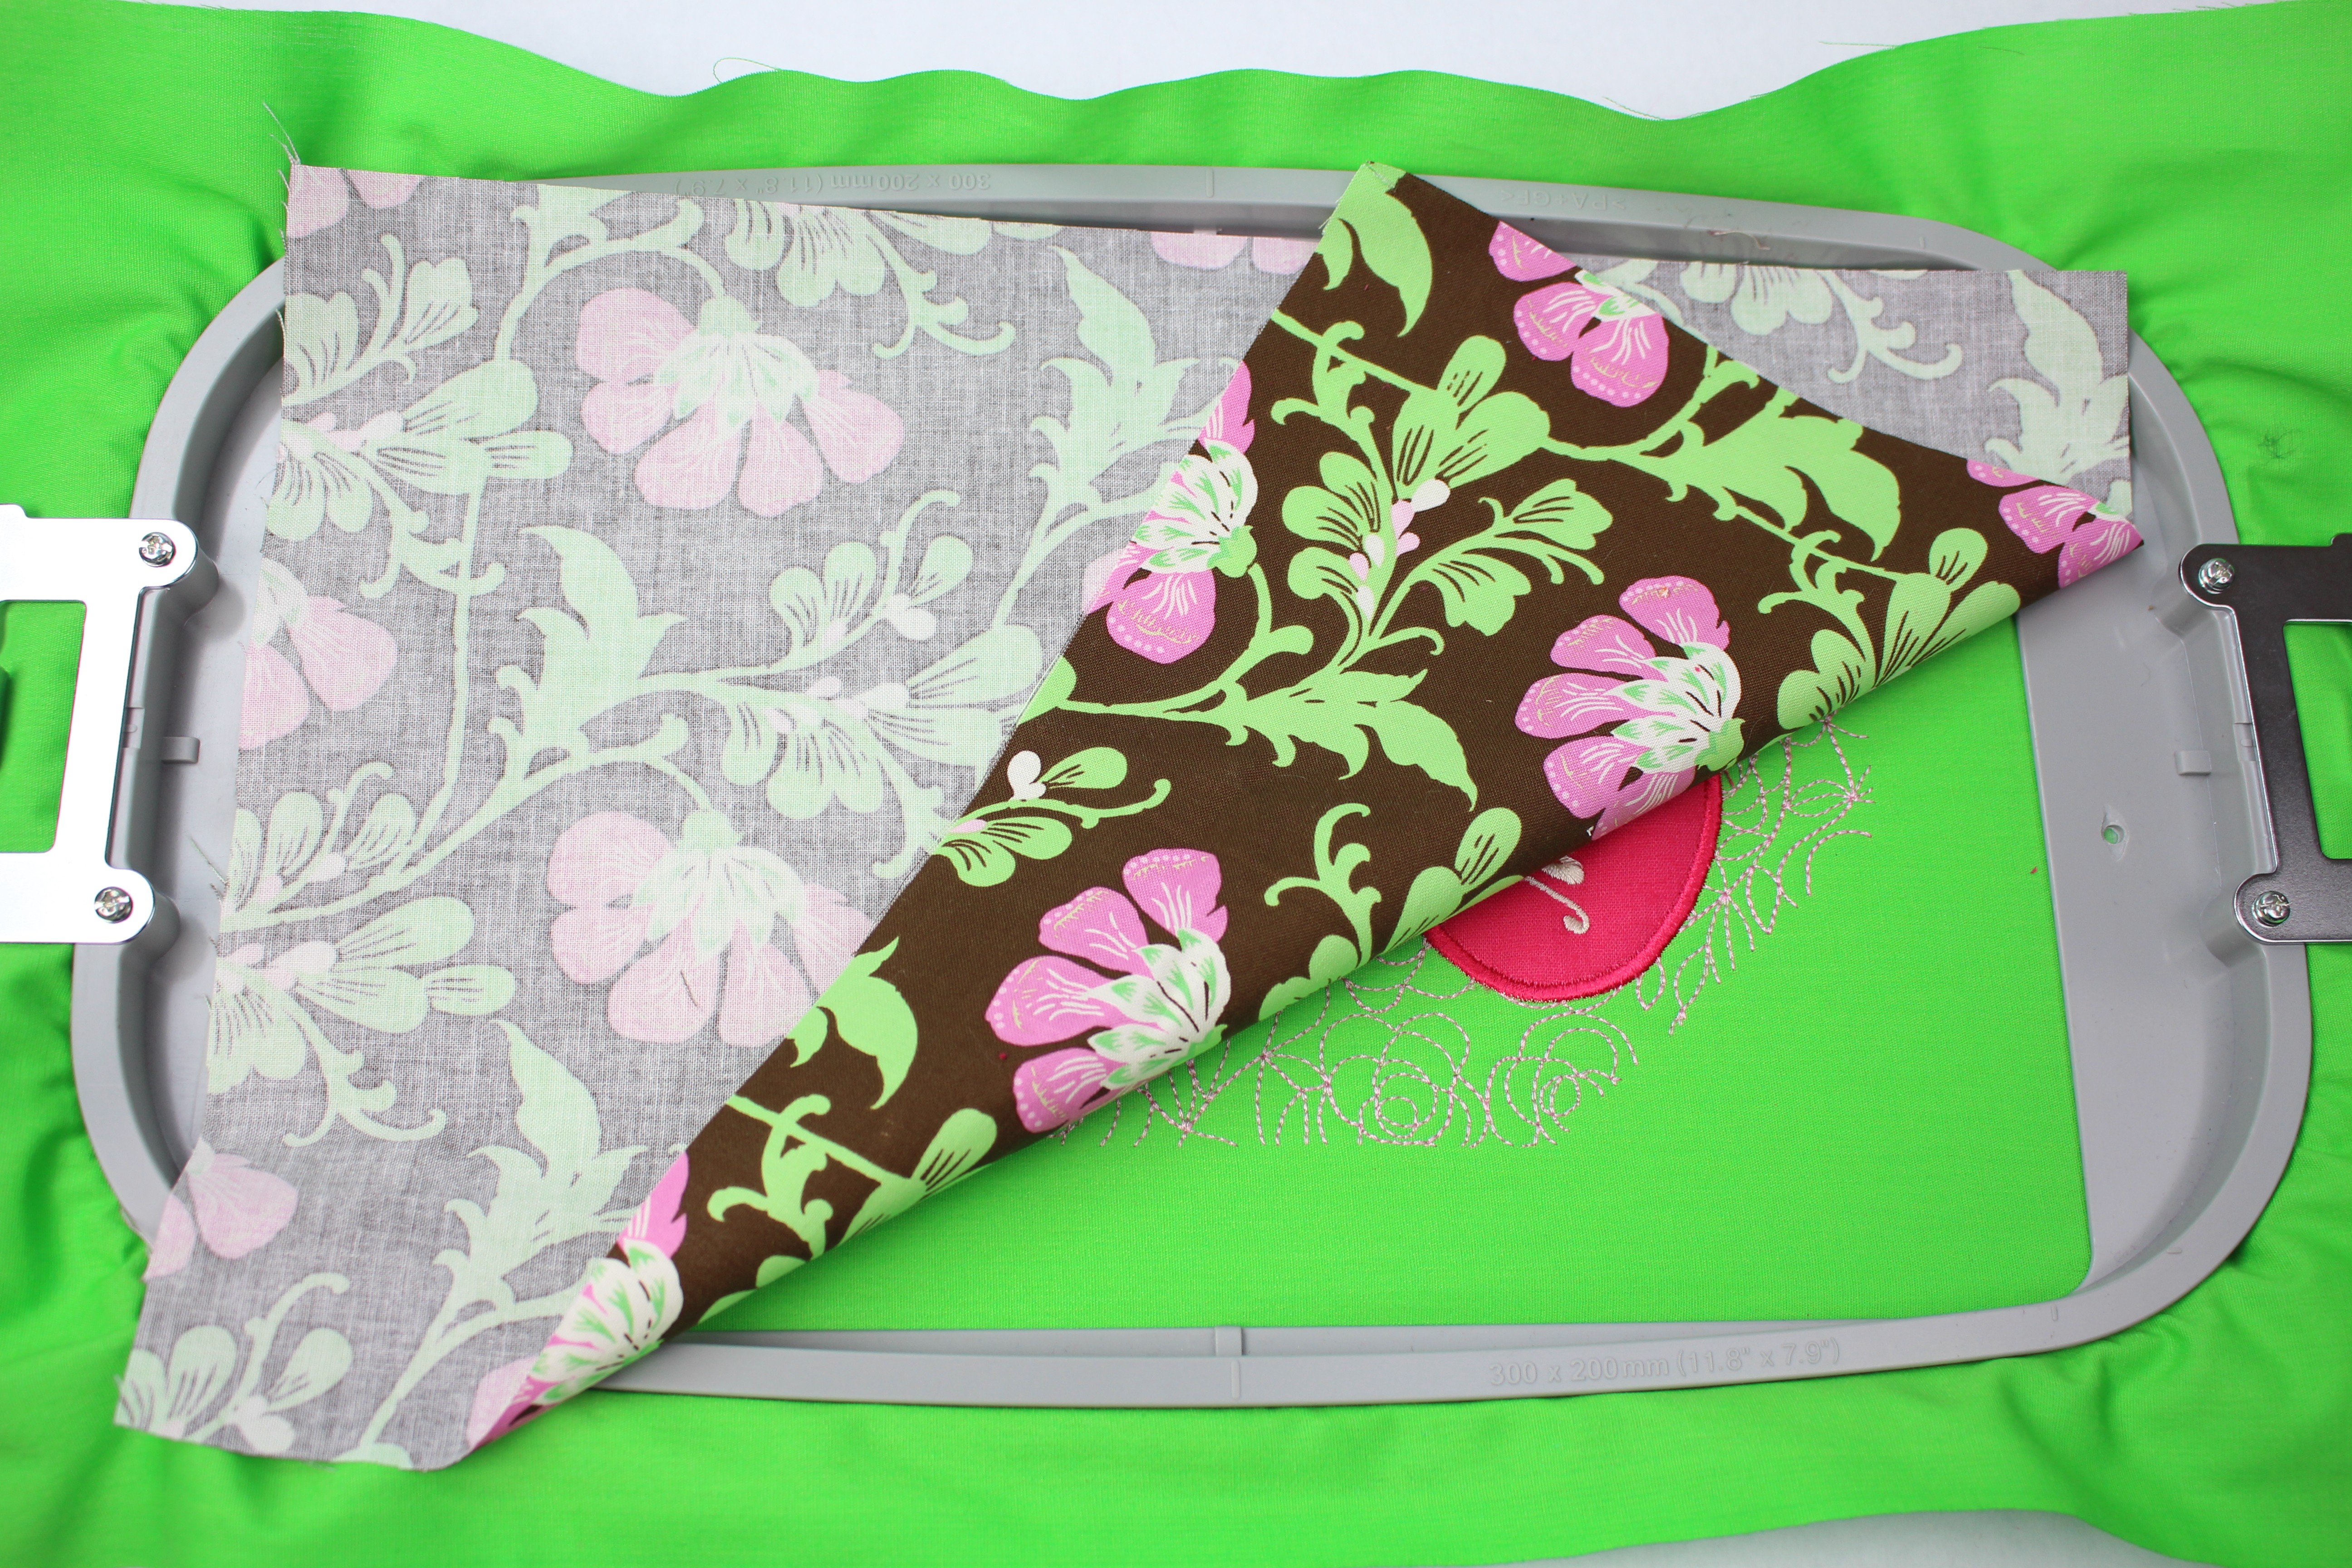
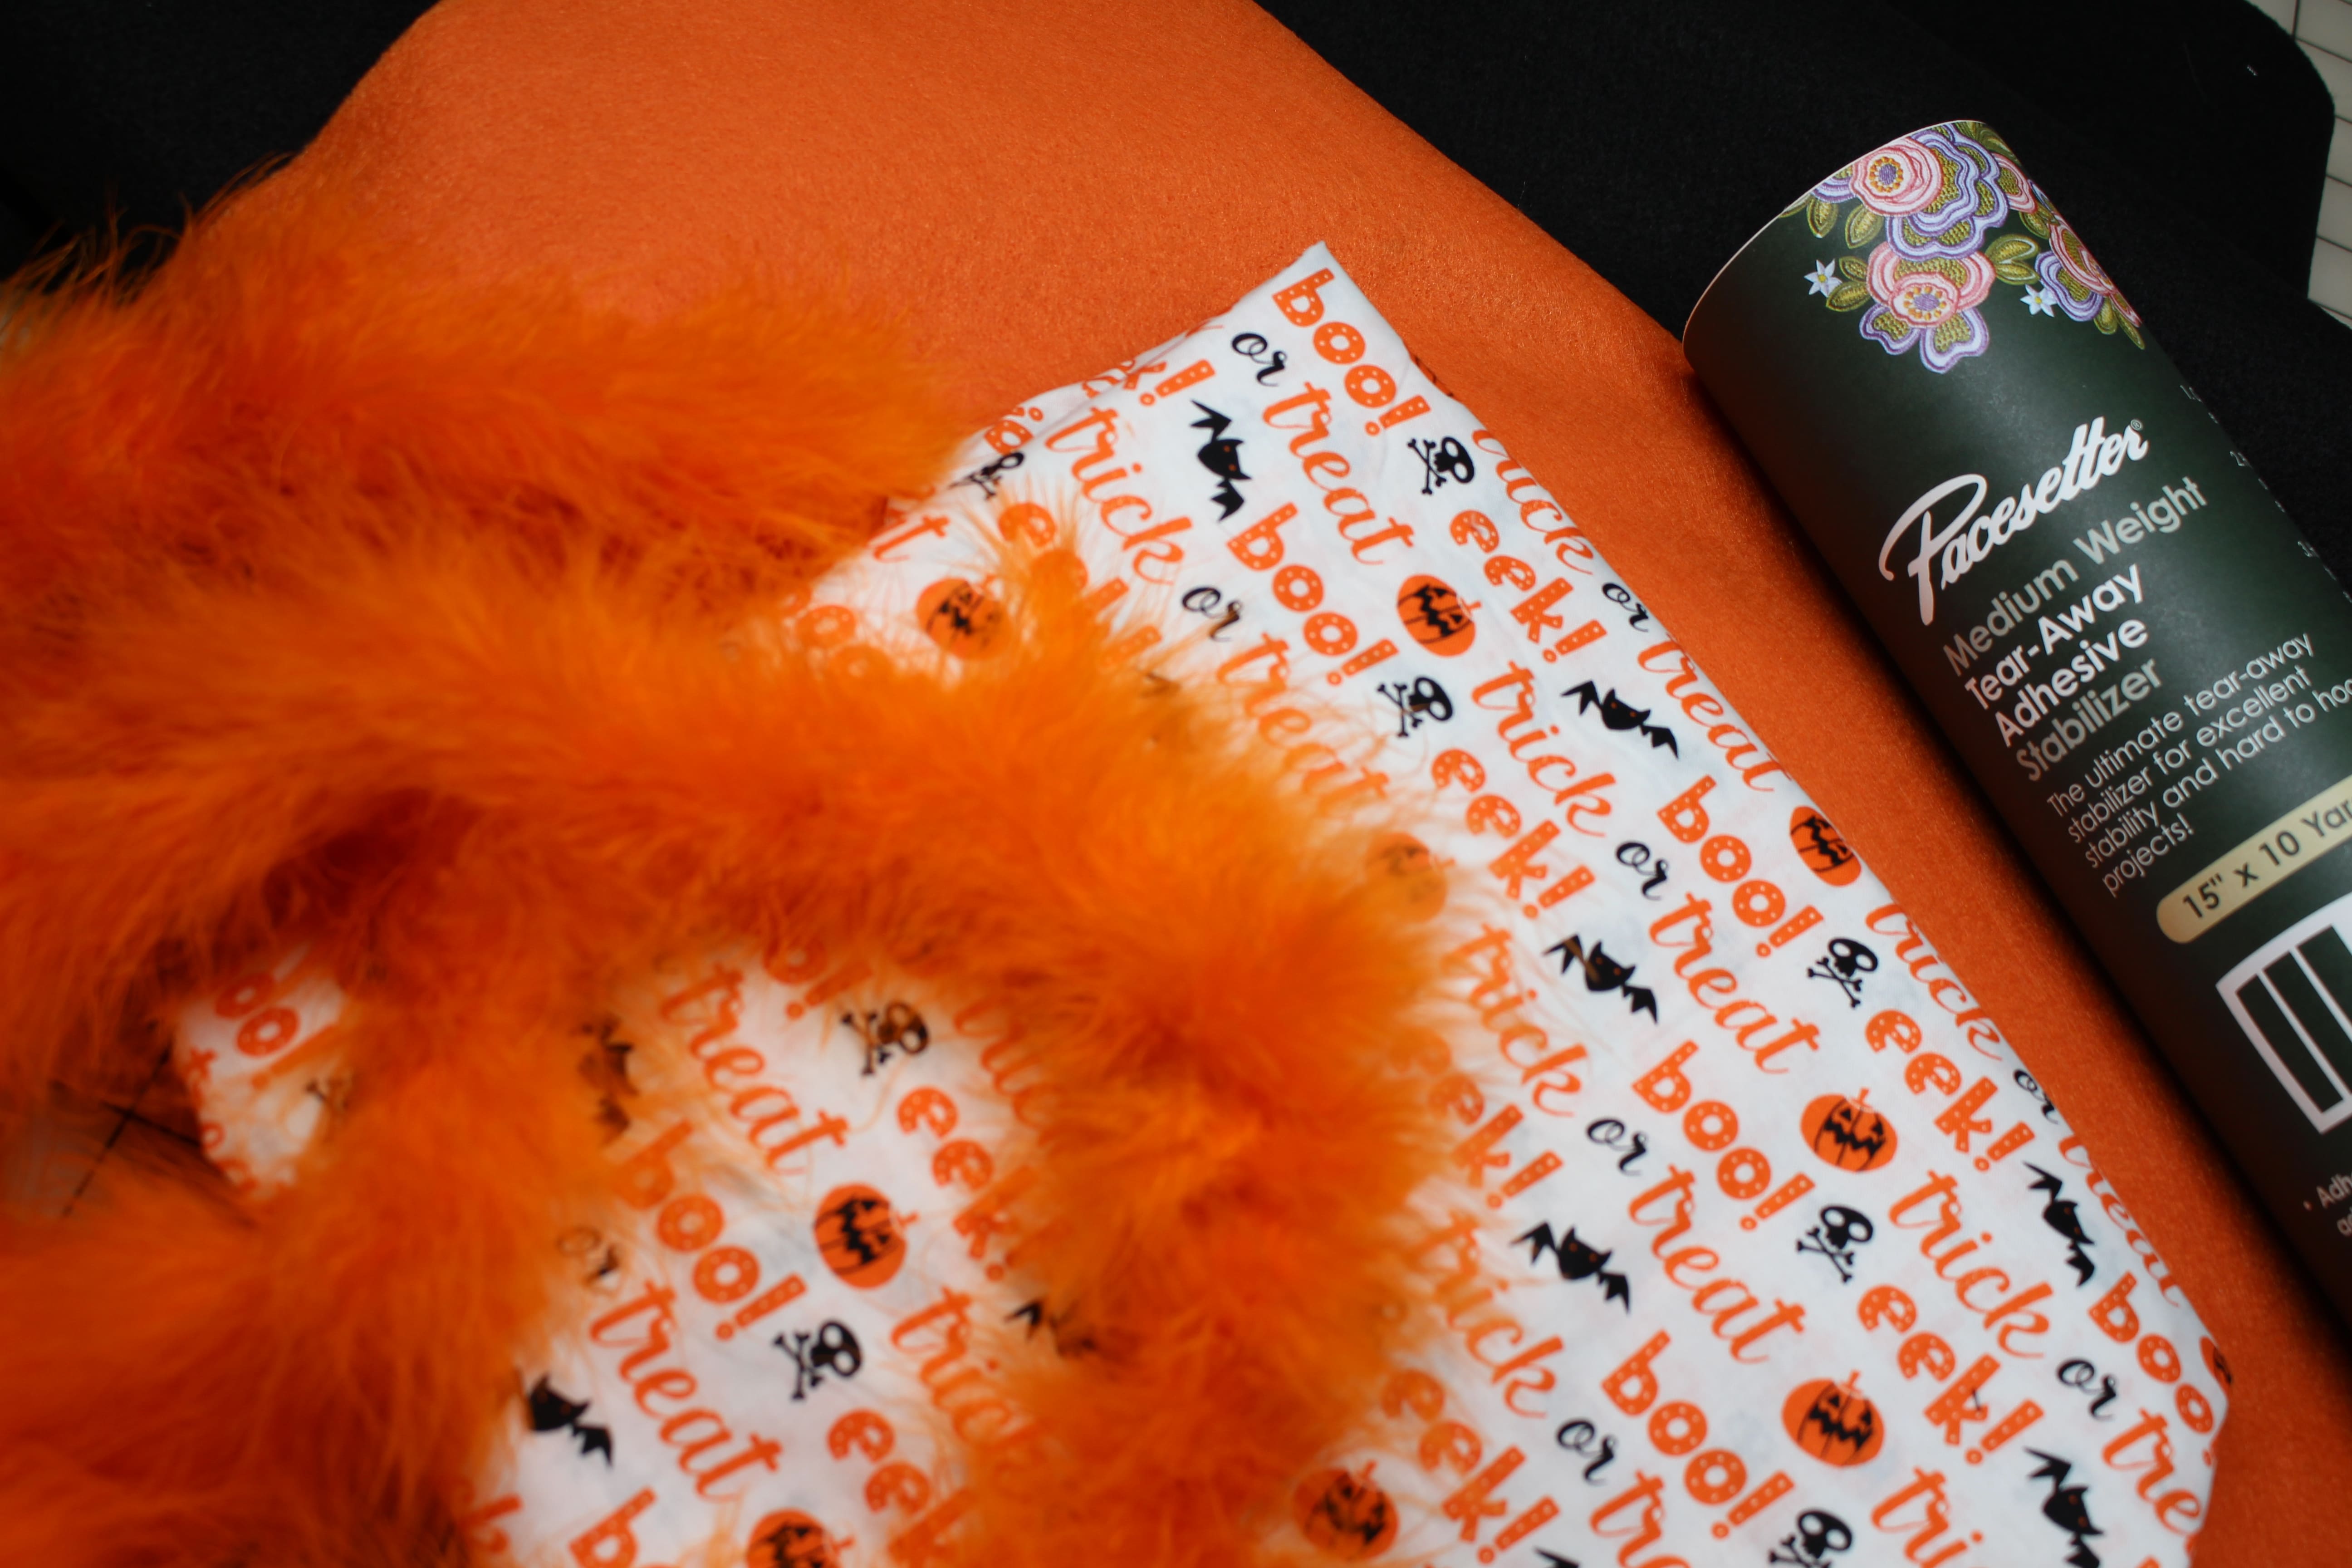
Supplies:
Fabric Ideas ~ waxed canvas, leather, faux leather, cotton, suede, vinyl,
- Fabric: 22″ by 22″
- Lining – Optional: 22″ by 22″
- Standard Thread
- Embroidery Thread – optional
- 1 Snap – if you prefer over a buttonhole
Subscribe to my YouTube Channel and never miss a tutorial!
")
Catch the Next Show …
Be sure to leave a comment below and let me now if you sew the adorable clutch! Catch Behind the Scenes live on Facebook and YouTube every Wednesday at 1:30pm Eastern. Sign up for my newsletter to stay up to date with events and live shows.
cheers,

")