
 Record Your Measurements
 Record Your Measurements
Waist: this is your natural waist measurement and you can find this by bending sideway slightly and you will feel the indentation at the waistline
High Hip or Fullest Part of Stomach: somewhere between the natural waistline and hips, it’s different in each of us depending on our body shape
Hips: measure hips at the fullest part
Length: from waistline to where you want skirt to be hemmed – take this measuring from the center front of your body
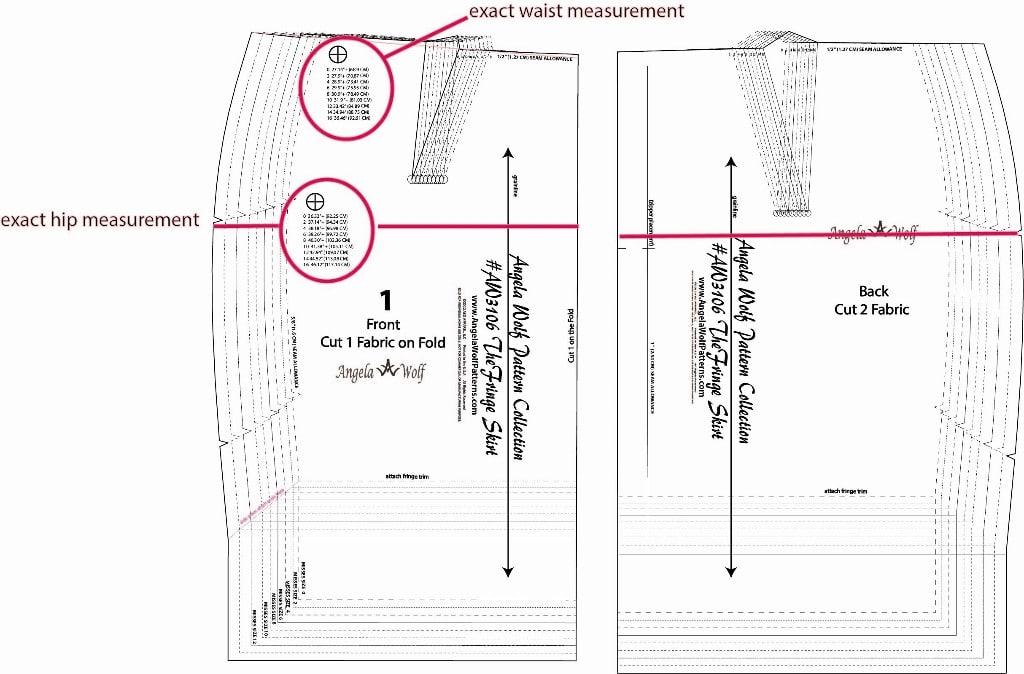
Compare Your Measurements to the Pattern
If you look closely on the pattern front you will see two circles with some numbers (shown above). These represent the exact measurements of that specific area when the garment is completed. For the fringe skirt you will find the exact waist measurement and exact hip measurement. Use this as a guide when choosing the size of pattern to start with. Take your hip and waist measurements, add the amount of ease (I prefer 1″ to 2″ for this style when using non-stretch fabric), and use this measurement to choose the size on the pattern to start with.
Adjusting the Length
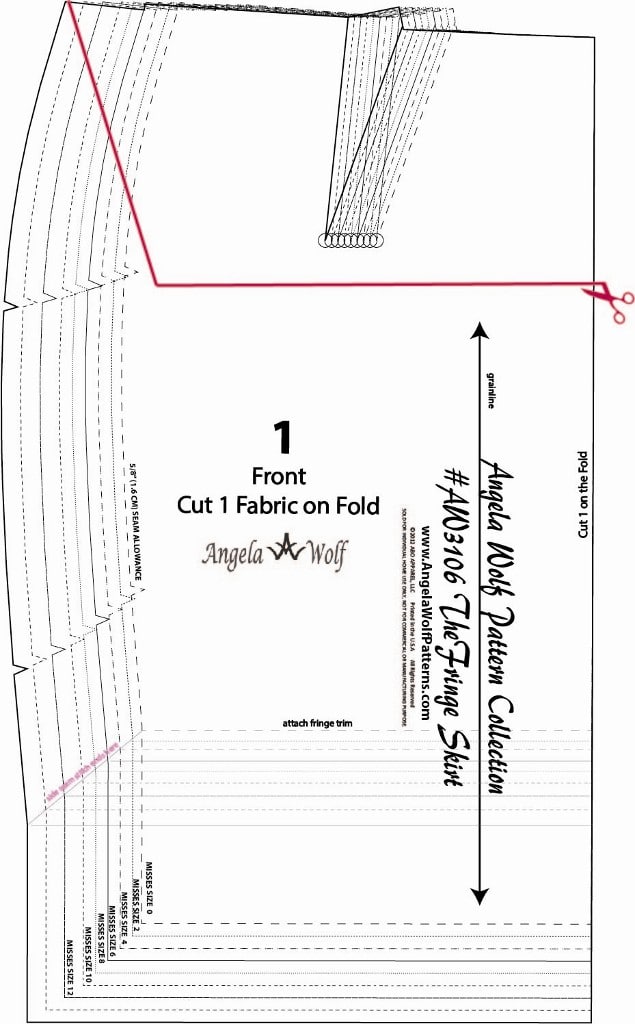
This skirt can be any length you want! To shorten or lengthen follow the steps below. If you need to lengthen or shorten the pattern in the hip or stomach area, follow the same steps, but draw the line across the pattern in the area that needs adjusting..
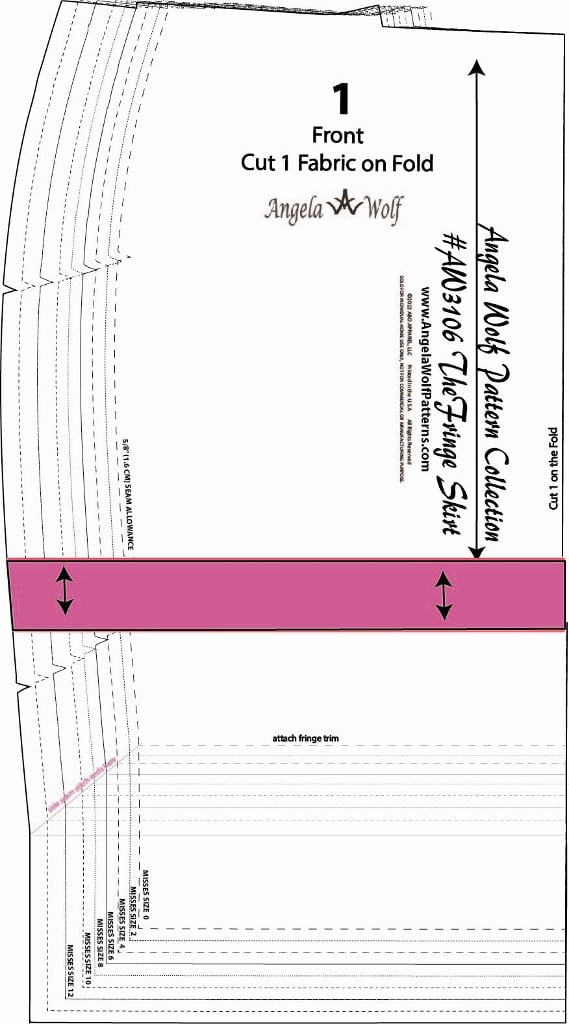
- Draw a line across the pattern below the hips, parallel to the grainline. Cut across the line and spread the pattern the amount you want to lengthen.
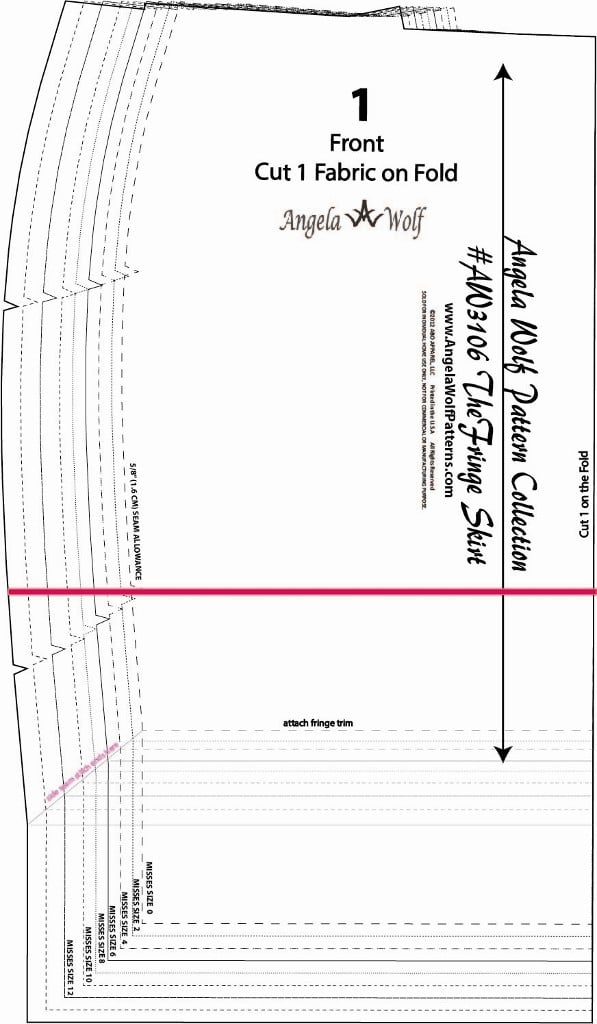
2. Add paper to the pattern to fill the gap and true the seam lines. To make the skirt shorter, fold the pattern along the pink line.
Adjusting the Entire Pattern Larger or Smaller
This pattern goes up to a size 16. If you want to alter the pattern for a size larger than 16, determine the amount that needs to be added to the pattern. Let’s say we need to add 4” to the overall width. This will mean we need to add 2” to the front and 2” to the back. (To make the pattern smaller, follow the same steps and instead of spreading the pattern at the designated areas, decrease the amount as needed.)
- Draw a line from the waist to the hem, parallel to the grainline on the front #1 pattern piece.
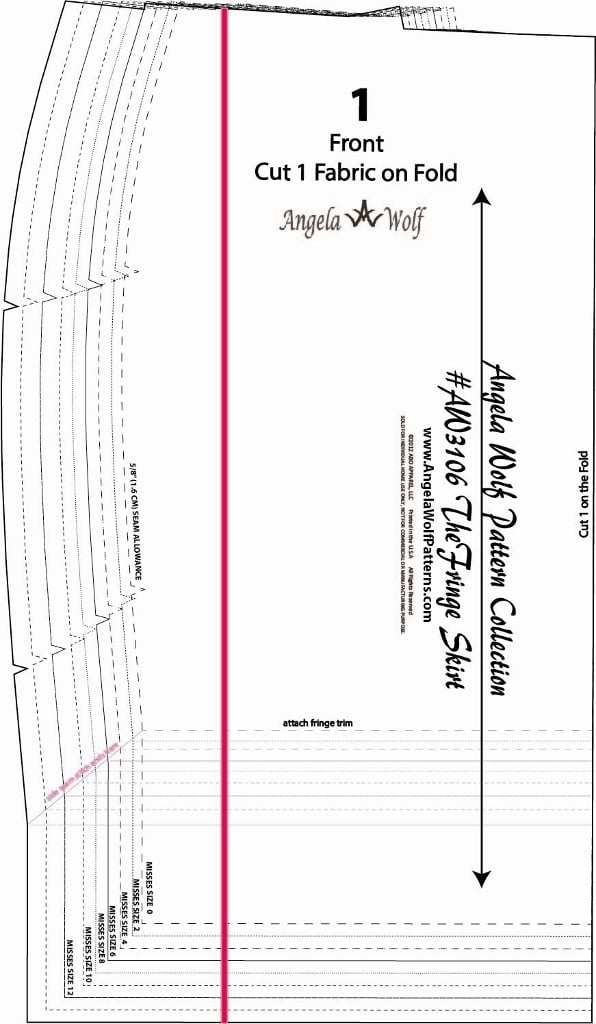
2. Cut along the pink line and spread the pattern 1” (the pattern is on the fold, by adding 1” we are really adding 2” to the entire front piece. Do the same for the front lining #3 pattern piece, back pattern piece #2, and back lining piece #4.
Adjust the waistband the same way. Keeping with the example for an overall 4” adjustment:
- Waistband Pattern #5 – spread pattern 4”
- Waistband Pattern #6 – spread pattern 2”
- Fringe Trim Pattern #7 – spread pattern 2”
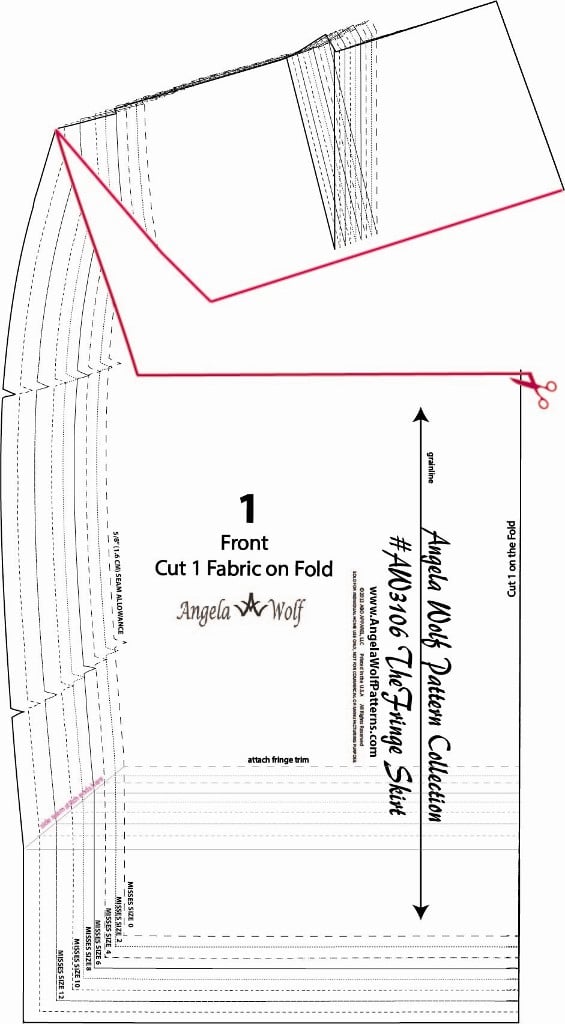
Adjusting the Pattern for a Round Tummy
If you try on the muslin of the skirt pattern and its too tight in the stomach area and the hemline rides higher in the front than the back, this is the pattern alteration for you. The changes will add width and length to the pattern in the area needed.
This is the same alteration that would be used for the back pattern piece if you need more room in the tush 🙂
- Draw a line across the pattern (in the stomach area) as shown.
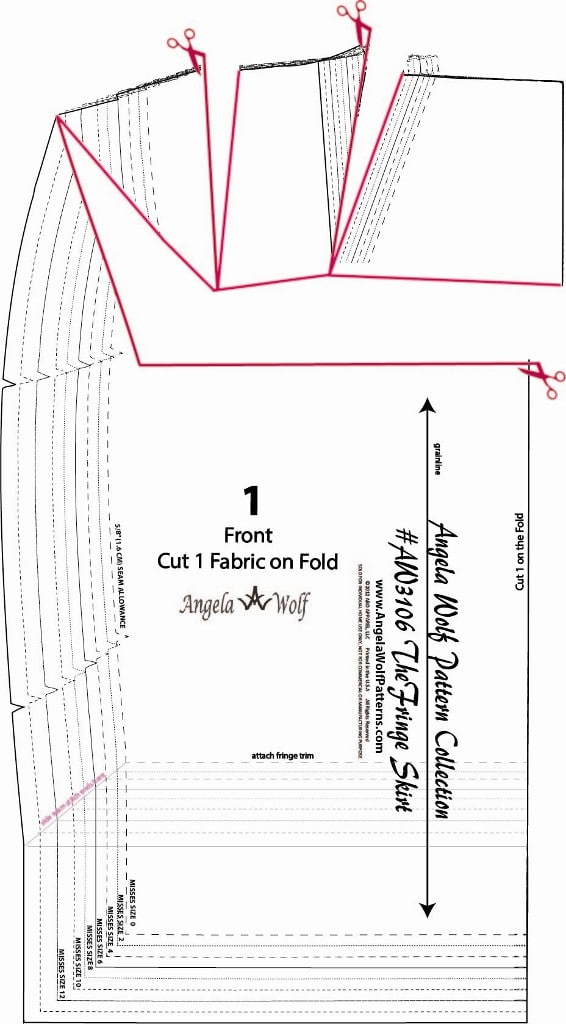
3. Cut into the dart area, leaving a hinge at the edge of the first line. Depending on how much the pattern will be extended, you might need to cut a second dart area as shown.
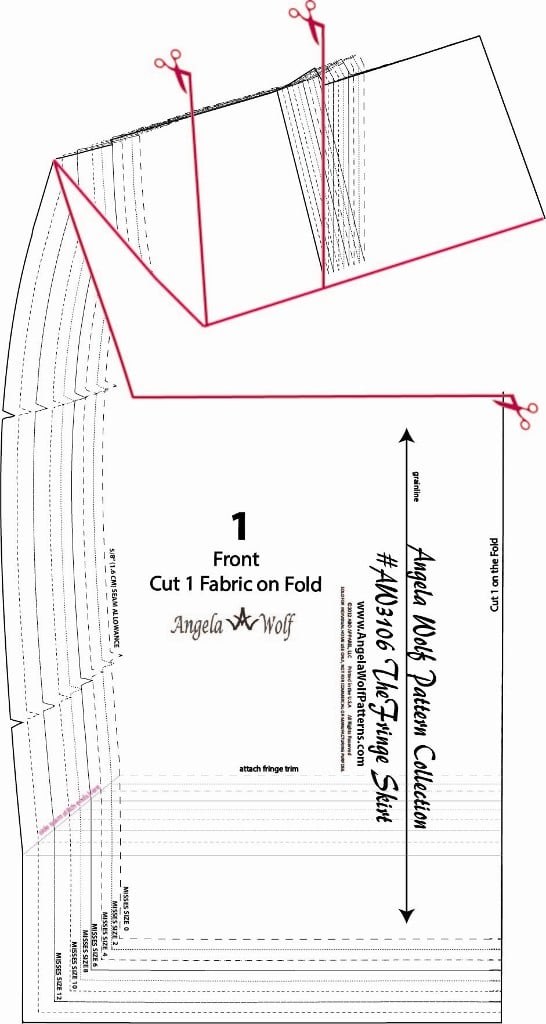
2. Cut across the line, leaving a hinge at the waistline.
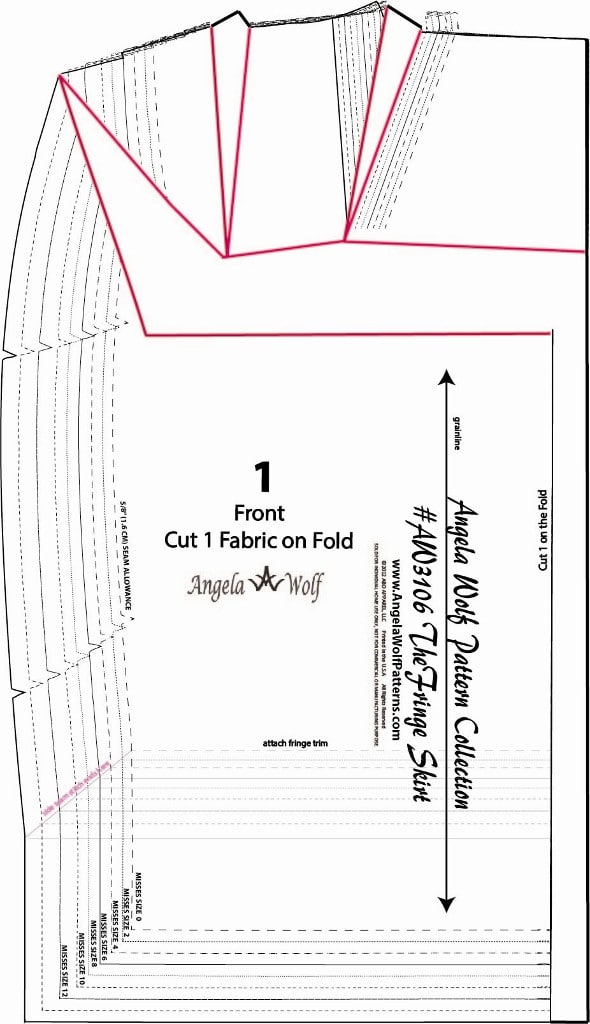
4. Spread out the darts until the center front is parallel to the grainline.
5. True the waistline and draw a new center front line, using the top pattern piece as the guide. The amount extended will need to be added to the waistband and fringe pattern pieces.
These are some common pattern alterations needed for the fringe skirt pattern. Be sure to join the Angela Wolf Patterns Facebook group to share photos, ask questions, and click here to be notified by email when each blog post goes up for the Fringe skirt sewalong!
Cheers,

The Fringe Skirt Sewalong Schedule:
- Fabric & Sourcing (February 10. 2017)
- Fitting & Patternhacking (February 16. 2017)
- Cutting & Prep (February 21. 2017)
- All About Darts (February 23. 2017)
- Quilting the Lining (February 28. 2017)
- Invisible Zipper’s (March 2. 2017)
- Waistbands (March 7. 2017)
- Hemming & Fringe (March 9. 2017)
- Show off in the Angela Wolf Facebook Group!


In Step 1 of adjust for length and Step 4 of adjust for a round tummy you want the added line perpendicular to the grain line, not parallel to the grain line.